A well-organized workshop can transform your projects from chaotic to smooth. Whether you’re a DIY hobbyist or a skilled craftsman, these Essential Workshop Setup Tips will help you save time, stay safe, and work smarter. We’ll cover layout planning, equipment, maintenance, and more in this guide.
Planning Your Workshop Layout
Start with a solid plan for your workshop space. A good layout keeps everything flowing smoothly. Measure your area first—know exactly how much room you have. Then, think about what you do most: woodworking, car repairs, or maybe electronics. Set up zones for each task.
Keep your workflow in mind. Arrange tools and machines in the order you use them. For example, place your saw near the workbench if you cut wood often. Make sure frequently used items are easy to grab, while stuff you rarely need goes on a shelf. Leave plenty of space around machines—crowded spots lead to accidents.
Essential Workshop Equipment
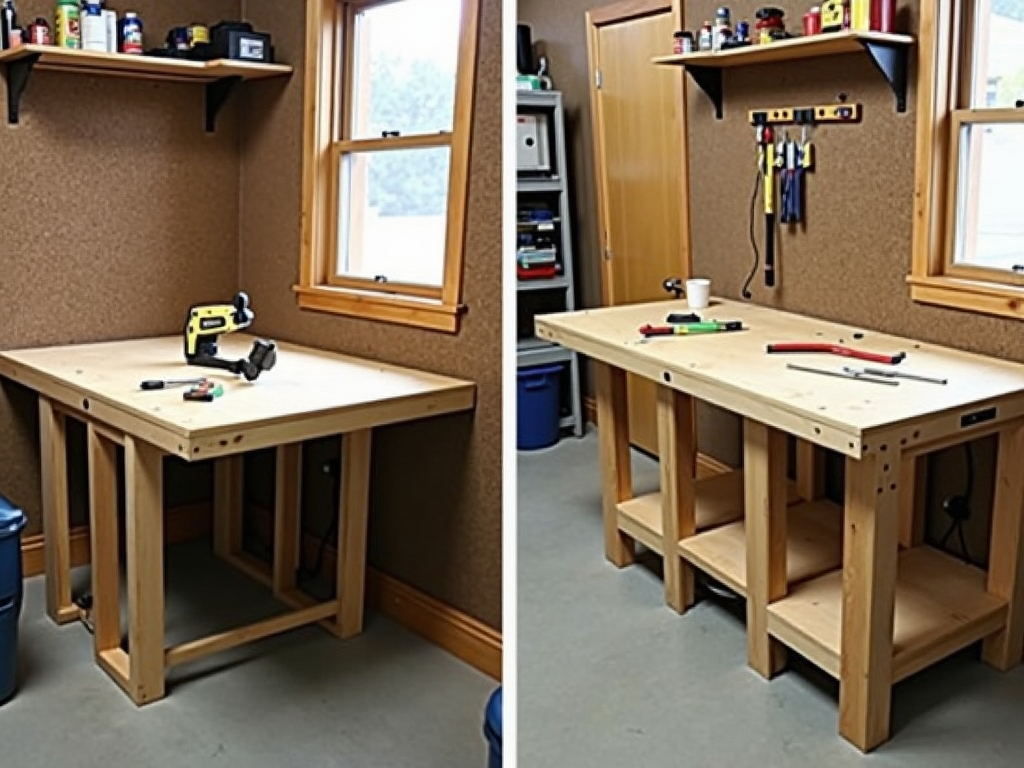
Your workshop equipment depends on your projects, but some basics are must-haves. A strong workbench is key—it’s where most of your work happens. Look for one with a tough top and some storage underneath.
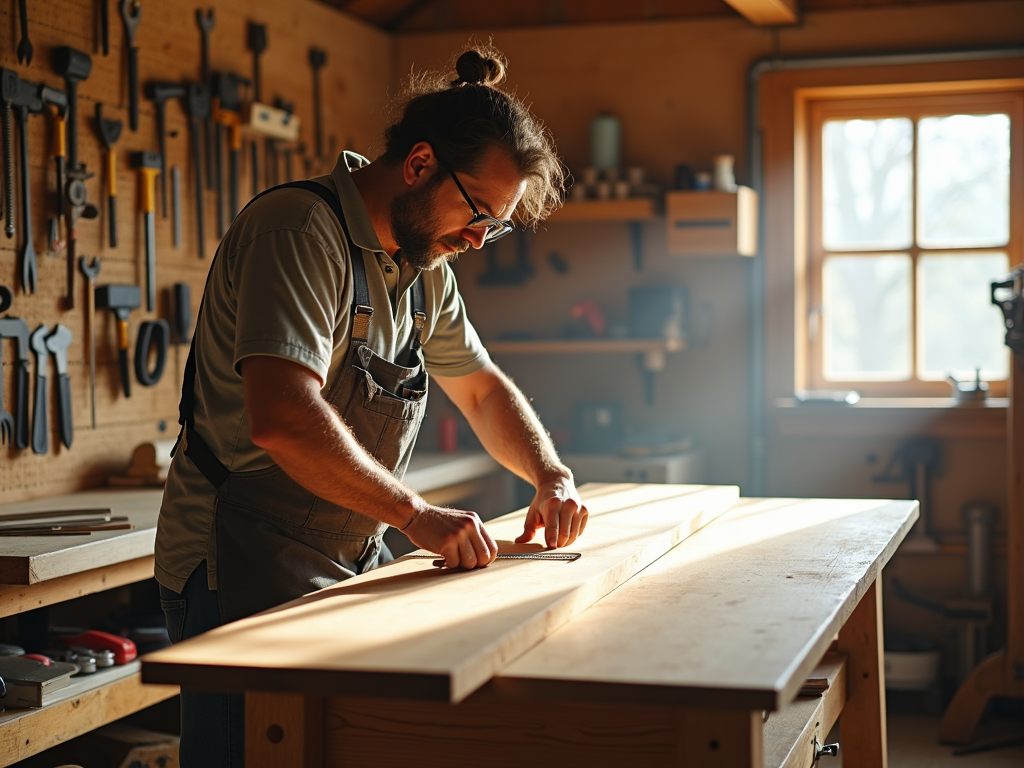
Power tools like drills, saws, or sanders speed things up. Buy good ones that last instead of cheap ones that break fast. Hand tools matter too—keep hammers, screwdrivers, and wrenches in different sizes. Don’t forget measuring tools like tape measures and squares. Accuracy saves you headaches later.
Workshop Equipment Maintenance Tips
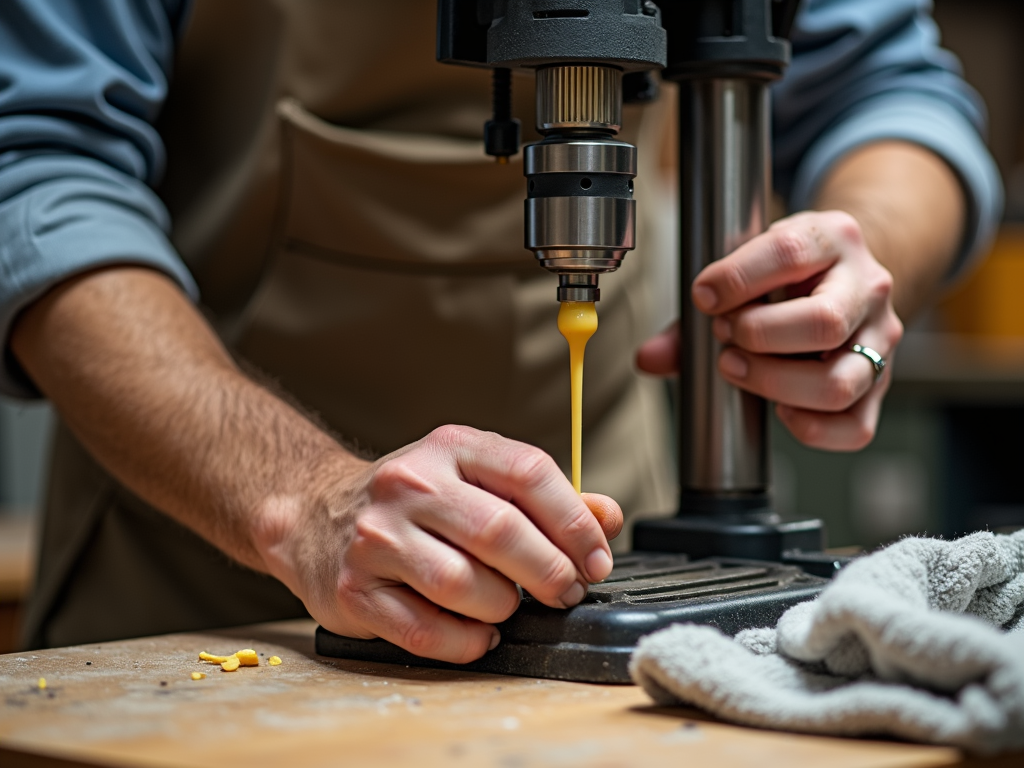
Taking care of your workshop equipment keeps it running well and safe. Clean everything after you use it—dust and dirt can ruin motors or blades. Wipe down tools and sweep up sawdust daily if you can.
Lubricate parts that move, like gears or hinges, to stop them from wearing out. Sharpen anything that cuts—dull blades make messy cuts and can hurt you. Check your gear often for cracks or loose screws. Replace anything worn out before it fails mid-project.
Organizing Workman Tools
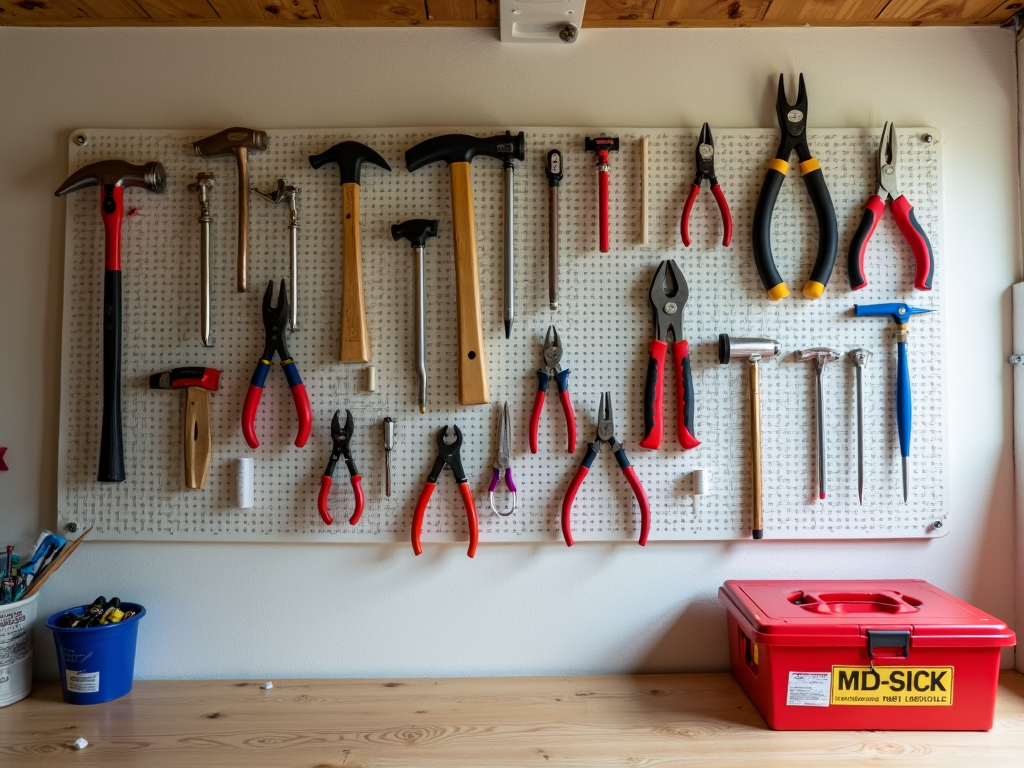
Messy workman tools waste your time when you can’t find what you need. Get a toolbox with drawers or a cabinet to sort them. Group similar tools together—screwdrivers in one spot, wrenches in another.
Pegboards are great for hanging tools you use a lot. You can see and grab them fast. Label everything—put tags on drawers or shelves so you know where stuff goes. Try a shadow board: outline each tool’s spot on a board. It’s easy to see if something’s missing.
| Tool Type | Storage Solution |
|---|---|
| Hand Tools | Toolbox Drawers |
| Power Tools | Pegboard Hooks |
| Small Parts | Labeled Bins |
| Measuring Tools | Wall Rack |
Safety Considerations
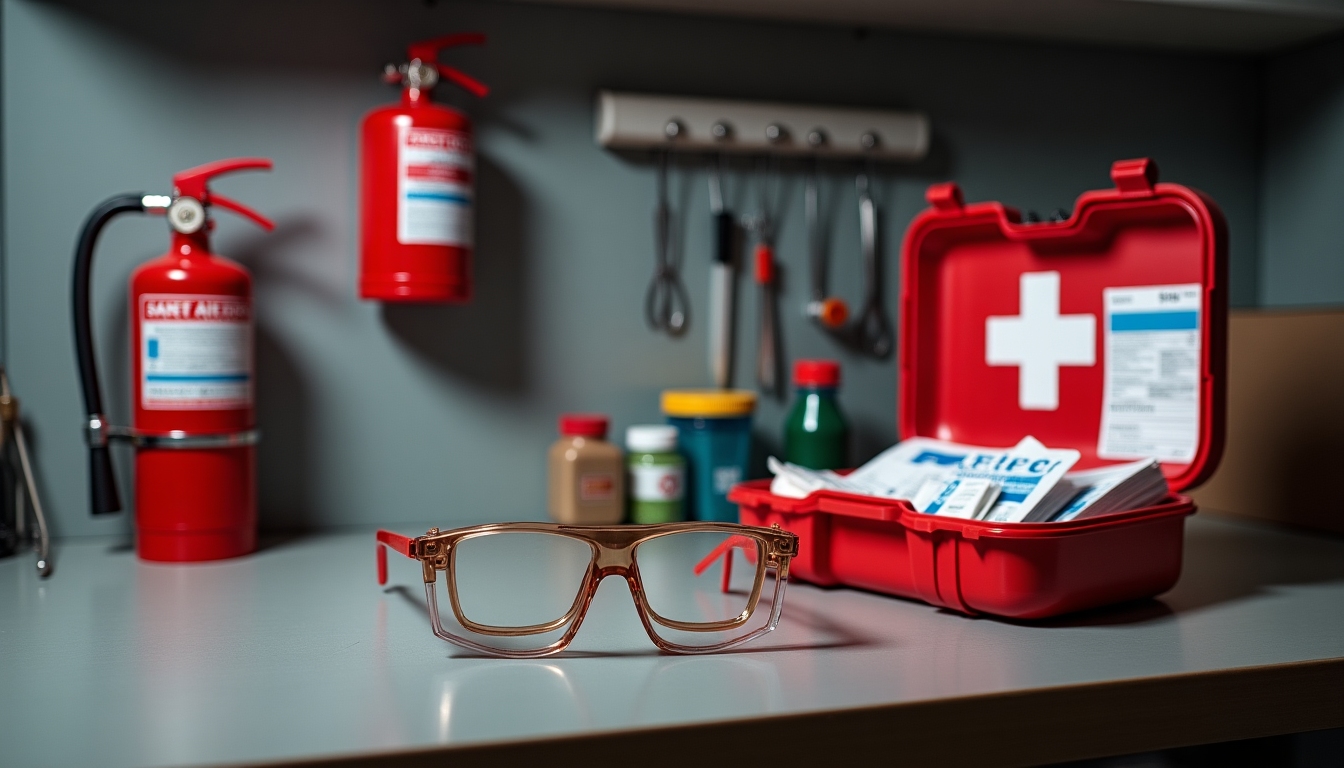
Safety comes first in any workshop. Wear gear like safety glasses and gloves every time you work—accidents happen fast. Keep a fire extinguisher close by, especially if you use paints or oils. Store flammable stuff in metal cans away from sparks.
Have a first aid kit ready with bandages and antiseptic. Make sure your exits are clear—don’t block doors with junk. I once tripped over a cord in a rush; now I tape them down to avoid that mess again.
Lighting and Ventilation
Good lighting stops mistakes and tired eyes. Use bright overhead lights—LEDs work well and save power. Add small lights over your workbench for tricky tasks. I learned this the hard way squinting at a tiny screw in dim light.
Ventilation keeps the air clean. Dust and fumes can make you sick over time. Open a window or use a fan to push bad air out. If you sand a lot, a shop vac hooked to your tools cuts down on mess.

Storage Solutions
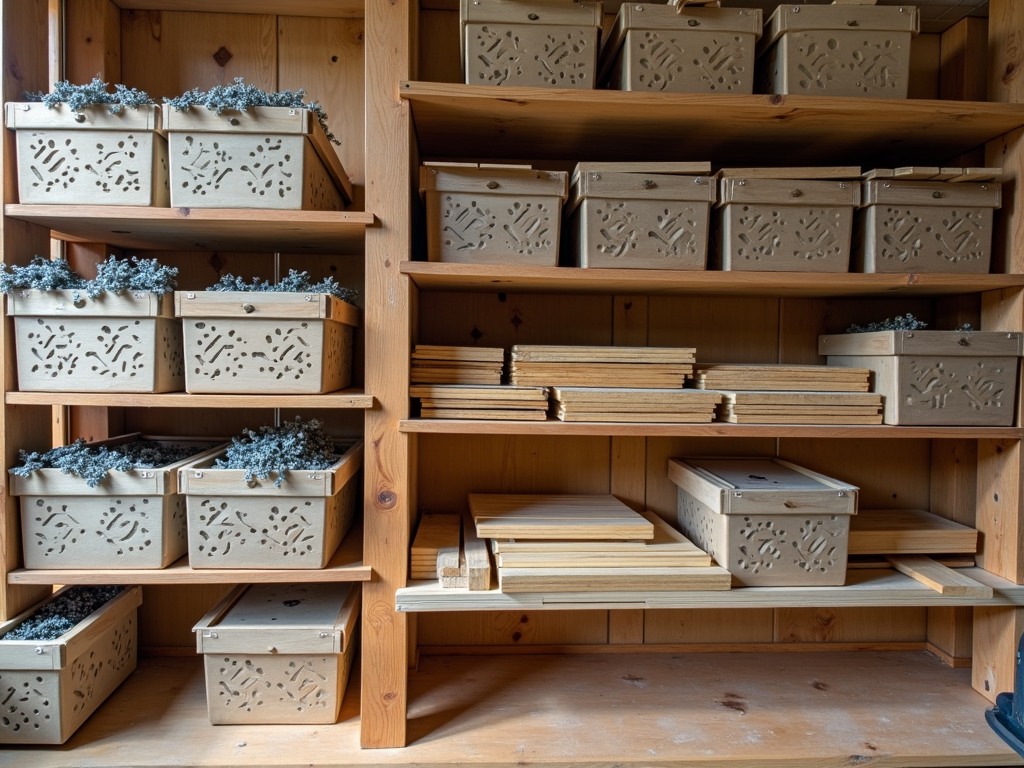
Smart storage makes your workshop feel bigger. Put up shelves for boxes or materials you don’t use daily. Bins work for screws, nails, and little bits—label them so you don’t dig through piles.
Wall racks hold long stuff like pipes or boards. I built a simple rack from scrap wood once; it cleared my floor and looked decent too. Keep heavy things low so they don’t fall and hurt you.
Workflow Optimization
A smooth workflow saves effort. Group tasks in one area—like cutting near the saw, sanding nearby. Keep tools you use most within arm’s reach. I set up a mini assembly line for a batch of birdhouses once; it cut my time in half.
Test your setup and tweak it. If you’re walking too much, move things closer. Small changes add up to big wins over time.
Quick Workflow Checklist
- [ ] Group similar tasks together
- [ ] Keep tools close to where you use them
- [ ] Test and adjust your layout
Final Thoughts
Setting up a workshop takes some thought, but it’s worth it. With these Essential Workshop Setup Tips, you’ll build a space that’s safe, organized, and ready for any project. Plan your layout, care for your equipment, and keep safety first—you’ll see the difference in every task you tackle.
Related Essential Workshop Setup Tips:
- DIY Workshop Safety Tips for Every Hobbyist: A Comprehensive Guide
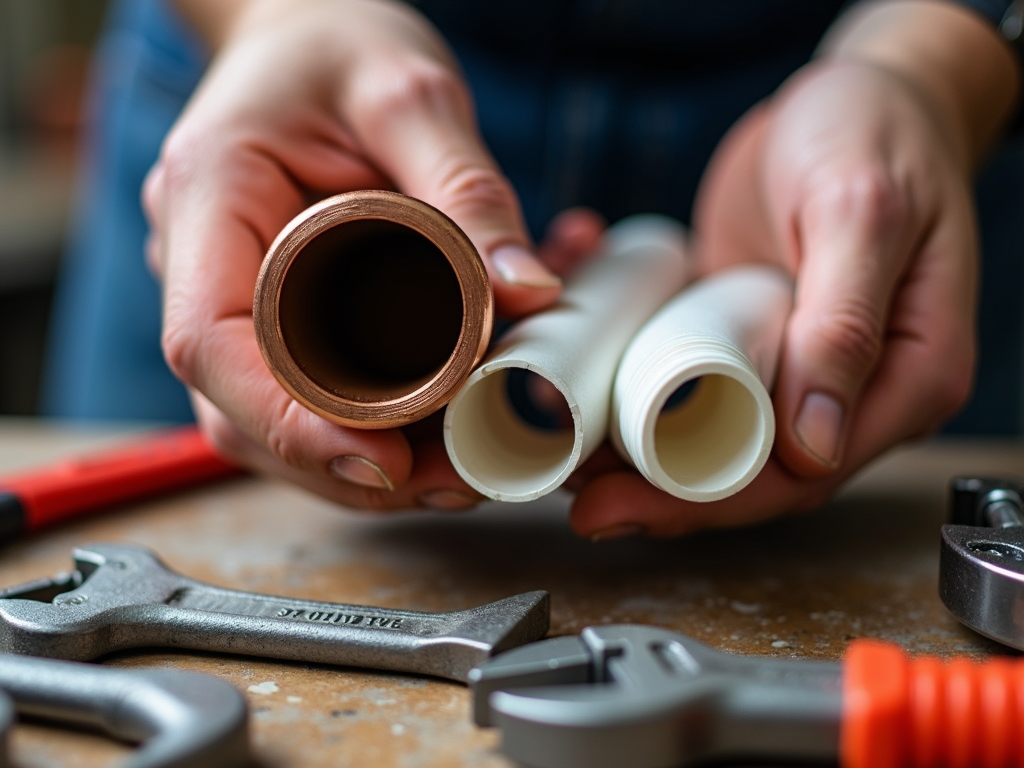
- How to Choose the Right Pipe for Your Plumbing Needs
- Case Studies: Successful Implementation of Automation in SMEs
- How to Stay Safe on Construction Sites: Essential Tips
- 10 Space-Saving Storage Solutions for Small Workshops
- Safety Practices in Home Electrical Repairs: A Comprehensive Guide
- Essential Workman Tools for Electricians and Plumbers
- How to Choose the Right Workbench for Your Space: A Complete Guide
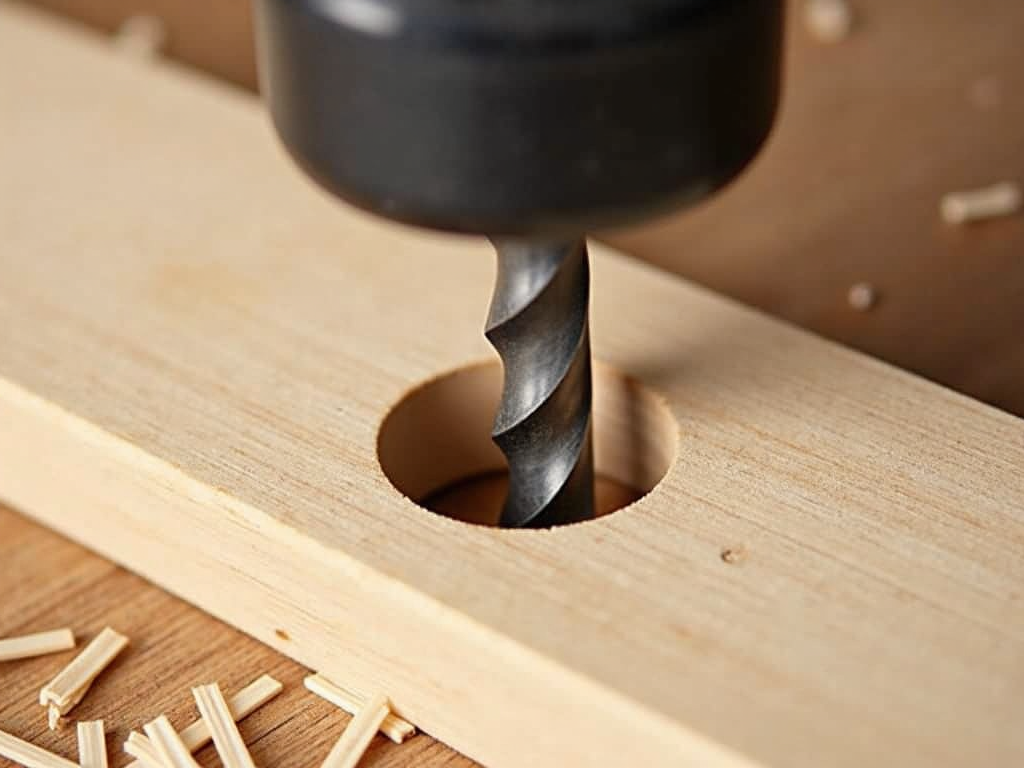
- How to Choose the Right Drill Bit for Your Project
- Essential Tips for Using a Multimeter
- How to Choose the Right Socket Set for Any Job
- How to Choose the Best Hammer for Your Needs