Building a sturdy workbench is a rewarding project that can enhance your workspace and improve your productivity. Whether you're a seasoned craftsman or a DIY enthusiast, having a reliable workbench is essential for tackling various projects. In this guide, we'll walk you through the process of building a sturdy workbench, share essential tools for every workman's toolbox, and highlight important safety practices for using workman tools.
Why You Need a Sturdy Workbench
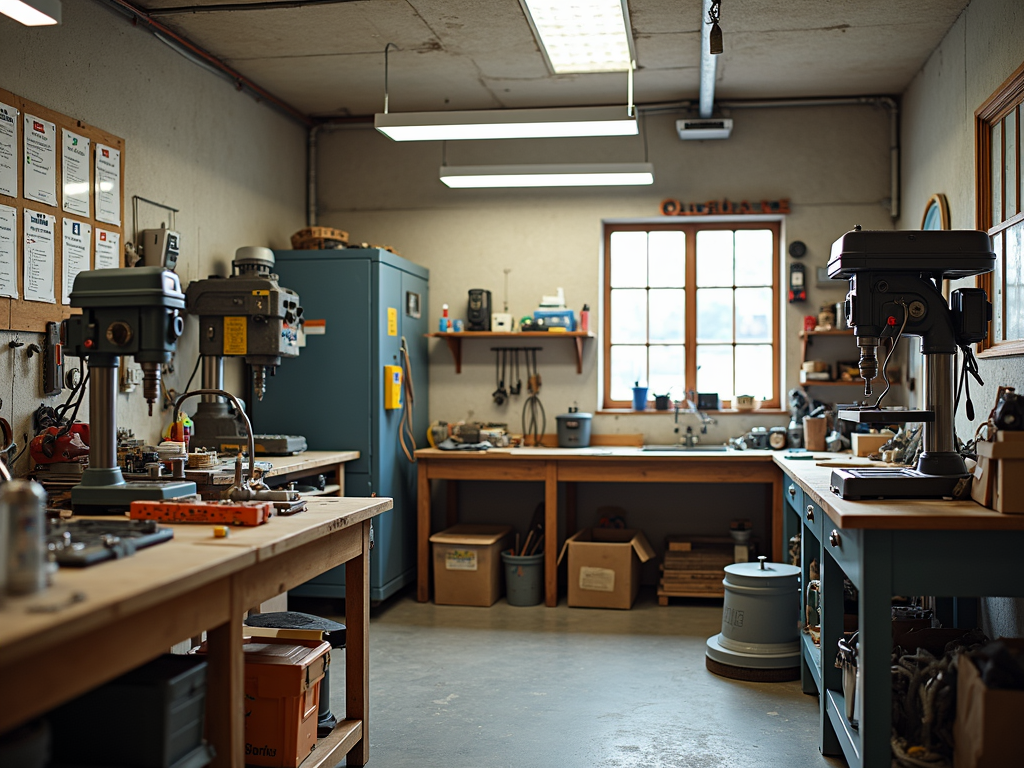
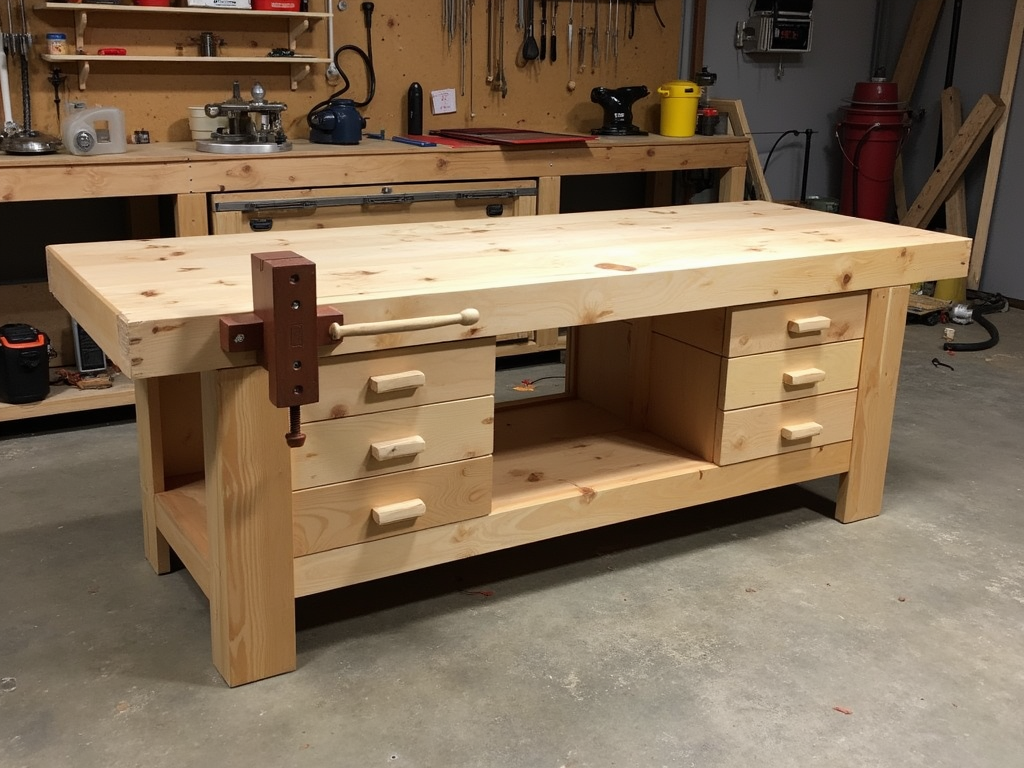
A workbench is more than just a table; it's the heart of your workshop. It provides a stable surface for cutting, drilling, sanding, and assembling projects. A well-built workbench can withstand heavy use, support substantial weight, and offer features like vices and storage to keep your tools organized. Investing time in building a sturdy workbench ensures you have a reliable workspace for years to come.
Essential Tools for Every Workman's Toolbox
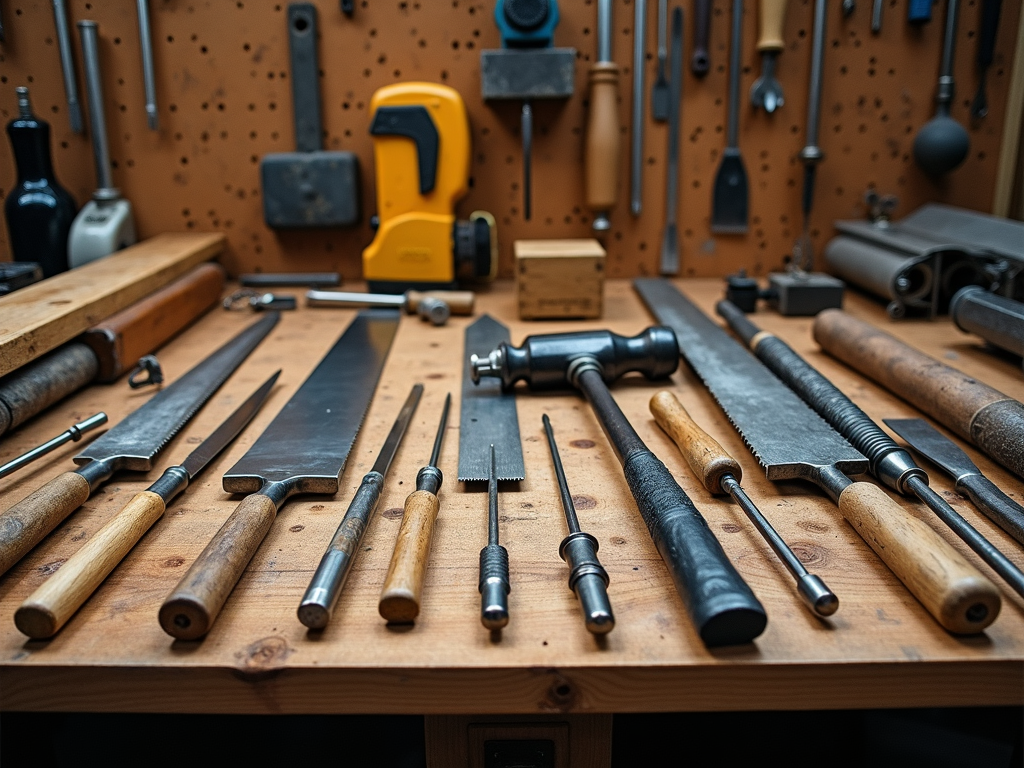
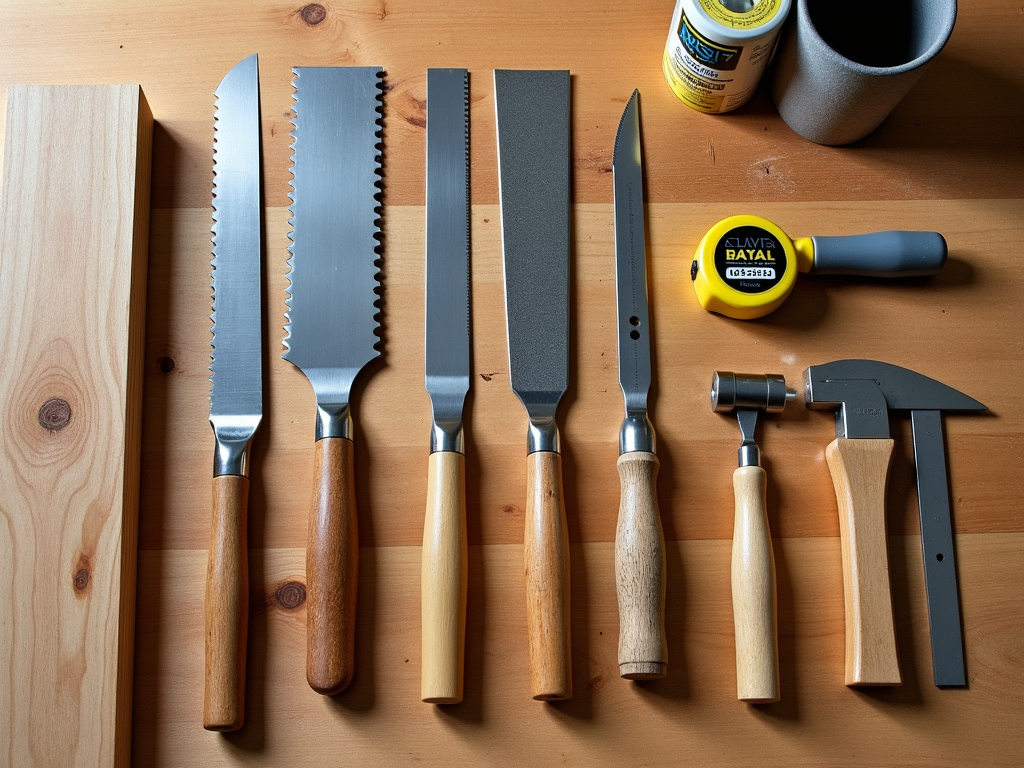
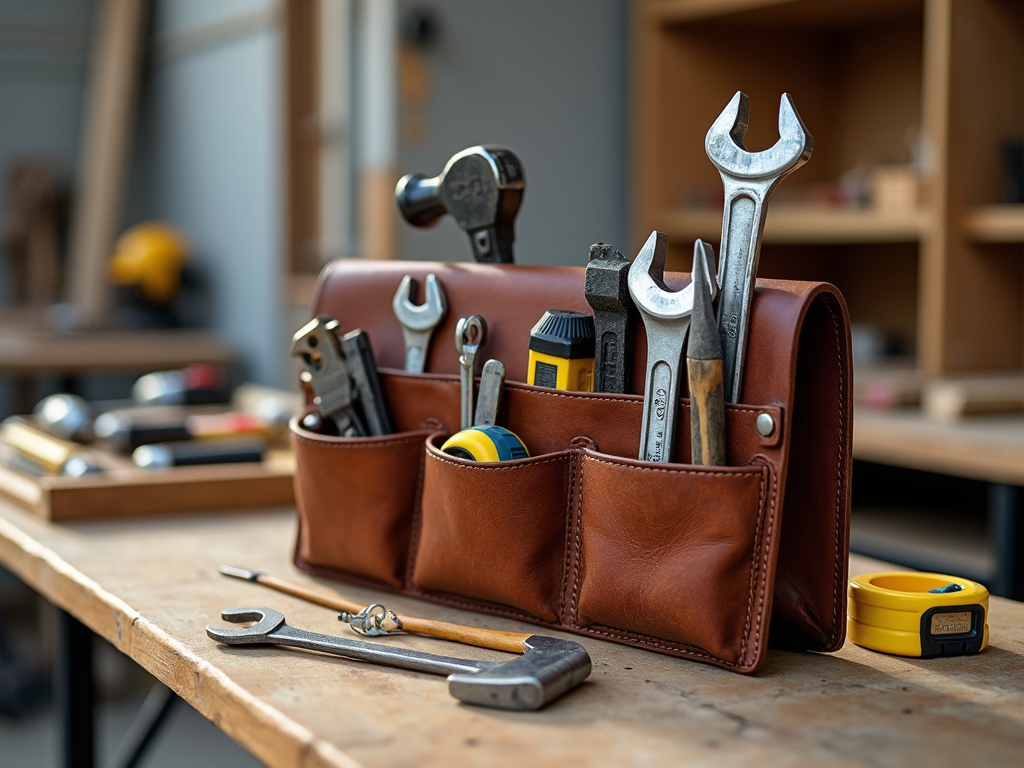
Before you start building your workbench, make sure you have the essential tools for the job. Here's a list of must-have tools for every workman's toolbox:
- Measuring Tape: Accurate measurements are crucial for building a precise workbench.
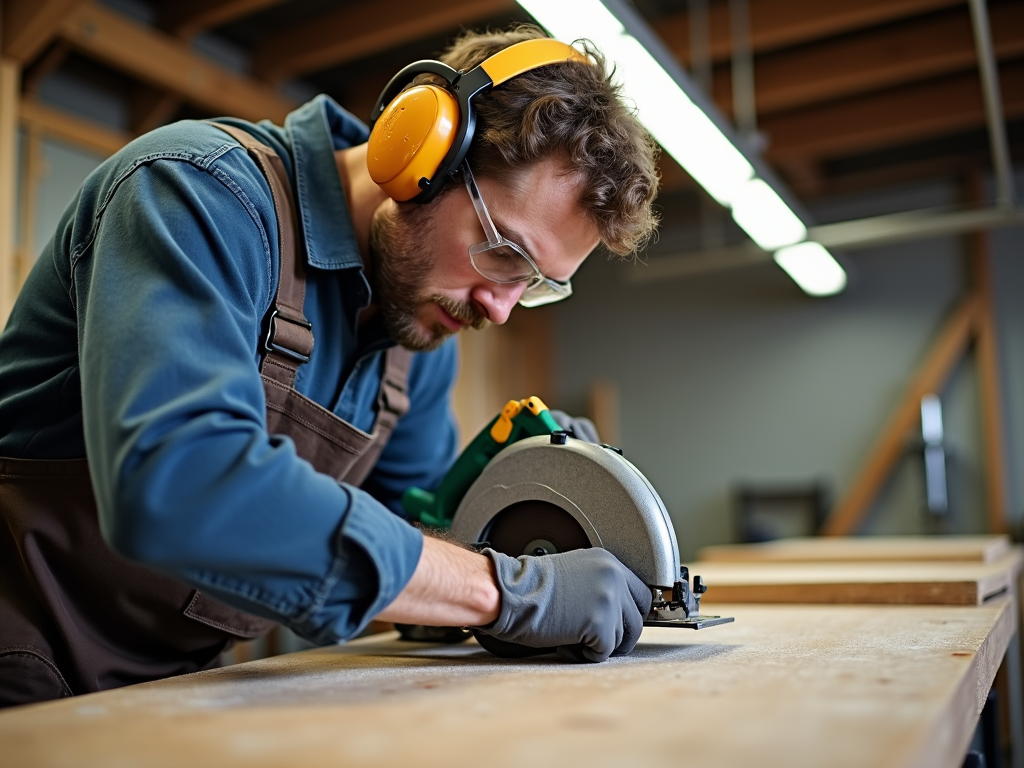
- Circular Saw: Ideal for cutting large pieces of wood quickly and efficiently.
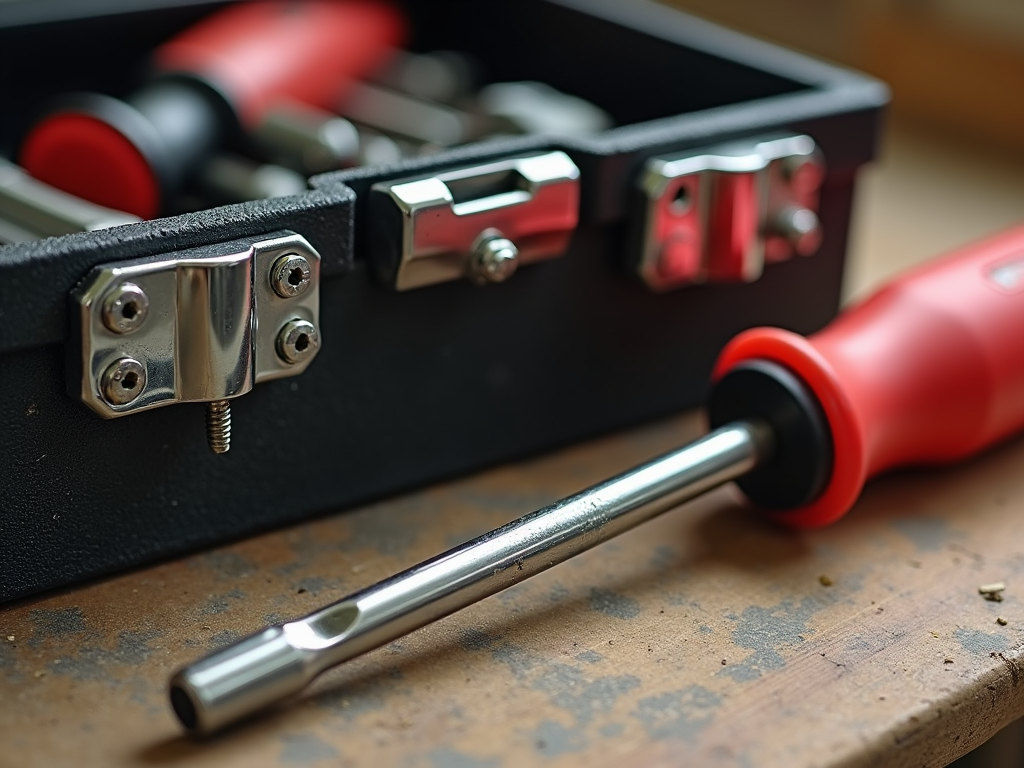
- Drill: Essential for making holes and driving screws.
- Screwdriver Set: A variety of screwdrivers for different types of screws.
- Hammer: Useful for driving nails and making adjustments.
- Clamps: Help hold pieces together while you work.
- Level: Ensures your workbench is even and stable.
- Safety Gear: Includes safety glasses, gloves, and ear protection.
For more information on essential tools, check out this guide from the University of Missouri Extension.
Safety Practices for Workman Tools
Safety should always be a top priority when working with tools. Here are some key safety practices to follow:
- Wear Protective Gear: Always wear safety glasses, gloves, and ear protection when using power tools.
- Keep Your Workspace Clean: A clutter-free workspace reduces the risk of accidents.
- Use Tools Properly: Read the manufacturer's instructions and use tools only for their intended purposes.
- Inspect Tools Regularly: Check for any damage or wear and tear before use.
- Secure Your Workpiece: Use clamps or a vice to hold your workpiece steady.
By following these safety practices, you can minimize the risk of injury and ensure a safe working environment.
Step-by-Step Guide to Building a Sturdy Workbench
Now, let's dive into the process of building your workbench. Follow these steps to create a sturdy and functional workspace:
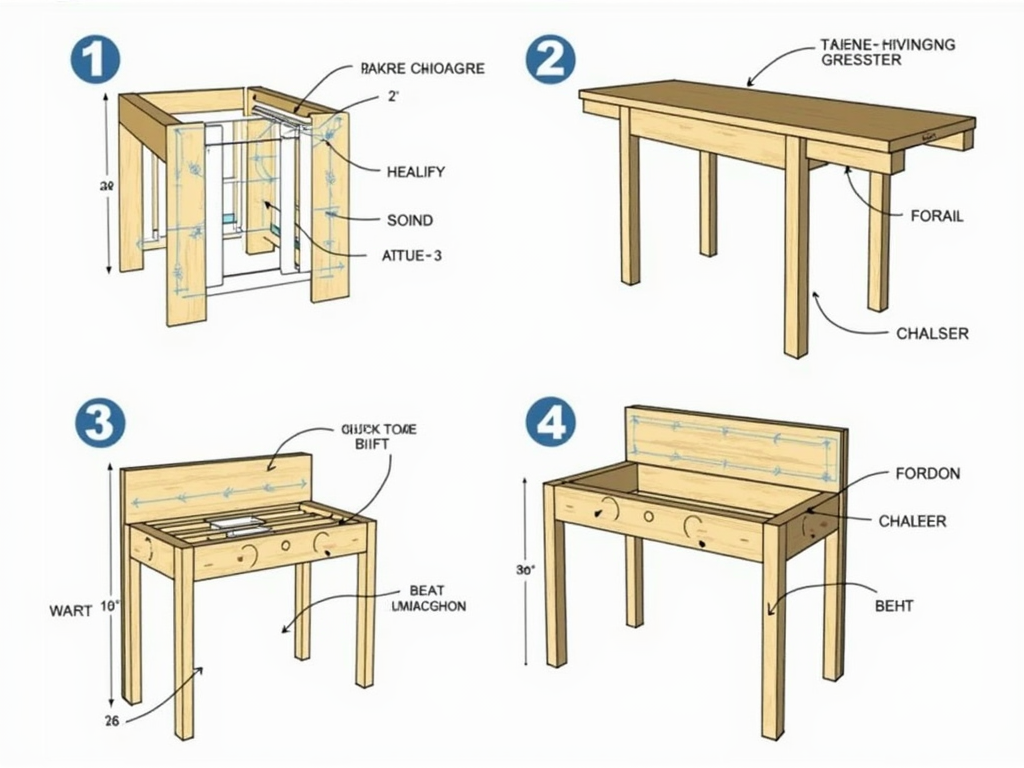
Step 1: Plan Your Design
Start by deciding on the size and features of your workbench. Consider the space available in your workshop and the types of projects you'll be working on. Sketch a rough design, including dimensions and any additional features like shelves or drawers.
Step 2: Gather Materials
You'll need the following materials:
- Lumber: Choose high-quality, straight lumber for the frame and top. Plywood or MDF can be used for the top surface.
- Screws and Nails: Select appropriate sizes for securing the frame and top.
- Wood Glue: Adds extra strength to joints.
- Sandpaper: For smoothing surfaces.
- Finish: Optional, but a coat of polyurethane can protect the wood.
Step 3: Build the Frame
Begin by constructing the frame of the workbench. Cut the lumber to size according to your design and assemble the legs and supports. Use wood glue and screws to secure the joints. Ensure the frame is square and level.
Step 4: Attach the Top
Cut the top surface to size and attach it to the frame. If using plywood, consider adding a layer of hardwood for a durable work surface. Secure the top with screws, making sure it's flush with the frame.
Step 5: Add Features
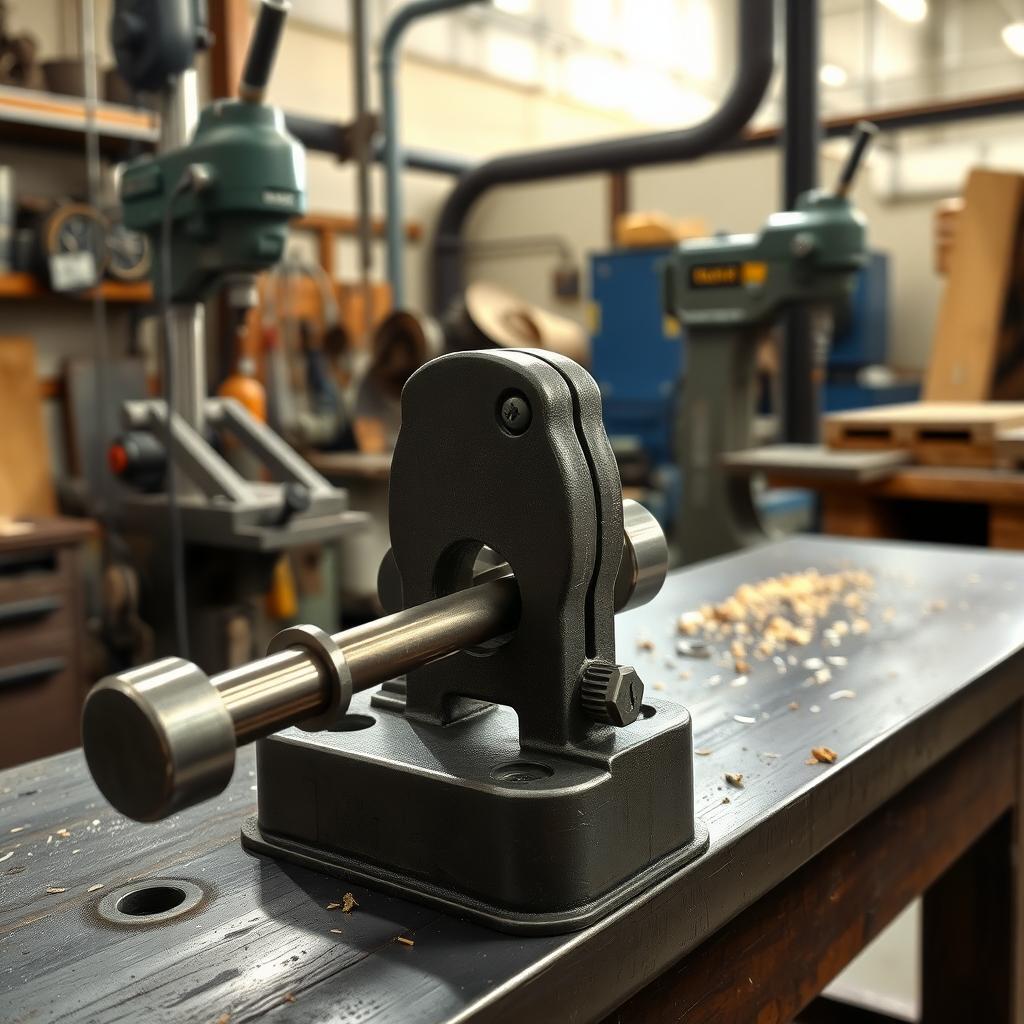
Install any additional features like a vice, shelves, or drawers. These can enhance the functionality of your workbench and help keep your tools organized.
Step 6: Sand and Finish
Sand the entire workbench to smooth out any rough edges. Apply a finish if desired to protect the wood and give it a polished look.
Tips for Maintaining and Using Your Workbench
Once your workbench is built, it's important to maintain it properly to ensure longevity. Here are some tips:
- Keep It Clean: Regularly clean the surface to remove sawdust and debris.
- Check for Damage: Inspect the workbench for any signs of wear or damage and repair as needed.
- Organize Tools: Use the storage features to keep your tools organized and within reach.
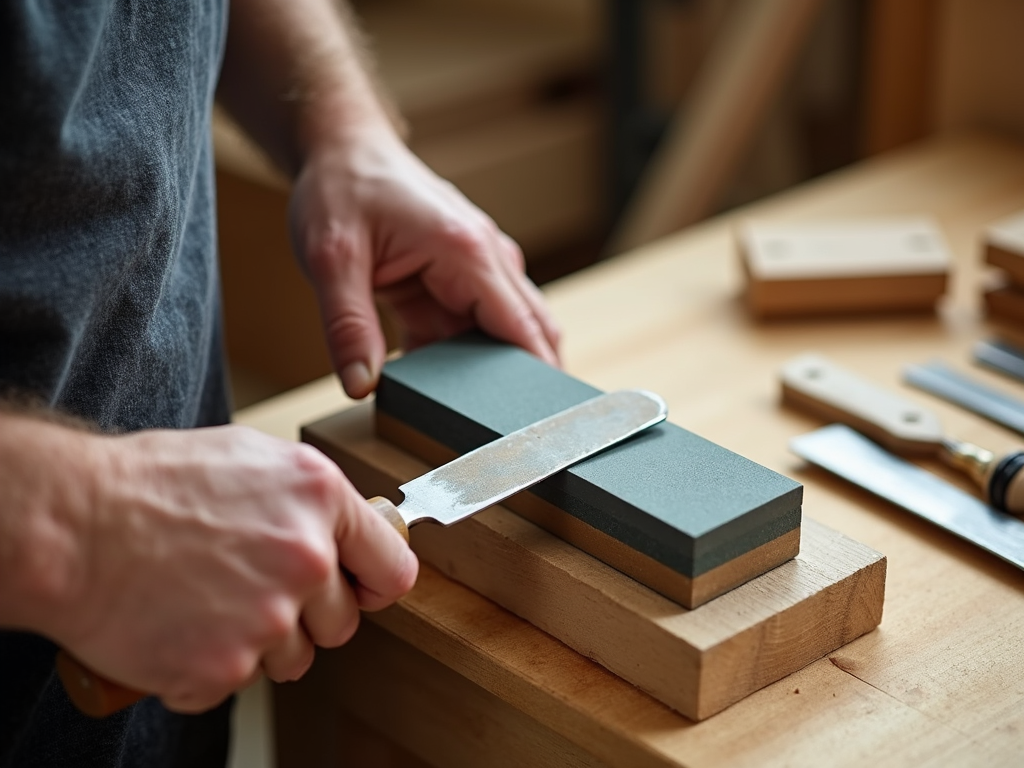
- Use a Cutting Mat: Protect the surface by using a cutting mat for projects that involve sharp tools.
By following these tips, you can keep your workbench in top condition and enjoy a productive workspace.
Building a sturdy workbench is a project that pays off in the long run. With the right tools, safety practices, and a bit of effort, you can create a workspace that meets your needs and stands the test of time. Remember to plan your design carefully, use quality materials, and maintain your workbench regularly. For more detailed instructions and expert advice, consider checking out resources from Fine Woodworking or Popular Mechanics.
Related How to Build a Sturdy Workbench:
- How to Choose the Right Vice for Your Workbench: A Comprehensive Guide
- The Importance of Tool Maintenance in Woodworking
- Guide to Choosing the Right PPE for Your Workshop
- Hammer Basics: Design and Safety Tips
- Top 10 Must-Have Tools for Every Mechanic
- Essential Workman Tools for Everyday Use: A Comprehensive Guide
- Woodworking Basics: Getting Started with Quality Tools
- Essential Safety Practices for Workshops: A Comprehensive Guide
- The Role of Technology in Modern Workshops
- Mastering the Craft: Essential Workman Tools for Professional Builders
- Guide to Table Saw Blades for Every Cut
- Tool Maintenance: Tips for Longevity