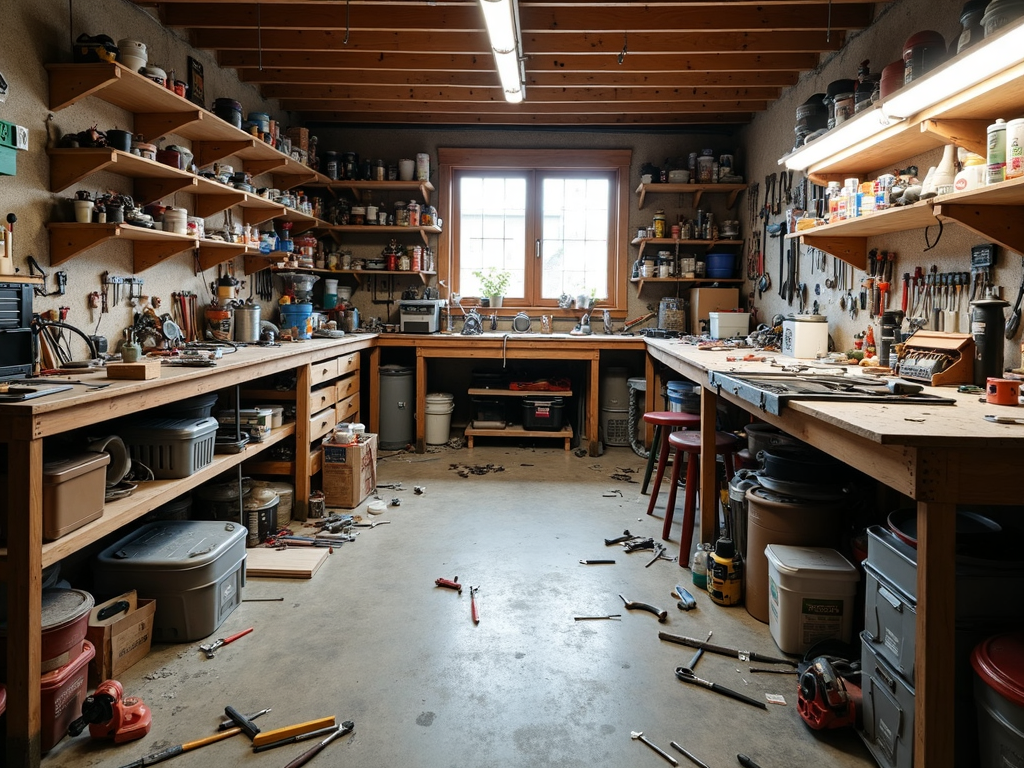
An organized workshop is more than just a tidy space—it's a hub of efficiency, safety, and productivity. Whether you're a seasoned craftsman or a weekend DIYer, knowing how to organize your workshop for efficiency can save you time, reduce frustration, and even prevent accidents. In this guide, you'll discover practical steps to transform your workshop into a well-oiled machine, complete with maintenance tips for workman tools and insights on managing construction tools effectively.
1. Assess Your Space and Needs
Before diving into organization, take a step back and assess your workshop. What type of work do you primarily do? Are you woodworking, metalworking, or perhaps automotive repair? Understanding your primary activities will guide how you organize your space.
Next, inventory your tools and equipment. Make a list of everything you have, from hand tools to power tools, and note their sizes and frequencies of use. This will help you prioritize storage solutions.
Consider your workflow. How do you move through the space when working on a project? Ideally, your layout should minimize unnecessary movement. Also, think about space constraints. If your workshop is small, you'll need to maximize vertical storage and multi-functional furniture.
Personal insight: When I first assessed my workshop, I realized I had tools for projects I hadn't touched in years. It was eye-opening and helped me focus on what I truly needed.
2. Declutter and Sort Tools
Decluttering is the foundation of organization. Start by removing everything from your workshop that doesn't belong there. This includes old projects, broken tools, and anything that's not essential.
Sort your tools into categories: keep, donate, sell, or discard. Be ruthless—if you haven't used a tool in over a year, it's probably time to let it go.
For the tools you're keeping, categorize them by type (e.g., cutting tools, measuring tools) or by frequency of use. This will make it easier to find what you need when you need it.
Tip: Take a photo of your workshop before and after decluttering. The transformation can be incredibly motivating.
Personal insight: I once found three identical hammers while decluttering. It was a clear sign I needed to get organized!
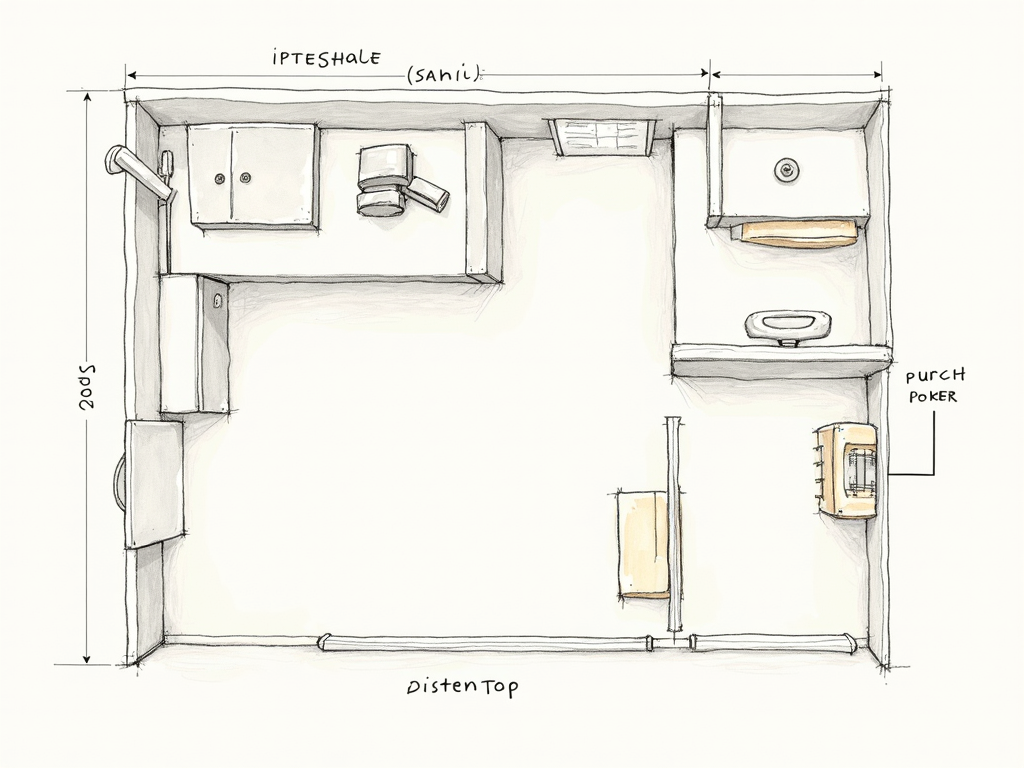
3. Plan Your Layout
Sketch a floor plan of your workshop, marking where major equipment and workstations will go. Place frequently used tools within arm's reach of Church of your main workspace. Ensure there's adequate lighting and ventilation. Consider the flow of movement—avoid placing obstacles in pathways.
Personal insight: I remember when I first started organizing my workshop. I found three hammers I didn't even know I had! It was a wake-up call to get serious about decluttering.
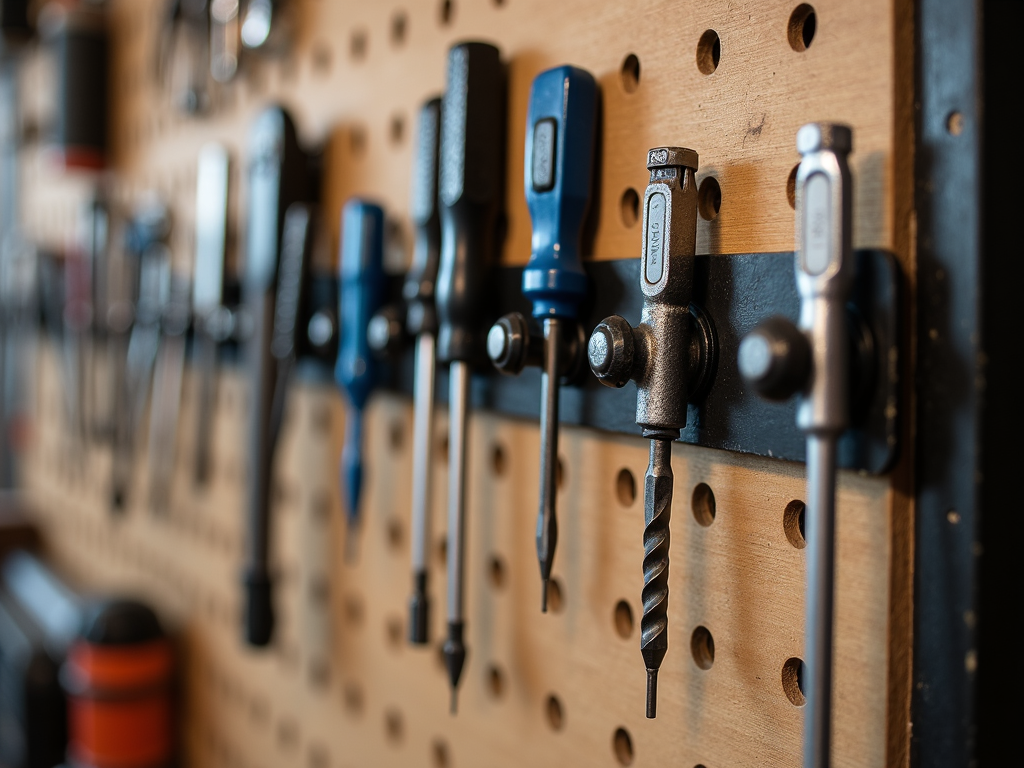
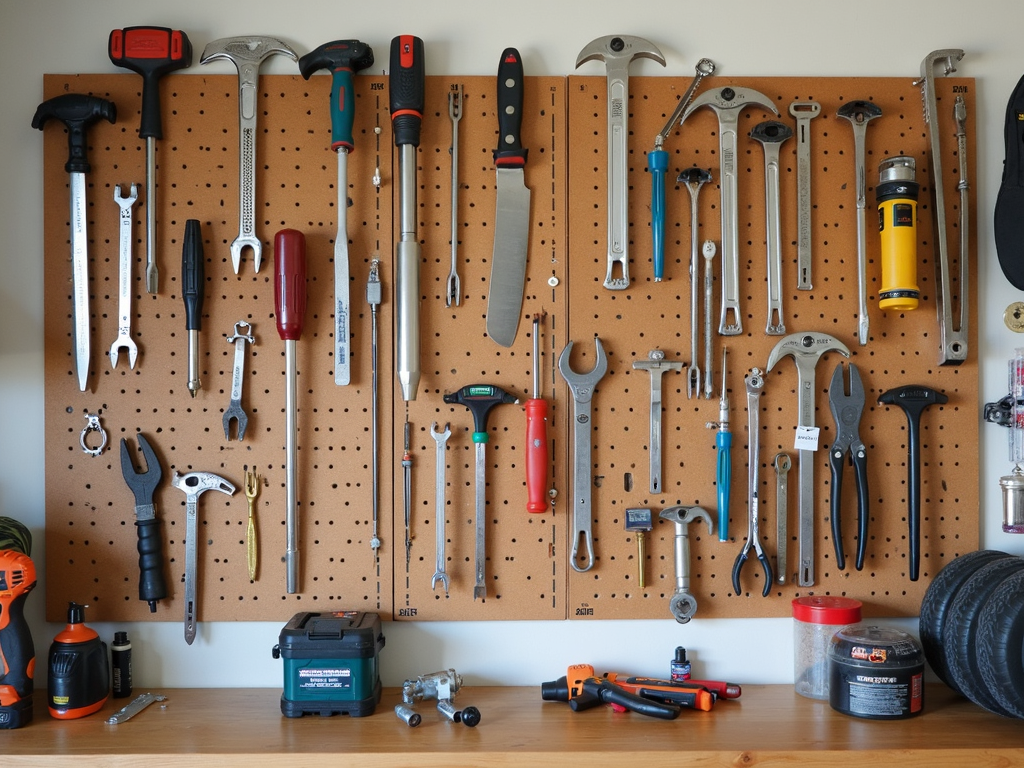
4. Implement Storage Solutions
Invest in storage solutions that suit your needs. Pegboards are great for hand tools, shelves for larger items, and tool chests for small parts. Label everything clearly. Consider using color-coding or numbering systems for quick identification.
Personal insight: One of my favorite storage hacks is using magnetic strips for small metal tools. It's a space-saver and keeps everything visible.
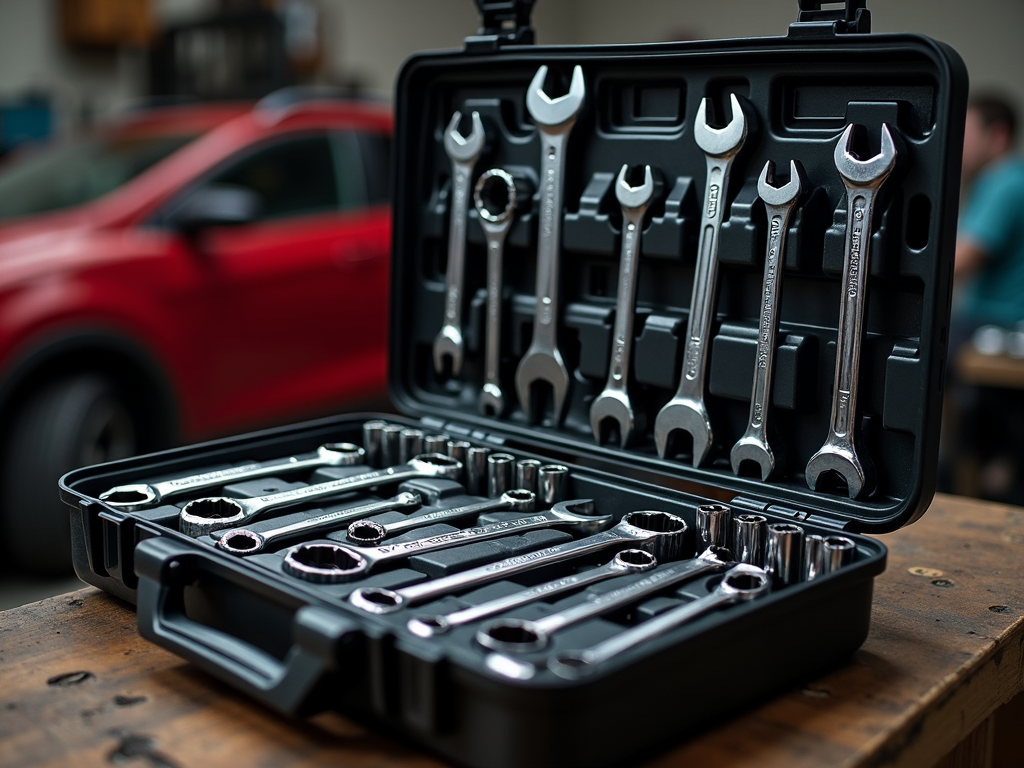
List of essential storage solutions: - Pegboards for hand tools - Shelves for larger items - Tool chests for small parts - Cabinets for hazardous materials
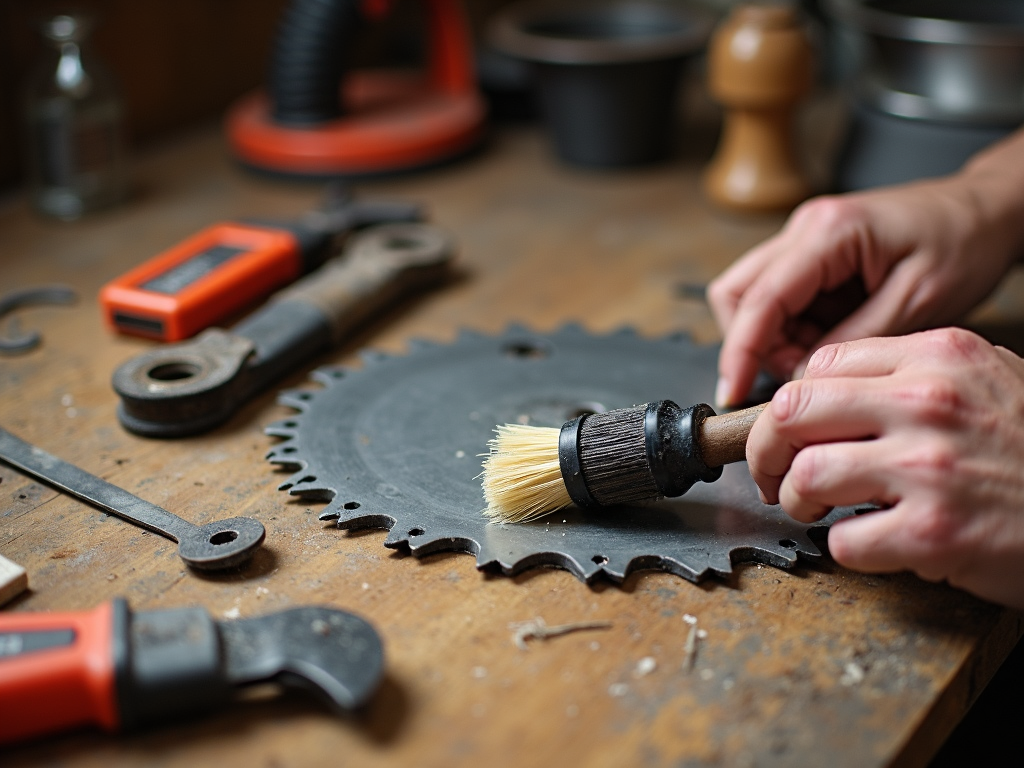
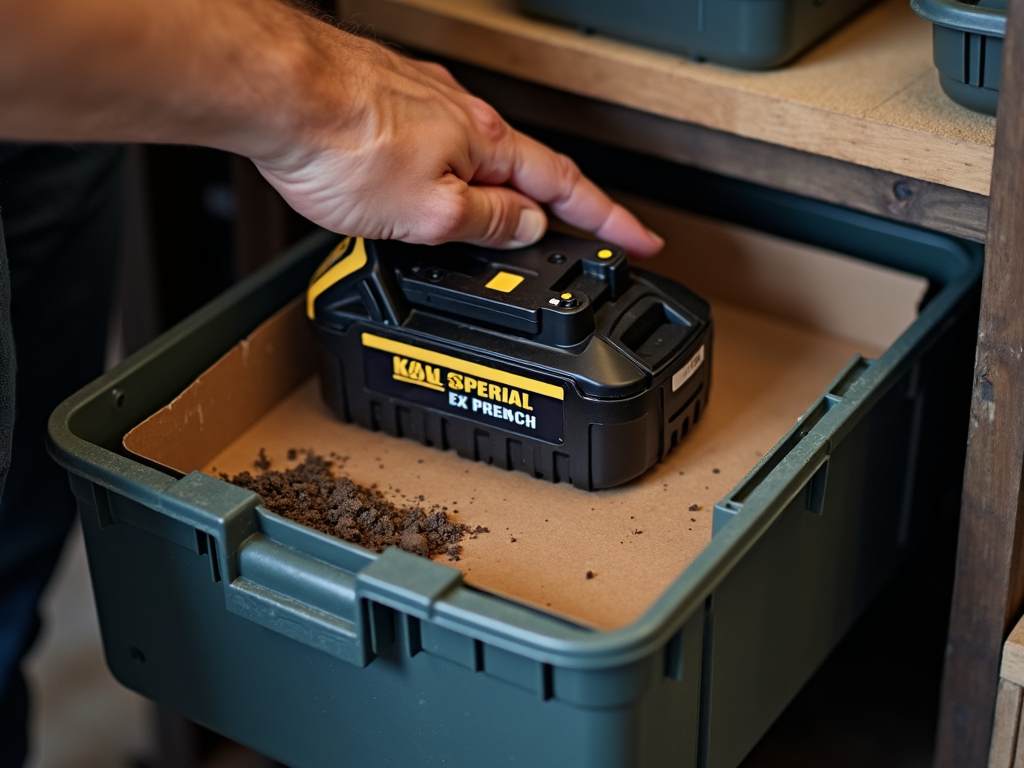
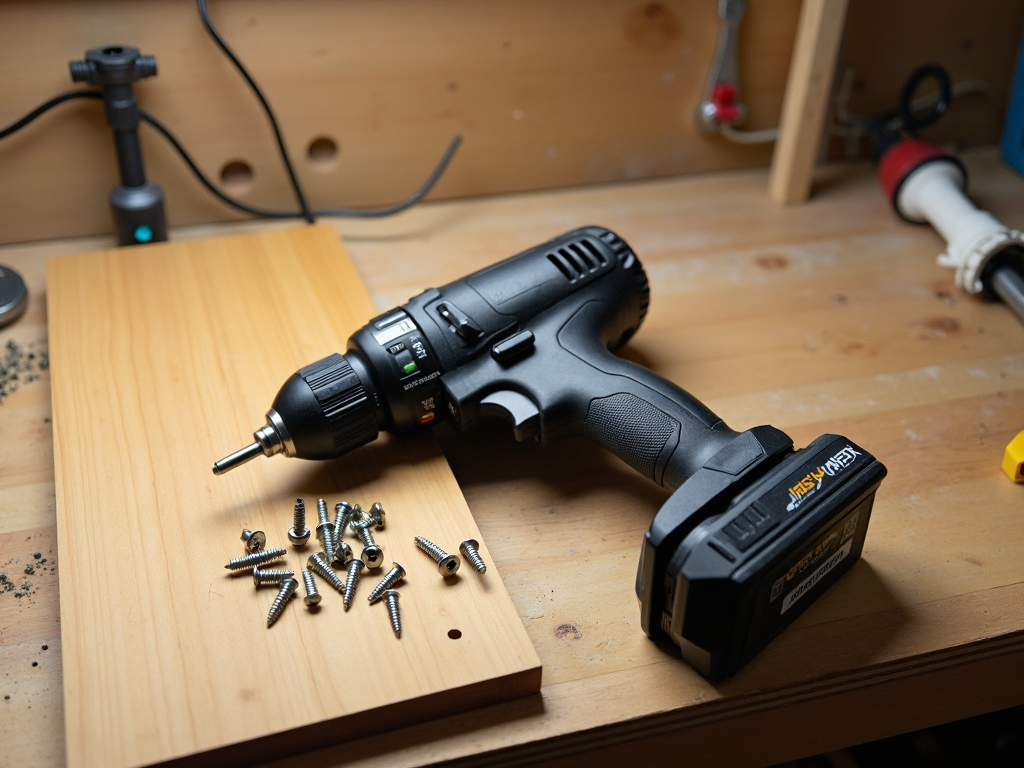
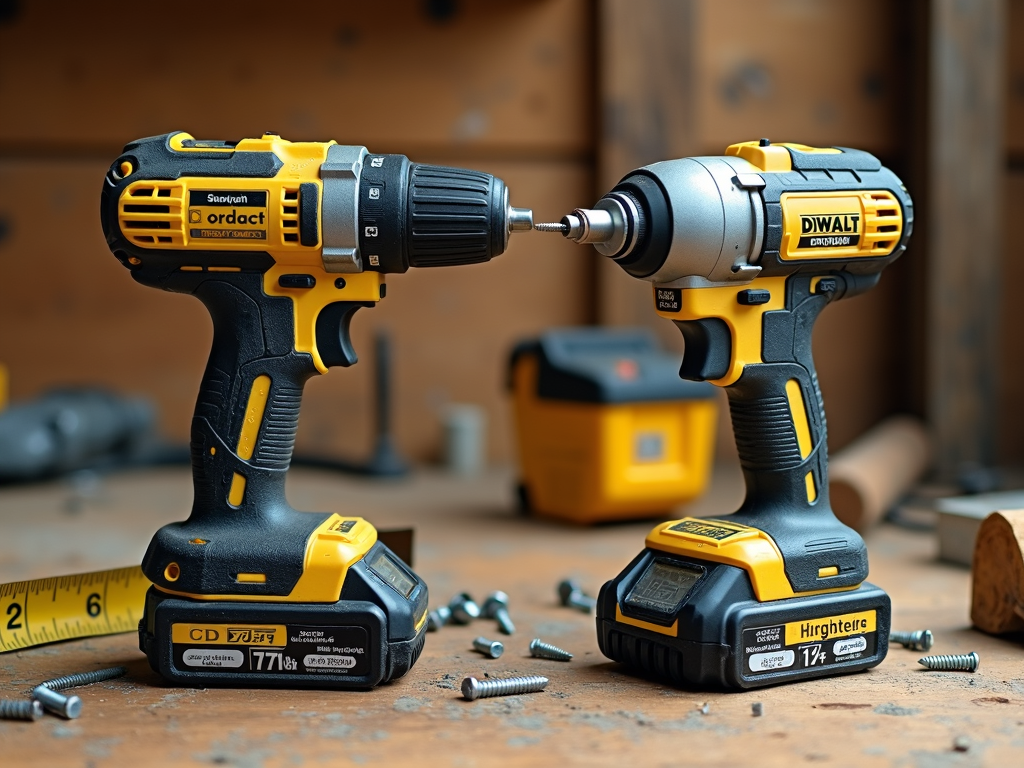
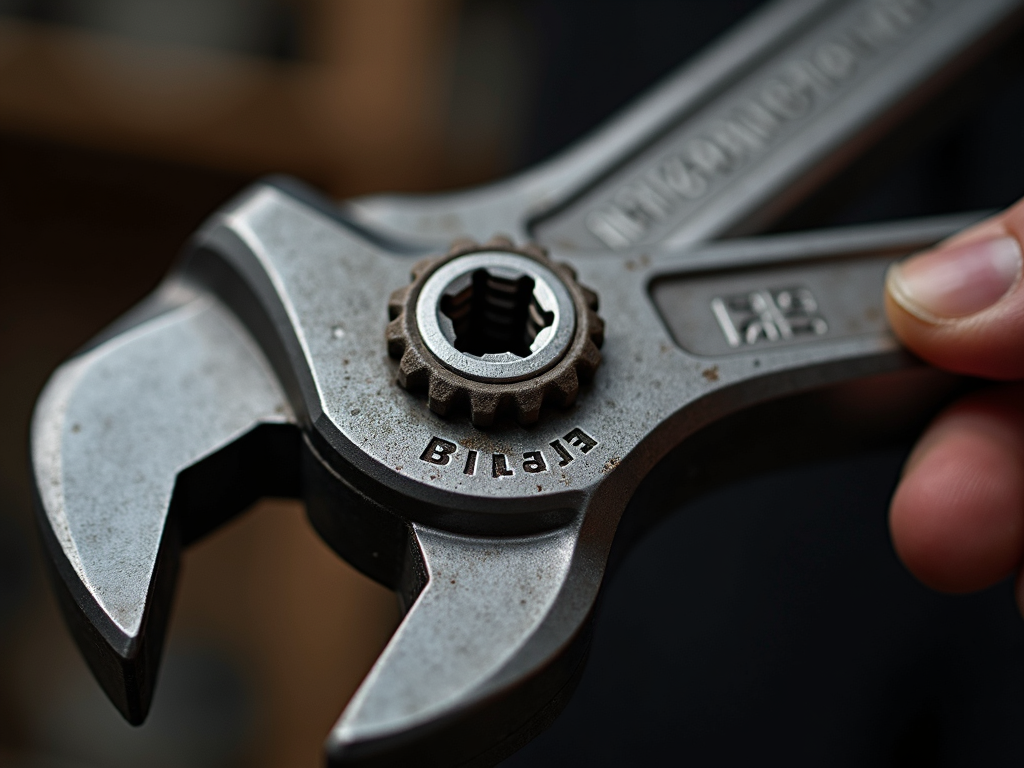
5. Maintain Your Tools
Regular maintenance is key to keeping your tools in top condition. Clean them after each use, sharpen blades and bits as needed, and oil moving parts to prevent rust. Store tools properly to avoid damage.
Tip: Keep a maintenance log to track when tools were last serviced.
Personal insight: I learned the hard way that neglecting tool maintenance can lead to costly replacements. Now, I set aside time each month for tool care.
Table: Tool Maintenance Schedule
| Tool Type | Maintenance Task | Frequency |
|---|---|---|
| Saws | Clean and sharpen blades | After each use |
| Drills | Lubricate moving parts | Monthly |
| Hammers | Check for loose heads | Annually |
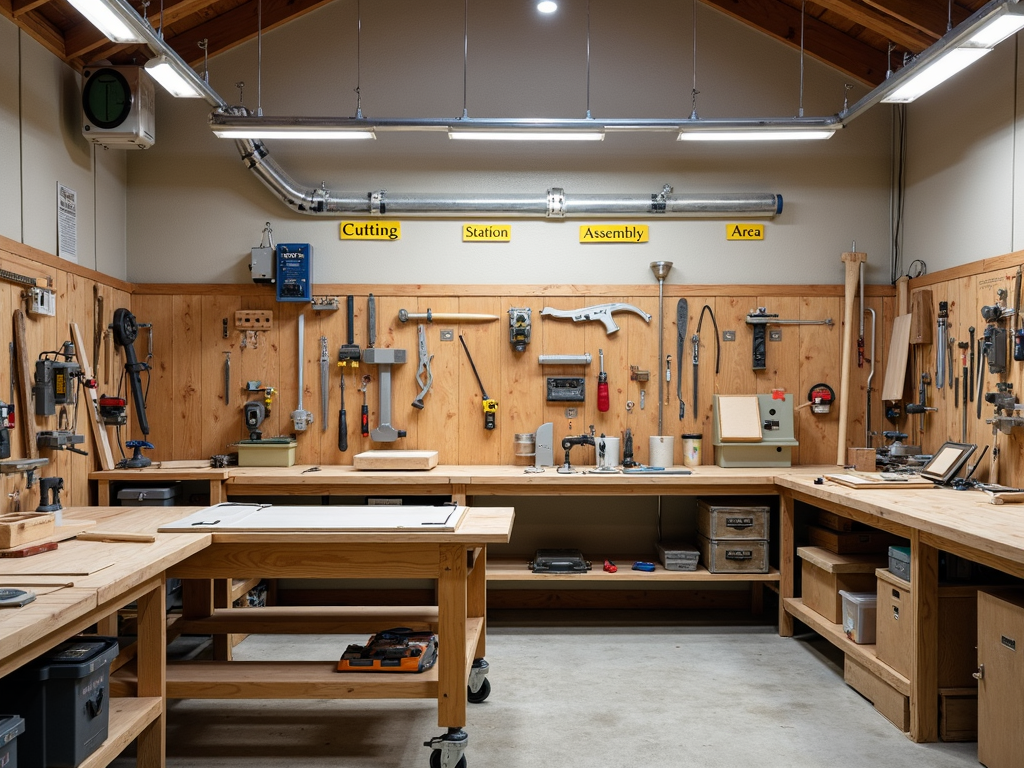
6. Establish Workflow Zones
Divide your workshop into zones based on tasks: cutting, assembly, finishing, etc. Keep related tools and materials in each zone. This minimizes movement and increases efficiency.
Personal insight: Setting up workflow zones has been a game-changer for me. I no longer waste time searching for tools across the workshop.

7. Keep It Clean and Safe
Implement a regular cleaning schedule. Sweep floors, wipe down surfaces, and organize tools at the end of each day. Store hazardous materials properly and keep safety equipment accessible.
Personal insight: A clean workshop is a safe workshop. I've avoided many potential accidents by keeping my space tidy.
Safety Tip: Always wear appropriate safety gear, such as goggles and gloves, when working with tools.
Summary
Organizing your workshop for efficiency involves assessing your space, decluttering, planning your layout, implementing storage solutions, maintaining your tools, establishing workflow zones, and keeping everything clean and safe. By following these steps, you'll create a workspace that's not only efficient but also enjoyable to work in.
Related How to Organize Your Workshop for Efficiency:
- How to Maintain Your Cordless Power Tools: A Comprehensive Guide
- The Ultimate Guide to Tool Belts for Construction Workers
- Essential Safety Gear for Power Tool Users: A Comprehensive Guide
- Safety First: Using Tools the Right Way
- DIY Safety: Tips to Avoid Common Mistakes
- Workman Tools for Plumbing Projects: A Comprehensive Guide
- The Evolution of Power Tools: From Manual to Modern
- A Beginner’s Guide to Different Power Tool Types
- Essential Tools for Every DIY Mechanic: A Comprehensive Guide
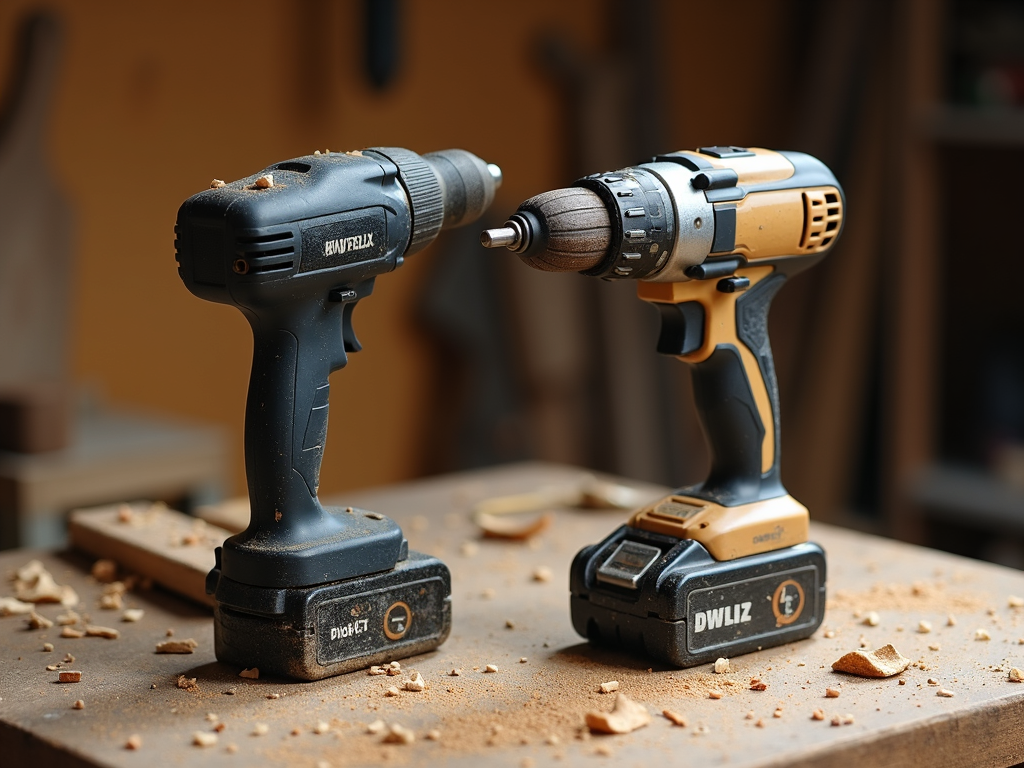
- Cordless Drills vs. Impact Drivers: What’s the Difference?
- Ergonomic Workman Tools for Comfort: A Comprehensive Guide
- How to Care for Your Workman Tools: A Comprehensive Guide