snprintfRotary tools are incredibly versatile power tools that can be used for a wide range of tasks, from sanding and polishing to carving and engraving. In this article, we'll explore how these tools can be used to create and enhance artistic projects, whether you're working with wood, metal, or other materials. We'll cover everything from choosing the right tool for your needs to mastering the techniques of sanding and polishing. Plus, we'll touch on how to capture and share your creations through photography and photo editing.
Choosing the Right Rotary Tool
When it comes to rotary tools, there are several options to consider. The two main types are corded and cordless models. Corded rotary tools are typically more powerful and suitable for heavy-duty tasks, while cordless versions offer greater portability and convenience for smaller projects. For artistic creations, a cordless rotary tool might be more practical, especially if you're working in a space without easy access to power outlets.
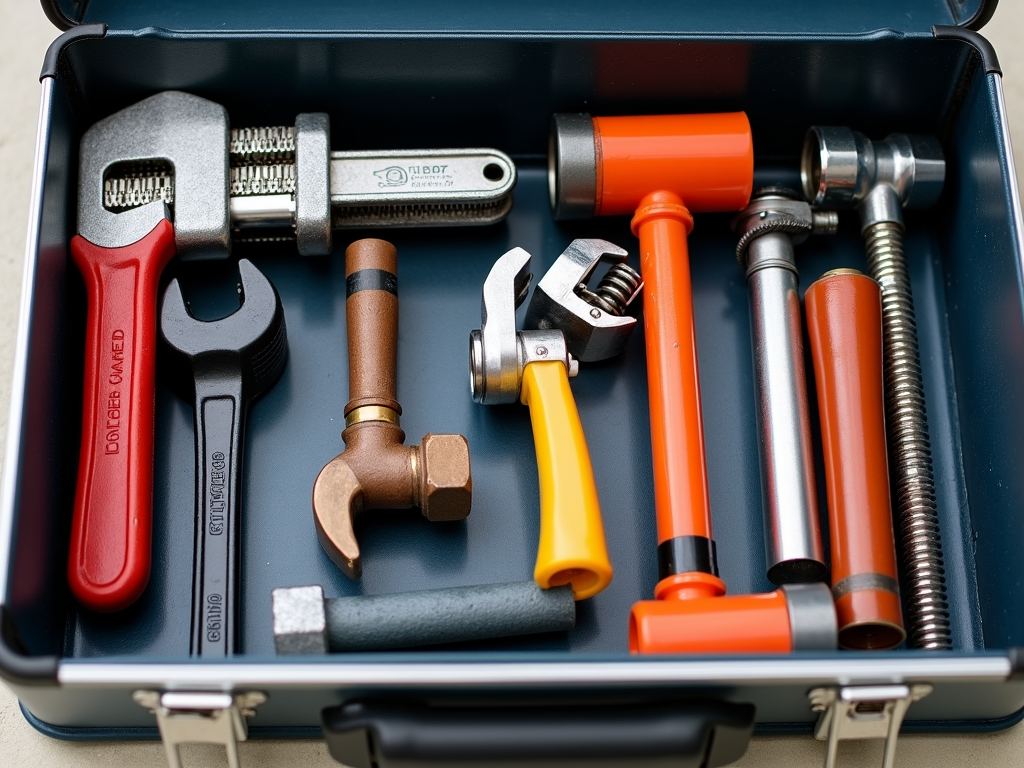
Another important consideration is the range of attachments available. For sanding and polishing, you'll need specific bits designed for these tasks. Look for a rotary tool that comes with a variety of sanding drums, polishing wheels, and buffing pads. Some models even include flexible shafts for greater precision in hard-to-reach areas.
Safety First
Before you start working with your rotary tool, it's crucial to prioritize safety. Always wear protective gear, including safety glasses to shield your eyes from debris and a dust mask to prevent inhalation of fine particles. Additionally, ensure your workspace is well-ventilated to minimize dust accumulation. If you're working with metal or other materials that can produce sparks, keep a fire extinguisher nearby as a precaution.
It's also important to secure your workpiece properly. Use clamps or a vise to hold the object steady, reducing the risk of slips that could lead to injury or damage to your project.
Sanding Techniques
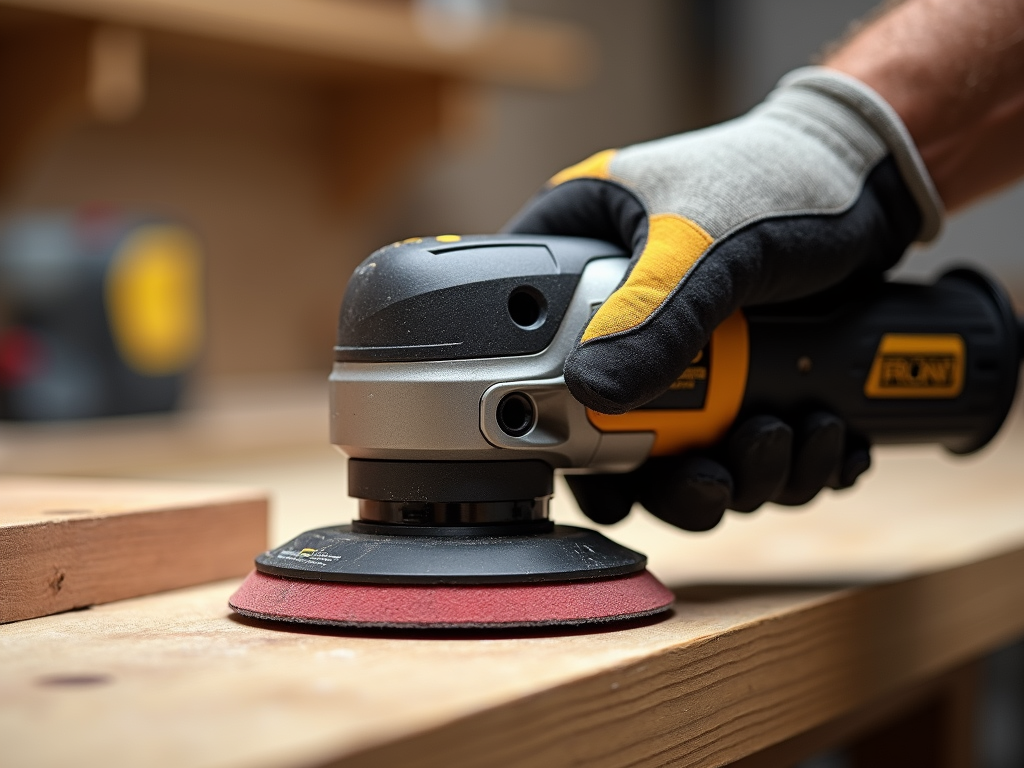
Sanding is a fundamental skill when using rotary tools for artistic projects. The key to effective sanding is selecting the right grit for the job. Start with a coarser grit to remove larger imperfections and gradually move to finer grits for a smooth finish. For example, begin with 80-grit sandpaper for initial shaping, then progress to 120-grit, and finish with 220-grit for a polished look.
When sanding, maintain even pressure and keep the tool moving to avoid creating dips or uneven surfaces. For intricate designs, use smaller sanding bits and take your time to ensure precision. Remember, patience is key—rushing the process can lead to mistakes that are difficult to correct.
Polishing for a Professional Finish
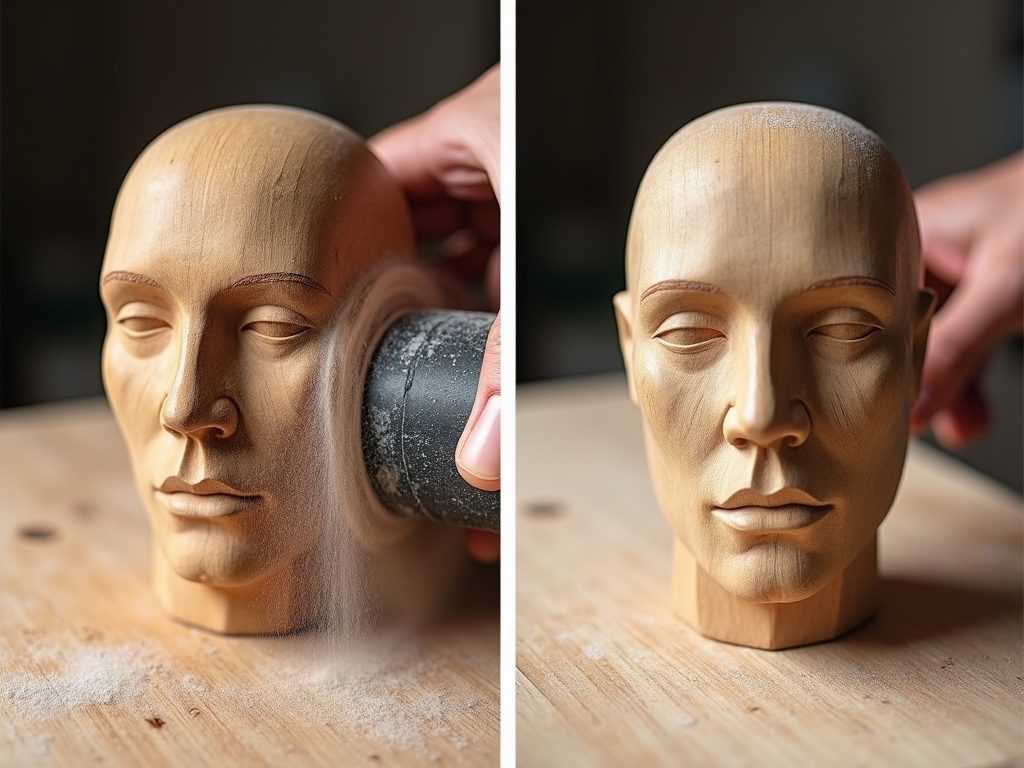
Once your piece is sanded to perfection, polishing is the next step to achieve a professional-grade finish. Polishing involves using finer abrasives and compounds to create a smooth, shiny surface. For this, you'll need polishing wheels or buffs attached to your rotary tool.
Start by applying a small amount of polishing compound to the wheel. Then, with the tool set to a lower speed, gently work the wheel over the surface in circular motions. Be careful not to apply too much pressure, as this can cause the compound to build up or create swirl marks. For metals, you might need to repeat the process with progressively finer compounds to achieve a mirror-like shine.
Personal Insights: Restoring a Vintage Frame
One of my most memorable projects involved restoring a vintage picture frame using a rotary tool. The frame was covered in layers of old paint and had intricate carvings that were barely visible. Using a combination of sanding drums and polishing wheels, I was able to strip away the paint and reveal the beautiful wood grain beneath.
The process was time-consuming, but the result was stunning. The frame went from looking like a thrift store find to a piece worthy of displaying fine art. This project taught me the value of patience and the importance of using the right attachments for each stage of the restoration.

Capturing Your Work
After investing time and effort into your artistic creation, capturing its beauty through photography is essential. Good lighting is crucial—natural light or soft, diffused artificial light can help highlight the details and textures of your work. Consider using a tripod to keep your camera steady and avoid blurry images.
Once you've taken your photos, you might want to enhance them further. Photo editing tools can help adjust lighting, contrast, and colors to make your artwork truly stand out. For those looking to add a touch of magic to their photos, tools like the Ghibli Photo Editor can help bring out the best in your artwork. This editor offers a range of features inspired by the whimsical and artistic style of Studio Ghibli, making it a perfect complement to your creative projects.
Summary
Rotary tools are indispensable for artists and crafters looking to add precision and professionalism to their work. From selecting the right tool and attachments to mastering sanding and polishing techniques, these power tools can elevate your projects to new heights. Remember to prioritize safety, take your time with each step, and don't forget to capture and share your creations. Whether you're restoring a vintage piece or crafting something new, rotary tools can help you achieve stunning results.
Related rotary tools for sanding and polishing:
- Top 10 Rotary Tool Attachments for Every Project
- Revolutionizing Painting: Innovative Tools for Efficiency and Creativity
- Toolbox Maintenance: A DIY Guide
- Choosing the Right Wood: Essentials for Woodworkers
- How 3D Scanning is Transforming Construction Planning
- Precision with Bosch: Elevate Your Workshop
- The Benefits of Using Paint Sprayers: A Must-Have Tool for Every Painter
- Healthy Habits for Hard-Working Tradespeople: Staying Fit, Safe, and Comfortable on the Job
- Essential Workman Tools for Electrical Work: Your Ultimate Guide
- Guide to Essential Tools for Beginners
- Smart Ways to Train for Construction Safety
- Essential Workman Tools for Plumbing Projects