A well-organized workbench is the foundation of any efficient workspace. Whether you’re a seasoned craftsman or a weekend DIYer, a clutter-free workbench can boost your productivity and make every project more enjoyable. This guide dives deep into organizing your workbench for maximum efficiency, with practical steps and real-world insights.
Step 1: Assess Your Current Setup
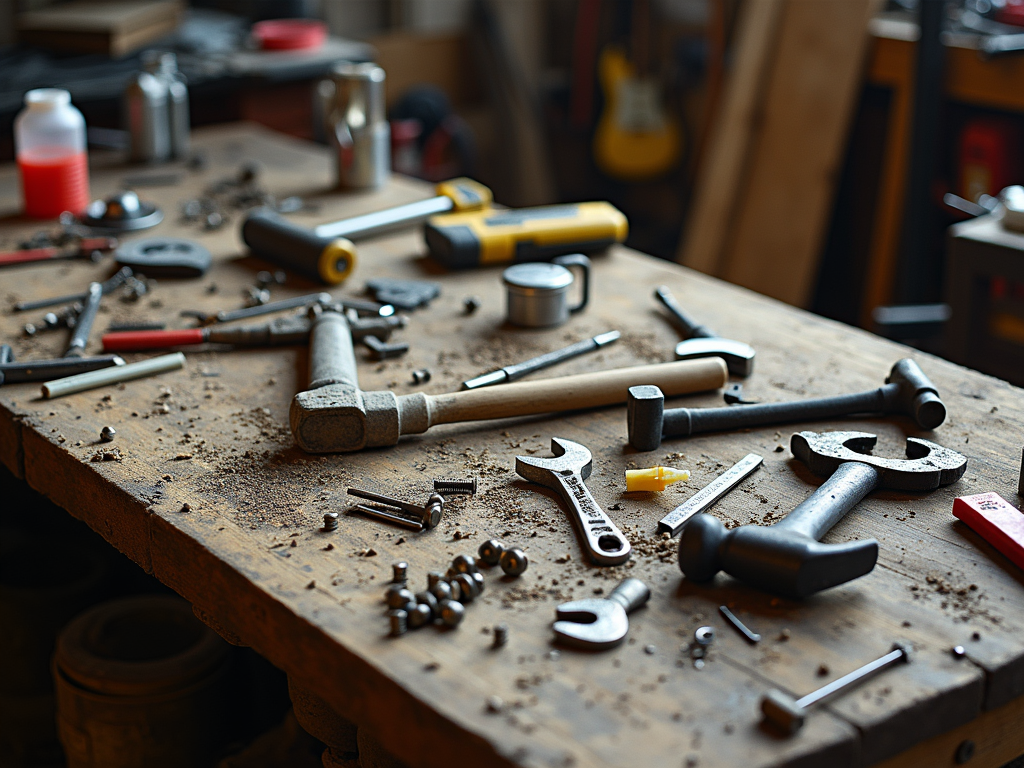
Before you can improve your workbench, you need to understand what you’re working with. I’ve learned this the hard way—starting fresh is the best approach. Clear everything off your workbench. Yes, everything. It’s like hitting the reset button. You’ll see what you actually use and what’s just taking up space.
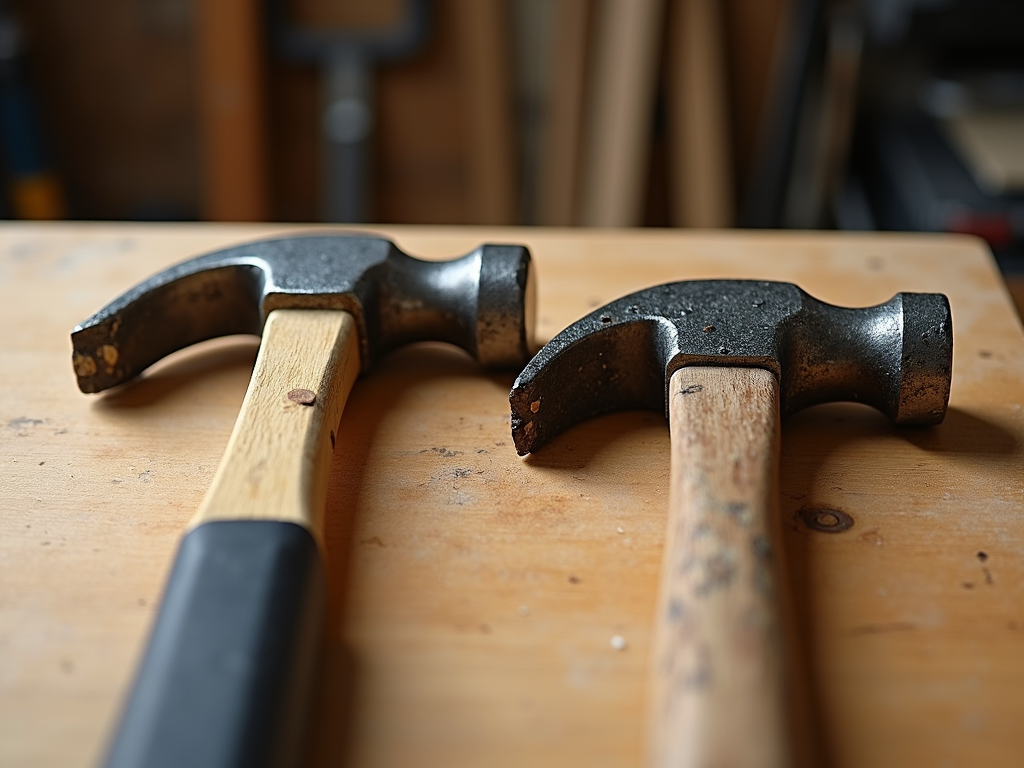
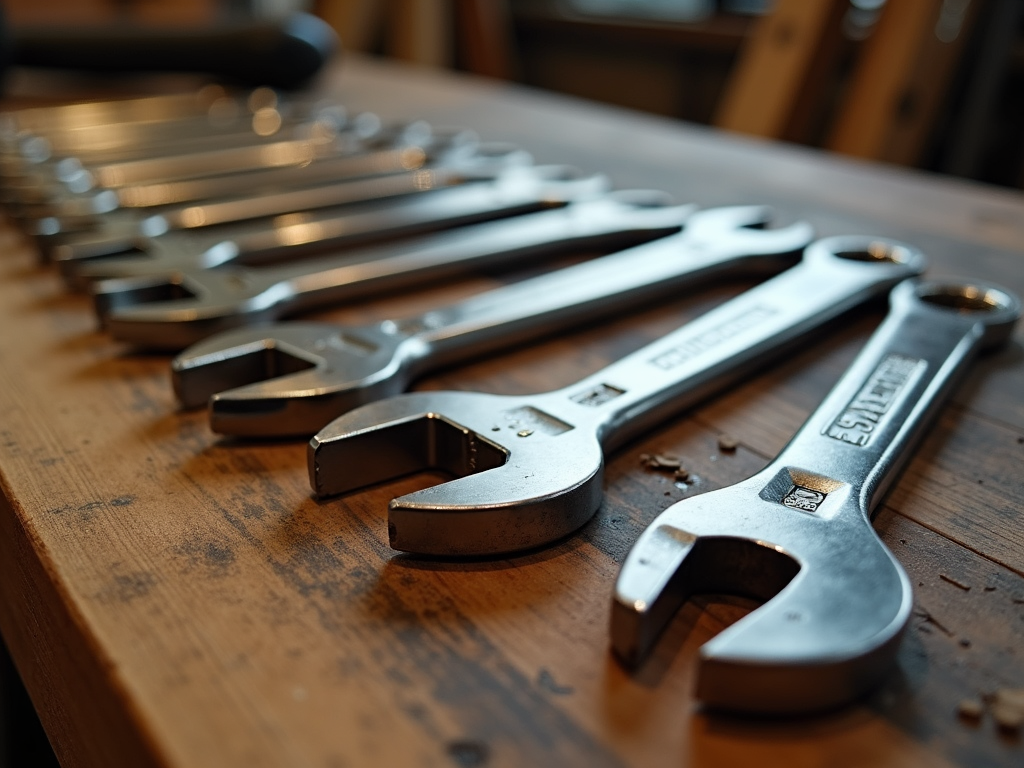
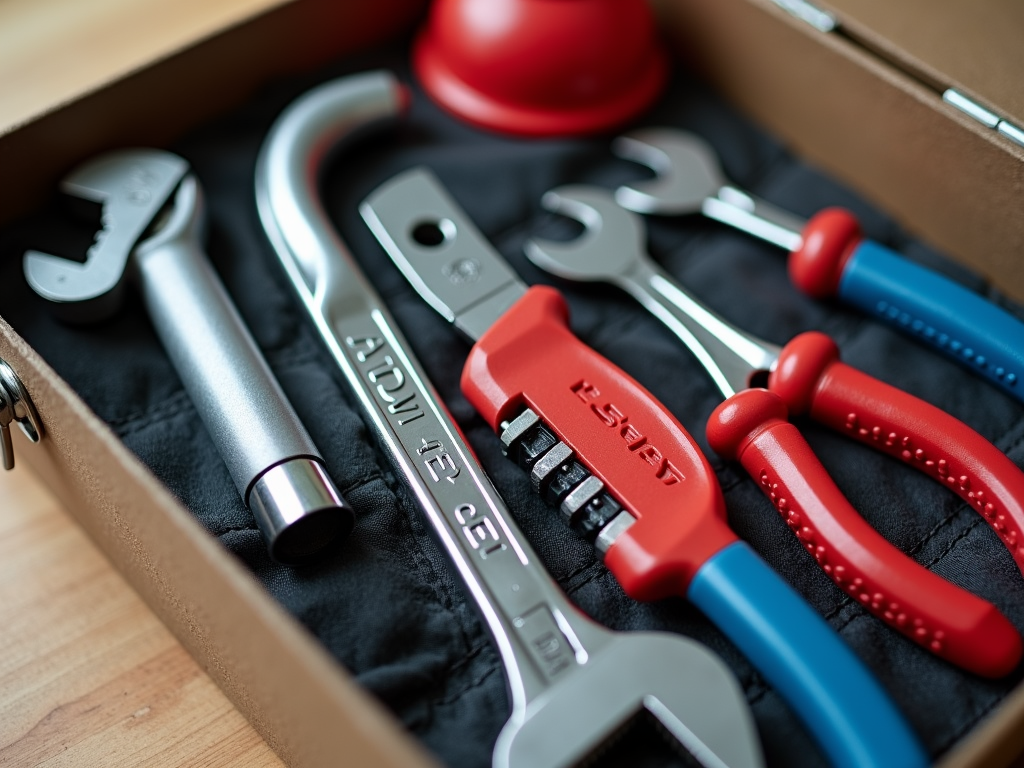
- Sort your tools: Group them by type (hammers, screwdrivers, etc.), how often you use them, and their size. This helps you plan storage later.
- Check ergonomics: Is your workbench too high or too low? I once strained my back for weeks because mine was off by a few inches. Adjust it if needed.
- Look for hazards: Loose cords or dim lighting can slow you down—or worse. Fix these now.
Step 2: Smart Tool Placement
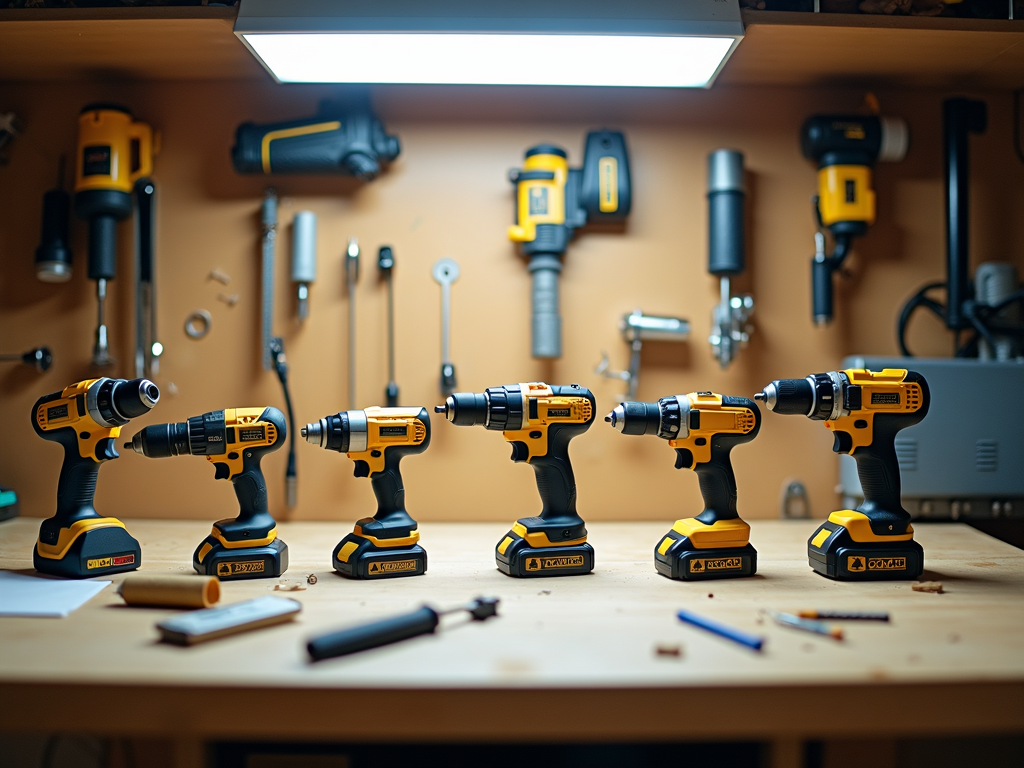
Now that you’ve got a clean slate, let’s organize your workman tools for easy access. I used to waste time digging through piles for a screwdriver. Not anymore. Place your most-used tools where you can grab them without thinking.
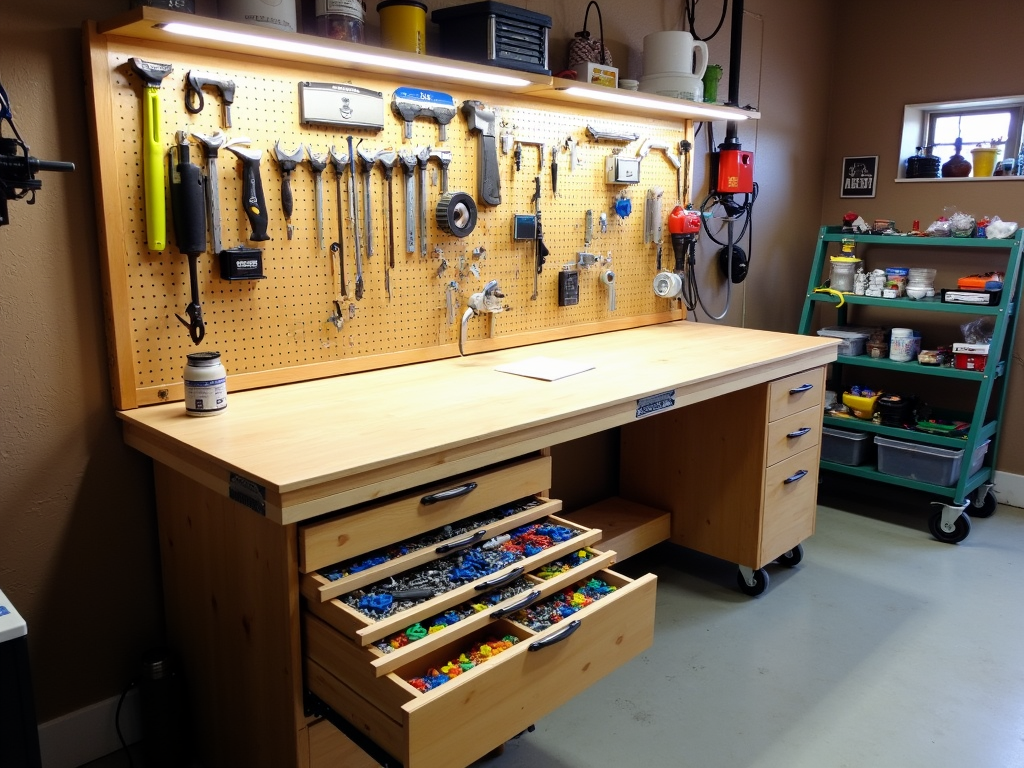
- Go vertical: Pegboards or magnetic strips save space. I hang my pliers and wrenches this way—it’s a game-changer.
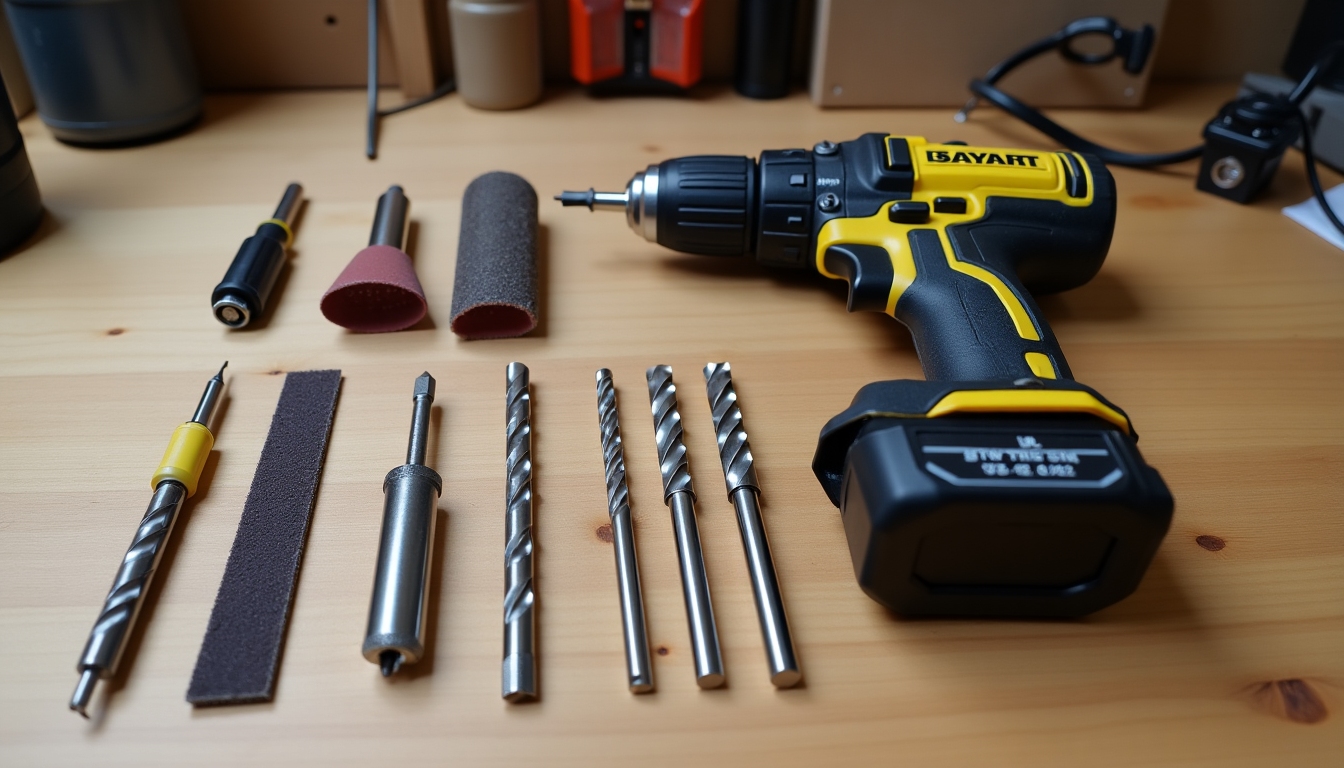
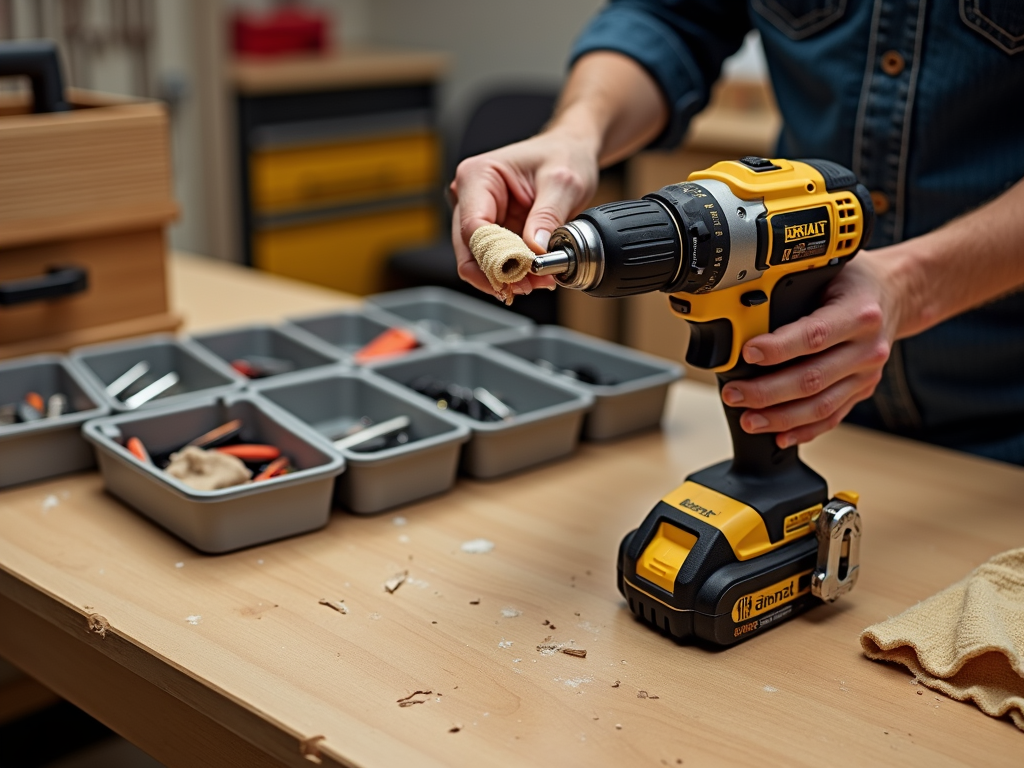
- Use drawers: Small items like nails or bits stay tidy in organizers. I picked up a cheap one from a hardware store, and it’s lasted years.
- Try a mobile cart: If your space is big, roll your essentials around. Mine’s a lifesaver during long projects.
Step 3: Optimize Your Workflow
Organizing your workbench for maximum efficiency isn’t just about tools—it’s about how you work. I’ve shaved hours off projects by setting up my space to flow better. Think about how you move when you’re building something.
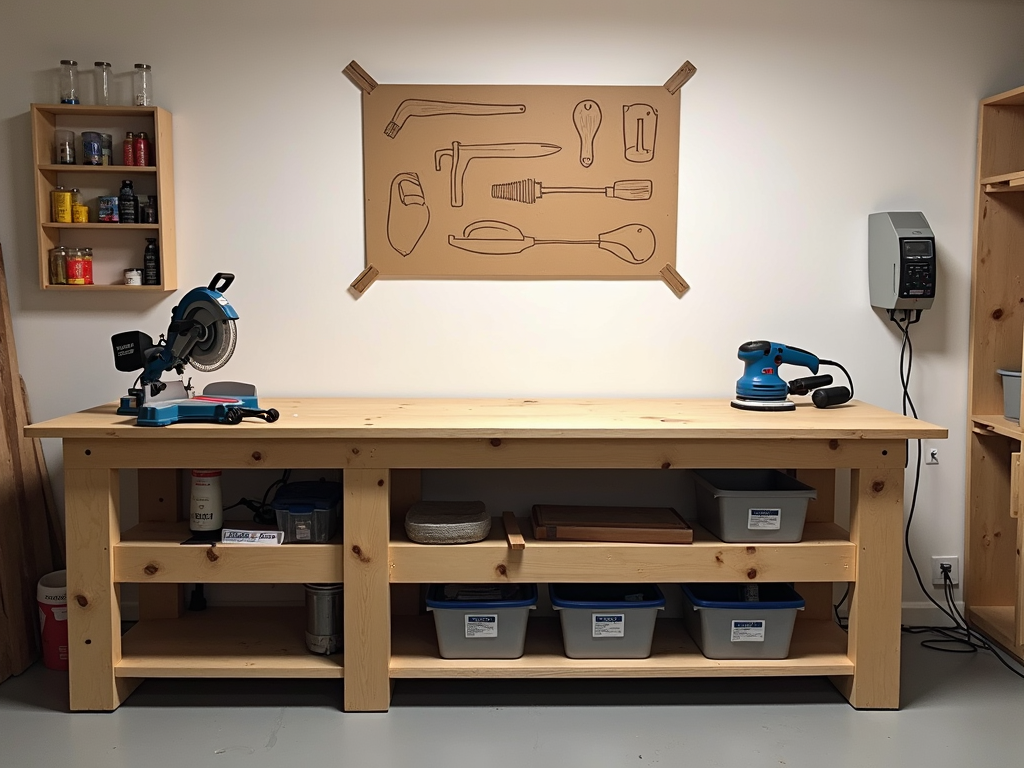
- Set up zones: Keep a cutting area separate from sanding or assembly. I mark mine with tape on the bench.
- Label everything: A quick label on a bin saves you from hunting for that one drill bit. I use a cheap label maker—worth every penny.
- Try a shadow board: Outline where each tool goes. It’s satisfying to see everything in its place, and you’ll notice right away if something’s missing.
Step 4: Storage Solutions That Work
Good storage turns chaotic workbenches into efficient hubs. You don’t need fancy gear—simple fixes often work best. Here’s what’s worked for me after years of trial and error.
| Storage Type | Best For | Why It Works |
|---|---|---|
| Pegboard | Hand tools | Keeps them visible and easy to grab |
| Tool chest | Power tools, small parts | Locks away valuables, reduces clutter |
| Wall shelves | Materials, jars | Frees up bench space for work |
Mix and match based on your needs. I started with a pegboard and added shelves later—build it as you go.
Step 5: Keep It Maintained
A great workbench doesn’t stay that way without effort. I’ve let mine slip before, and it’s a hassle to fix. Stay on top of it with a routine.
- Clean regularly: Wipe down surfaces and sweep up sawdust. I do this every Friday—it takes 10 minutes.
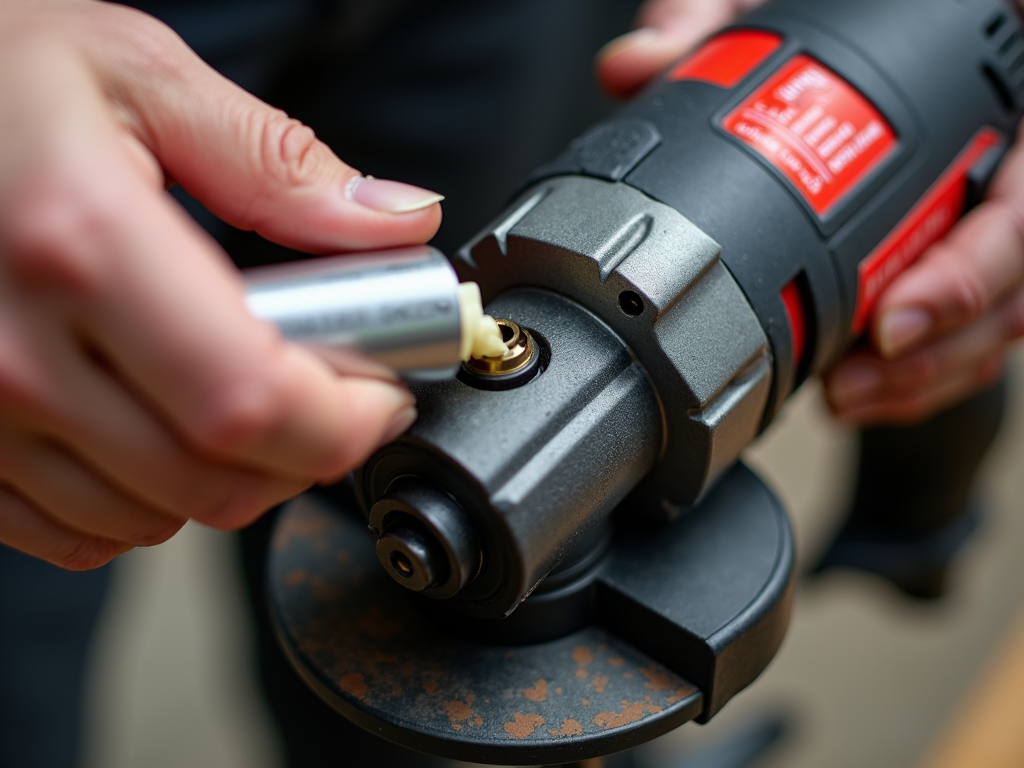
- Check your tools: Dull blades or rusty pliers slow you down. Sharpen or replace them as needed.
- Adapt as you go: Your setup should evolve. I rearranged mine last month when I started woodworking more—it’s okay to tweak things.
Bonus Tips From Experience
Here’s some extra wisdom I’ve picked up:
- Start small: Don’t overhaul everything at once. I organized one corner first, then built from there.
- Invest wisely: A $20 pegboard beats a $200 custom rack if it does the job. Check sites like The Home Depot for deals.
- Keep it personal: Your workbench should fit your style. I love my chaos-free zone—make yours work for you.
Final Thoughts
Organizing your workbench for maximum efficiency takes time, but it’s worth it. A clear space means less stress and faster work. Assess what you have, arrange your tools smartly, streamline your process, and keep it up. You’ll wonder how you ever managed before.
Related organizing your workbench for maximum efficiency:
- How to Keep Your Power Tools Running Strong
- Keep Your Power Tools Running Strong: The Ultimate Guide to DIY Tools Maintenance
- Choosing the Right Tools for Your Construction Project
- Top-Quality Workman Tools for Contractors: A Comprehensive Guide
- Must-Have Electrical Tools for DIY Enthusiasts: A Comprehensive Guide
- Revolutionizing DIY: How Black & Decker's Cordless Innovations Transformed Power Tools
- Choosing the Right Plumbing Tools for Your Home: A Comprehensive Guide
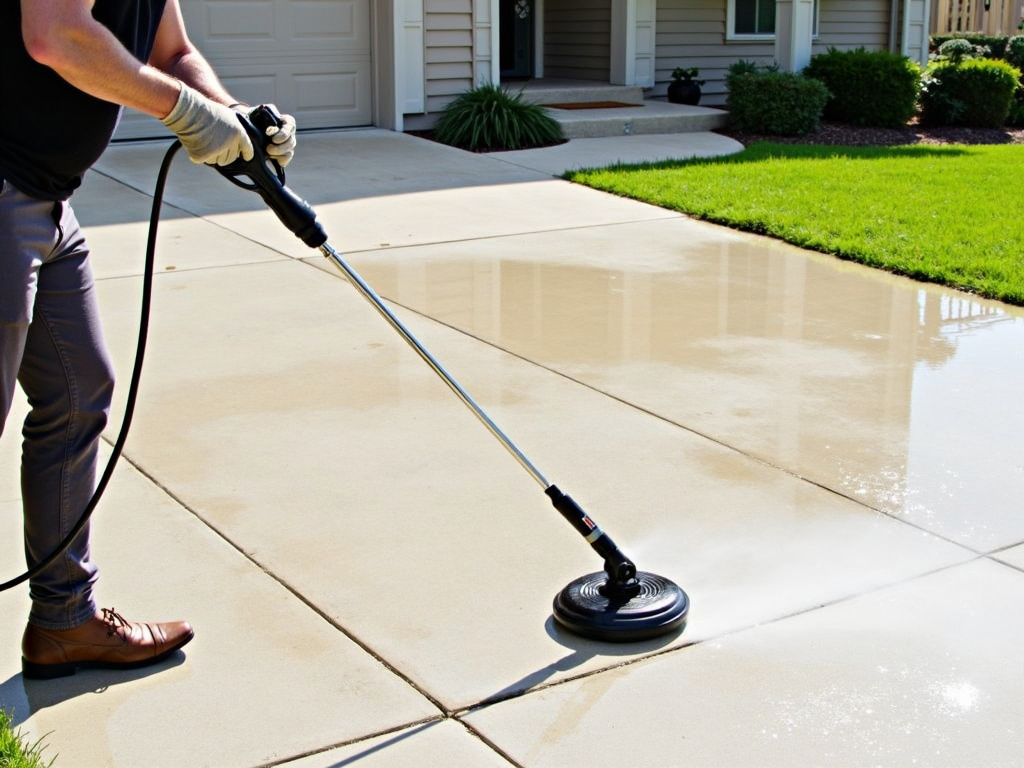
- Power Washer Accessories for Better Cleaning: Enhance Your Cleaning Game
- Choosing the Right Workwear for Your Job
- Essential Maintenance Tips for Power Tools: Keep Your Equipment Running Smoothly and Safely
- How to Choose the Right Toolbox for Your Needs: A Comprehensive Guide
- Power Drills with Multiple Attachments: A Comprehensive Guide