Discover the top 10 DIY projects you can tackle with just basic tools. From simple home repairs to creative crafts, these projects are perfect for beginners and experienced DIYers alike. Whether you're looking to spruce up your living space or create unique gifts, these projects will inspire you to get creative with your tools.
In this article, we'll explore 10 DIY projects that you can complete using basic tools like hammers, screwdrivers, and saws. Each project is designed to be accessible to DIYers of all skill levels, and we'll provide step-by-step instructions, tips for success, and personal insights to help you along the way.
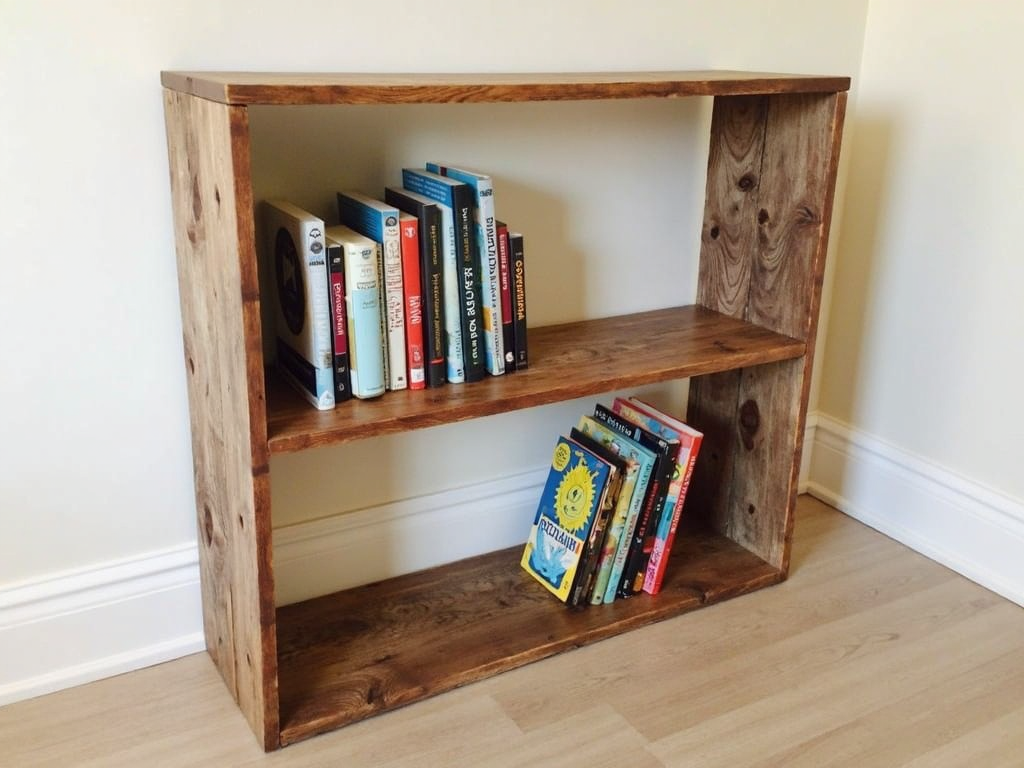
1. Build a Simple Bookshelf
A bookshelf is a great starter project for any DIYer. Not only is it functional, but it also allows you to practice basic woodworking skills. Plus, you can customize it to fit your space and style.
Tools and Materials: - Hammer - Nails - Saw - Measuring tape - Wood glue - Sandpaper - Wood stain or paint (optional)
Instructions: 1. Measure and cut your wood to the desired dimensions for the shelves and sides. 2. Sand the edges to smooth out any rough spots. 3. Assemble the sides and shelves using wood glue and nails. 4. Allow the glue to dry completely. 5. Stain or paint the bookshelf if desired.
Tips for Success: - Use a level to ensure your shelves are even. - Pre-drill holes for the nails to prevent the wood from splitting. - Consider adding a back panel for extra stability.
Personal Insight: I built my first bookshelf when I was just starting out with DIY projects. It was a bit wobbly at first, but with practice, I learned how to make sturdy, functional pieces. Don't be afraid to make mistakes – they're part of the learning process!
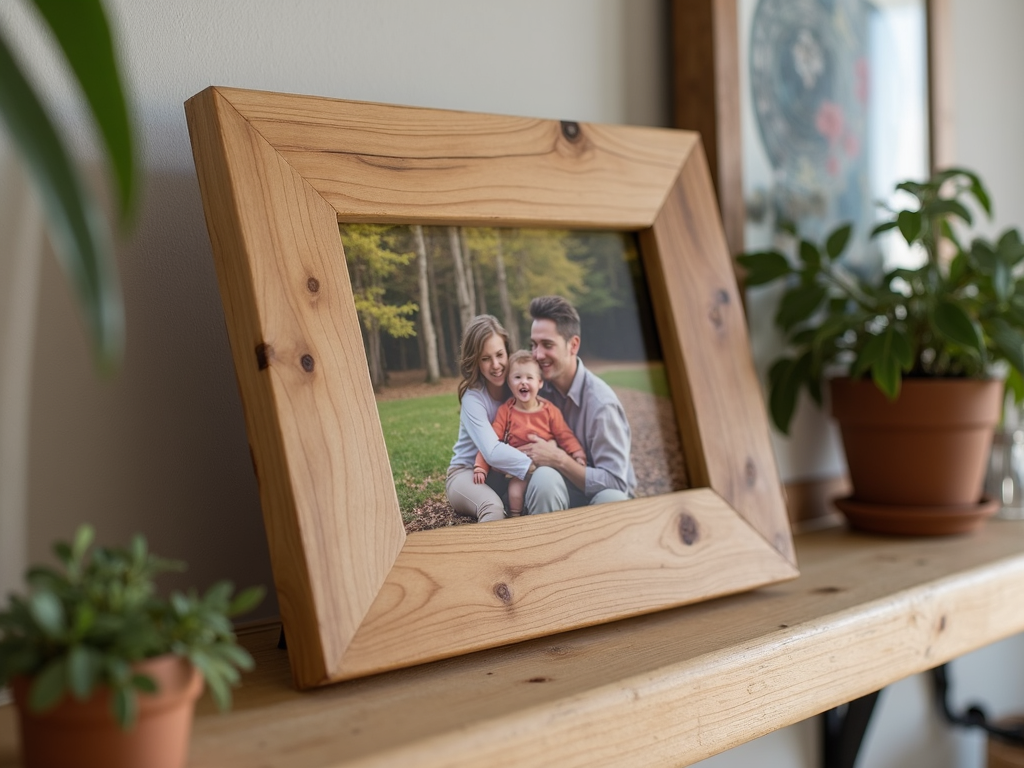
2. Create a Wooden Picture Frame
A wooden picture frame is a simple yet rewarding project. It's a great way to display your favorite photos and makes for a thoughtful gift.
Tools and Materials: - Hammer - Nails - Saw - Measuring tape - Wood glue - Sandpaper - Wood stain or paint
Instructions: 1. Measure and cut four pieces of wood to the desired frame size. 2. Sand the edges to smooth them out. 3. Assemble the frame using wood glue and nails at the corners. 4. Allow the glue to dry completely. 5. Stain or paint the frame to match your decor.
Tips for Success: - Use a miter saw for clean, angled cuts. - Clamp the corners while the glue dries for a stronger bond. - Add a glass or acrylic sheet for a professional finish.
Personal Insight: I love making picture frames because they allow me to personalize gifts for friends and family. Each frame tells a story, and it's a project that always brings joy.
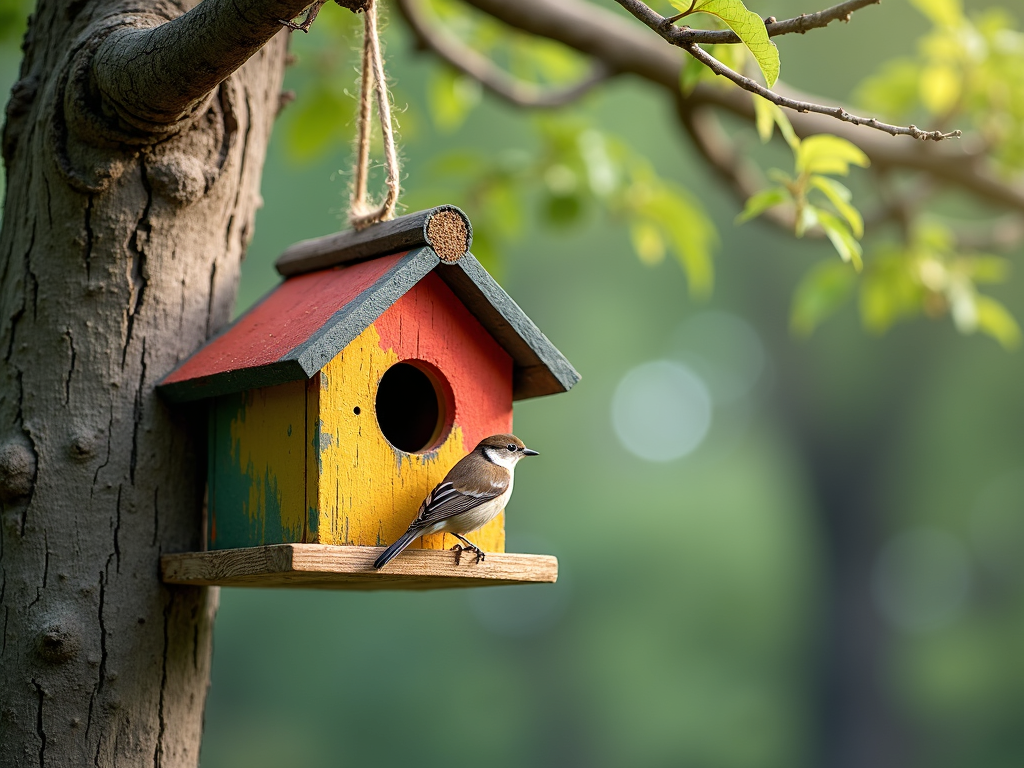
3. Make a Birdhouse
Building a birdhouse is a fun project that can attract wildlife to your garden. It's also a great way to practice your woodworking skills.
Tools and Materials: - Hammer - Nails - Saw - Measuring tape - Wood glue - Sandpaper - Exterior paint
Instructions: 1. Cut wood pieces for the front, back, sides, roof, and base. 2. Assemble the sides, front, and back using wood glue and nails. 3. Attach the base and roof. 4. Sand the edges and paint the birdhouse.
Tips for Success: - Ensure the entrance hole is the right size for the birds you want to attract. - Use weather-resistant wood and paint to protect the birdhouse. - Mount the birdhouse in a safe, sheltered location.
Personal Insight: I built my first birdhouse with my kids, and it was a wonderful bonding experience. Watching the birds move in was incredibly rewarding.
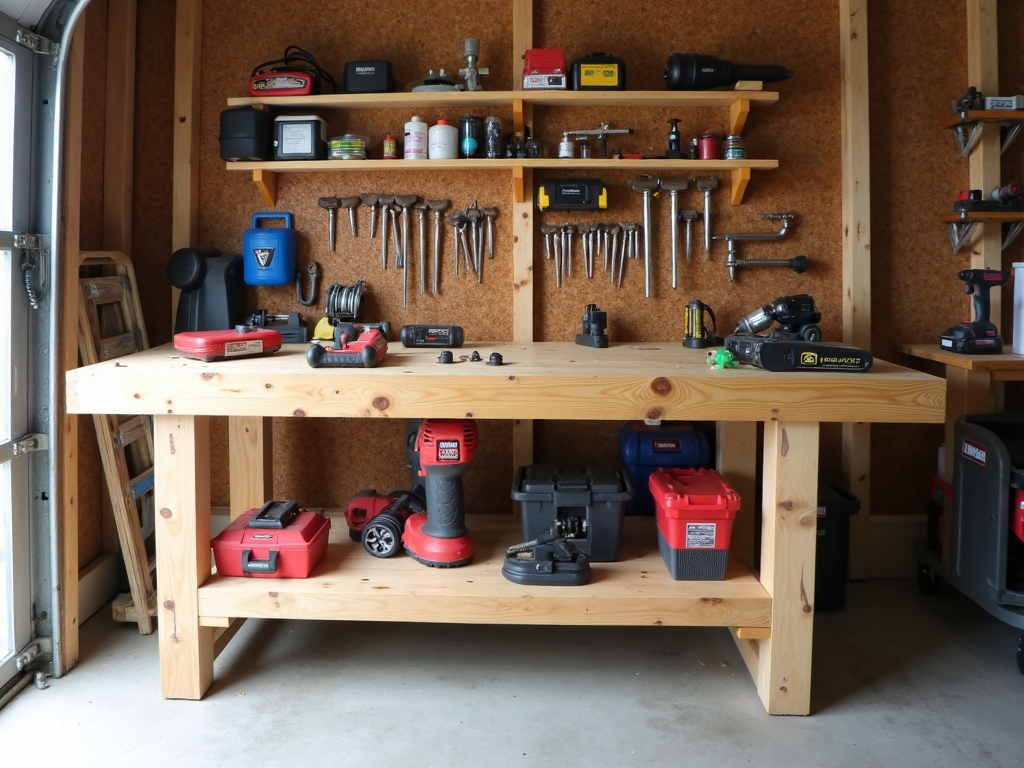
4. Assemble a Basic Workbench
A workbench is essential for any DIYer. Building your own allows you to customize it to your needs and workspace.
Tools and Materials: - Hammer - Nails - Saw - Measuring tape - Wood glue - Sandpaper - Wood stain or paint
Instructions: 1. Cut wood for the tabletop, legs, and supports. 2. Assemble the legs and supports using wood glue and nails. 3. Attach the tabletop to the frame. 4. Sand the surfaces and apply a finish if desired.
Tips for Success: - Use sturdy wood like pine or oak for durability. - Add a shelf or drawers for extra storage. - Ensure the workbench is level and stable.
Personal Insight: My first workbench was a game-changer. It gave me a dedicated space to work on projects and kept my tools organized.
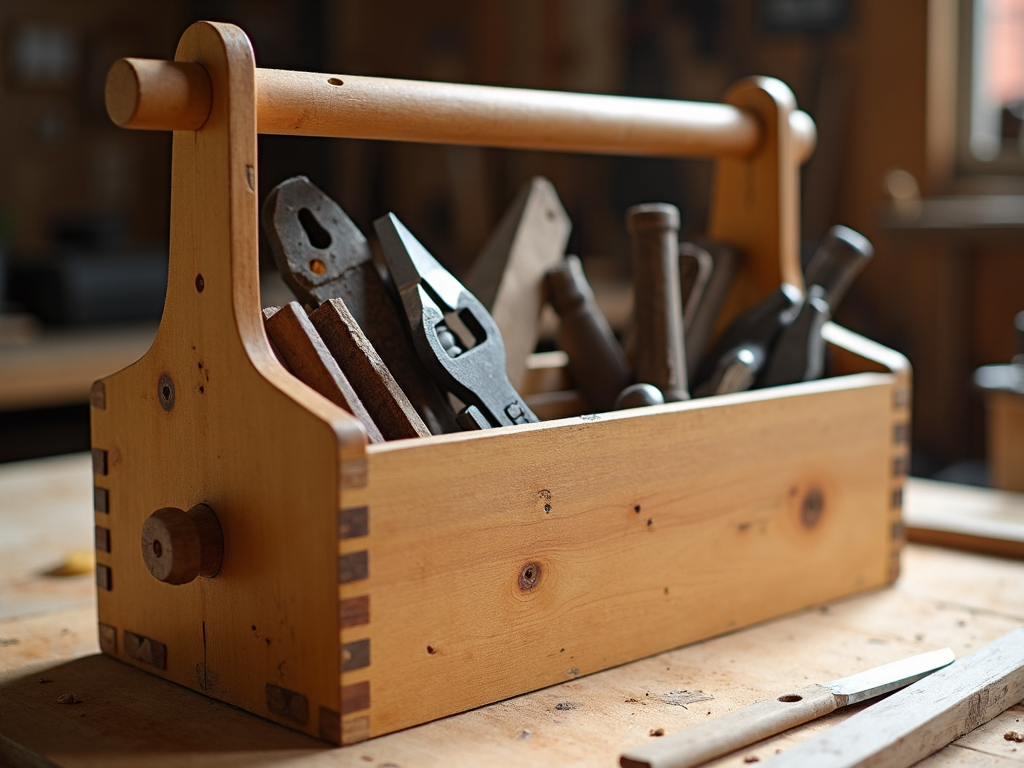
5. Craft a Wooden Toolbox
A wooden toolbox is a practical project that helps you keep your tools organized and portable.
Tools and Materials: - Hammer - Nails - Saw - Measuring tape - Wood glue - Sandpaper - Wood stain or paint
Instructions: 1. Cut wood for the sides, bottom, and handle. 2. Assemble the sides and bottom using wood glue and nails. 3. Attach the handle to the top. 4. Sand the edges and apply a finish.
Tips for Success: - Use lightweight wood for easy portability. - Add compartments inside for better organization. - Reinforce the handle for strength.
Personal Insight: I made my toolbox years ago, and it's still my go-to for small projects around the house. It's a project that keeps on giving.
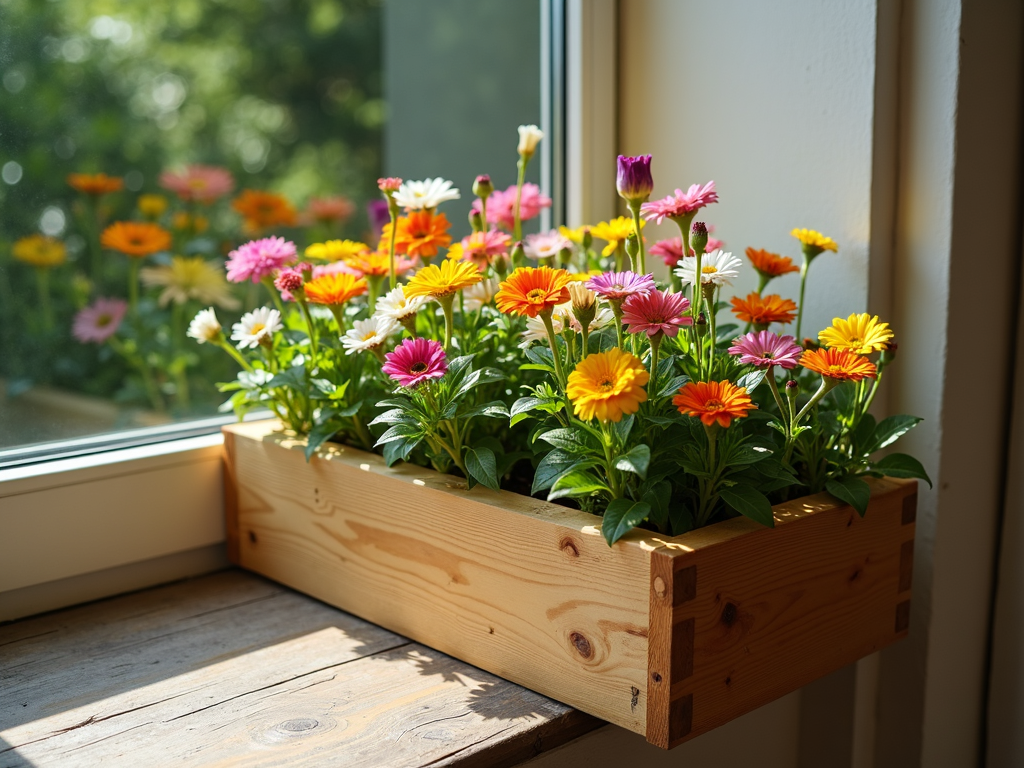
6. Build a Small Garden Planter
A garden planter is a great way to add greenery to your space, whether indoors or outdoors.
Tools and Materials: - Hammer - Nails - Saw - Measuring tape - Wood glue - Sandpaper - Exterior paint or sealant
Instructions: 1. Cut wood for the sides, bottom, and legs (if desired). 2. Assemble the sides and bottom using wood glue and nails. 3. Attach legs for elevation. 4. Sand the surfaces and apply a weather-resistant finish.
Tips for Success: - Drill drainage holes in the bottom to prevent waterlogging. - Use cedar or redwood for natural rot resistance. - Line the planter with landscape fabric for added protection.
Personal Insight: I built a planter for my balcony, and it transformed the space. Growing herbs and flowers has been a delightful hobby.
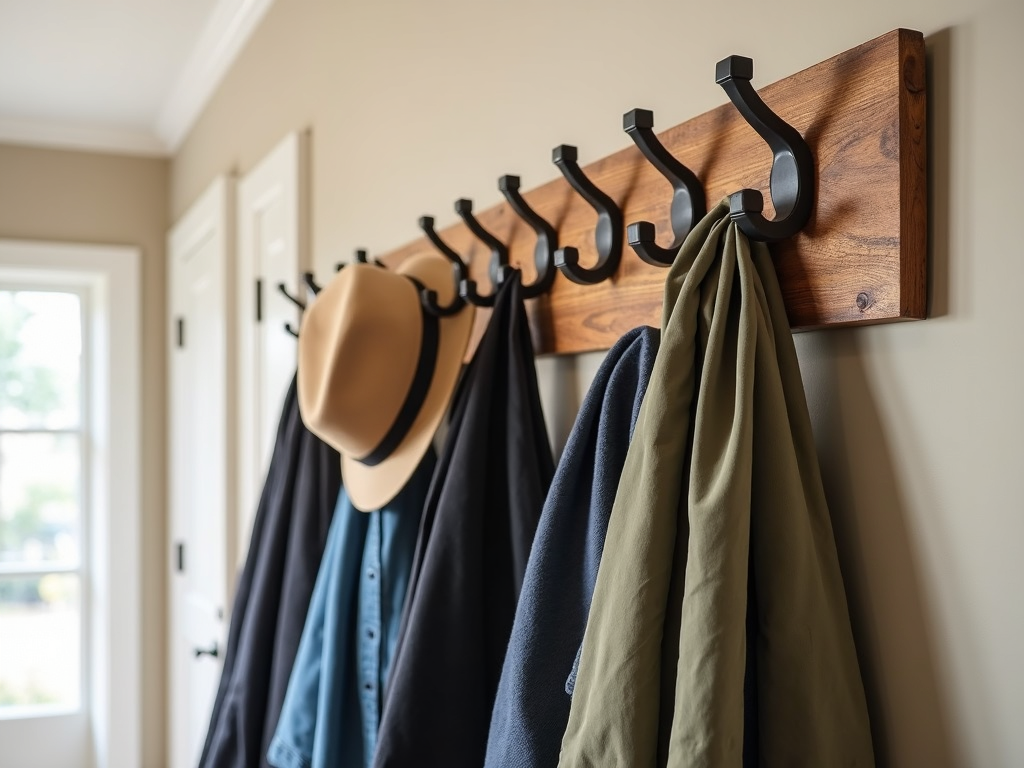
7. Create a Wall-Mounted Coat Rack
A coat rack is a simple project that adds functionality to your entryway or mudroom.
Tools and Materials: - Hammer - Nails - Saw - Measuring tape - Wood glue - Sandpaper - Hooks - Wood stain or paint
Instructions: 1. Cut a piece of wood to the desired length. 2. Sand the edges and surface. 3. Attach hooks evenly along the wood. 4. Stain or paint the rack. 5. Mount it to the wall using appropriate hardware.
Tips for Success: - Use sturdy hooks that can hold the weight of coats and bags. - Ensure the rack is securely mounted to wall studs. - Add a shelf on top for extra storage.
Personal Insight: I made a coat rack for my entryway, and it's been a lifesaver for keeping things organized. It's a small project with a big impact.
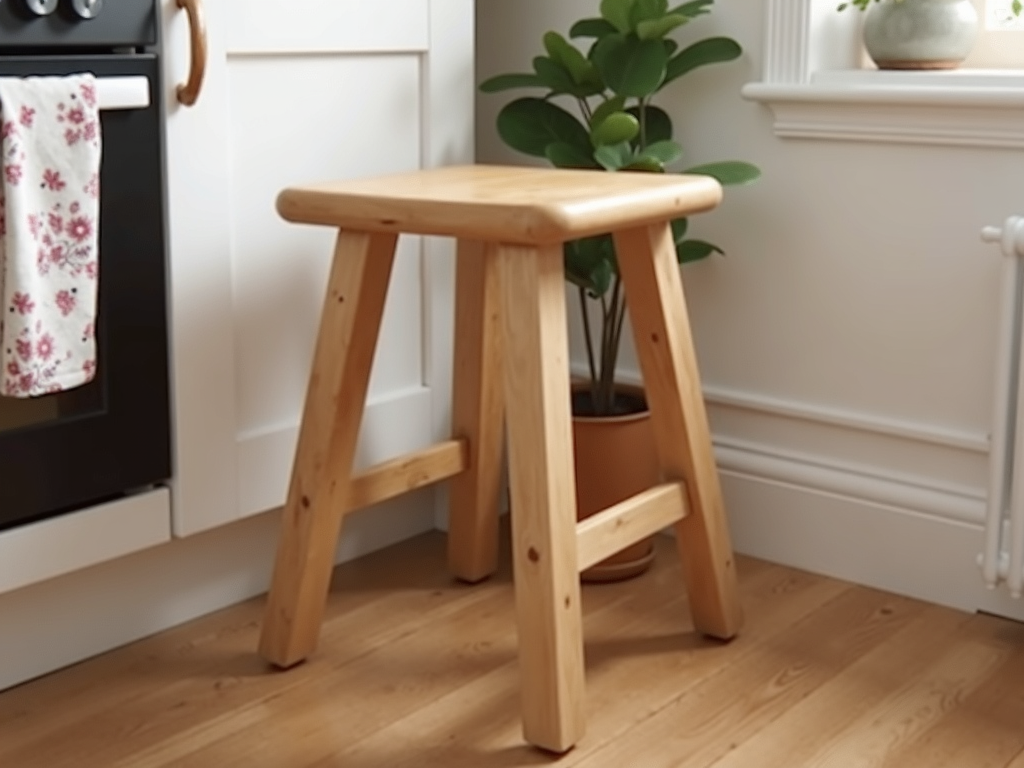
8. Make a Simple Wooden Stool
A wooden stool is a versatile piece of furniture that you can use in various rooms.
Tools and Materials: - Hammer - Nails - Saw - Measuring tape - Wood glue - Sandpaper - Wood stain or paint
Instructions: 1. Cut wood for the seat and legs. 2. Assemble the legs using wood glue and nails. 3. Attach the seat to the legs. 4. Sand the surfaces and apply a finish.
Tips for Success: - Use dowels or brackets for added stability. - Ensure the legs are even to prevent wobbling. - Add a cushion for comfort.
Personal Insight: I built a stool for my kitchen, and it's become a favorite spot for quick meals and conversations. It's a project that combines form and function.
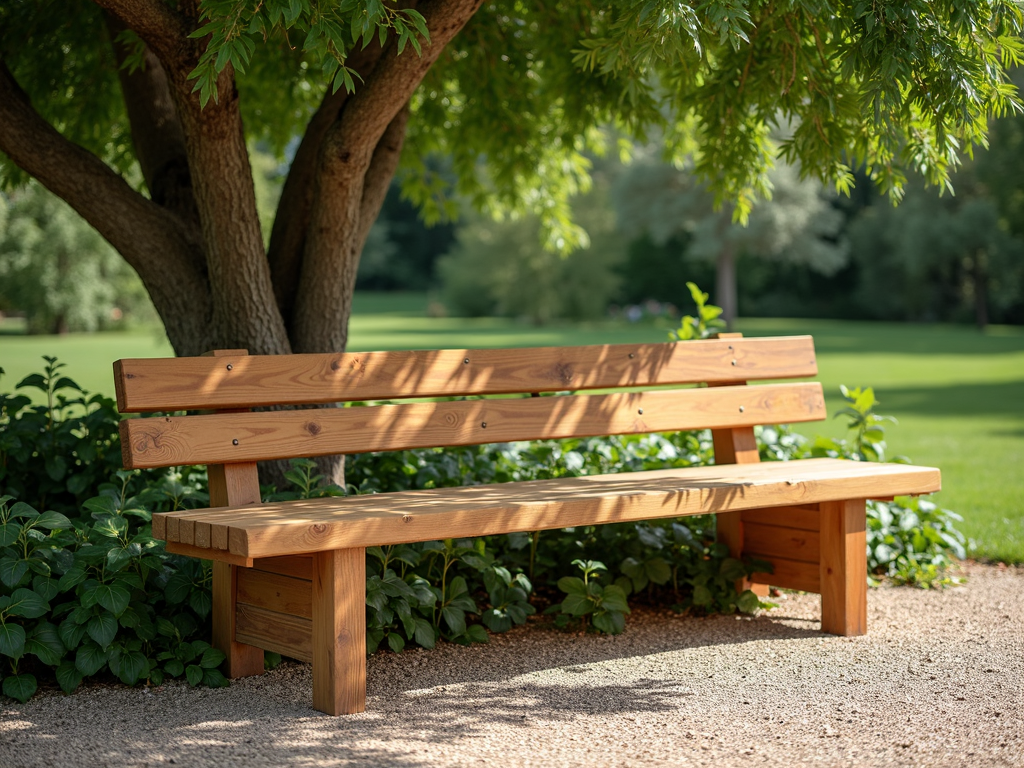
9. Assemble a Basic Outdoor Bench
An outdoor bench is a great addition to your garden or patio, providing a place to relax and enjoy the outdoors.
Tools and Materials: - Hammer - Nails - Saw - Measuring tape - Wood glue - Sandpaper - Exterior paint or sealant
Instructions: 1. Cut wood for the seat, legs, and supports. 2. Assemble the legs and supports using wood glue and nails. 3. Attach the seat to the frame. 4. Sand the surfaces and apply a weather-resistant finish.
Tips for Success: - Use pressure-treated wood for durability. - Add armrests or a backrest for comfort. - Ensure the bench is level and stable.
Personal Insight: I built a bench for my backyard, and it's become a favorite spot for morning coffee. It's a project that enhances outdoor living.
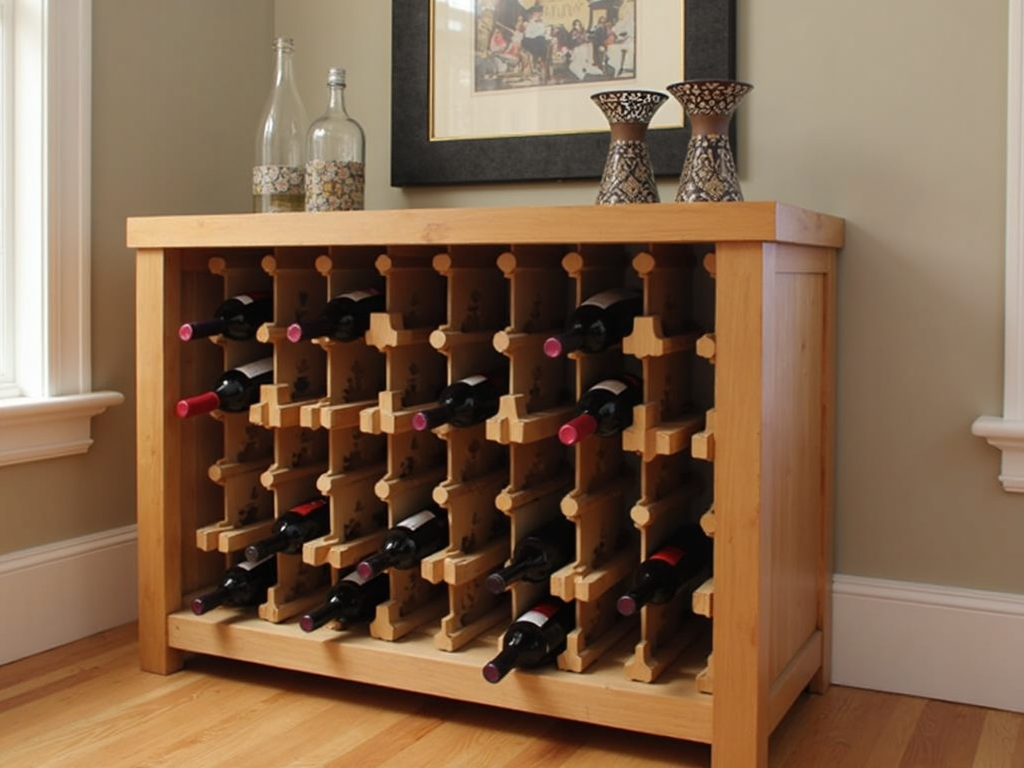
10. Build a Wooden Wine Rack
A wine rack is a stylish way to store and display your wine collection.
Tools and Materials: - Hammer - Nails - Saw - Measuring tape - Wood glue - Sandpaper - Wood stain or paint
Instructions: 1. Cut wood for the frame and shelves. 2. Assemble the frame using wood glue and nails. 3. Attach the shelves at an angle to hold the wine bottles. 4. Sand the edges and apply a finish.
Tips for Success: - Ensure the shelves are spaced correctly to hold standard wine bottles. - Use a sturdy wood like oak or maple. - Add a back panel for extra support.
Personal Insight: I made a wine rack for my dining room, and it's a conversation starter at every dinner party. It's a project that adds a touch of elegance to any space.
Conclusion
These top 10 DIY projects using basic tools are a great way to get started with DIY or to expand your skills. From building a bookshelf to creating a wooden wine rack, there's something for everyone. Remember to take your time, follow safety guidelines, and have fun with your projects. For more tips on using tools like hammers safely, check out our guide on how to use a hammer safely. Happy DIYing!
Related Top 10 DIY Projects Using Basic Tools:
- Choosing Your First Power Tool
- Power Tools for Woodworking Enthusiasts
- Advanced Techniques for Power Tool Safety: A Comprehensive Guide
- Essential Worker Safety Tips for Construction Sites
- Workman Tools: A Guide to Choosing the Right Equipment
- Essential Screwdriver Maintenance Tips to Keep Your Tools in Shape
- Calibrating Your Measuring Tools: The Ultimate Guide to Workshop Equipment Maintenance
- DIY Garage Organization Ideas for Small Spaces
- Essential Woodworking Tools for DIY Enthusiasts
- Essential Power Washer Maintenance Tips for Longevity
- The Evolution of Plumbing Tools and Techniques
- Safety Tips for Using Wrenches Effectively