Bricklaying brings lasting beauty and strength to your home. Whether you want a charming garden wall or a sturdy patio, mastering the basics takes only a weekend. This Beginner's Guide to Bricklaying Techniques: Step-by-Step walks you through every move so you finish strong and proud. You will need simple construction tools for masonry work and follow Essential Safety Practices for DIY Masonry Projects every step. Ready to start? Let's build something beautiful together.

Why Bricklaying is Perfect for DIYers
Bricklaying lets you create custom outdoor features without hiring experts. You control the look, save money, and enjoy fresh air. Many homeowners start with a small project like a low retaining wall and work up to bigger jobs. The process feels rewarding because each brick you place adds real structure and charm. With clear steps and the right tools, even complete beginners achieve professional results.
Essential Safety Practices for DIY Masonry Projects
Safety comes first in any masonry project. Always wear a hard hat, safety goggles, gloves, and sturdy shoes. Never work alone on high walls, and keep the area clear of tools and materials. Check wind conditions before building—strong gusts can knock over loose bricks. Use a sturdy ladder and secure scaffolding if you reach above 6 feet. Mix mortar in a well-ventilated spot and avoid breathing in the dust. These simple steps prevent injuries and keep your project smooth. For extra guidance on masonry wall stability, see the official safety tips from WorkSafe Victoria.
Construction Tools You Need for Masonry Work
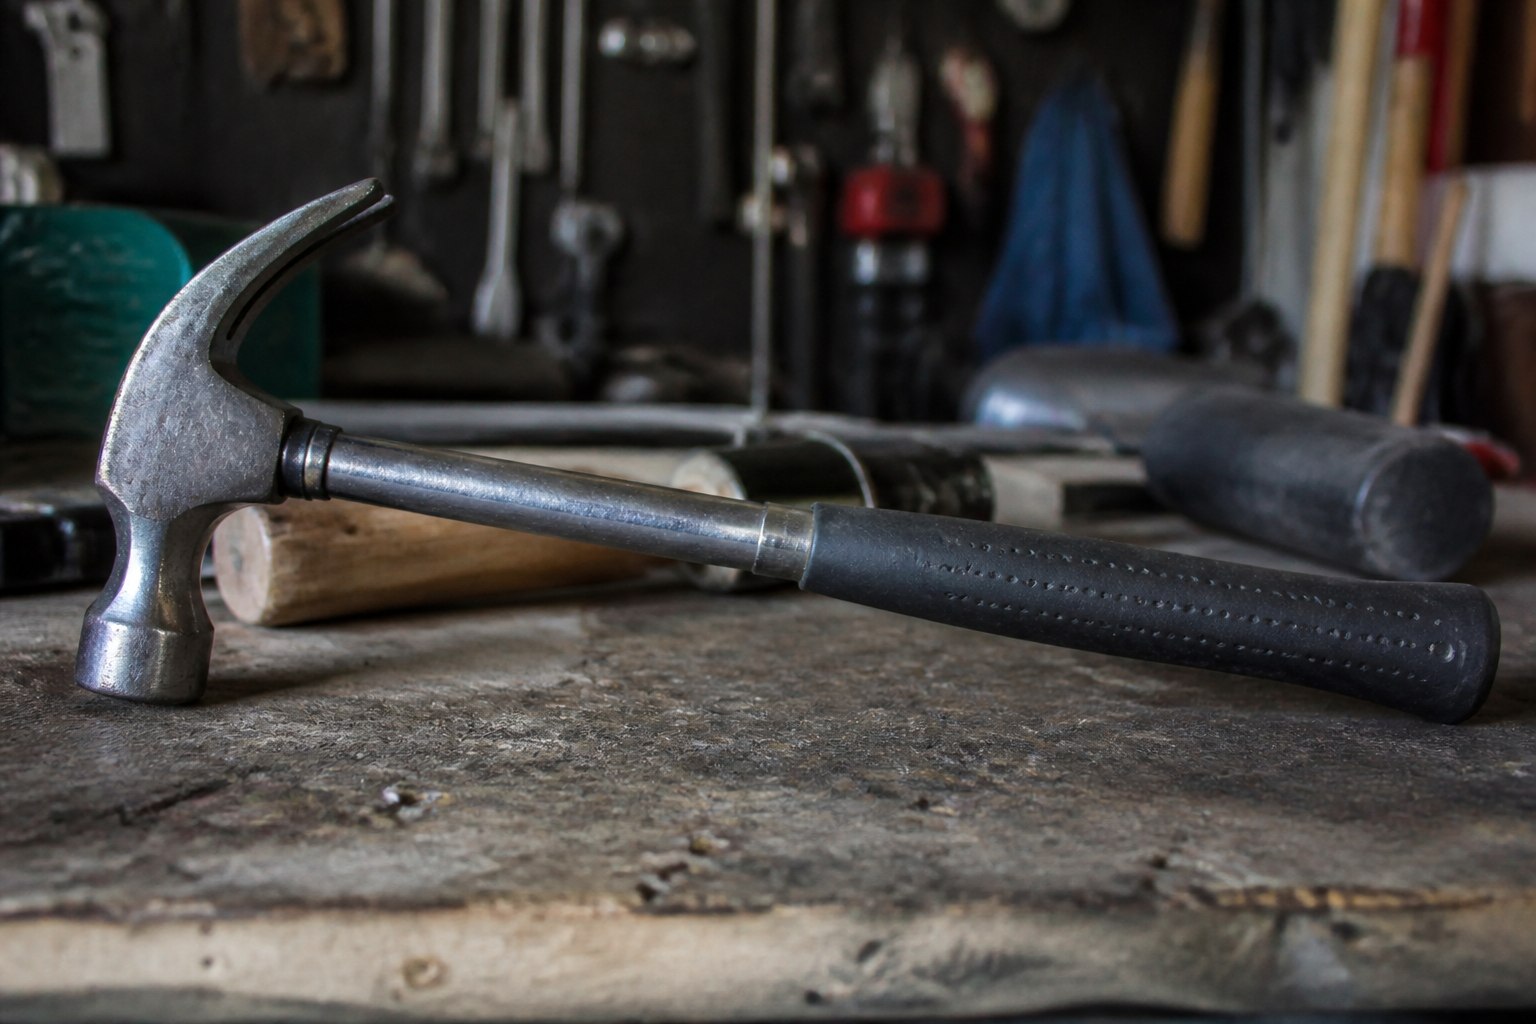
Start with these basic construction tools: - Spirit level for checking straight lines - Brick trowel for spreading mortar - Mortar board and hawk for carrying material - Line block and mason’s line for straight guides - Brick hammer and bolster for cutting - Measuring tape, chalk line, and plumb bob - Wheelbarrow or mortar mixer for mixing
These tools make the job easier and more accurate. Invest once and reuse them for many projects. You can find complete lists on trusted sites like This Old House.
Choosing the Right Bricks and Mortar
Bricks come in modular, standard, and other sizes. Most DIYers pick standard bricks for their strength and look. Mortar mixes sand, cement, and lime—follow the package for your climate. Use premixed mortar for ease or mix your own for custom strength. Store bricks on pallets off the ground to keep them dry. These choices set the stage for a lasting wall.
Step-by-Step: Laying Your First Course
- Dig and pour a solid concrete foundation. Make it 150 mm deep and wide enough for your wall plus extra for safety.
- Let it cure for at least 7 days.
- Mix mortar to a thick, spreadable paste.
- Spread a 10 mm bed of mortar across the foundation using your trowel.
- Place the first brick, press it firmly, and check with your level that it sits perfectly level and plumb.
- Butter the end of the next brick and lay it tight against the first.
This first course sets your straight line for everything else. Keep the mortar fresh so it stays workable.

Continuing the Wall: Bonds and Leveling
Use a running bond or stretcher bond for most DIY walls—it looks clean and strong. Butter both the bed and head joints of each brick. Check every course with your spirit level and plumb bob. Stagger joints so each brick sits halfway over the one below. This pattern adds stability and prevents cracking over time. Work from one corner, then stretch your mason’s line across the wall to keep everything straight. If you hit a cut brick, measure twice before you cut.
Common Mistakes to Avoid
Avoid uneven mortar thickness or sloppy cuts. Never skip checking levels—small errors grow fast. Rushing the mortar leads to weak joints. Always clean excess mortar before it dries. These tips save you time and money later.

Finishing Touches: Pointing and Curing
Point the joints after the mortar dries a bit. Use a concave jointer to make neat, water-shedding lines. Brush away dust and let the wall cure fully—moisten it lightly for 3 days to protect it from drying too fast. These steps give your wall a polished, lasting look.
Final Thoughts
You now have the Beginner's Guide to Bricklaying Techniques: Step-by-Step. Follow these methods, use your construction tools wisely, and always follow Essential Safety Practices for DIY Masonry Projects. Your DIY masonry project will stand strong and beautiful for years. Take your time, stay safe, and enjoy the satisfaction of building something you created yourself.
Related Beginner's Guide to Bricklaying Techniques: Step-by-Step:
- Safety Tips for Power Tools in the Home Shop: Essential Guide for Beginners
- High-Quality Workman Tools for Professionals: The Ultimate Guide to Workshop Equipment
- Top 5 Popular Brands for Workman Tools in 2026: Expert Guide to Workshop Equipment
- Top 10 Must-Have Tools for Every Construction Worker in 2026
- How to Choose the Right Socket Set for Your Car: A Complete Guide to Essential Wrenches for Automotive Repair
- Must-Have Tools for Every DIY Project: Your Ultimate Guide to Beginner Success
- Workman Tool Maintenance Tips: Keep Your Toolbox and Workman Tools in Peak Condition
- Tool Belts for Construction Workers: The Ultimate 2026 Guide to Comfort, Durability, and Productivity
- Choosing Sensors for Your Industry: A Complete Guide to Industrial Sensors and Advanced Electrical Tools for Automation
- Guide to Cordless Power Tool Batteries and Chargers
- How to Maintain Your Tool Collection for Years: A Complete Beginner’s Guide
- Workman Tools for Plumbing Projects: The Ultimate Guide to Essential Gear