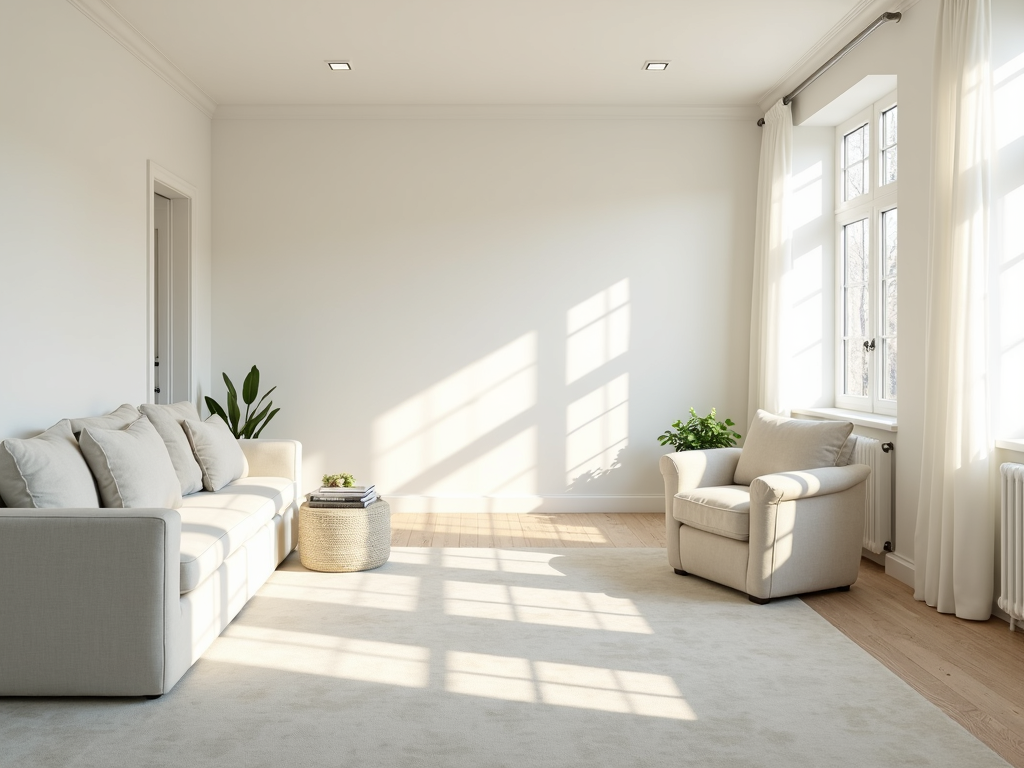
Painting a room can transform its look and feel, but the key to a professional-looking finish lies in proper preparation. This guide will walk you through every step of prepping your room for painting, ensuring you achieve the best possible results. From selecting the right paint color to protecting your furniture and fixing wall imperfections, we've got you covered. Let's dive in!
Choosing the Best Paint Color for Your Room
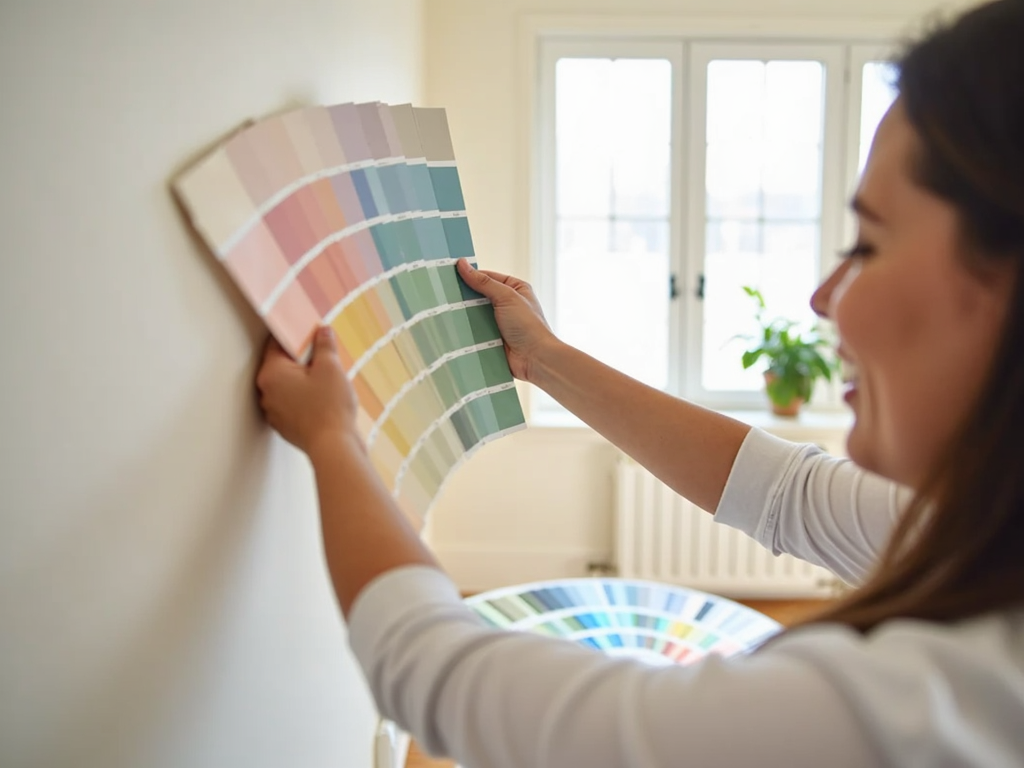
Before you even pick up a paintbrush, selecting the right color is crucial. The color you choose can affect the mood, perceived size, and overall ambiance of the room. Here are some tips to help you make the perfect choice:
-
Consider the Room's Purpose: Different colors evoke different emotions. For example, blues and greens are calming, making them ideal for bedrooms, while vibrant yellows or reds can energize a space like a kitchen or playroom.
-
Assess the Lighting: Natural and artificial light can significantly impact how a color looks. Test paint samples on your walls and observe them at different times of the day.
-
Complement Existing Decor: Think about your furniture, flooring, and accessories. Choose a color that harmonizes with these elements.
-
Use Color Visualizers: Many paint brands offer online tools where you can upload a photo of your room and virtually paint the walls. Check out Sherwin-Williams Color Visualizer or Benjamin Moore Personal Color Viewer.
Remember, it's always a good idea to buy a small sample of your chosen color and paint a test patch on your wall before committing to the full project.
Preparing Your Room for Painting
Proper preparation is the foundation of a successful painting project. Follow these steps to ensure your room is ready for paint:
1. Clear the Room
Start by removing as much furniture as possible. For items that are too heavy or cumbersome to move, push them to the center of the room and cover them completely with plastic sheeting or drop cloths. This will protect them from paint splatters and dust.
2. Protect Floors and Remaining Furniture
Cover the floors with drop cloths, rosin paper, or plastic sheeting. Secure the edges with painter's tape to prevent them from shifting. Make sure all furniture left in the room is fully covered and sealed.
3. Clean the Walls
Dirt, grease, and dust can prevent paint from adhering properly. Wash the walls with a mild detergent and water, then rinse with clean water. For tougher stains, you might need a stronger cleaner. Allow the walls to dry completely before proceeding.
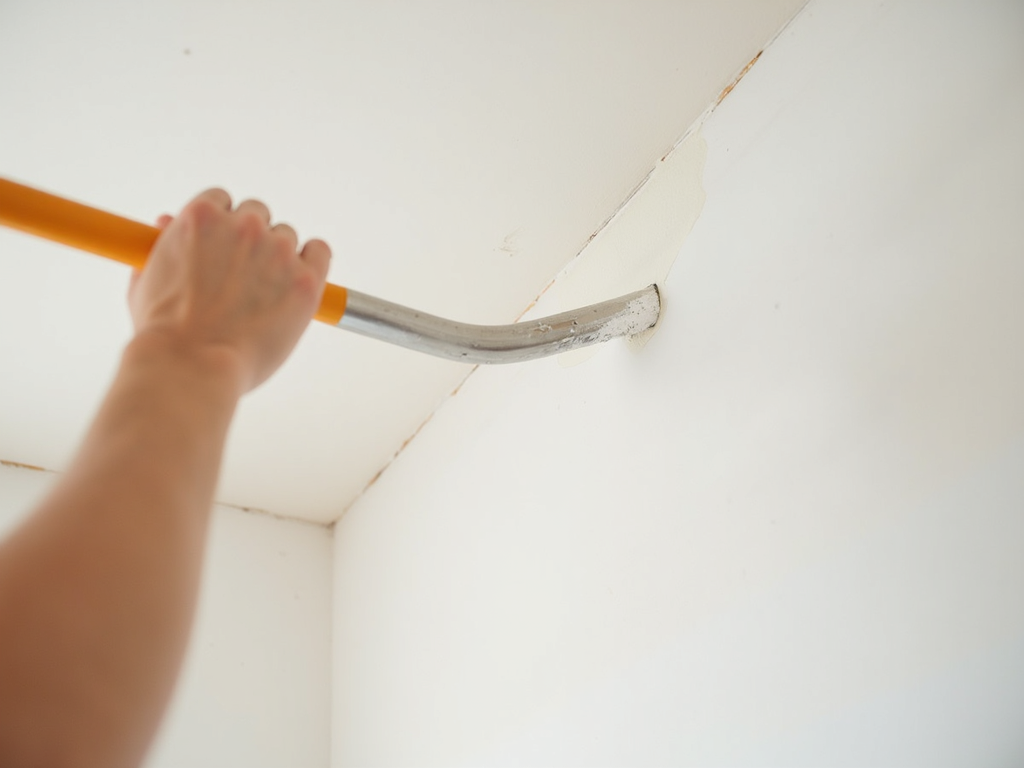
4. Repair Wall Damage
Inspect the walls for any holes, cracks, or imperfections. Use spackle or putty to fill small holes and cracks. For larger damages, you may need to use joint compound. Once the filler is dry, sand the area smooth with fine-grit sandpaper. Wipe away any dust with a damp cloth.
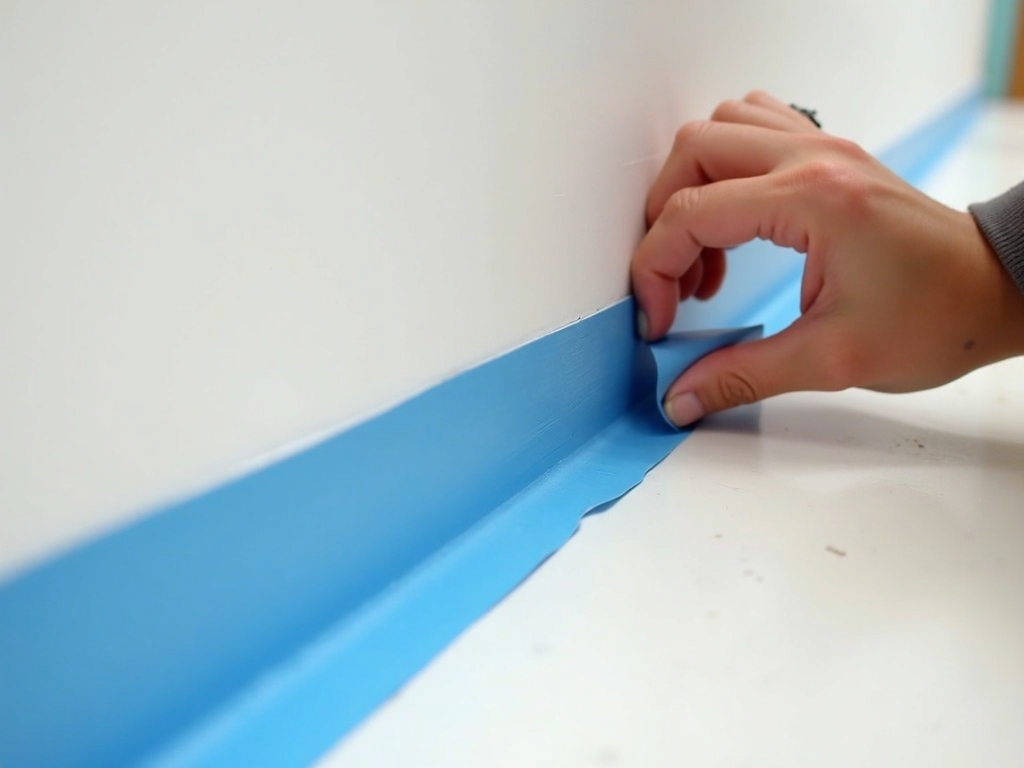
5. Tape and Mask
Use painter's tape to mask off areas you don't want to paint, such as trim, windows, and door frames. Apply the tape carefully, pressing it down firmly to prevent paint from bleeding underneath. For best results, use high-quality painter's tape designed for clean removal.
6. Prime (If Necessary)
Priming is essential if you're painting over a dark color with a lighter one, covering stains, or painting new drywall. A good primer will help the paint adhere better and provide a uniform finish. Apply the primer according to the manufacturer's instructions and let it dry completely.
DIY Painting Hacks for Perfect Results
Achieving a professional-looking paint job doesn't require years of experience. Here are some simple hacks to help you get flawless results:
-
Use a Paint Grid: Instead of a traditional paint tray, use a paint grid in your bucket. This allows for better roller saturation and less mess.
-
Cut In Before Rolling: Use a brush to paint along the edges and corners before using a roller on the larger areas. This technique, known as "cutting in," ensures even coverage.
-
Keep a Wet Edge: To avoid lap marks, always keep a wet edge while painting. This means overlapping each stroke while the paint is still wet.
-
Remove Tape Carefully: Once the paint is dry to the touch, remove the painter's tape slowly and at a 45-degree angle to prevent peeling.
These tips can make a significant difference in the quality of your paint job.
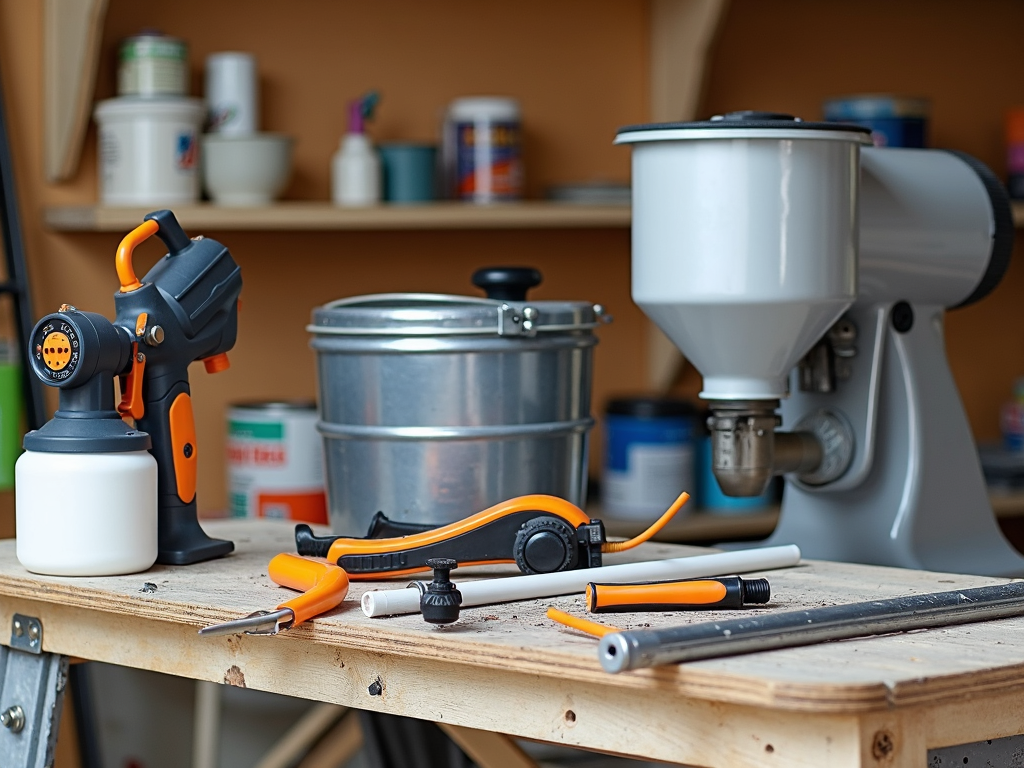
Innovative Painting Tools for Efficiency
Modern painting tools can save you time and effort while improving the quality of your work. Consider these innovative options:
-
Paint Sprayers: Ideal for large areas, paint sprayers provide a smooth, even coat quickly. They're especially useful for textured surfaces or hard-to-reach areas.
-
Paint Edgers: These tools help you achieve clean, straight lines along edges without the need for tape. They're perfect for cutting in around trim and ceilings.
-
Extension Poles: For high ceilings or stairwells, extension poles allow you to reach without ladders, making the job safer and faster.
-
Paint Mixers: Ensure your paint is thoroughly mixed for consistent color and texture with a paint mixer attachment for your drill.
Investing in these tools can make your painting project more efficient and enjoyable.
Summary
Prepping your room for painting is a crucial step that sets the stage for a successful project. By following these steps—choosing the right color, clearing and protecting the room, cleaning and repairing the walls, taping carefully, and using the right tools—you'll be well on your way to achieving a professional-looking finish. Remember, patience and attention to detail during the preparation phase will pay off in the end.
Quick Checklist:
- Choose the perfect paint color
- Clear the room of furniture
- Protect floors and remaining furniture
- Clean the walls thoroughly
- Repair any wall damage
- Tape off areas not to be painted
- Prime if necessary
- Use DIY hacks and innovative tools for best results
With your room properly prepped, you're ready to start painting and transform your space!
Related How to Prep Your Room for Painting:
- How to Paint a Room Like a Pro: A Step-by-Step Guide
- Essential Workman Tools for Metalworking: A Comprehensive Guide
- Top Workman Tools for Electricians: Must-Haves for Every Job
- Advanced Tool Maintenance Techniques: Ensuring Longevity and Efficiency
- How to Choose the Right Power Drill for Your Project
- The Ultimate Guide to the Best Wrench Sets for Construction Workers
- DIY Workshop Organization: Budget-Friendly Solutions for a Clutter-Free Workspace
- Essential Safety Gear for Electricians
- The Importance of Workplace Safety and Ergonomics
- Essential Workman Tools for Plumbing: A Complete Guide
- Essential Safety Tips for Using Power Tools: A Comprehensive Guide
- Beginner’s Guide to Power Tools: Drills, Saws, and More