Are you struggling to find space in your small workshop? You're not alone. Many craftsmen face the challenge of limited space. But with the right strategies, you can turn your cramped workshop into a model of efficiency. In this guide, we'll explore practical ways to maximize your small workshop space, from organizing your tools to optimizing your layout.
When I first started woodworking, my workshop was a tiny corner of my garage. Tools were scattered everywhere, and I could barely move without tripping. Over time, I figured out how to make the most of that small space. Let me share the strategies that turned chaos into order.
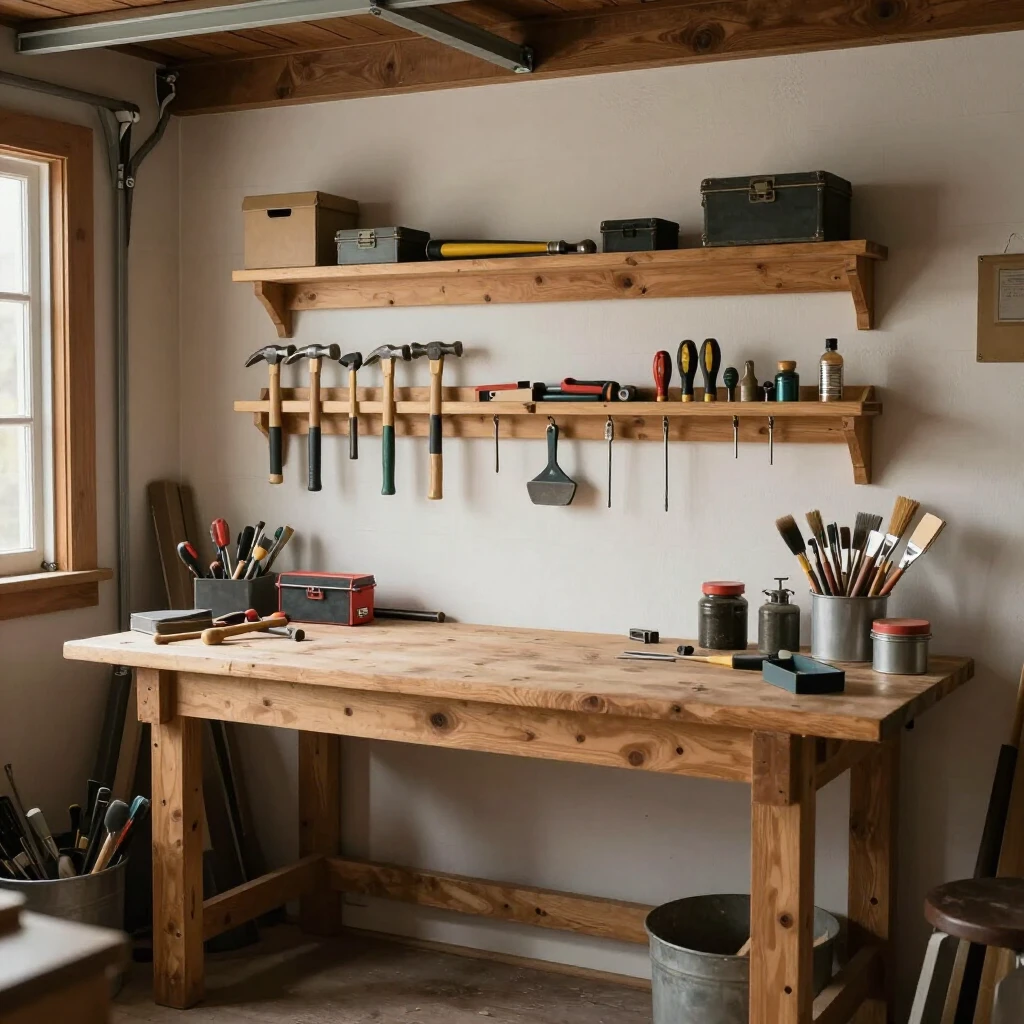
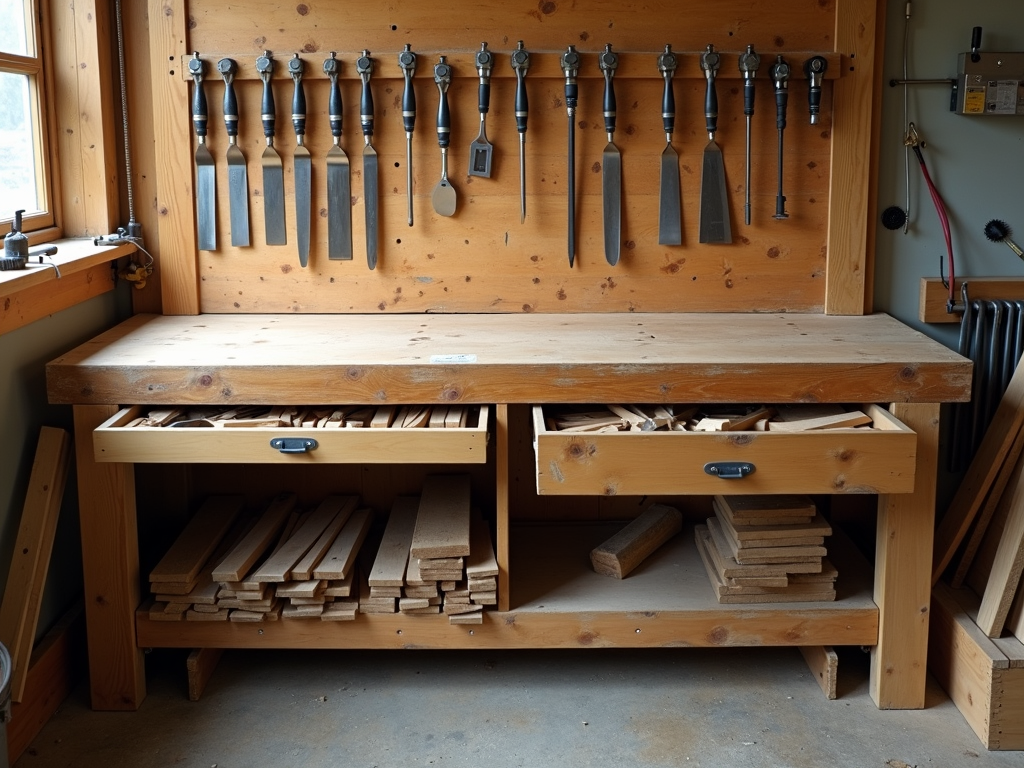
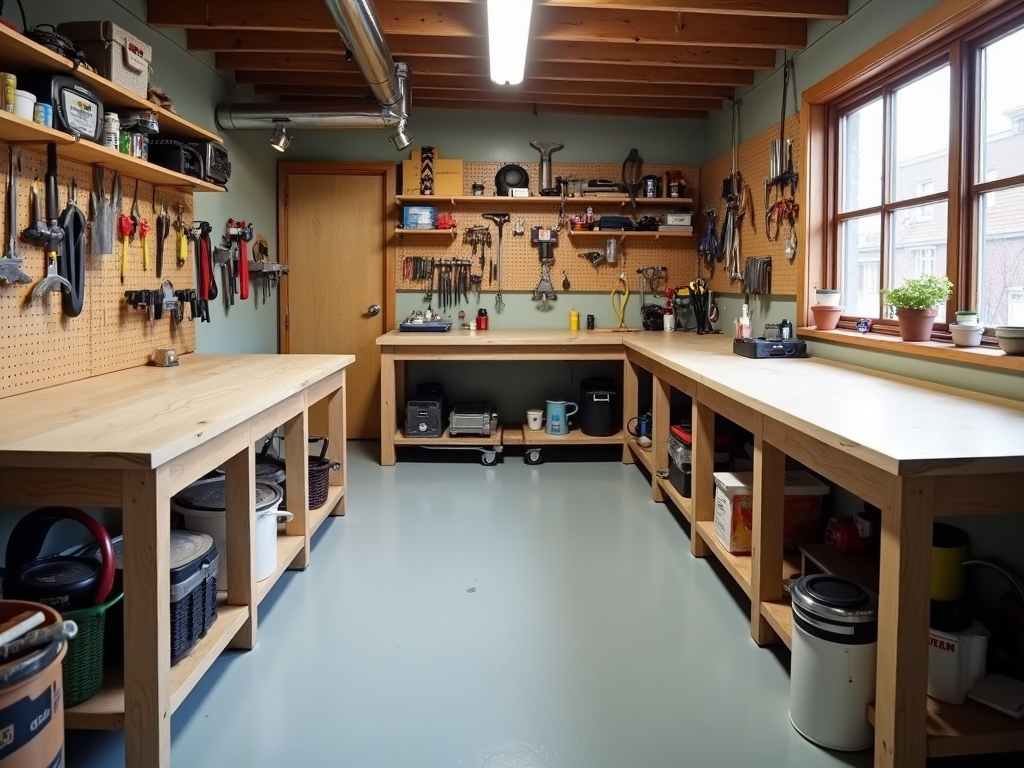
Organizing workman tools in a small space is a big challenge. Hammers, screwdrivers, and wrenches can eat up room fast. I tackled this by mounting a pegboard on the wall. Now, my most-used tools hang right where I need them, leaving my workbench free for projects.
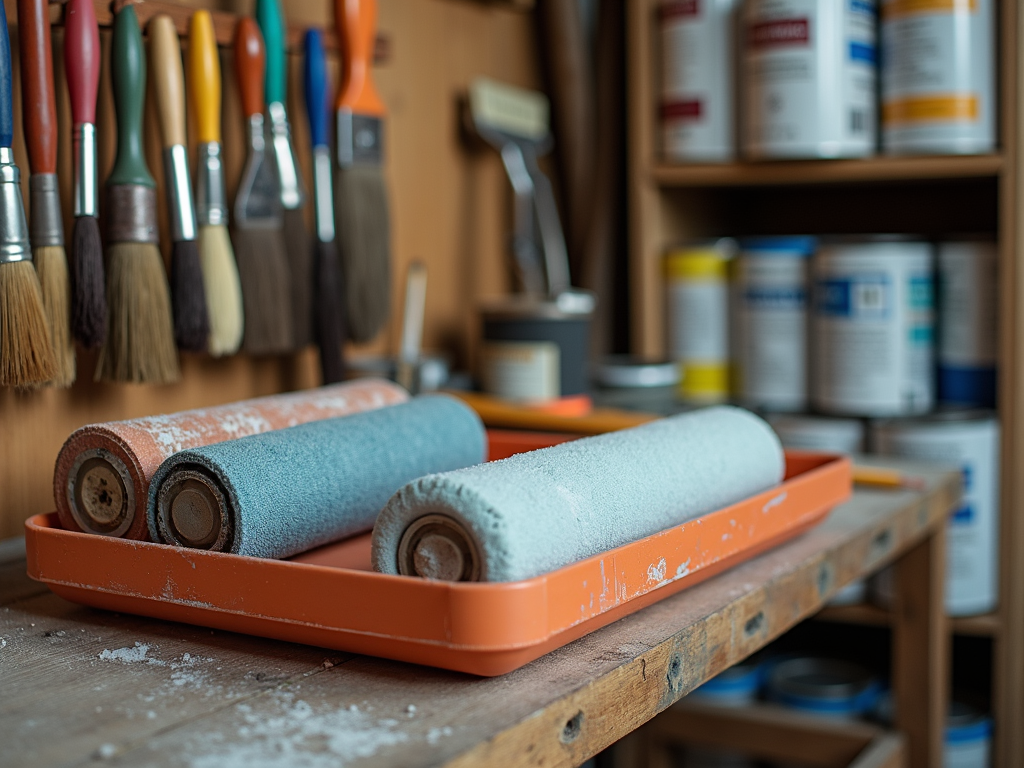
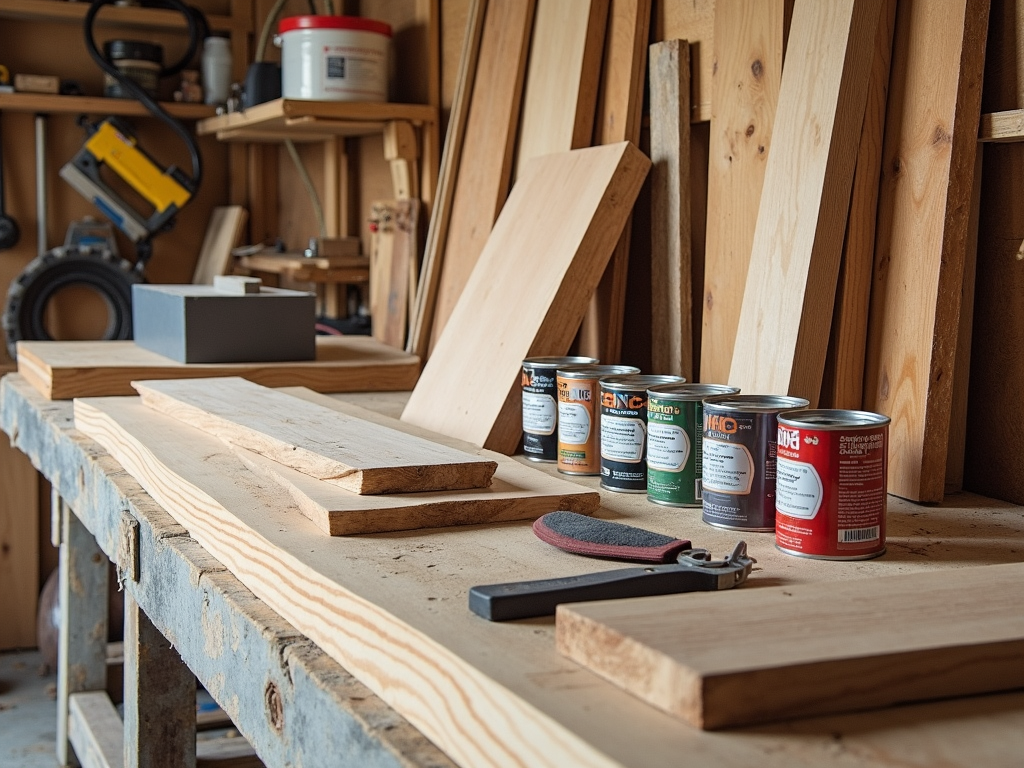
Painting tools, like brushes and rollers, need special attention in a small workshop. I used to toss them in a box, but they’d get ruined. Now, I hang brushes on a rack and store rollers in a covered tray. It keeps them ready to use and saves space.
Your workshop layout affects how well you work. In my small space, I set up my tools to cut down on steps. My saw sits next to the wood pile, so I don’t haul lumber far. Little changes like this make a big difference in efficiency.
Here are some quick space-saving tips I swear by:
- Use vertical storage: Shelves and pegboards free up floor space.
- Multi-purpose furniture: A workbench with drawers doubles as storage.
- Foldable tools: Collapsible items tuck away when not in use.
- Clear the floor: Less clutter means more room to move.
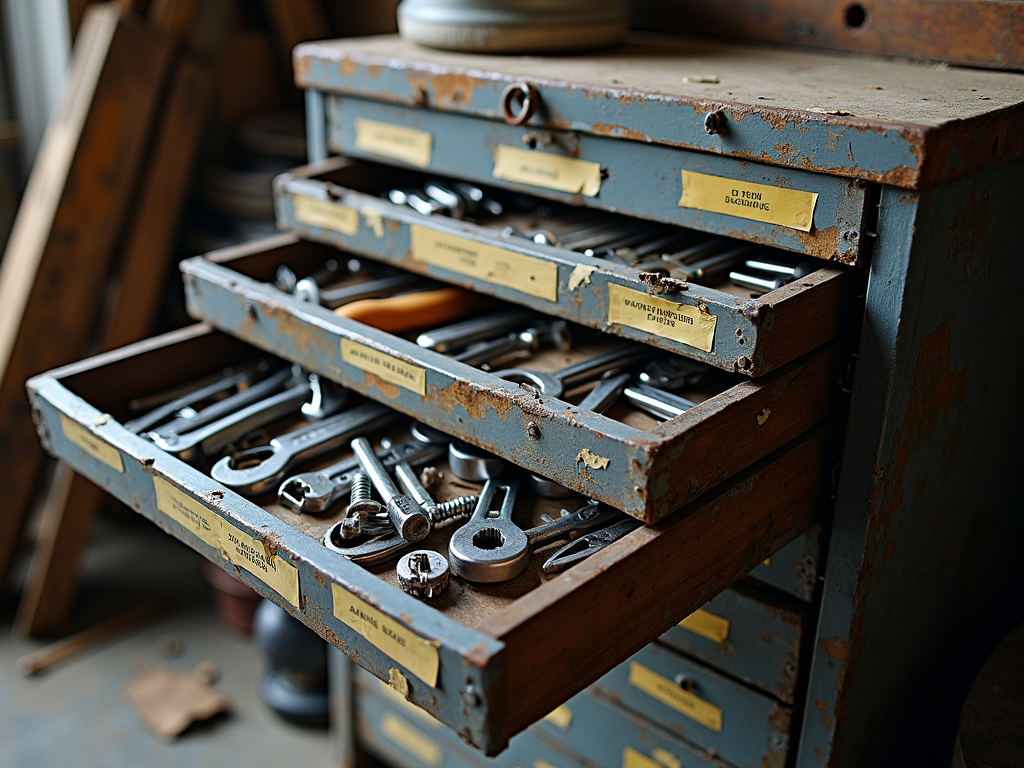
Workman tools are must-haves, but they can be bulky. My solution? A tool chest with drawers. I keep hammers and pliers sorted and labeled. It’s easy to find what I need without digging through a pile, and it fits snugly in a corner.
Painting tools deserve extra care to stay useful. I hang my brushes upside down so the bristles don’t bend. Rollers go in a lidded tray to stay moist. This setup keeps them in top shape and fits neatly on a shelf.
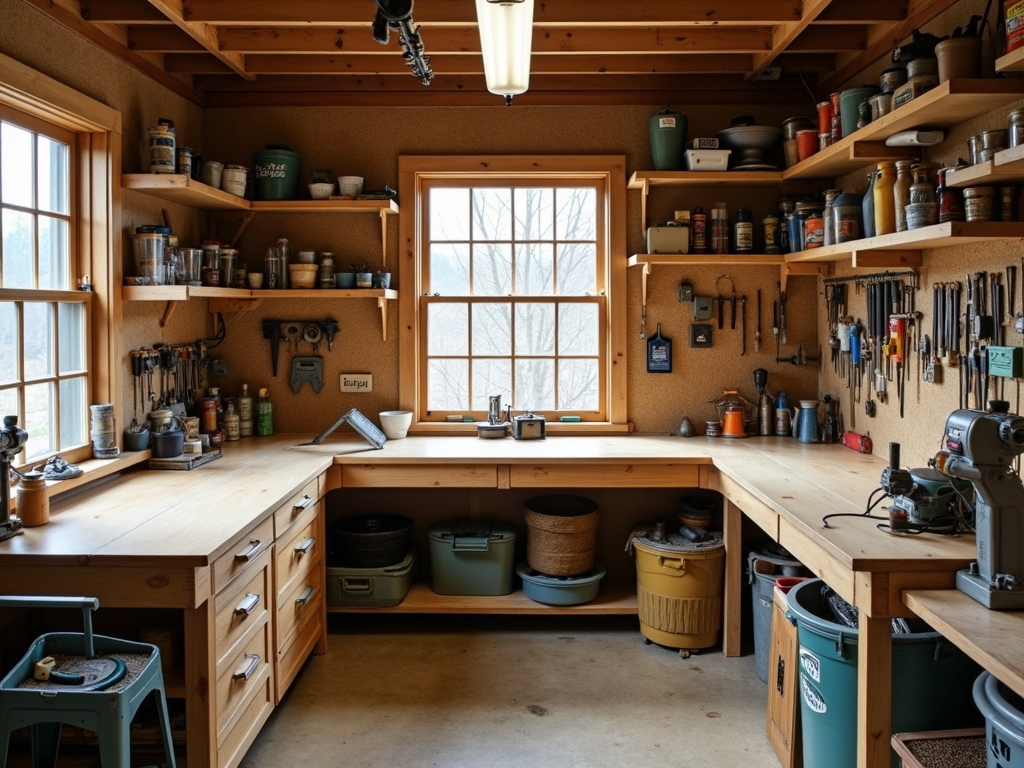
Every inch matters in a small workshop. I put shelves up to the ceiling for stuff I don’t use often, like extra sandpaper or old hardware. It’s out of the way but there when I need it, keeping my main area clear.

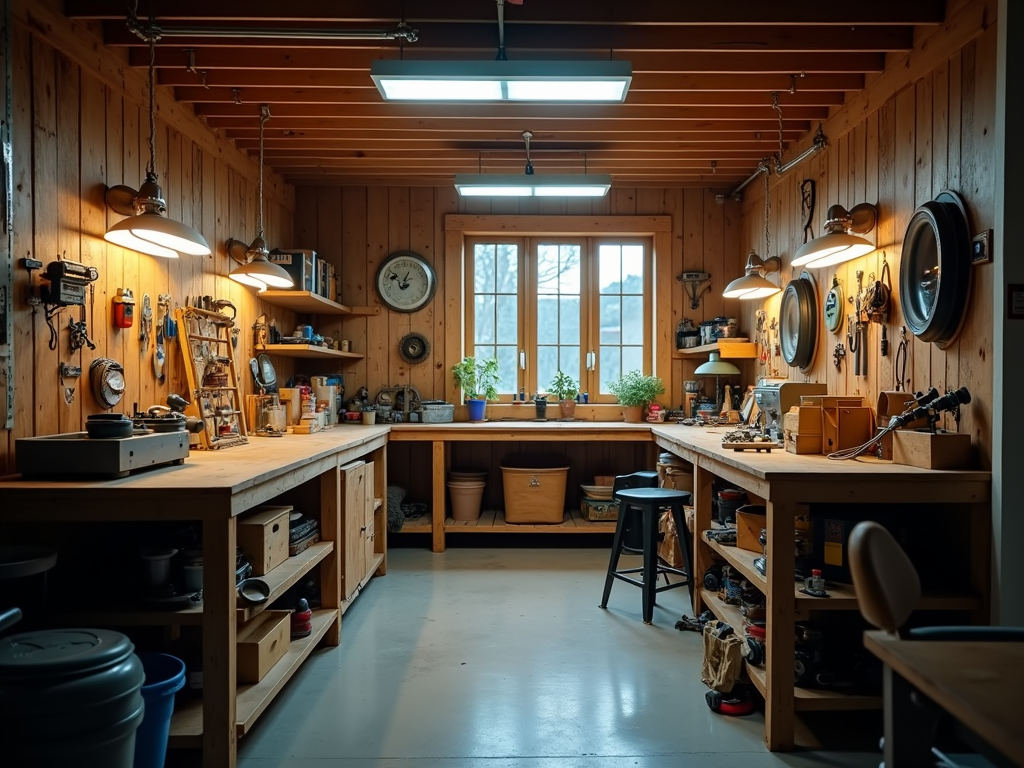
Lighting can make or break a small workshop. I swapped dim bulbs for bright LED lights. Now, I see every corner clearly. It makes the space feel bigger and keeps me from tripping over stray screws.
Workflow matters in tight spaces. I lined up my tools in the order I use them. Cutting tools stay near the raw wood, and finishing tools sit by the workbench. It’s a simple trick that saves time and effort.
A clean workshop runs better. After every project, I put tools back where they belong. It takes five minutes, but it stops clutter from piling up. Plus, I never waste time hunting for a lost drill bit.
Maximizing small workshop spaces takes some thought and effort. With vertical storage, smart furniture, and a good layout, you can turn a cramped corner into a workspace that works for you. Keep it organized, and you’ll feel the difference every day.
Related Maximizing Small Workshop Spaces:
- 10 Must-Have Tools for Every Workshop
- How to Choose the Right Workbench: A Comprehensive Guide for Every Maker
- Ergonomic Wrenches for Reducing Hand Strain: A Comprehensive Guide
- The Evolution of Workman Tools: From Past to Present
- Understanding Torque Specifications: A Comprehensive Guide
- Top 10 Essential Tools for Every DIY Enthusiast
- Essential Wrenches for Automotive Repair: A Mechanic’s Guide
- Choosing the Right Drill Bits for Electrical Installations: A Comprehensive Guide
- The Beginner's Guide to Essential Workman Tools
- Staying Safe with Hand Tools
- Understanding Multimeters: Features and Usage
- How to Choose the Right Electrical Tools for Your Project