DIY projects are a great way to save money, learn new skills, and add a personal touch to your home. But let's face it – working with tools can be dangerous if you're not careful. That's why safety should always be your number one concern. In this article, I'll share my personal experiences and insights on the essential gear and tools every DIY enthusiast needs, with a special focus on hammers. Whether you're hanging a picture frame or building a deck, having the right equipment and knowing how to use it safely can make all the difference.
Essential Safety Gear
First things first: safety gear. You might be tempted to skip this part, thinking, 'I'm just doing a small project, what could go wrong?' Trust me, I've been there, and I've learned the hard way that accidents can happen in the blink of an eye. So, here's what you need:
- Safety glasses: Protect your eyes from flying debris, dust, and other hazards. I once had a piece of wood chip fly into my eye while sanding, and let me tell you, it was not fun. Safety glasses are a must.
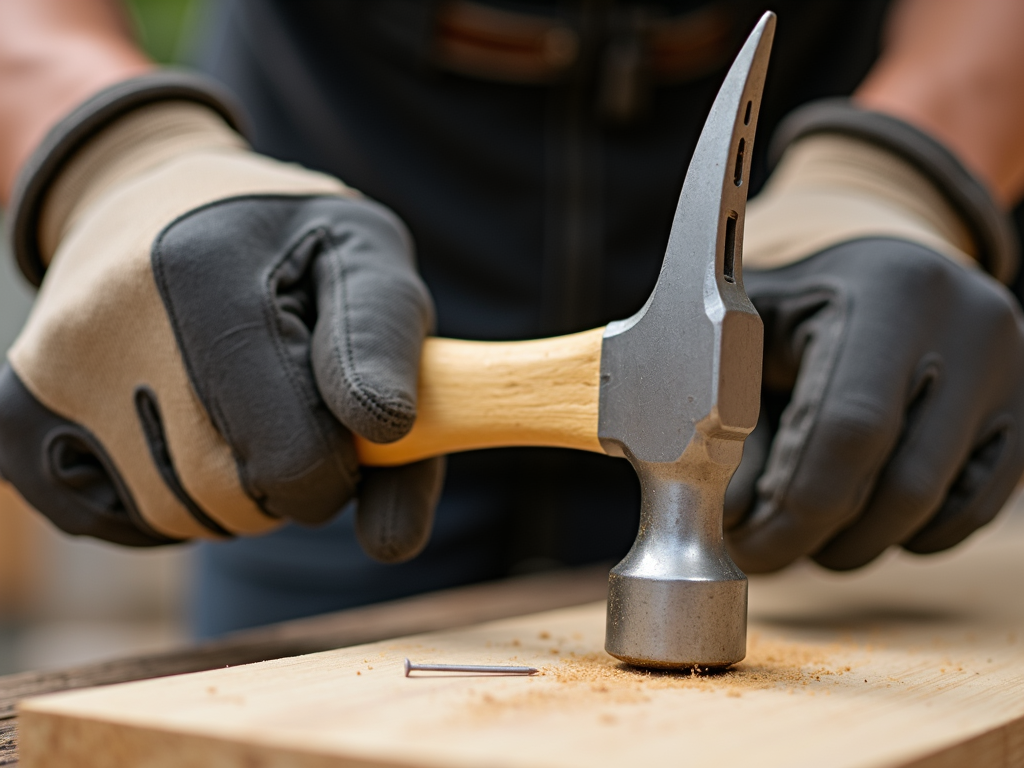
- Gloves: Choose gloves that fit well and are appropriate for the task. For general DIY work, I prefer leather gloves that offer good protection without sacrificing dexterity.
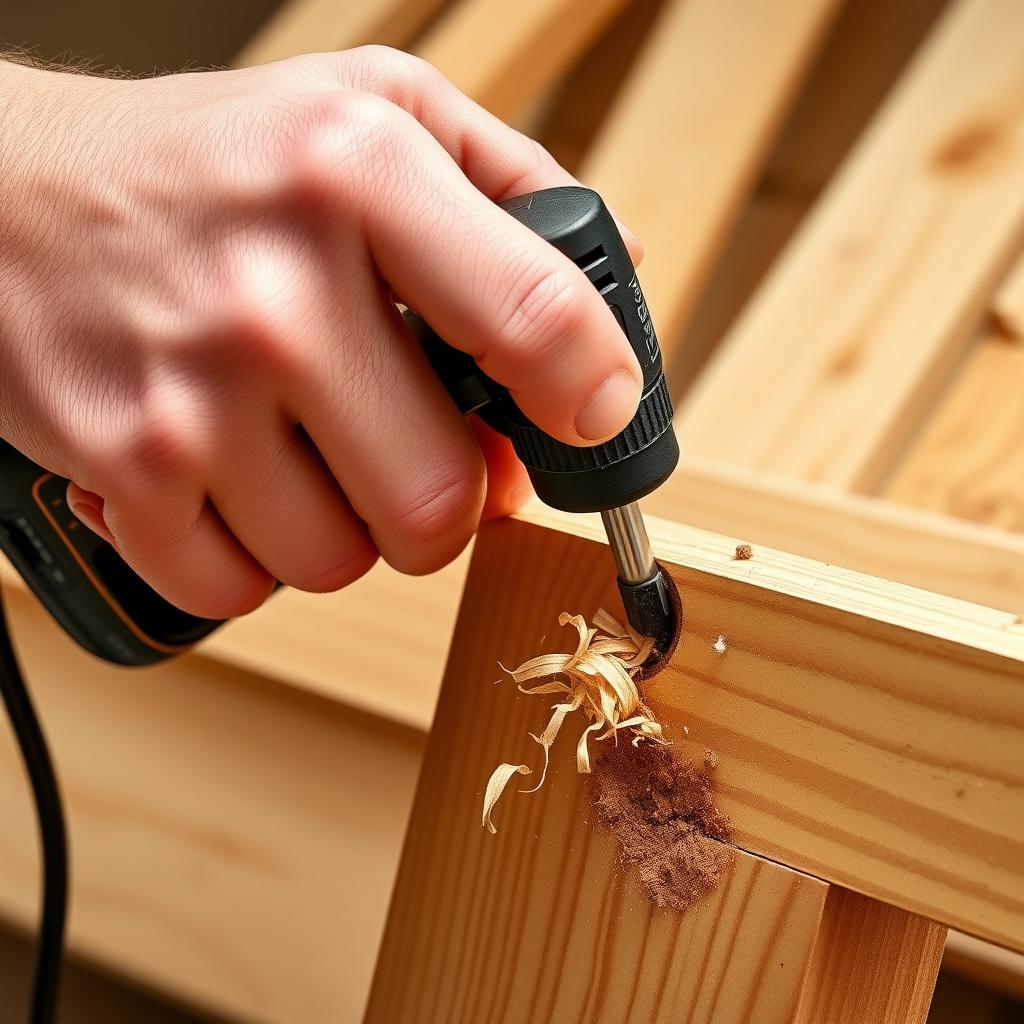
- Ear protection: If you're using power tools, especially in enclosed spaces, earplugs or earmuffs can save your hearing. I didn't realize how loud my drill was until I started using ear protection – what a difference!
- Dust mask: Even if you're just sanding a small piece of wood, a dust mask can prevent you from inhaling harmful particles. Better safe than sorry.
- Proper clothing: Wear clothes that fit well and aren't too loose, as they can get caught in tools. Also, closed-toe shoes are a must – no flip-flops in the workshop!

Basic Tools Every DIYer Needs
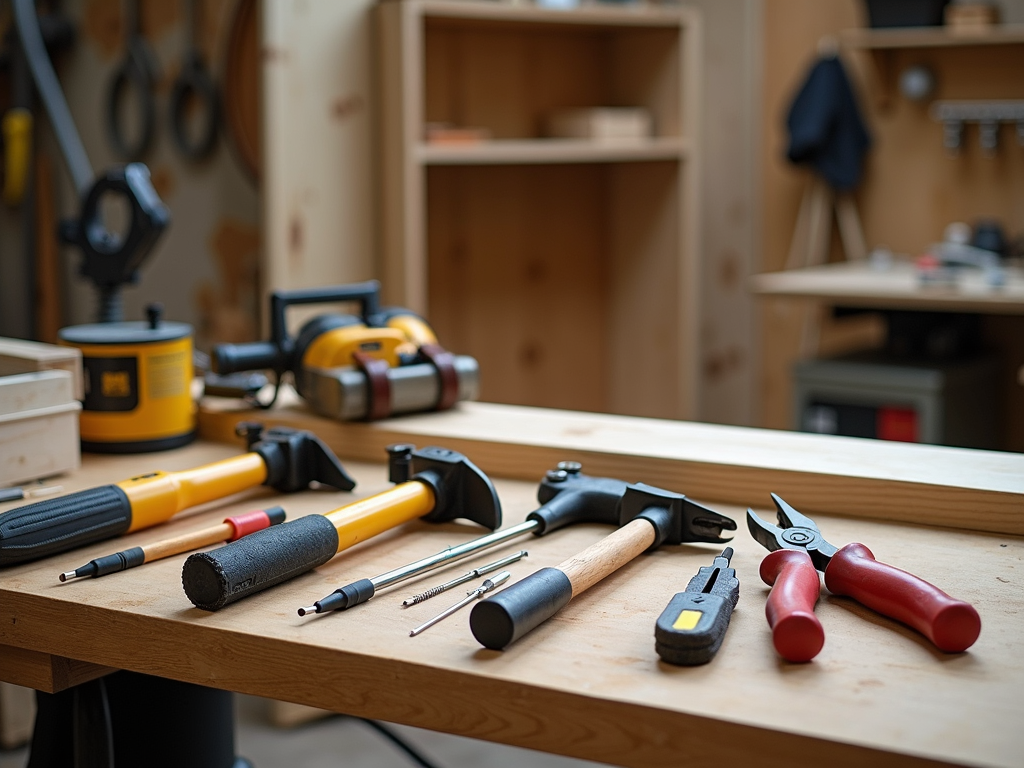
Once you've got your safety gear sorted, it's time to talk tools. Every DIYer needs a basic set of tools to tackle a variety of projects. Here's what I consider essential:
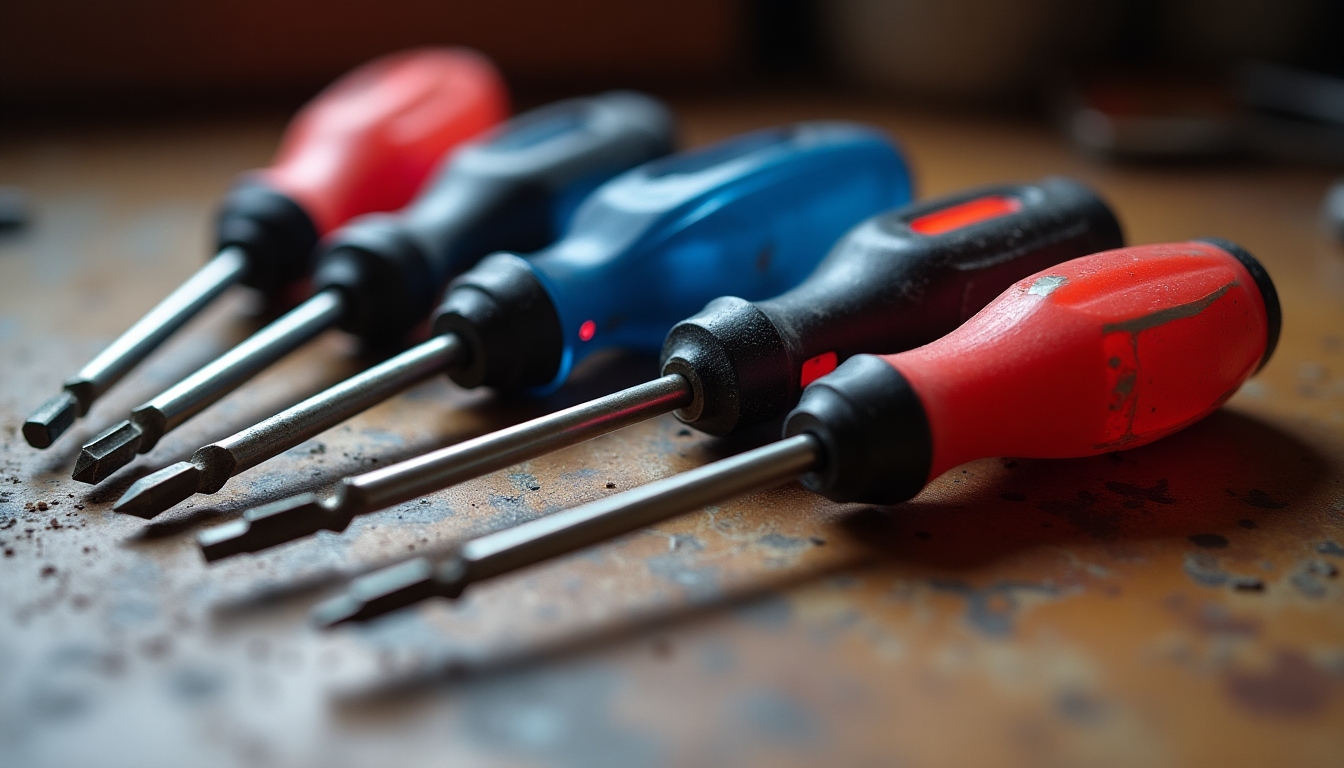
- Screwdrivers: Both flathead and Phillips head, in various sizes. I also recommend getting a screwdriver set with interchangeable bits for versatility.
- Pliers: A good pair of needle-nose pliers and a set of adjustable pliers will cover most needs.
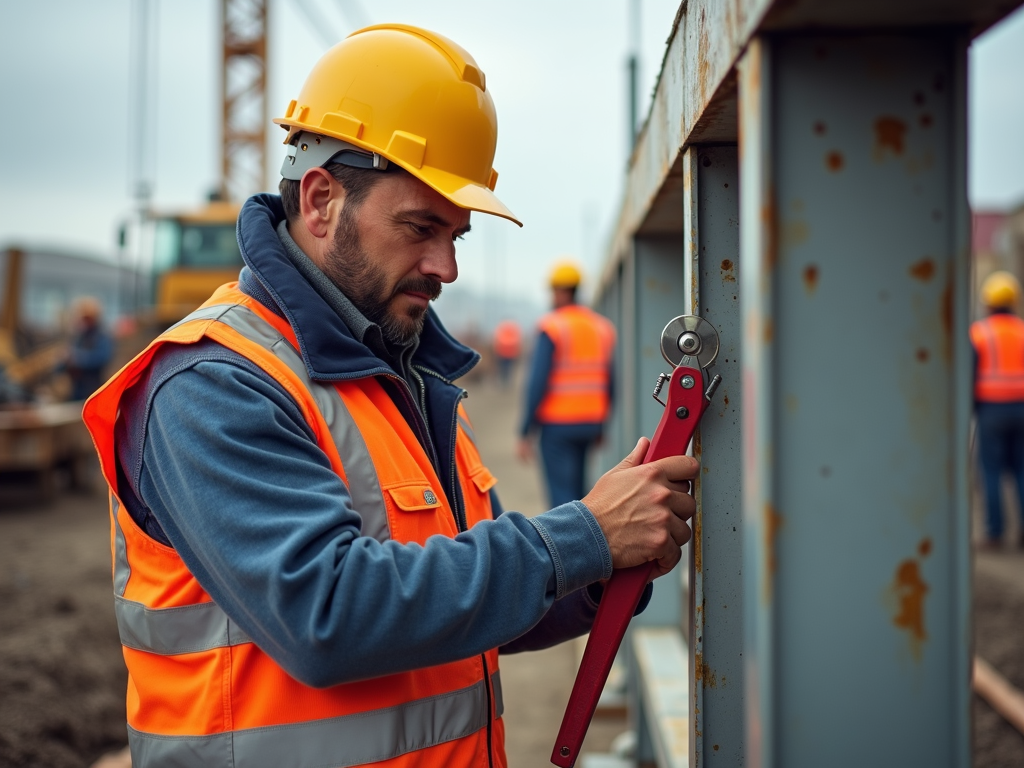
- Wrenches: An adjustable wrench is a must, and if you can, get a set of combination wrenches for different bolt sizes.
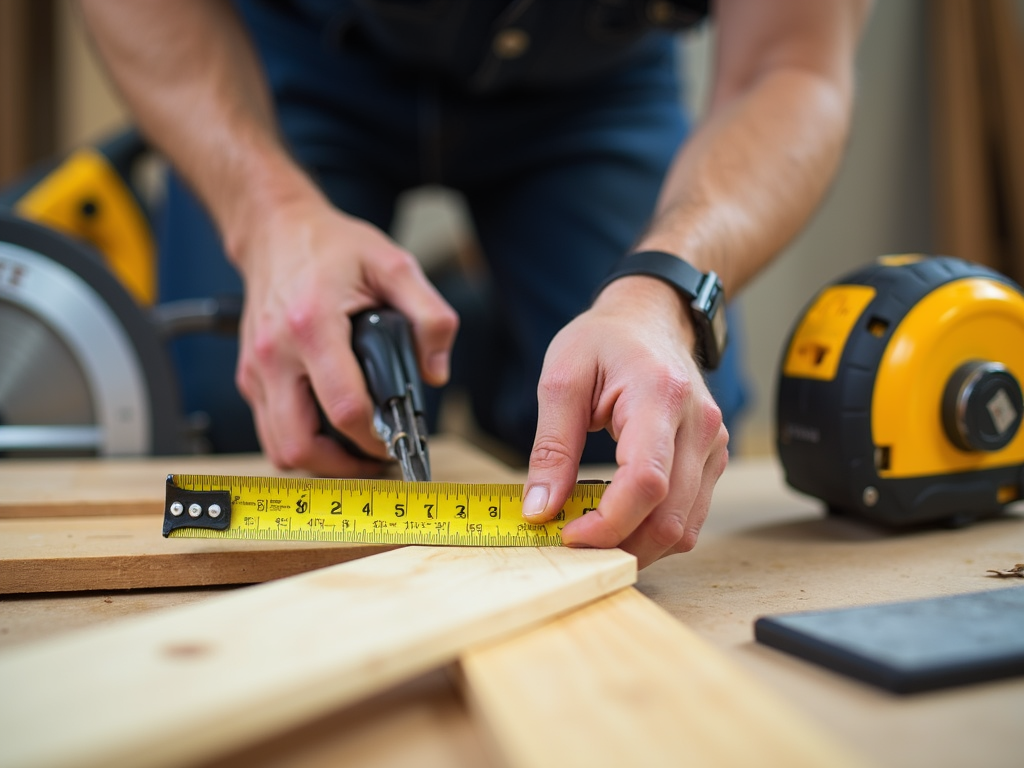
- Tape measure: Accurate measurements are key to successful projects. I prefer a 25-foot tape measure with both imperial and metric markings.
- Level: For hanging pictures, shelves, or anything that needs to be straight.
- Utility knife: Great for cutting various materials.
- Hammers: We'll dive deeper into hammers in the next section.
These are just the basics, but with these tools, you can handle a wide range of DIY tasks.

Understanding Hammers: Types and Uses
Hammers are one of the most versatile and commonly used tools in any DIYer's arsenal. But did you know there are different types of hammers designed for specific tasks? Let's explore the most common types and their uses.
| Type | Description | Common Uses |
|---|---|---|
| Claw Hammer | Flat face and curved claw | Driving and removing nails |
| Ball-Peen | Flat face and rounded peen | Metalworking, striking tools |
| Sledgehammer | Heavy, with a large flat face | Demolition, driving stakes |
| Mallet | Soft head (rubber, wood, plastic) | Assembling furniture, chiseling |
| Framing Hammer | Long handle, waffle-faced head | Heavy-duty framing in construction |
When choosing a hammer, consider the task at hand. For general use, a claw hammer is your best bet. But if you're working on a specific project, like metalworking or demolition, you might need a specialized hammer.

Choosing the Right Hammer for Your Project
So, how do you choose the right hammer for your project? Here are some tips:
- Material: If you're working with wood, a claw hammer or mallet is usually sufficient. For metal, a ball-peen hammer is better. For demolition, go with a sledgehammer.
- Weight: Heavier hammers deliver more force but can be tiring to use. For most DIY tasks, a 16-ounce claw hammer is a good choice. If you're doing delicate work, like hanging pictures, a lighter hammer might be better.
- Handle: Hammers come with wooden, fiberglass, or steel handles. Wooden handles are traditional and absorb shock well, but they can break. Fiberglass and steel handles are more durable. I personally prefer fiberglass for its balance of durability and comfort.
- Grip: Look for a hammer with a comfortable, non-slip grip. This will help prevent accidents and reduce fatigue during extended use.
Remember, the right hammer can make your project easier and safer. Don't be afraid to invest in a quality tool – it'll pay off in the long run.
Safety Tips When Using Hammers
Using a hammer might seem straightforward, but there are some important safety tips to keep in mind:
- Always wear safety glasses to protect your eyes from flying debris.
- Use the right hammer for the job. Using the wrong type can lead to accidents or damage to your project.
- Check the hammer for damage before use. A loose head or cracked handle can be dangerous.
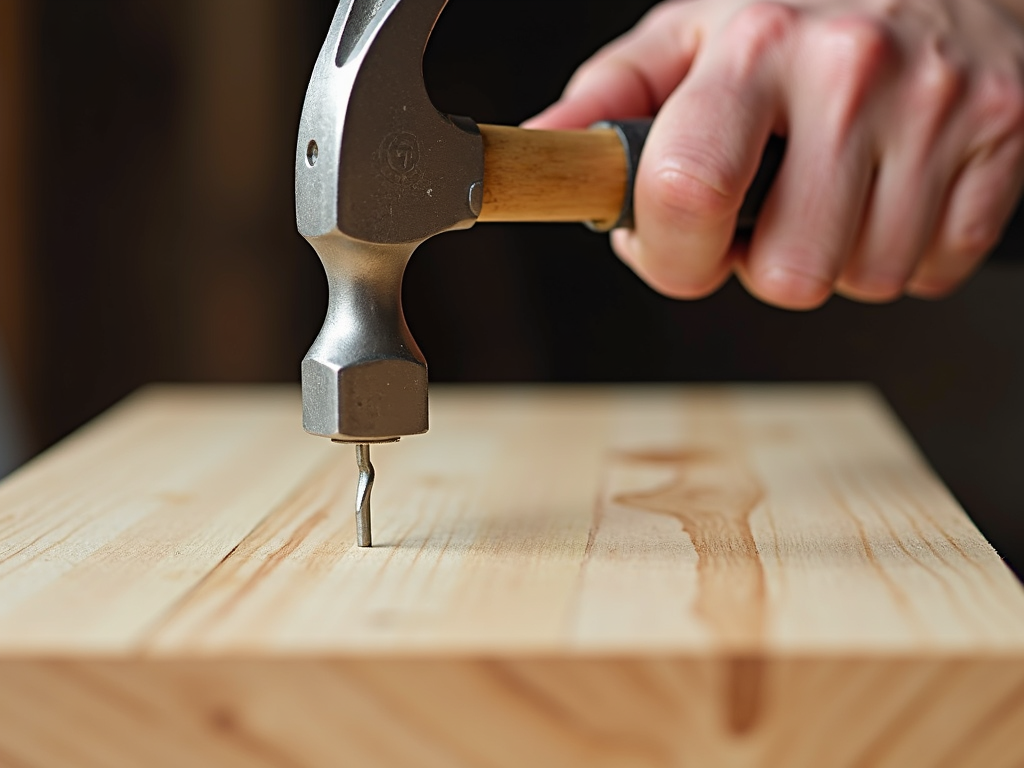
- Grip the hammer firmly but not too tightly. Hold it near the end of the handle for better control.
- Strike the nail squarely to avoid bending it or having it fly out.
- Be aware of your surroundings. Make sure there's enough space to swing the hammer without hitting anything or anyone.
- If you're removing nails, use the claw carefully to avoid pinching your fingers.
- Store hammers properly when not in use, with the head down to prevent it from falling.
By following these tips, you can minimize the risk of injury and ensure your DIY projects go smoothly.
Maintaining Your Tools
Taking care of your tools is just as important as using them safely. Proper maintenance can extend the life of your tools and ensure they perform well when you need them. Here are some tips for maintaining your hammers and other tools:
- Clean after use: Wipe down your tools with a dry cloth to remove dust and debris. For hammers, make sure to clean the head and handle.
- Inspect regularly: Check for any signs of wear or damage, like cracks in the handle or a loose head. If you find any issues, repair or replace the tool.
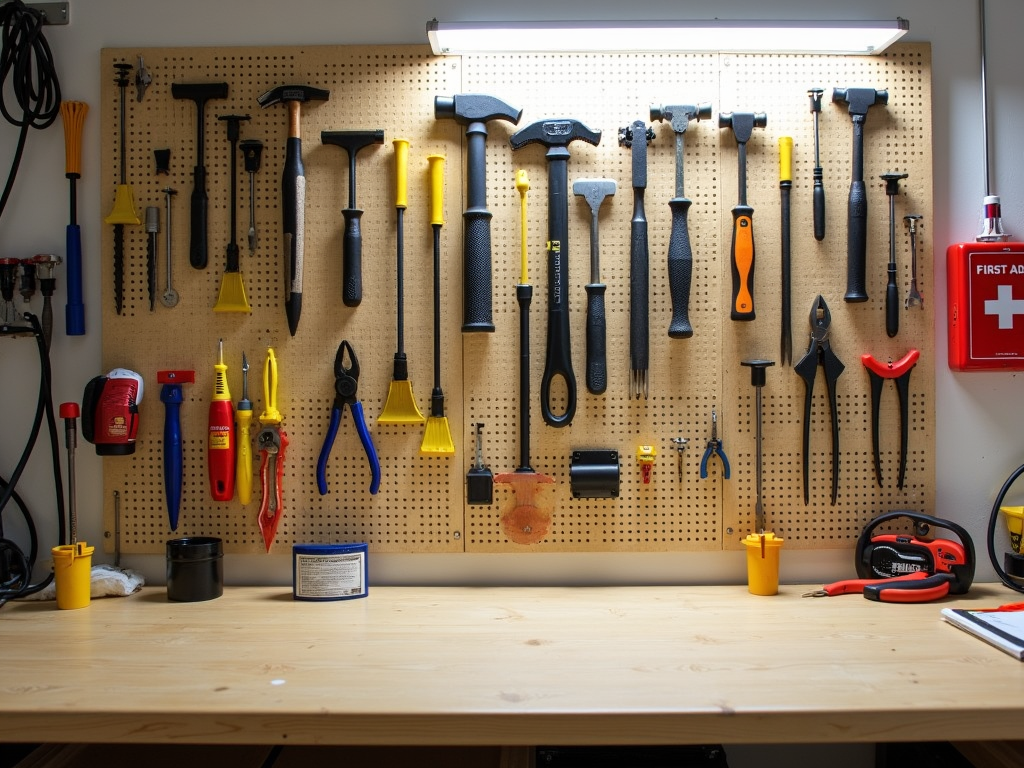
- Store properly: Keep your tools in a dry, organized space. For hammers, store them with the head down to prevent accidents.
- Lubricate moving parts: If your hammer has any moving parts, like an adjustable claw, apply a light oil to keep them functioning smoothly.
- Sharpen as needed: While hammers don't typically need sharpening, other tools like chisels or planes do. Keep them sharp for better performance.
By taking these simple steps, you can keep your tools in top condition and ready for your next project.
Common DIY Mistakes and How to Avoid Them
Even with the best intentions, it's easy to make mistakes when you're new to DIY. Here are some common safety-related mistakes and how to avoid them:
- Not wearing safety gear: We've covered this, but it's worth repeating. Always wear appropriate safety gear, even for small projects.
- Using the wrong tool for the job: This can lead to accidents or damage to your project. Take the time to learn which tool is best for each task.
- Rushing the job: DIY projects take time, and rushing can lead to mistakes. Plan your project, take breaks when needed, and don't cut corners.
- Ignoring instructions: Whether it's for a tool or a project plan, instructions are there for a reason. Read them carefully and follow them.
- Working alone on dangerous tasks: For tasks that involve heavy lifting or potential hazards, it's safer to have a helper.
By being aware of these common mistakes, you can take steps to avoid them and ensure your DIY projects are successful and safe.
Conclusion
In conclusion, safety should always be your top priority when tackling DIY projects. By equipping yourself with the essential safety gear and tools, understanding the different types of hammers, and following proper safety practices, you can enjoy your DIY adventures with confidence. Remember, it's better to take a few extra minutes to prepare than to deal with the consequences of an accident. Happy DIYing!
Related Safety First: Essential Gear for Every DIY Enthusiast:
- Advanced Hammer Techniques for Experienced DIYers
- Top 10 DIY Projects for Beginners: A Comprehensive Guide
- How to Maintain Your Tools for Longevity: A Practical Guide
- The Ultimate Guide to Workman Tools for Contractors
- The Ultimate Guide to Hand Tools Safety Guidelines
- Best Wrench Sets for Construction Workers: Top Picks for 2023
- DIY Projects: How to Choose the Right Tools for the Job
- Maximizing Efficiency with Smart Toolboxes
- Innovative Workman Tools for Efficiency: A Comprehensive Guide
- Top 10 Must-Have Tools for Construction Workers
- Choosing the Right Tools for Your Trade
- Must-Have Hand Tools for Every Beginner: A Comprehensive Guide