Ever wonder why your tools don’t cut like they used to? Dull edges could be the culprit. Sharp tools make your projects easier, safer, and more precise. This guide covers everything you need to know about sharpening, from basic steps to advanced tricks. Let’s get your tools back in action!
Why Sharp Tools Matter
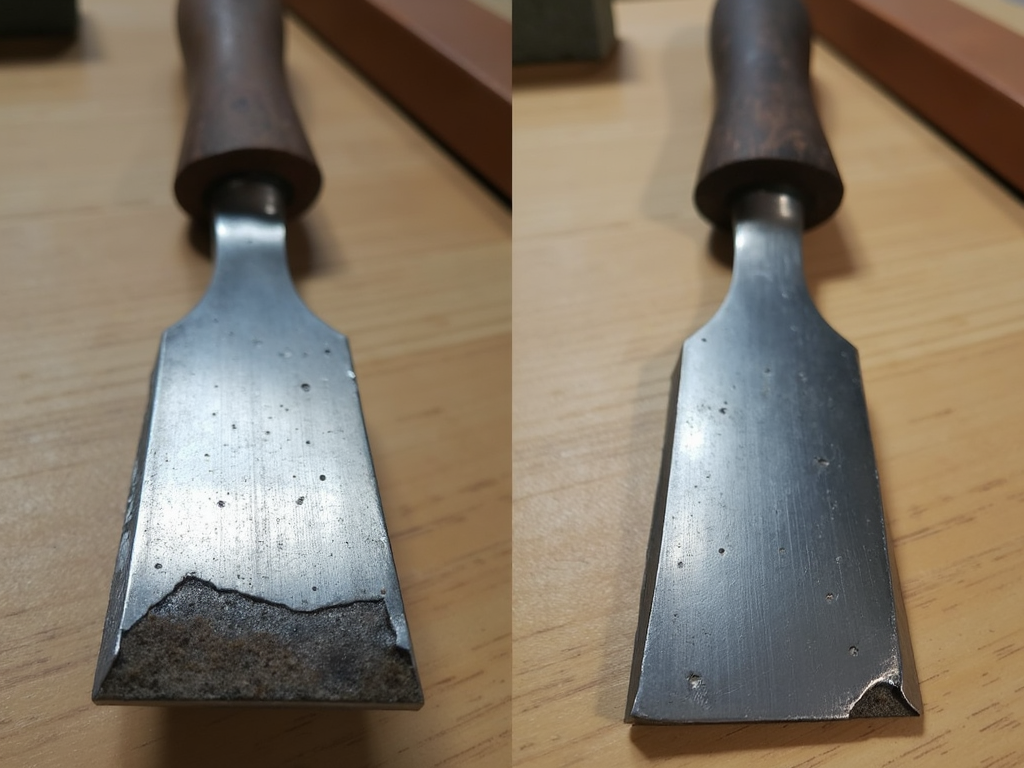
A sharp tool is a game-changer. It slices through wood or metal with ease, saving you effort. Dull tools? They’re a hassle—slipping, tearing materials, or even causing injuries. I’ve seen it myself: a blunt chisel once ruined a project and nearly took my thumb! Keeping your tools sharp isn’t just about performance; it’s about safety too. Studies from the U.S. Occupational Safety and Health Administration (OSHA) show that well-maintained tools reduce workplace accidents.
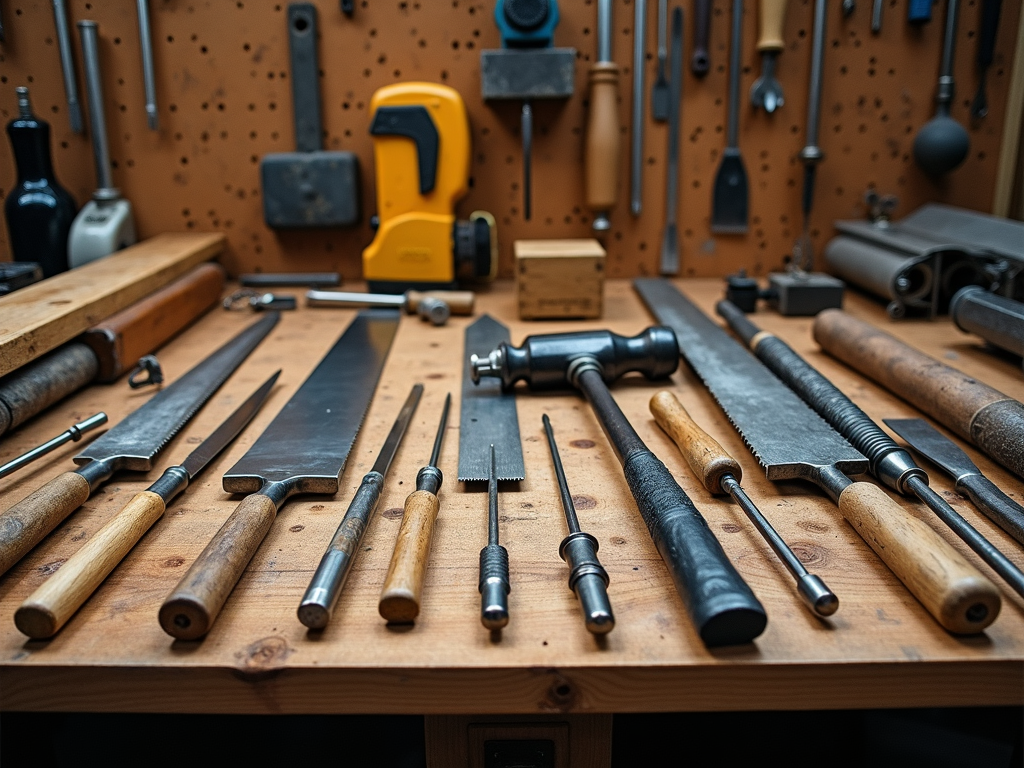
Tools You’ll Need to Start
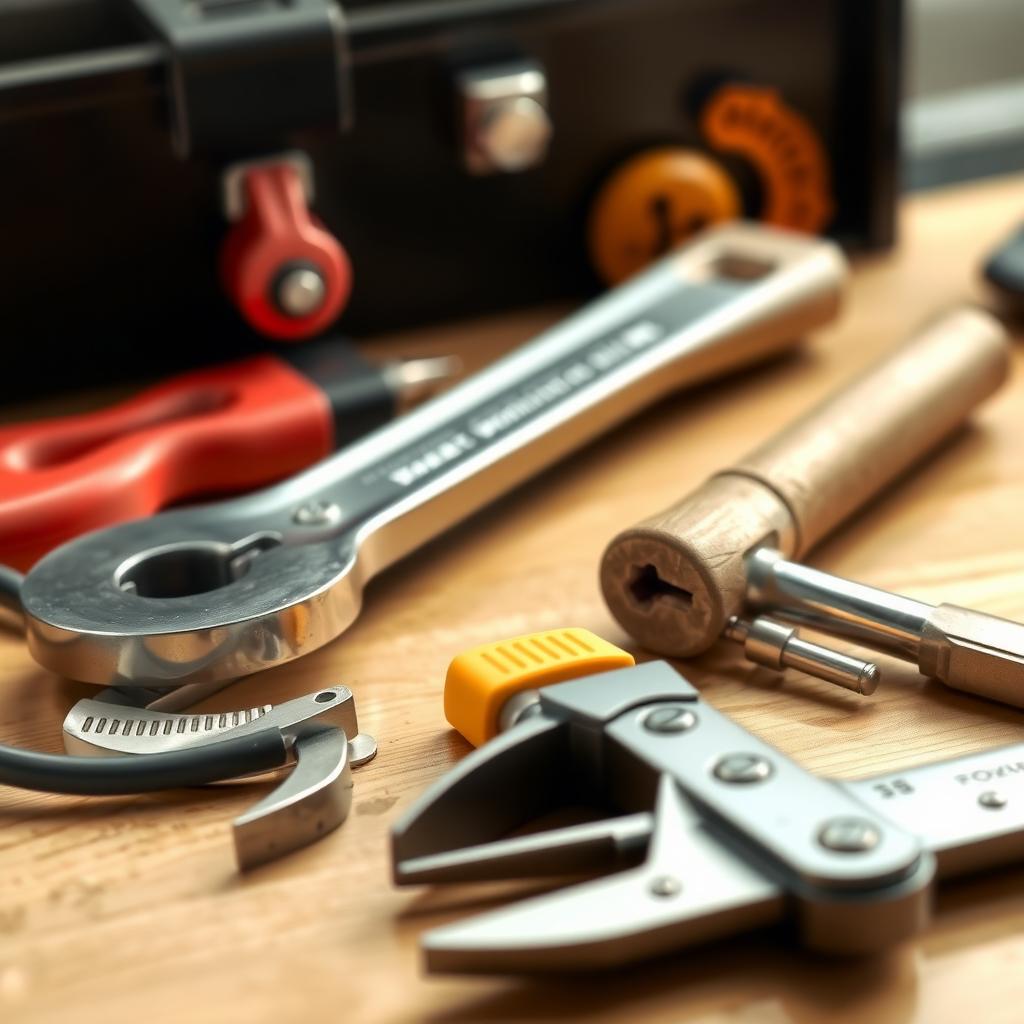
You don’t need a fancy setup to sharpen tools—just a few essentials. Here’s what I recommend for workman tools for beginners:
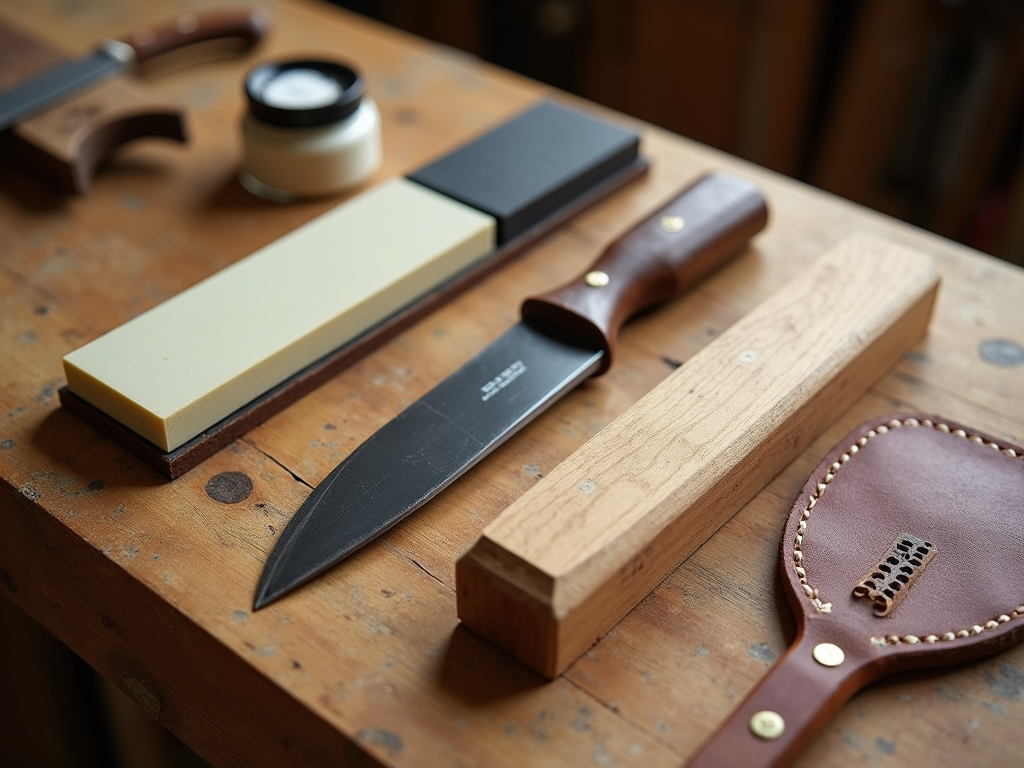
- Sharpening Stones: Get a coarse one (around 300 grit) for reshaping and a fine one (1000+ grit) for polishing.
- Honing Guide: This keeps your angle steady—great if you’re new to this.
- Leather Strop: Paired with polishing compound, it gives your edge a razor finish.
I started with a cheap stone and guide. They weren’t perfect, but they taught me the basics. Quality matters, though—invest in good stones when you can.
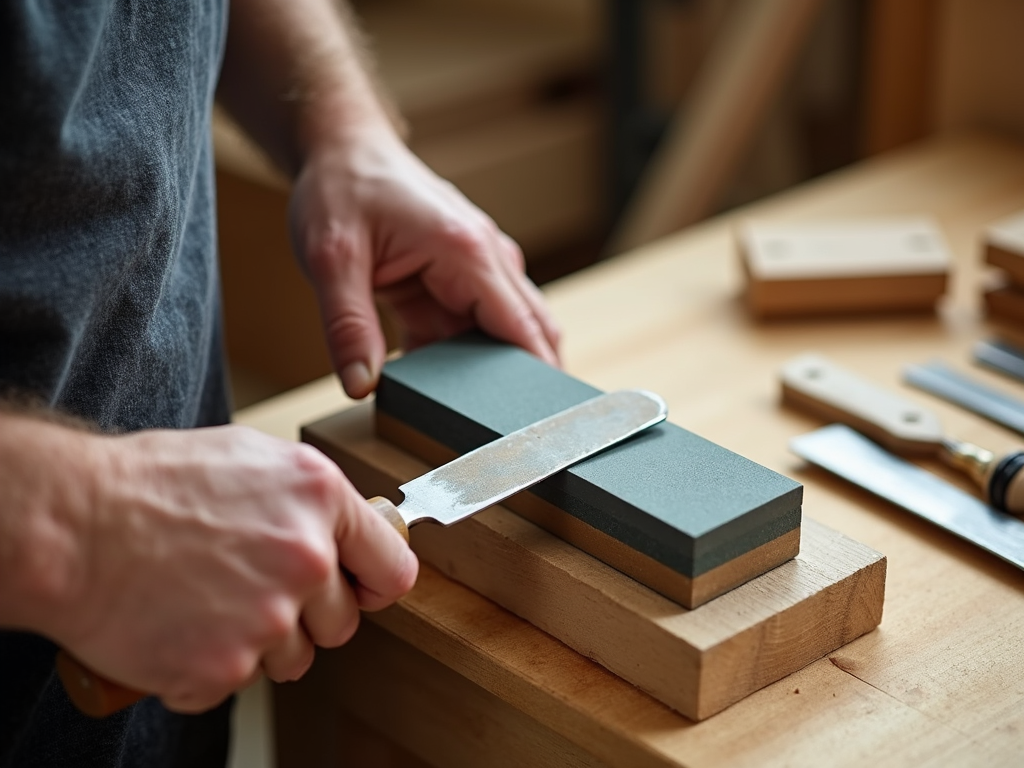
How to Sharpen: Step by Step
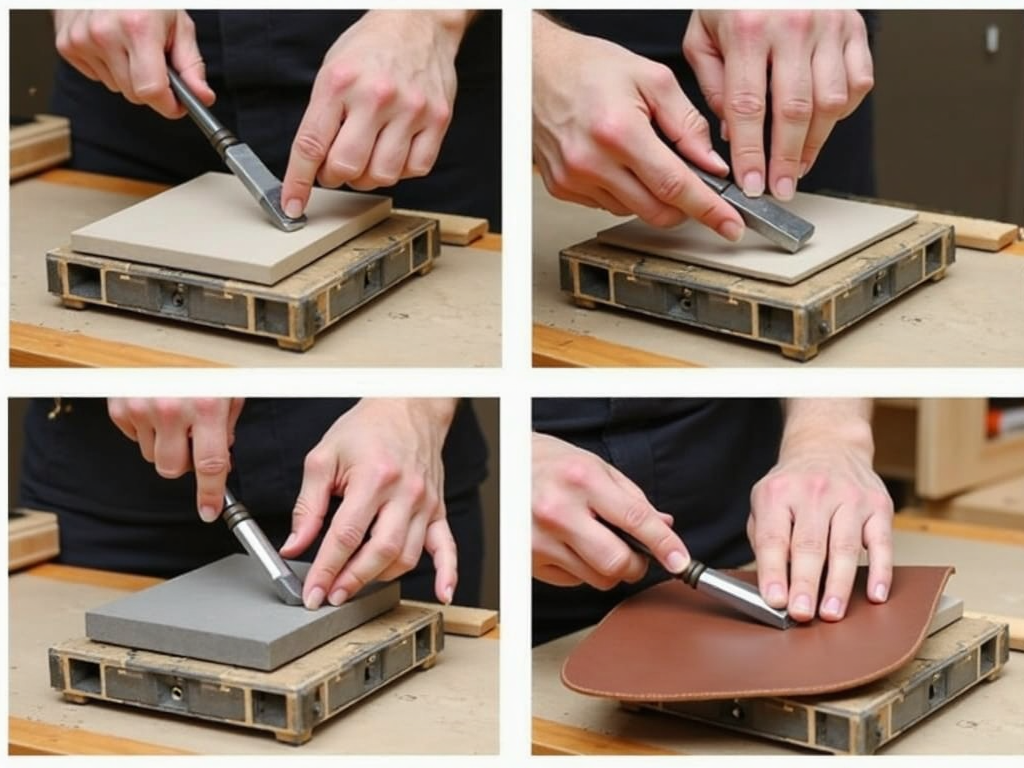
Sharpening isn’t hard once you get the hang of it. Here’s my go-to process for a chisel or plane blade:
- Prep the Tool: Wipe off dirt and rust. Secure it in a honing guide if you’ve got one.
- Coarse Stone First: Rub the edge back and forth on the coarse stone. Keep the angle steady—around 25-30 degrees works for most tools. You’ll see a burr form; that’s a good sign.
- Fine Stone Next: Switch to the fine stone to smooth the edge. Less pressure here—just refine it.
- Strop It: Finish with a strop. A few passes remove the burr and leave the edge gleaming.
Patience is key. My first try took an hour, but now it’s 15 minutes tops.
Common Mistakes to Avoid
I’ve messed up plenty, so learn from me:
- Wrong Angle: Too steep, and your edge dulls fast; too shallow, and it won’t cut. Stick to a consistent angle.
- Skipping Steps: Don’t jump from coarse stone to strop—you’ll just waste time.
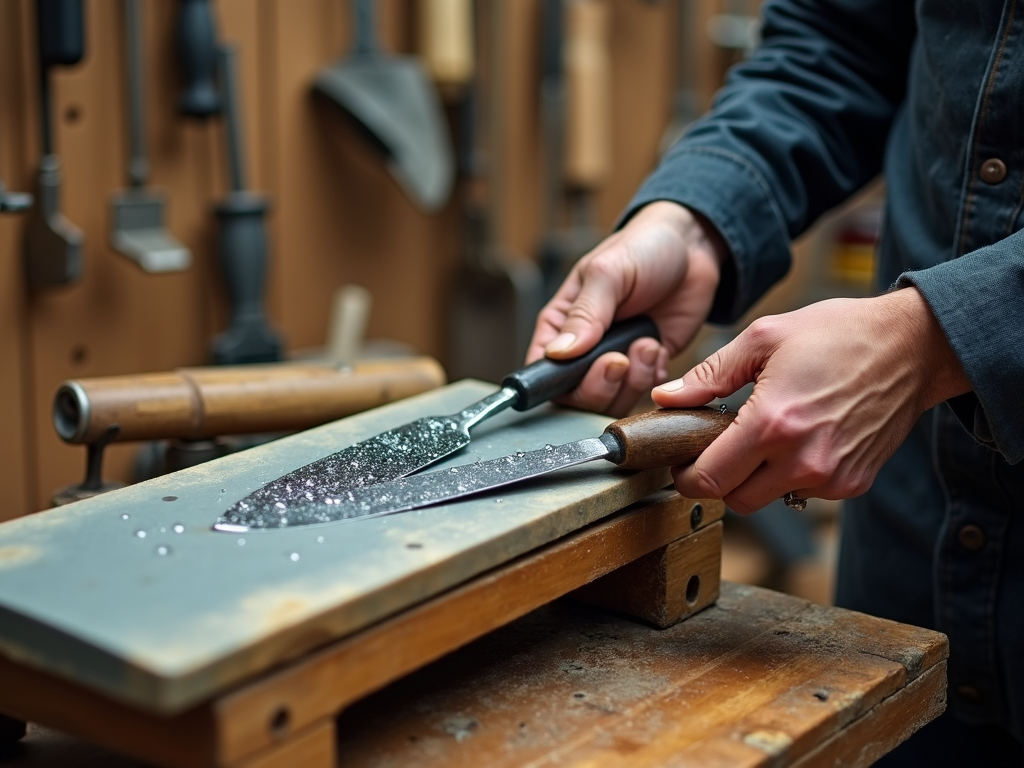
- Dry Stones: Wet your stones with water or oil (check the type). Dry grinding heats the metal and ruins the temper. Purdue University’s engineering research backs this up—heat can weaken tool steel.
Advanced Tool Maintenance Techniques
Once you’ve got the basics, level up with these pro tips:
- Diamond Stones: For tough metals like high-speed steel, these cut faster than regular stones. I switched to one for my router bits—huge difference.
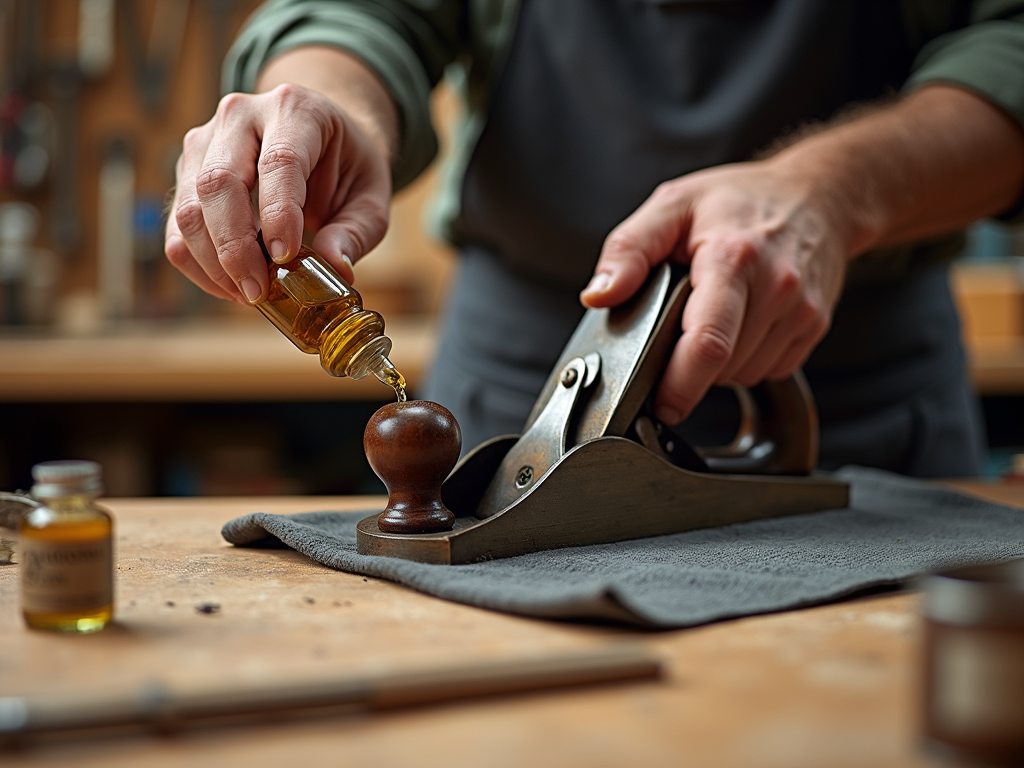
- Rust Protection: After sharpening, wipe tools with oil. I use mineral oil; it’s cheap and effective.
- Micro-Bevels: Add a tiny second angle (a degree or two steeper) to the edge. It sharpens quicker next time.
These tricks keep my tools ready for anything, from rough carpentry to fine detailing.
Choosing the Right Stone
Not sure which stone to buy? Here’s a quick table:
| Type | Grit | Best For |
|---|---|---|
| Coarse Stone | 200-400 | Damaged or dull edges |
| Medium Stone | 800-1000 | General sharpening |
| Fine Stone | 3000+ | Polishing |
| Diamond Stone | Varies | Hard metals |
I keep a medium and fine combo on hand. It covers most jobs without breaking the bank.
Toolboxes and Storage
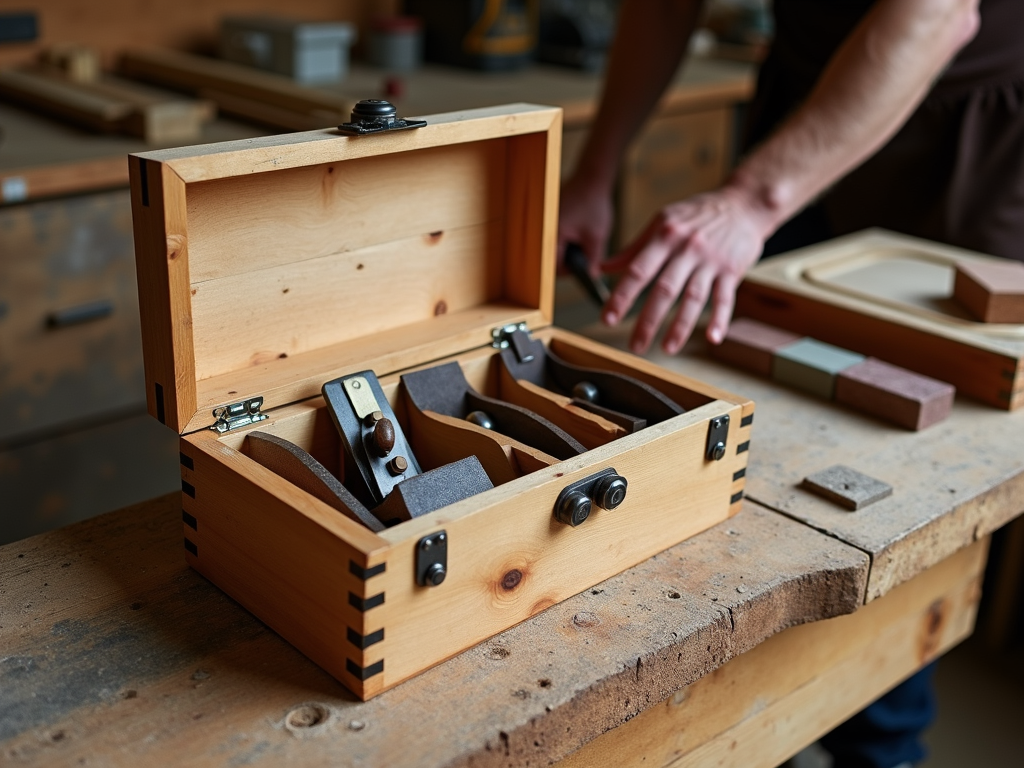
Sharp tools deserve good care. A solid toolbox keeps them safe and organized. I use a wooden one with slots for my chisels and planes—it’s simple but works. Keep your sharpening gear in there too; it’s handy to have everything together. A cluttered shop leads to damaged edges, and I’ve learned that the hard way.
My Take: Why I Love Sharpening
Sharpening’s more than maintenance—it’s satisfying. There’s something about turning a beat-up blade into a precision tool. I started as a beginner, fumbling with angles, but now it’s second nature. It’s a skill that pays off every time I pick up a tool. Plus, sharp tools make you look like a pro, even if you’re just starting out.
How to Maintain Your Tools for Longevity
Sharpening is step one, but upkeep is everything. Check your tools monthly—dullness creeps up fast. Store them dry and oiled, and don’t let them bang around in a drawer. A little effort goes a long way. The National Institute of Standards and Technology (NIST) notes that proper maintenance can double a tool’s lifespan—hard to argue with that.
Wrapping Up
Mastering The Ultimate Guide to Tool Sharpening Techniques means better projects and safer work. With a few tools and some practice, you’ll keep your gear in top shape. It’s a small investment for big rewards—trust me, your tools (and hands) will thank you. Want more? Check out the recommended readings below.
Related The Ultimate Guide to Tool Sharpening Techniques:
- Advanced Tool Maintenance Techniques for Longevity and Performance
- The Evolution of Workman Tools: From Past to Present
- Top Workbench Accessories for Every Craftsman
- Advanced Power Tool Features Explained: Your Ultimate Guide
- How to Use a Hammer Safely: A Comprehensive Guide for Every Workman
- Stay Safe: Top DIY Safety Tips
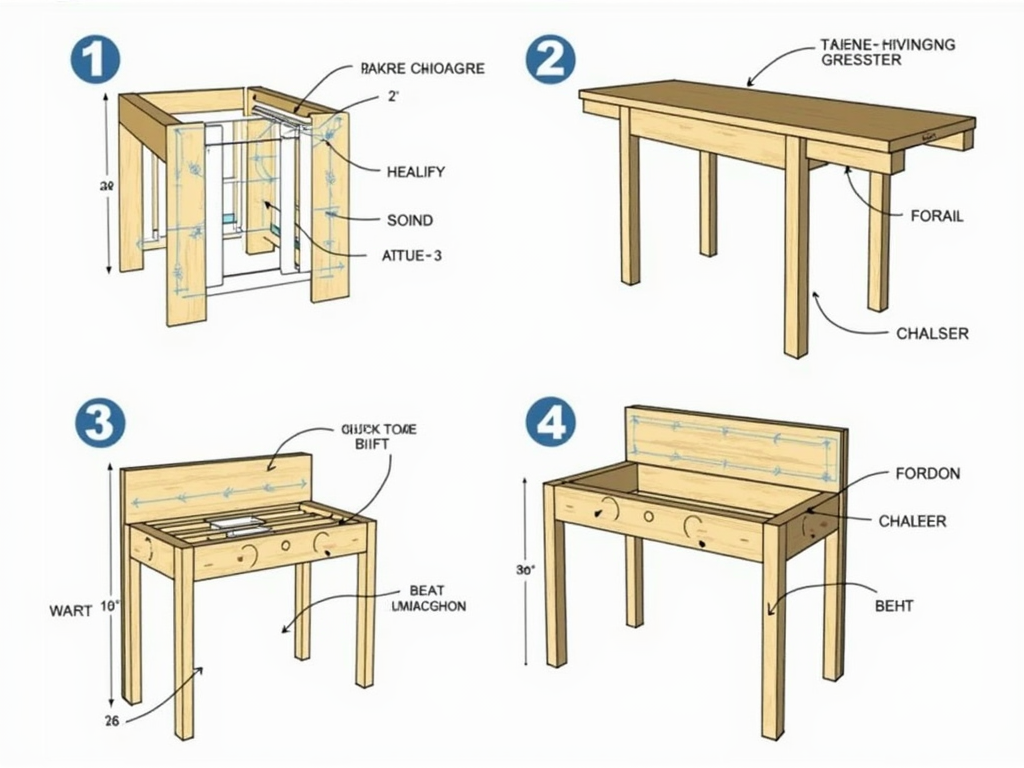
- How to Build a Sturdy Workbench
- The Importance of Tool Maintenance in Woodworking
- Guide to Choosing the Right PPE for Your Workshop
- Hammer Basics: Design and Safety Tips
- Top 10 Must-Have Tools for Every Mechanic
- Essential Workman Tools for Everyday Use: A Comprehensive Guide