In the world of DIY and craftsmanship, the combination of digital design tools and physical tools like rotary tools for sanding and polishing can lead to truly remarkable results. This article explores how you can use the HiDream Image Generator to plan and visualize your projects before bringing them to life with rotary tools.
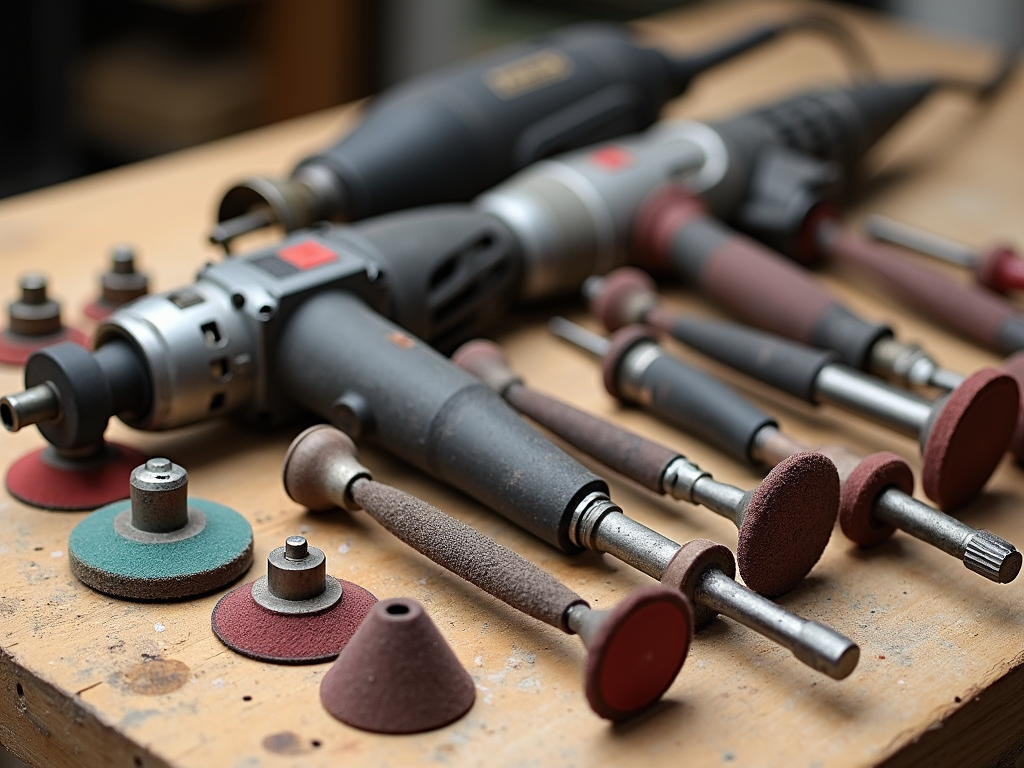
Introduction to Rotary Tools
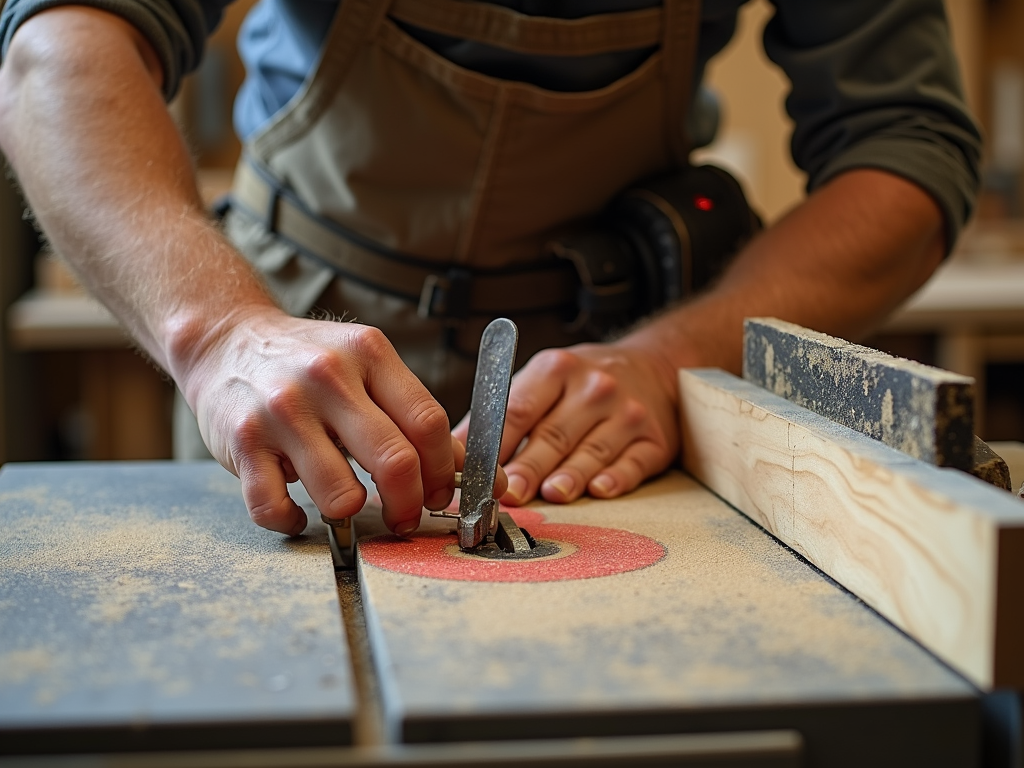
Rotary tools are versatile power tools that can be used for a variety of tasks, including sanding, polishing, carving, and engraving. They are popular among both DIY enthusiasts and professionals due to their precision and ease of use. When it comes to sanding and polishing, rotary tools offer a level of control that is hard to achieve with other tools. Whether you're working on wood, metal, or plastic, a rotary tool can help you achieve a smooth, polished finish.
The Role of Digital Design
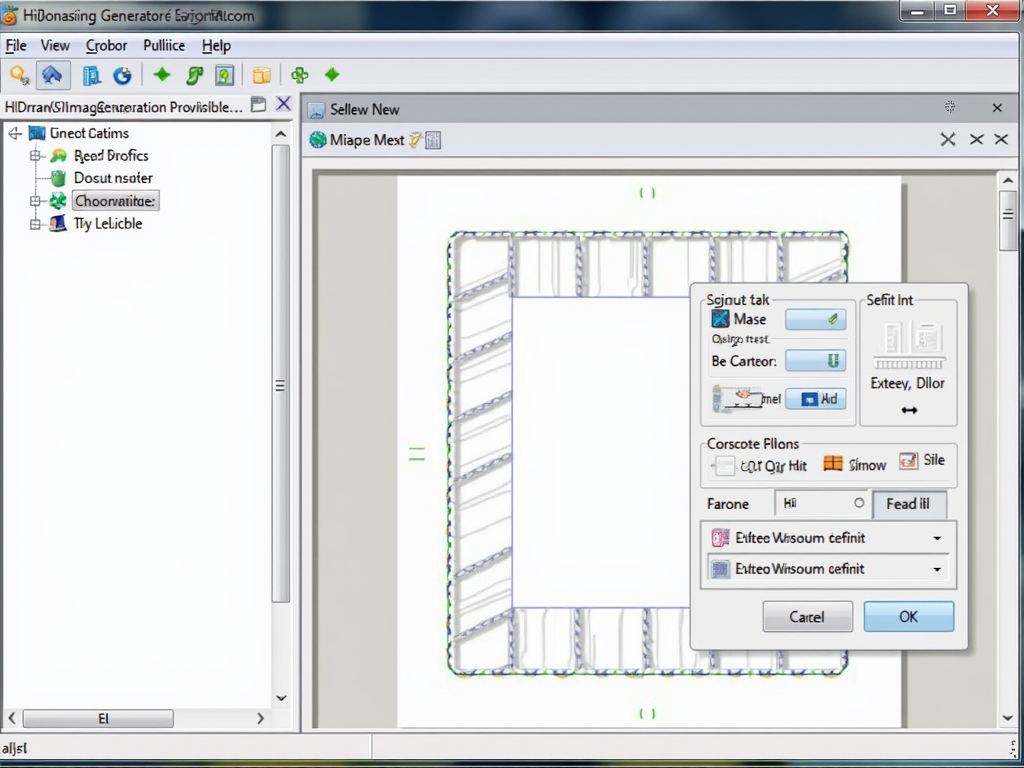
Before you start sanding and polishing, it's important to have a clear plan for your project. This is where digital design tools come in. Tools like the HiDream Image Generator allow you to create detailed designs and patterns that can serve as a blueprint for your work. By visualizing your project digitally, you can experiment with different ideas, make adjustments, and ensure that your final product matches your vision.
One such tool is the HiDream Image Generator, which provides a user-friendly interface for creating intricate designs. You can explore more about it here.
Step-by-Step Guide
-
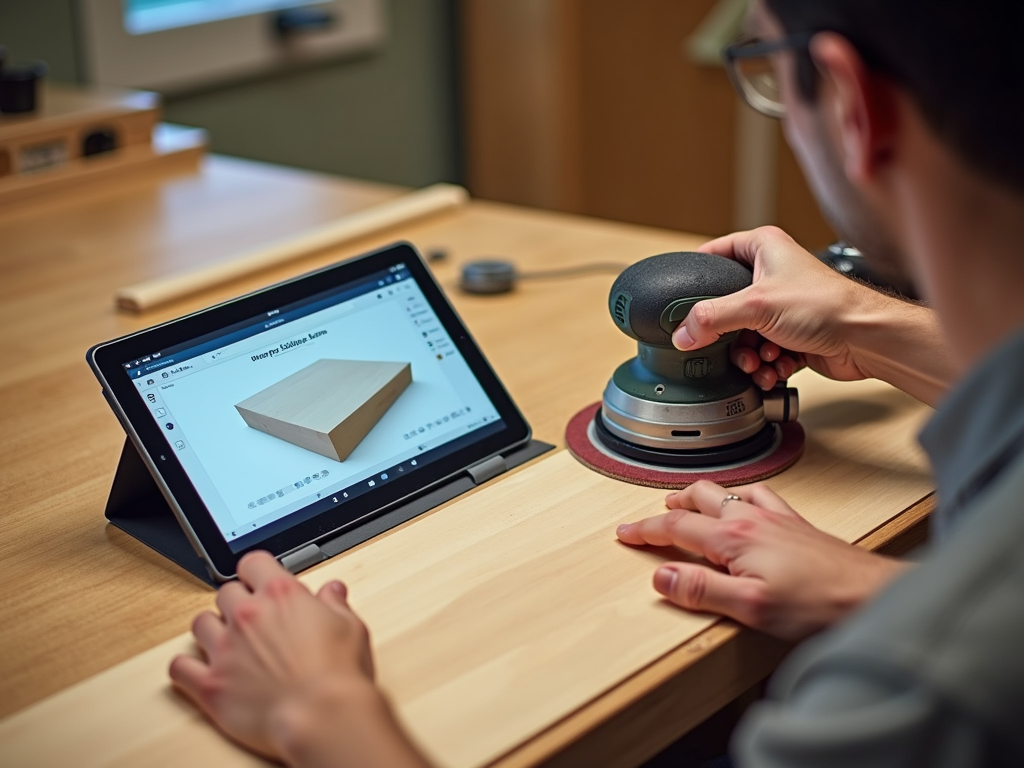
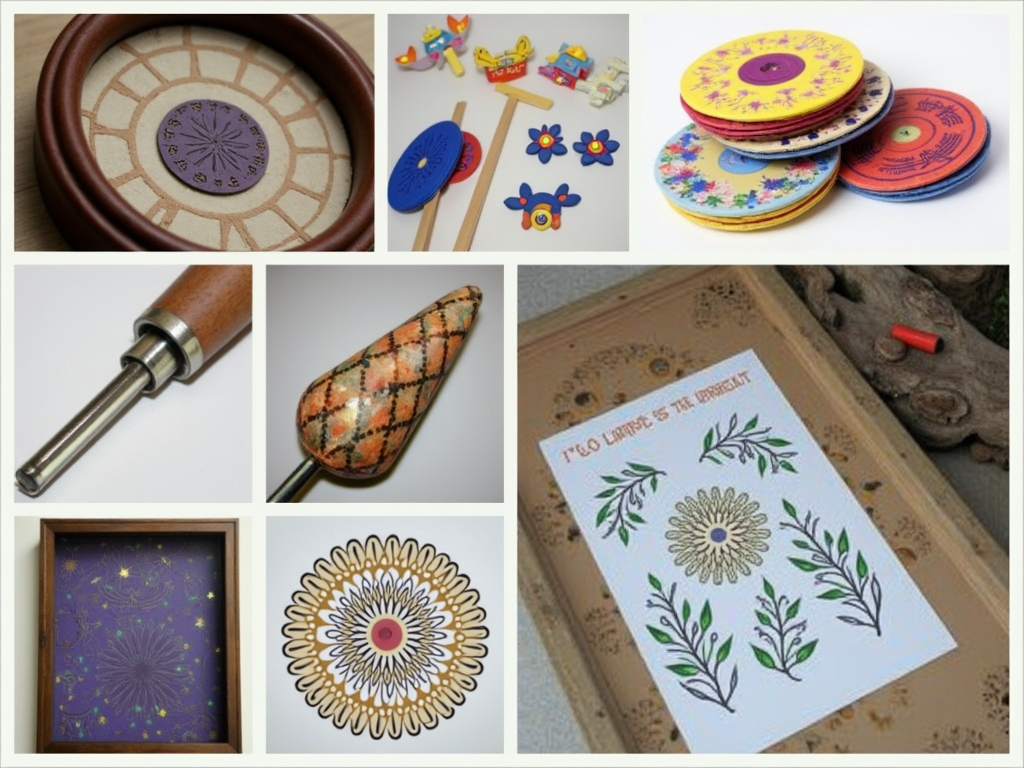
Create Your Design: Start by using the HiDream Image Generator to create your design. Think about the surface you'll be working on and the effect you want to achieve. For example, if you're planning to engrave a pattern on wood, you can design the pattern digitally first.
-
Prepare Your Materials: Once your design is ready, gather all the materials you'll need for your project, including the surface you'll be working on and your rotary tool with the appropriate attachments for sanding and polishing.
-
Transfer the Design: Depending on your project, you might need to transfer your digital design to the physical surface. This could involve printing the design and tracing it onto the surface or using a projector to display the design directly onto the surface.
-
Start Sanding and Polishing: With your design in place, begin using your rotary tool to sand and polish the surface. Follow the lines of your design carefully, adjusting the speed and pressure as needed to achieve the desired effect.
-
Refine Your Work: After the initial sanding and polishing, take a step back and assess your work. Make any necessary adjustments to ensure that the final product matches your digital design.
Tips and Tricks
- Choose the Right Attachments: Different attachments are suited for different tasks. For sanding, use a sanding band or disc. For polishing, use a felt or cloth wheel.
- Control Your Speed: Rotary tools often have variable speed settings. Use lower speeds for delicate work and higher speeds for more aggressive sanding or polishing.
- Practice on Scrap Material: Before starting on your actual project, practice on a piece of scrap material to get a feel for the tool and the technique.
- Use Digital Tools for Precision: Digital design tools like the HiDream Image Generator can help you achieve a higher level of precision in your work by providing a clear template to follow.
Case Studies/Examples
To illustrate the power of combining digital design with rotary tools, let's look at a couple of examples:
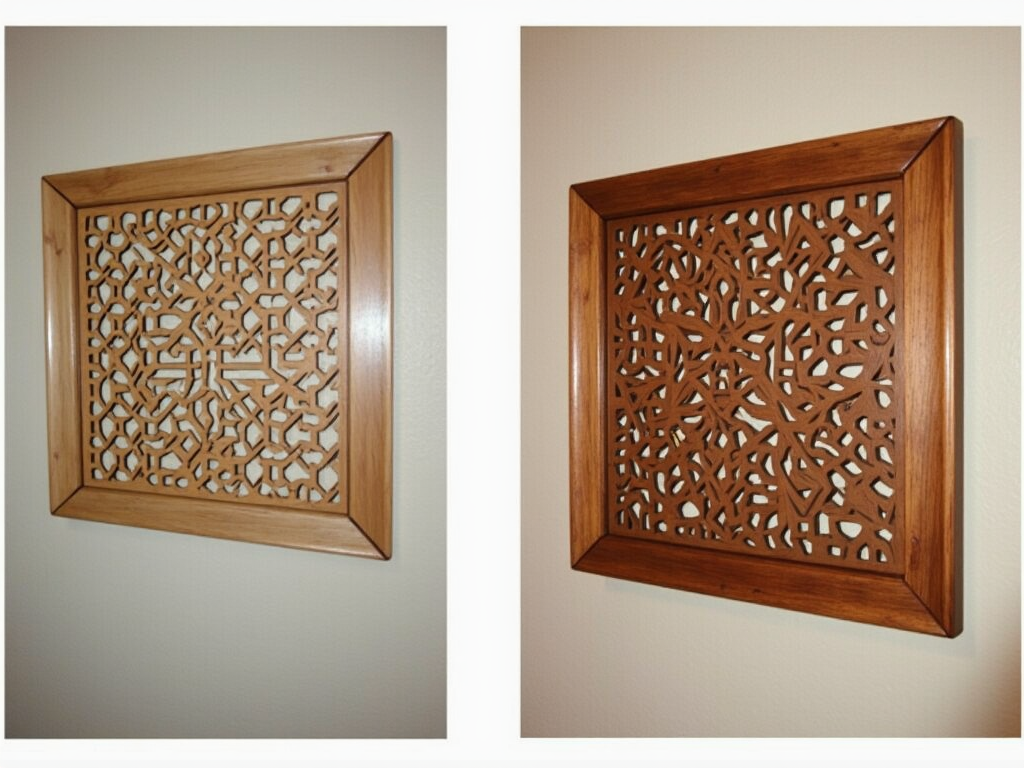
- Example 1: Custom Wooden Sign
- Digital Design: Using the HiDream Image Generator, a user created a intricate floral pattern for a wooden sign.
- Physical Execution: The design was transferred to a wooden board, and a rotary tool was used to carve out the pattern. After carving, the sign was sanded and polished to a smooth finish.
-
Result: The final product was a beautifully detailed wooden sign that perfectly matched the digital design.
-
Example 2: Personalized Metal Jewelry
- Digital Design: A jeweler used the HiDream Image Generator to design a unique pattern for a metal pendant.
- Physical Execution: The design was etched onto the metal using a rotary tool, followed by sanding and polishing to enhance the details.
- Result: The pendant featured a stunning, one-of-a-kind design that showcased the jeweler's craftsmanship.
In conclusion, the integration of digital design tools like the HiDream Image Generator with physical tools such as rotary tools for sanding and polishing opens up new possibilities for creativity and precision in your projects. By planning your work digitally, you can ensure that your final product is exactly as you envisioned it.
Related rotary tools for sanding and polishing:
- Digital Design for DIY Projects: Tools and Techniques
- Top 10 High-Quality Workman Tools for Professionals
- Revolutionizing Workshops: What's New in Workshop Tech
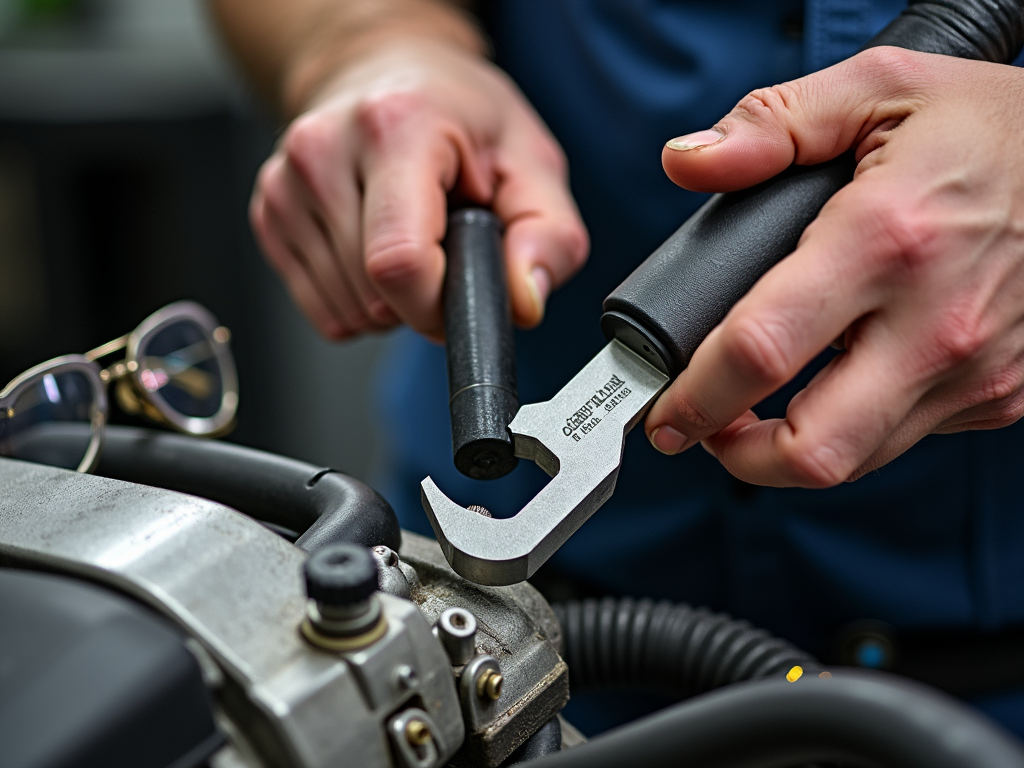
- Selecting the Right Tools for Your Automotive Needs
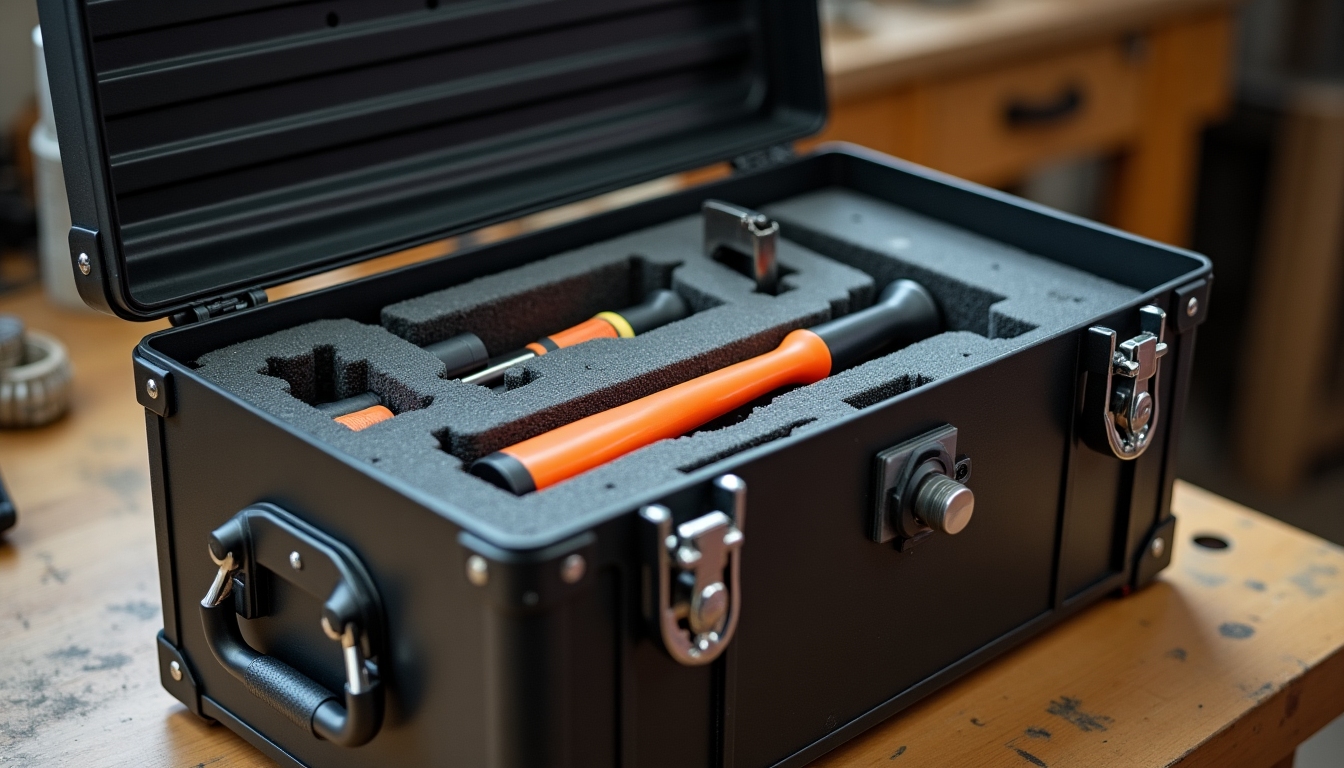
- Hand Tools Storage Solutions: A Comprehensive Guide
- The Ultimate Guide to Cleaning Your Car with a Power Washer
- The Impact of AI on Factory Safety
- Advanced Table Saw Techniques for Woodworking
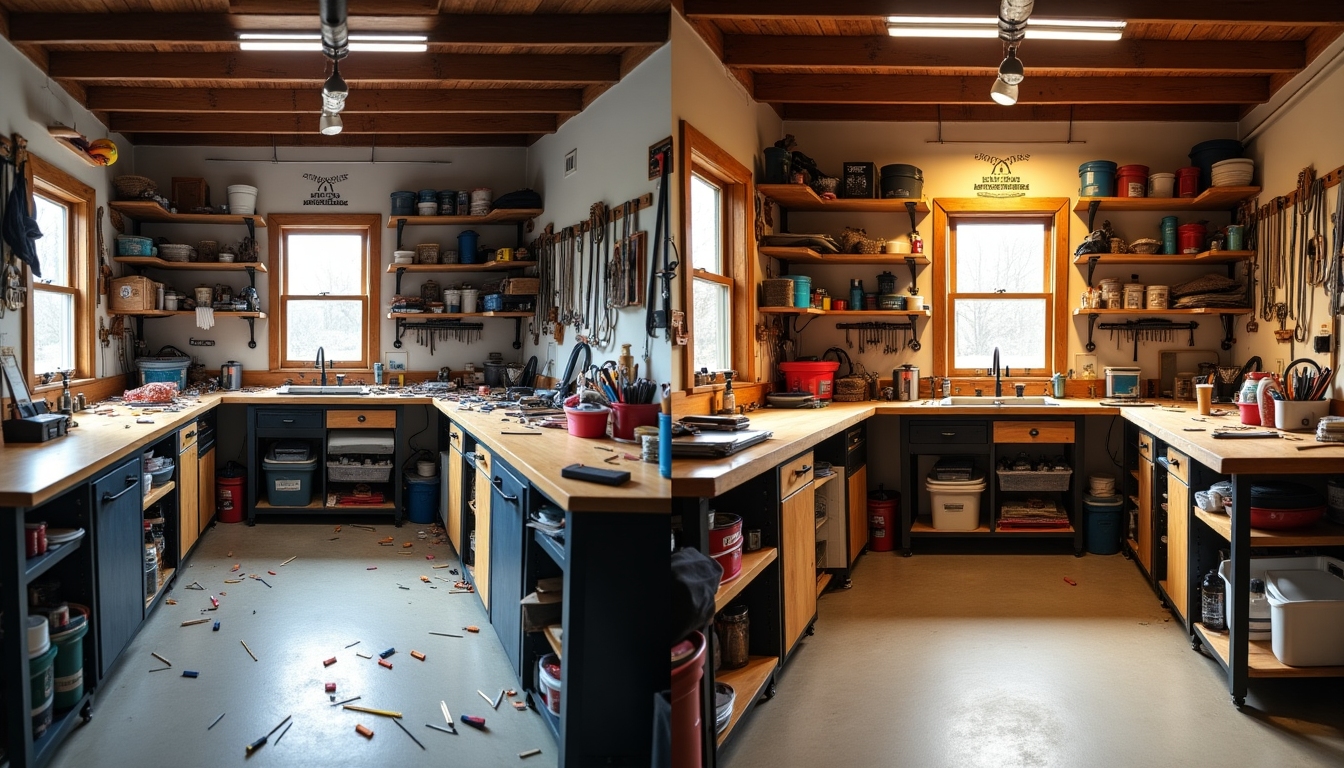
- Mastering Tool Organization in a Small Workshop: A Comprehensive Guide
- The Ultimate Guide to Tool Maintenance
- Safety Tips for DIY Auto Repair: A Comprehensive Guide
- Comprehensive Guide to Circular Saws for Beginners