Setting up your workshop is an exciting step toward turning your DIY dreams into reality. A well-planned space saves time, keeps you safe, and sparks creativity. This guide covers everything you need to know, from picking the perfect spot to organizing tools and adding personal flair.

Choosing the Right Space
Your workshop starts with the right location. Think about size, lighting, and ventilation. A garage or basement works well, but a shed or even a room corner can do the trick with some creativity. I once turned a cramped attic into a cozy workspace—proof that adaptability matters! Make sure the space has room for your projects and easy access for moving materials. Good airflow is a must if you’re painting or sanding. Natural light is ideal, but if that’s not an option, plan for bright artificial lights.
Organizing Your Tools
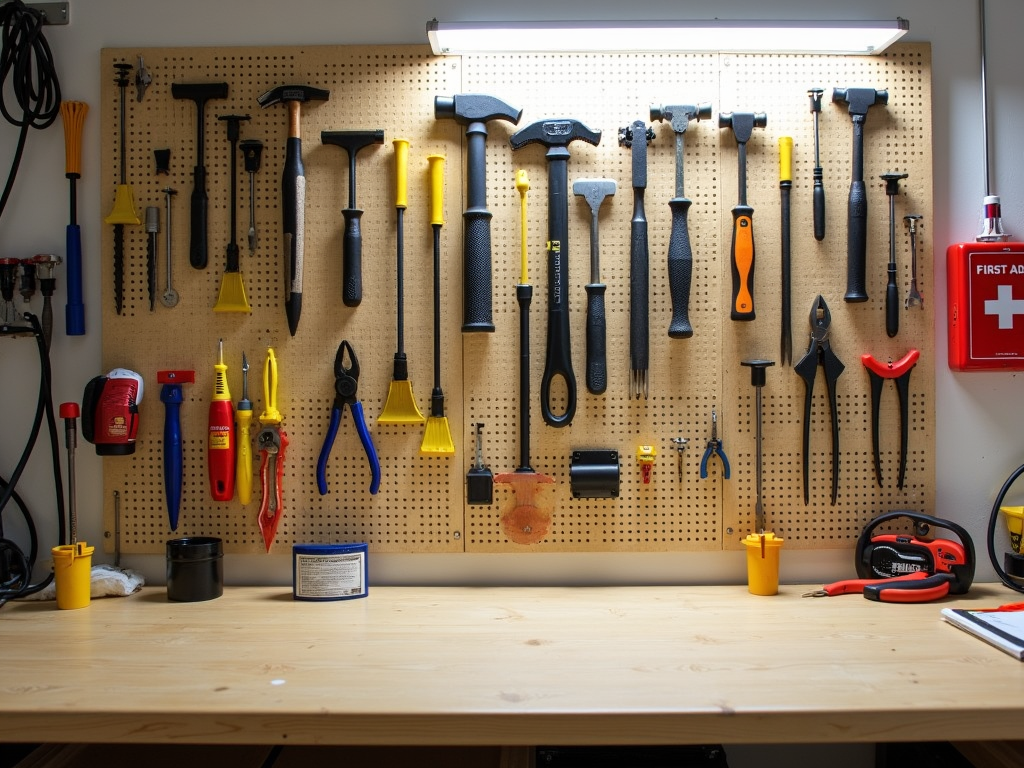
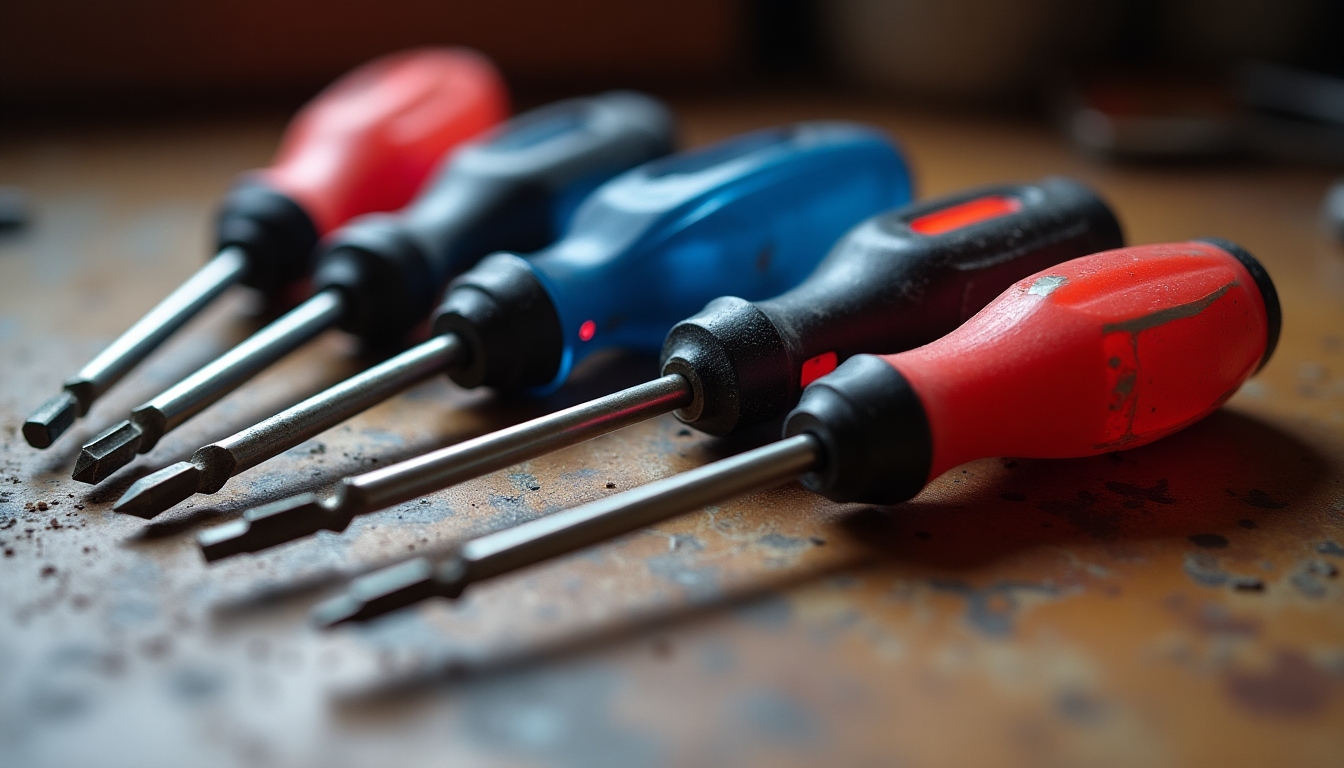
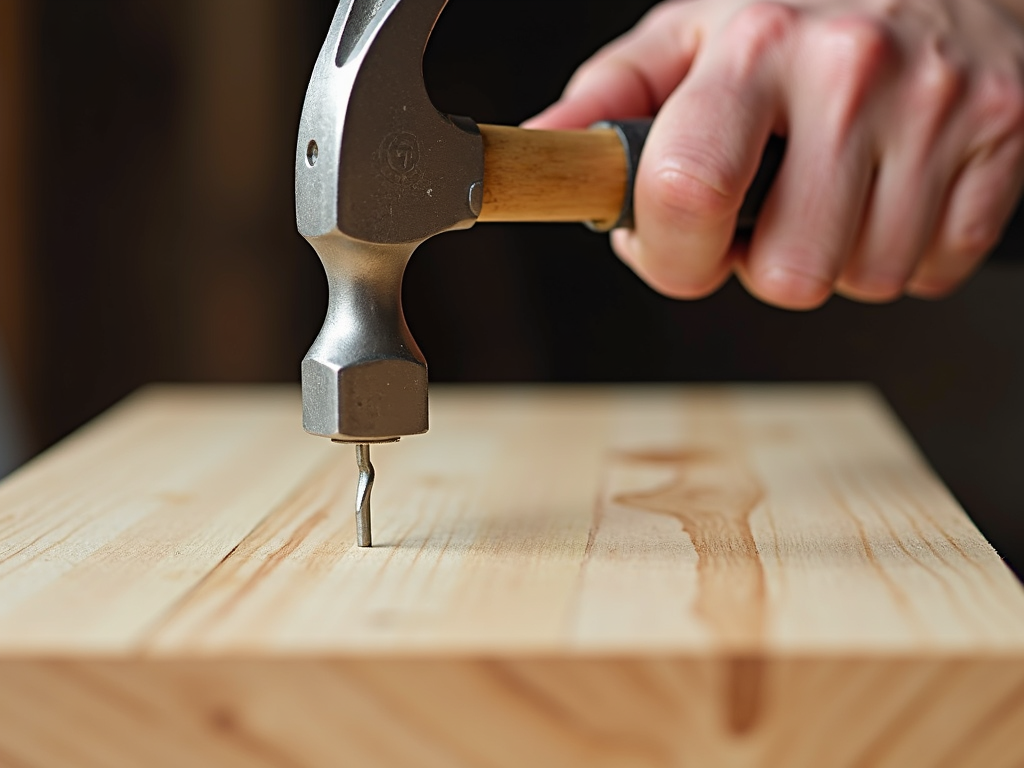
Tools are the backbone of any workshop. Keeping them in order saves you from mid-project chaos. The Essential Toolkit: Must-Have Tools for DIY Enthusiasts includes basics like screwdrivers, pliers, and hammers. Hammers are key workman tools—versatile and essential. A claw hammer handles most tasks, but for more specialized tasks, consider adding specialty hammers to your collection, such as a ball-peen hammer for metalwork or a rubber mallet for woodworking.
I like grouping tools by project type—woodworking in one spot, metalworking in another. A pegboard with hooks keeps everything visible and reachable. Draw outlines around each tool so you always know where it goes. Small items? Use drawers or magnetic strips. Trust me, hunting for a lost wrench mid-build is no fun.
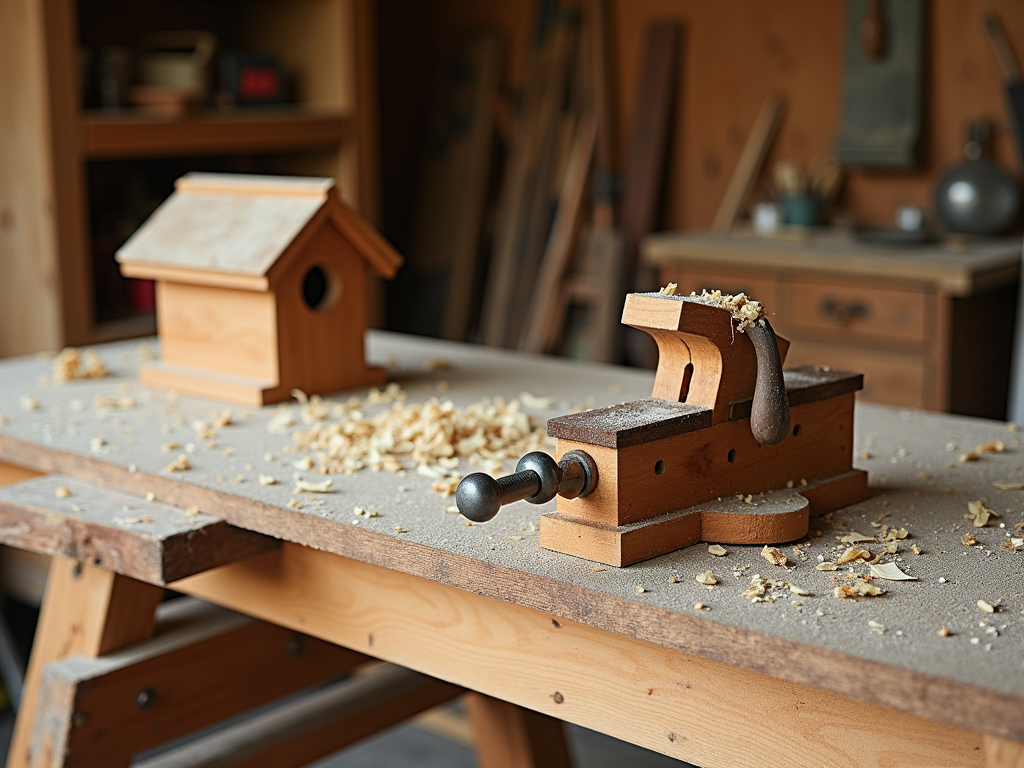
Workbenches and Surfaces
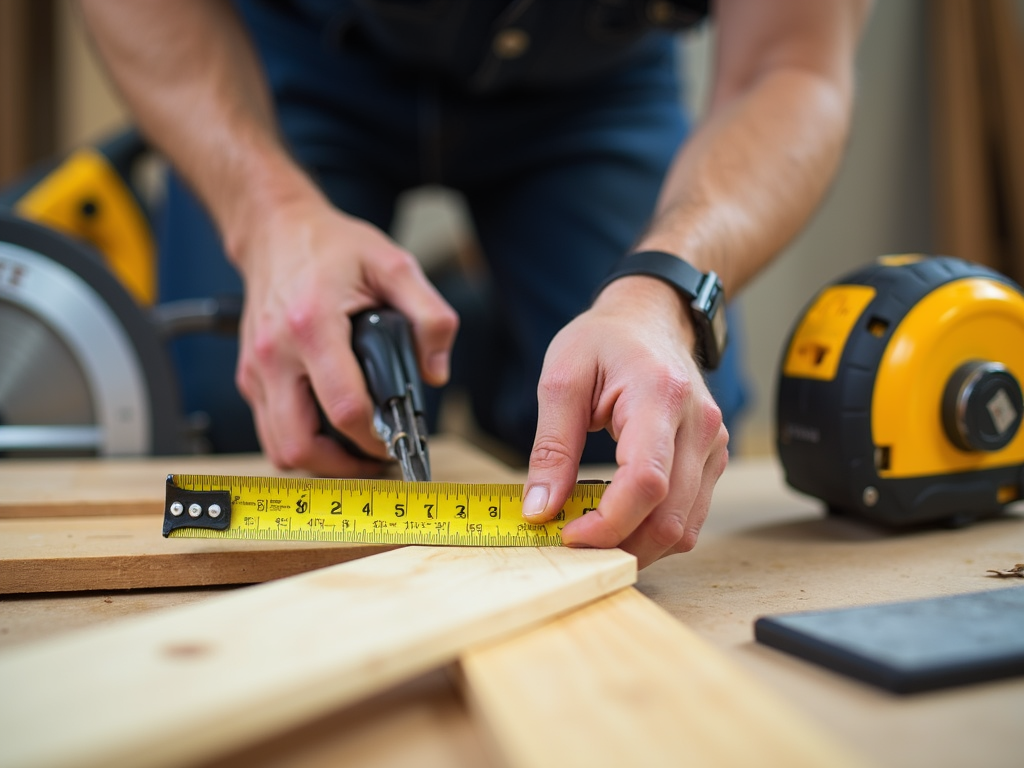
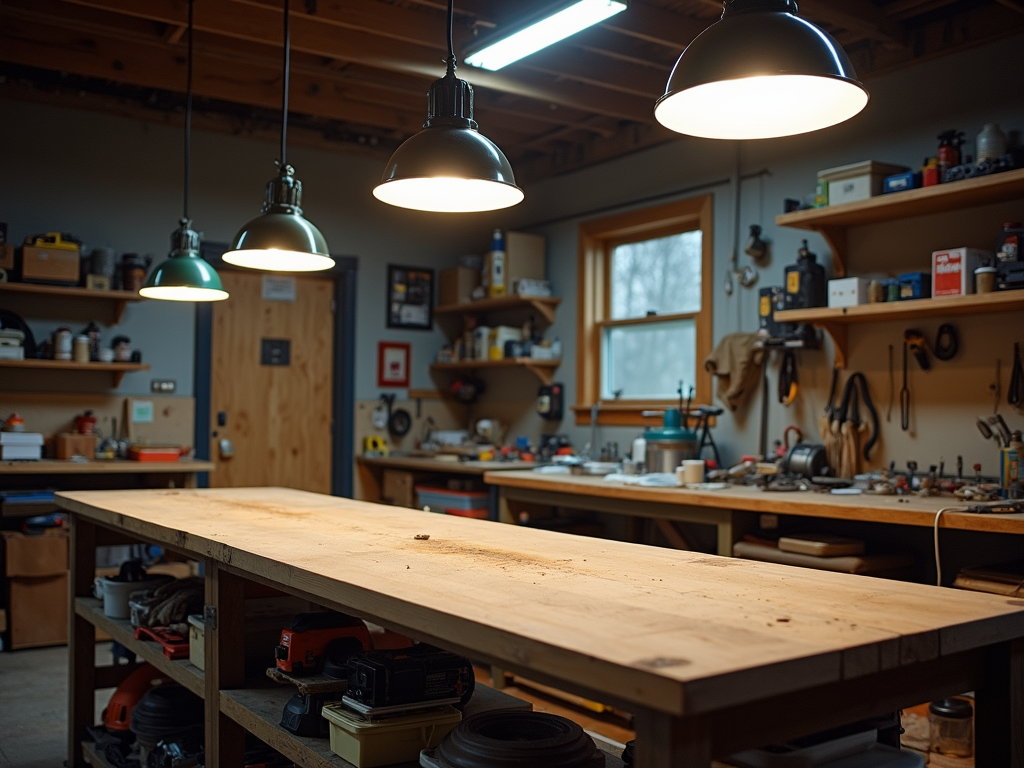
A solid workbench is your workshop’s heart. It needs to be sturdy and the right height—about waist level works for me. You can buy one, but building your own is rewarding and cheaper. I made mine from scrap lumber and a thick plywood top. Add a vice or clamps for extra grip.
Think about your projects. Woodworking needs a flat, tough surface; electronics might call for something smaller with storage underneath. Whatever you choose, ensure it can handle heavy use without wobbling.
Safety Measures
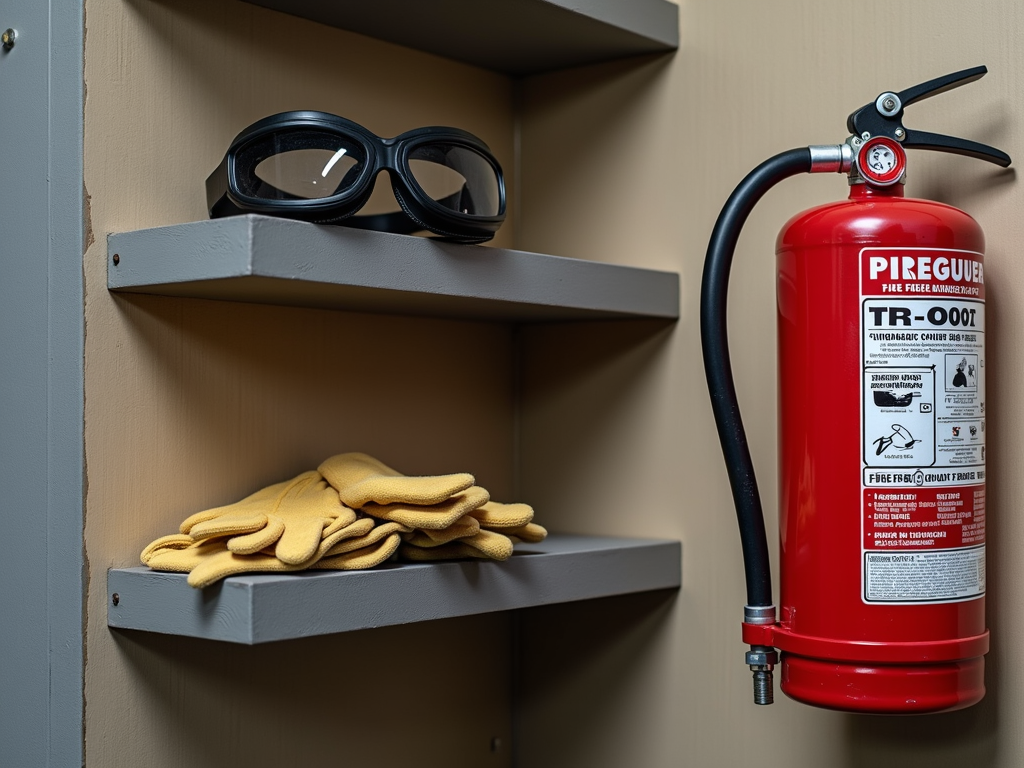
Safety isn’t optional—it’s a priority. Equip your workshop with essentials like goggles, gloves, and a first aid kit. A fire extinguisher is smart, especially if you’re welding or using flammable stuff. I learned this the hard way when a stray spark nearly caused trouble!
Store sharp tools securely and keep the floor clear of clutter. Good habits, like unplugging power tools when not in use, go a long way. For more tips, check out the OSHA Workshop Safety Guidelines from the Occupational Safety and Health Administration—they’re packed with practical advice.
Lighting and Power
Good lighting keeps you safe and precise. Overhead lights work best—bright LEDs are my go-to. Position them to avoid shadows on your workbench. Natural light from windows is a bonus, but don’t rely on it alone.
Power is just as important. Plan for enough outlets so you’re not tripping over cords. I added a power strip with a long cord for flexibility. If you’re using heavy tools, ensure your wiring can handle the load. Nothing stalls a project like a blown fuse!

Storage Solutions
Storage keeps your workshop functional. Shelves, cabinets, and bins are your friends. I use clear plastic bins for small parts—label them so you’re not digging through mystery boxes. For bigger items like lumber, stack them neatly on racks.
Projects in progress need space too. A rolling cart lets you move unfinished work out of the way. For inspiration, the Popular Mechanics Workshop Storage Guide offers clever ideas from seasoned DIYers.

Personal Touches
Your workshop should feel like yours. Add elements that inspire you. I’ve got a little radio for music—it keeps me going during long builds. Hang up sketches of past projects or a bulletin board for ideas. A comfy chair for planning breaks is a nice touch too.
These details turn a workspace into a creative haven. Experiment with what works for you—maybe a plant or a quirky tool rack. It’s your space, so make it fun!
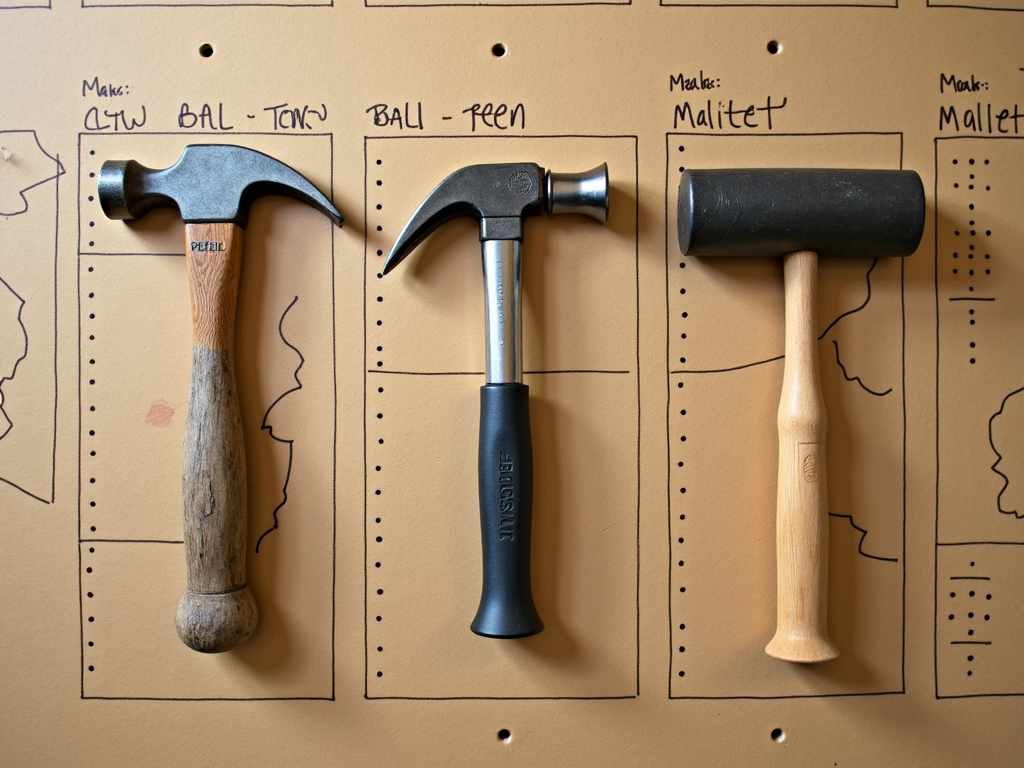
Comparing Hammers for Your Workshop
Here’s a quick look at hammers you might need:
| Hammer Type | Best For | Why It’s Useful |
|---|---|---|
| Claw Hammer | General tasks, nails | Pulls nails and drives them easily |
| Ball-Peen Hammer | Metalwork | Shapes metal with its rounded end |
| Rubber Mallet | Wood assembly | Won’t dent delicate surfaces |
Having the right hammer makes projects smoother and more enjoyable.
Summary
Creating your workshop is a journey worth taking. Pick a great space, organize your tools, set up a solid workbench, and prioritize safety. Add good lighting, smart storage, and a few personal touches, and you’re ready to roll. Start today—your next project is waiting!
Related How to Set Up Your Workshop:
- Safety First: Essential Gear for Every DIY Enthusiast
- The Ultimate Guide to Workman Tools for Contractors
- The Ultimate Guide to Hand Tools Safety Guidelines
- Best Wrench Sets for Construction Workers: Top Picks for 2023
- DIY Projects: How to Choose the Right Tools for the Job
- Maximizing Efficiency with Smart Toolboxes
- Innovative Workman Tools for Efficiency: A Comprehensive Guide
- Top 10 Must-Have Tools for Construction Workers
- Choosing the Right Tools for Your Trade
- Must-Have Hand Tools for Every Beginner: A Comprehensive Guide
- Essential Workman Tools for Plumbing and Maintenance: A Comprehensive Guide
- What’s New in Workshop Tech for 2024: Innovations Shaping the Future