Overview
Getting ready to paint a room? Proper preparation is the secret to a smooth, professional finish. This guide walks you through every step to prep your room for a perfect paint job, offering practical tips and tool suggestions to make the process easy and fun.
Introduction
Painting a room is one of those projects that can completely transform a space—and it’s something anyone can do with the right prep. I’ve painted plenty of rooms myself, and I’ve learned that skipping steps can lead to peeling paint or uneven coats. In this guide, we’ll cover how to prep your room for a perfect paint job with simple, actionable steps. You’ll also pick up some DIY painting hacks for perfect results and learn about innovative painting tools for efficiency. Let’s get started!
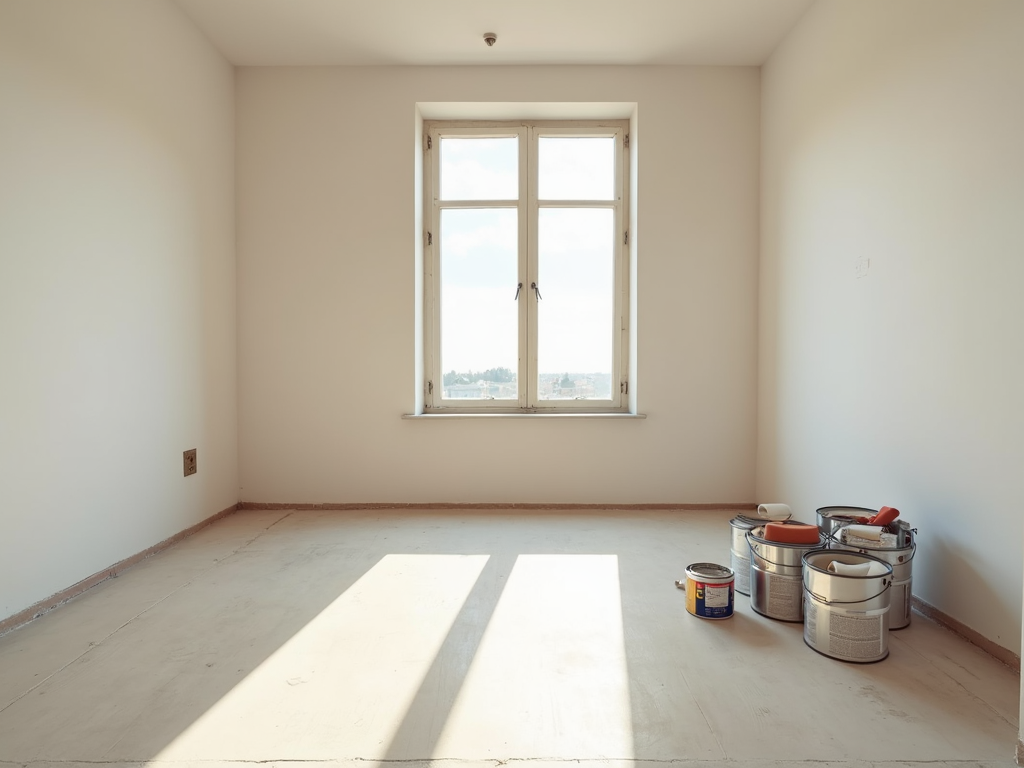
Step 1: Clear the Room
Start by moving out everything you can—furniture, rugs, lamps, and wall decorations. An empty room gives you full access to every wall and corner. I once tried painting around a heavy dresser, and the result was a sloppy edge I had to redo. If something’s too big to move, like a bed or sofa, slide it to the center of the room. This keeps your stuff safe from splatters and makes painting way easier.
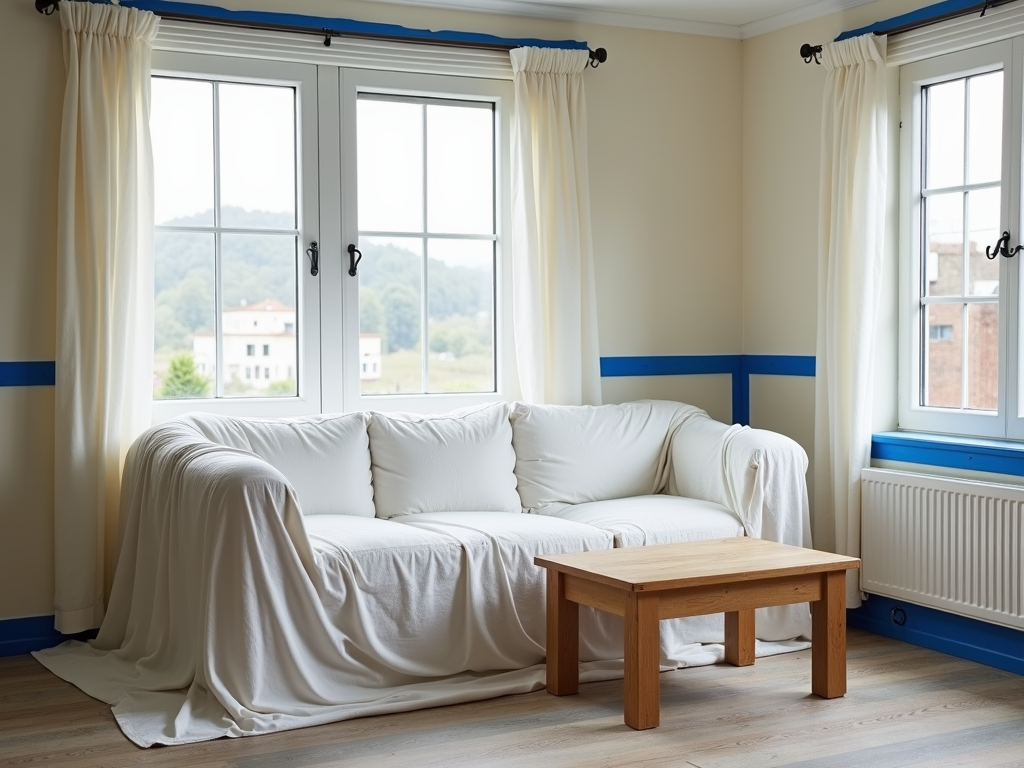
Step 2: Protect What Stays
For anything left in the room, cover it up. Use drop cloths or plastic sheets to shield furniture, and secure them with painter’s tape so they don’t slip. Floors need protection too—lay down heavy-duty drop cloths or rosin paper. I prefer rosin paper for hardwood because it stays put and soaks up drips. According to Bob Vila’s home improvement tips, this trick works wonders for keeping floors spotless.
Don’t skimp on this step. One time, I didn’t tape down a cloth properly, and a paint drip ruined a rug. A little effort here saves a lot of regret later.

Step 3: Clean the Walls
Dirty walls can ruin a paint job—dust, grease, or fingerprints stop paint from sticking right. Grab a sponge, some mild detergent, and warm water, then wipe down every surface. In kitchens or bathrooms, where grease builds up, you might need a stronger cleaner. The Environmental Protection Agency suggests gentle cleaners to keep the air safe while you work. Let the walls dry completely before moving on.
I learned this the hard way when I painted over a dusty wall once. The paint peeled off in chunks within months. Clean walls are a must!
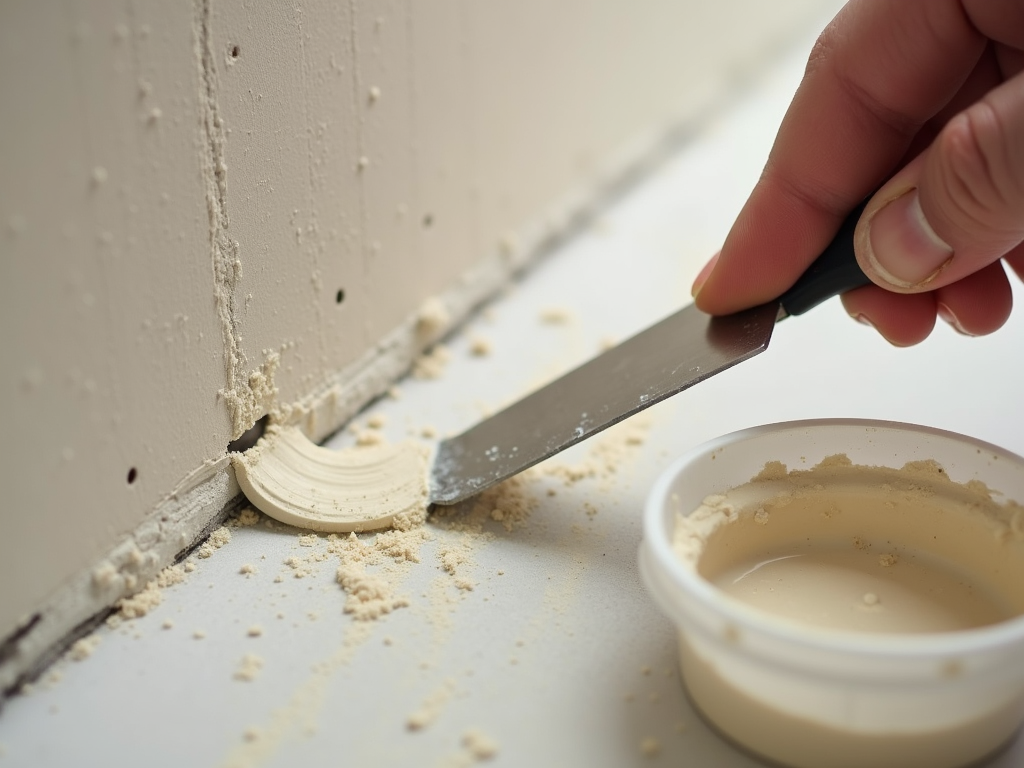
Step 4: Fix Holes and Cracks
Check your walls for damage—nail holes, dents, or cracks need fixing. For small spots, dab on some spackle with a putty knife, then smooth it out. Bigger holes might need a patch kit or joint compound. Once it dries, sand it down until it’s even with the wall. The Family Handyman has a great step-by-step for this—it’s saved me time and frustration.
Sanding is key. Rough patches show through paint, and trust me, you’ll notice them every time you walk by.

Step 5: Prime the Walls
Priming might feel like extra work, but it’s a game-changer. It’s a must if you’re covering dark colors, stains, or bare drywall. Primer helps paint stick and makes the color pop evenly. Use a roller for big areas and a brush for edges. The Paint Quality Institute says a good primer can cut down on topcoats and boost durability. Pick one that matches your paint type—latex or oil-based.
I skipped primer once on a bright red wall, and it took four coats of white to cover it. Never again—primer saves time and paint.

Step 6: Pick the Best Tools
Good painting tools make all the difference. You’ll need rollers, brushes, painter’s tape, and a tray at minimum. Look for innovative painting tools for efficiency—like extension poles for high spots or paint edgers for clean lines. I love using an angled brush for cutting in; it’s a workman tool that’s simple but precise. Quality matters too—cheap brushes shed bristles into your paint.
Here’s a quick list of essentials:
- Rollers (9-inch and mini sizes)
- Brushes (2-inch angled and flat)
- Painter’s tape
- Drop cloths
- Sandpaper
- Paint tray with liners

Step 7: DIY Painting Hacks for Perfect Results
Want a pro finish? Try these tricks:
- Tape Like a Pro: Press painter’s tape down hard to stop paint from bleeding under.
- Load Rollers Right: Use a paint grid in the tray to avoid drips.
- Cut In First: Paint edges with a brush before rolling—it’s easier to blend.
- Work Fast: Paint one wall at a time so edges stay wet and smooth out nicely.
I’ve found that rolling in a ‘W’ pattern spreads paint evenly. It’s a small tweak that looks polished.

Summary
Prepping your room for a perfect paint job takes effort, but it’s worth it. Clear the space, protect your stuff, clean and fix the walls, prime them, and use the right painting tools. These steps, plus a few DIY painting hacks, set you up for a stunning result. Take it slow, enjoy the process, and watch your room come to life!
Related How to Prep Your Room for a Perfect Paint Job:
- How to Choose the Best Paint Color for Your Room
- Essential Construction Tools for Masonry Work: A Comprehensive Guide
- How to Choose the Right Power Drill for Your Projects
- Tool Care Basics: Essential Tips to Keep Your Gear Like New
- Top 10 Must-Have Tools for Every Workshop
- A Beginner's Guide to Workman Tools: Essentials, Toolboxes, and Safety Tips
- Essential Safety Checks for Power Tools
- How to Use a Multimeter for Beginners: A Step-by-Step Guide
- The Ultimate Guide to Mobile Storage Carts for Tools
- Ergonomic Power Drills for Reduced Fatigue: A Comprehensive Guide
- How to Set Up Your Workshop: A Comprehensive Guide
- Safety First: Essential Gear for Every DIY Enthusiast