Keeping your tools organized can transform your DIY experience. Whether you’re a painter or a weekend warrior, a tidy workspace saves time, reduces stress, and keeps your tools in top shape. In this guide, we’ll explore actionable tips tailored for painters and those with small spaces, blending personal insights with expert advice.
Why Tool Organization Matters
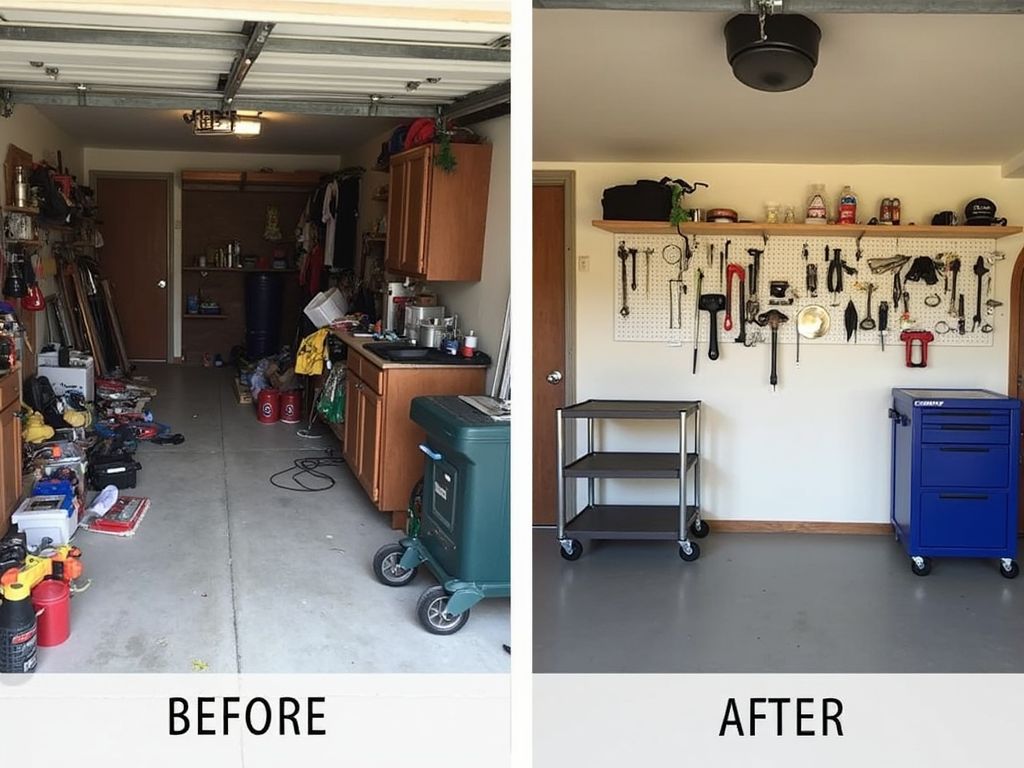
A well-organized workspace isn’t just pleasing to the eye—it’s practical. Finding tools fast means less downtime during projects. It also cuts the risk of tripping over clutter or losing small items. Personally, I’ve found that storing tools properly—like keeping screwdrivers in a holder—extends their life by preventing rust or damage.
For painters and DIY enthusiasts, efficiency is everything. A chaotic setup can derail your focus, especially when you’re mid-project with paint drying on your brush. Plus, organized tools make it easier to tackle small spaces, where every inch counts. Let’s dive into solutions that work.
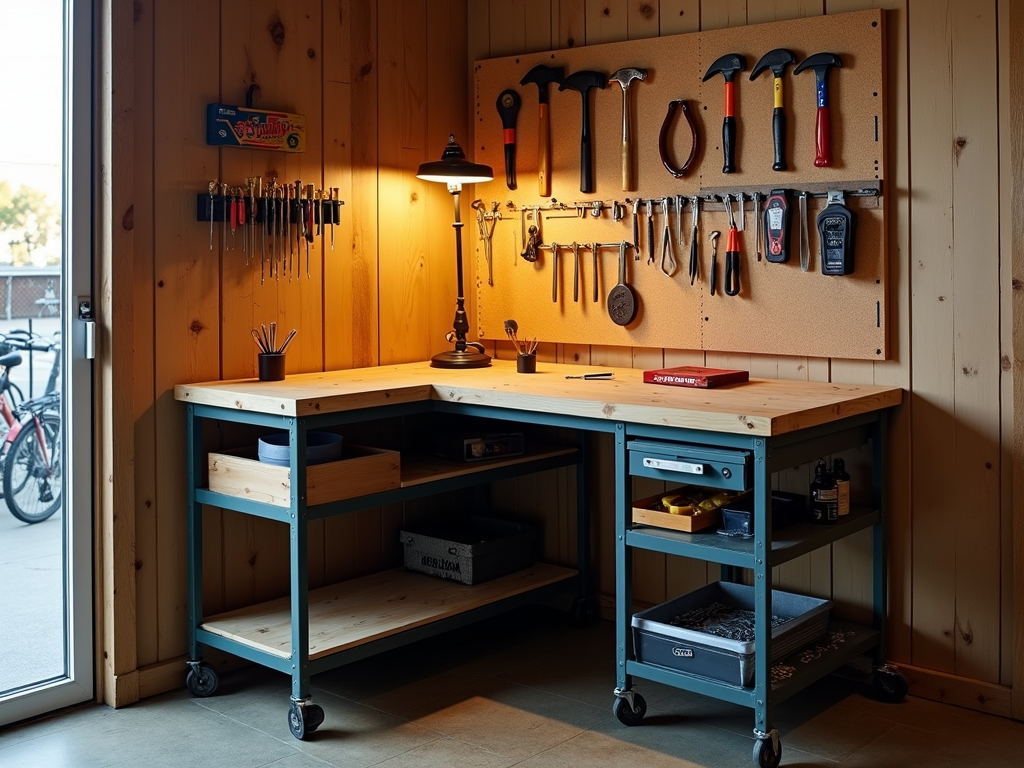
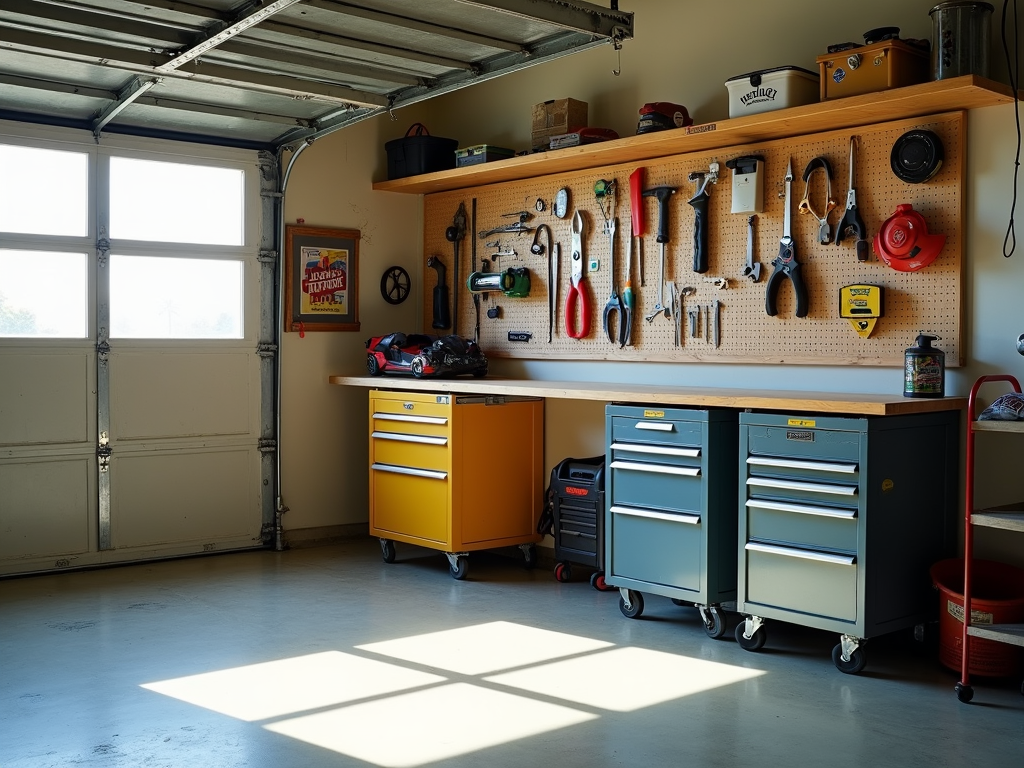
5 DIY Storage Ideas for Small Spaces
Small spaces demand creativity. Here are five storage ideas I’ve tested and loved:
- Pegboard Power: Hang a pegboard to store tools vertically. Add hooks for hammers or baskets for small bits.
- Magnetic Strips: Stick a magnetic strip on your wall for metal tools. It’s a game-changer for quick access.
- Rolling Cart: A cart with shelves moves wherever you need it. I use mine for ongoing projects.
- Old Furniture Hack: Repurpose a bookshelf with labeled bins. It’s cheap and effective.
- Ceiling Racks: Mount racks overhead for bulky items you rarely use, like ladders.
These ideas turn cramped areas into functional hubs.
One trick I swear by? Combining pegboards with magnetic strips. I once turned a tiny closet into a tool haven this way—everything was visible and reachable. Try it if you’re short on floor space!
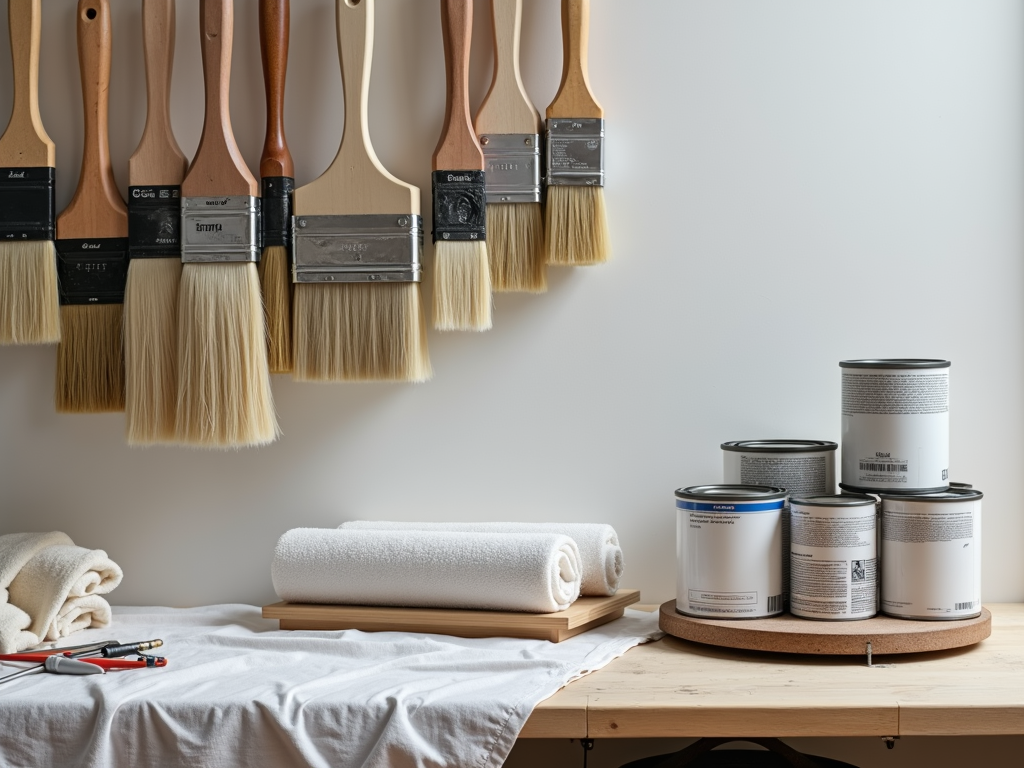
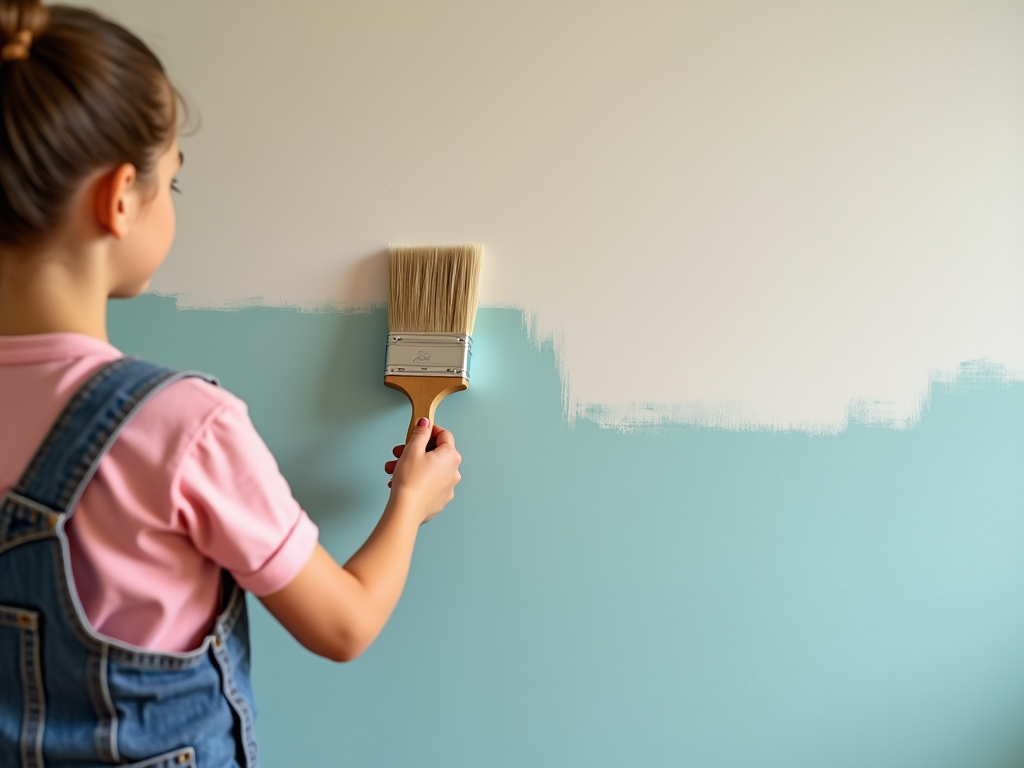
Tool Organization Tips for Painters
Painters need a system for their unique gear. Here’s how to keep painting tools in check:
- Brushes: Hang them bristles-up to preserve their shape. After cleaning, I use a brush comb to straighten them out.
- Rollers: Store them in airtight bags to avoid drying. It saves money on replacements.
- Paint Cans: Use a lazy Susan for easy access. Label cans with the color and room used—I learned this after mixing up shades!
- Drop Cloths: Fold and store them in a bin. They stay clean and ready for action.
A painter friend once showed me how stacking cans on a spinning tray cuts clutter. It’s simple but brilliant—especially in tight spaces. For more painting tool hacks, check out this guide from Sherwin-Williams.
General Tips for Every DIY Enthusiast
Some rules apply to all tool lovers. Here’s what keeps my workspace humming:
- Group Tools: Keep similar items together—screwdrivers in one spot, pliers in another.
- Label Everything: Labels on drawers and bins save time. I use a cheap label maker.
- Clean Regularly: Wipe down tools and surfaces to avoid dust buildup. It’s a habit worth building.
- Choose Smart Storage: Pick sturdy options like toolboxes or wall racks that fit your space.
I used to toss tools in a box and call it a day. Then I spent 20 minutes hunting for a wrench mid-project. Now, I group and label everything—it’s a small effort with a big payoff.
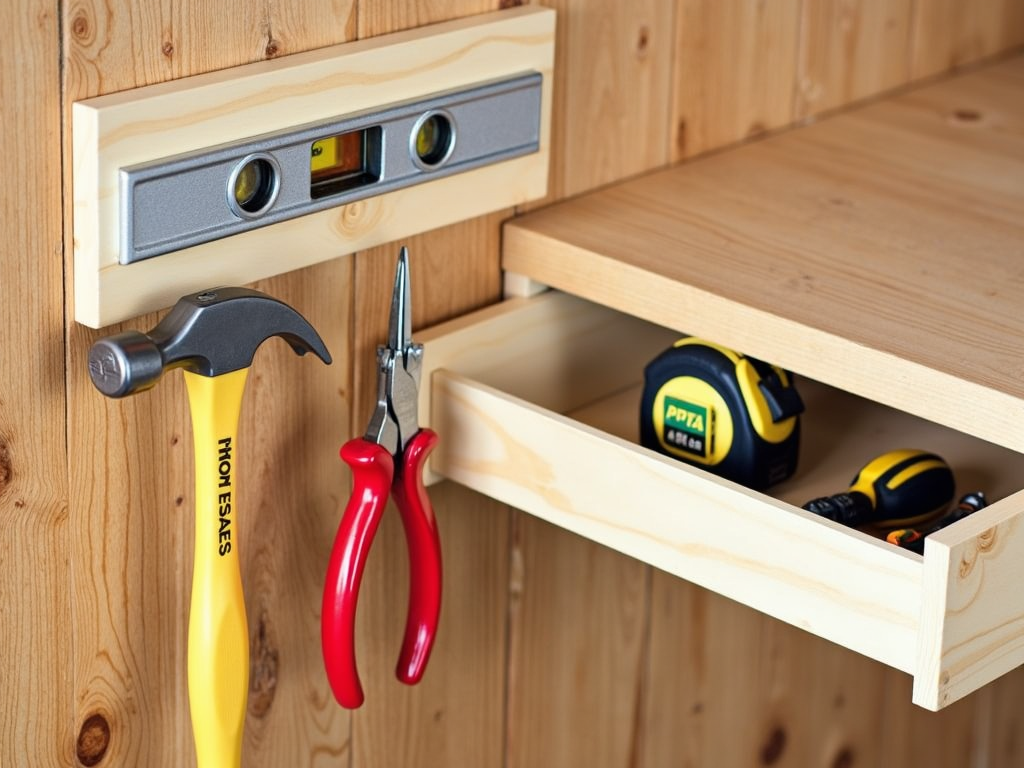
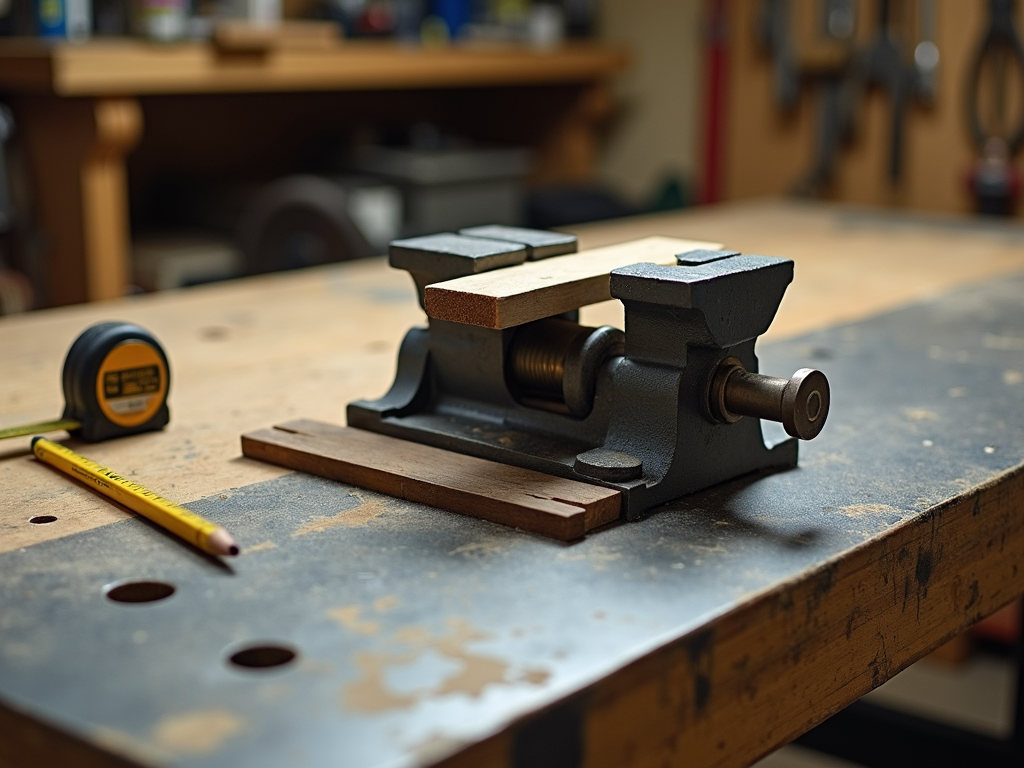
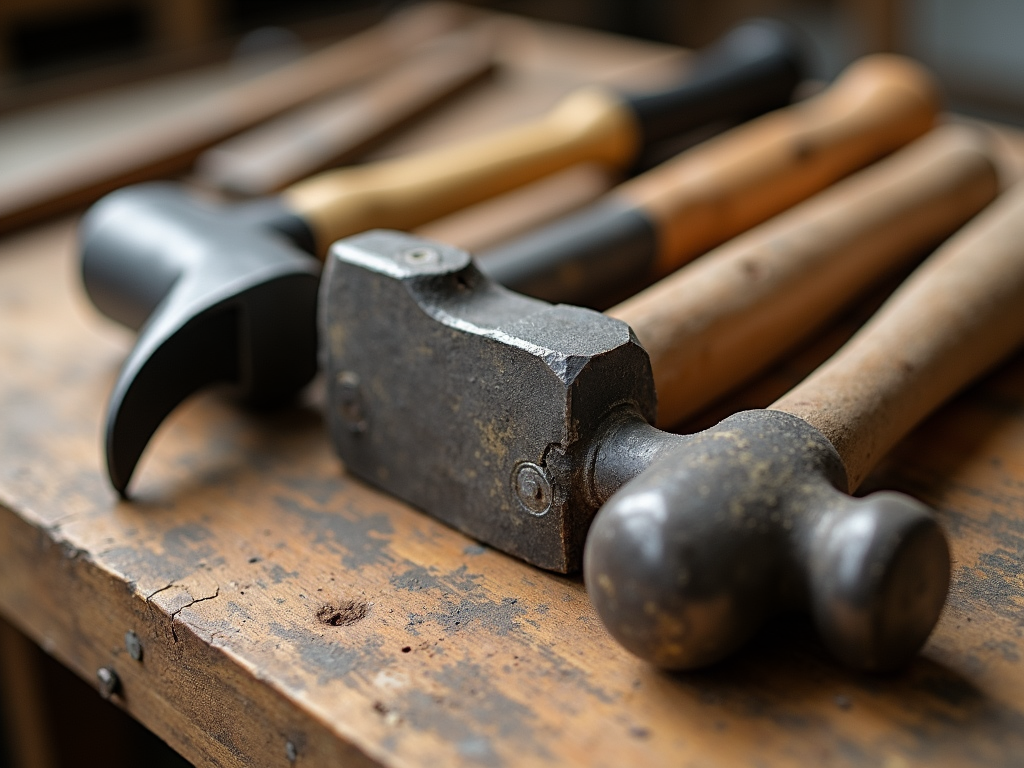
Workman Tools: Must-Haves and How to Store Them
Every DIY enthusiast needs a solid toolkit. Here are essentials and storage tips:
| Tool | Storage Tip |
|---|---|
| Hammer | Hang on a pegboard |
| Screwdrivers | Use a holder or magnetic strip |
| Pliers | Store in a drawer with dividers |
| Tape Measure | Clip to a workbench edge |
| Level | Hang on a wall hook |
These basics cover most projects. Keep them organized, and you’ll work faster.
My first hammer lived in a junk drawer until I bashed my thumb fishing it out. Now it hangs on a pegboard, and I’ve never been happier. Simple changes like this make DIY more fun.
Putting It All Together
Tool organization doesn’t have to be overwhelming. Start with one idea—like a pegboard—and build from there. For painters, focus on brush and roller care. In small spaces, think vertical and mobile. These tips have saved me hours and headaches, and they can do the same for you.
The best part? A tidy workspace sparks creativity. You’ll tackle projects with confidence, knowing everything’s where it should be. Take it step by step, and soon you’ll have a setup that works as hard as you do.
Related Tool Organization 101: Tips for Every DIY Enthusiast:
- How to Maintain Your Workbench: A Comprehensive Guide for Professionals and Hobbyists
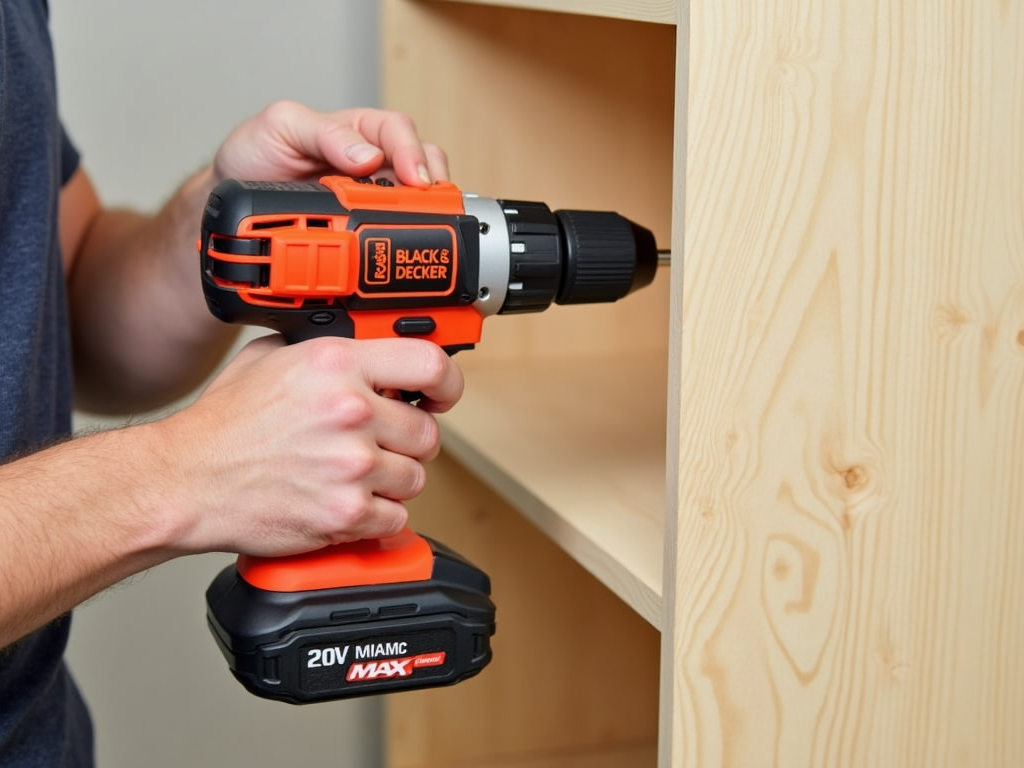
- The Impact of Black & Decker on the DIY Movement
- Power Tools for Beginners: A Comprehensive Guide
- Best Tools for DIY Home Painting
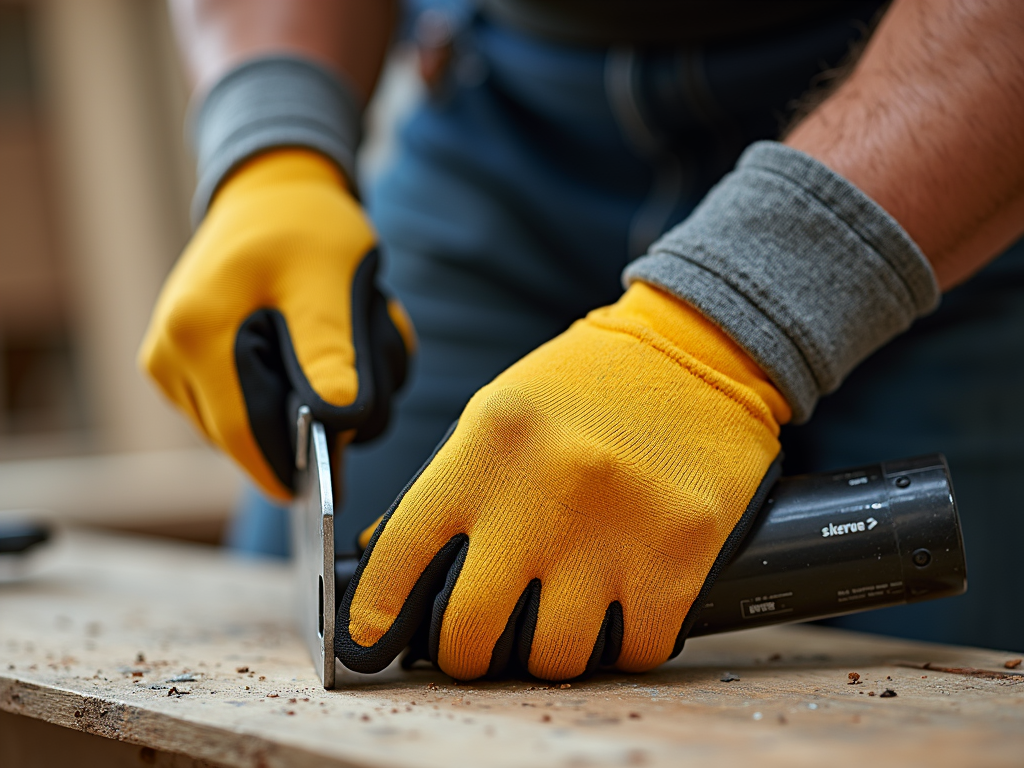
- Safety First: A Guide to DIY Safety Gear
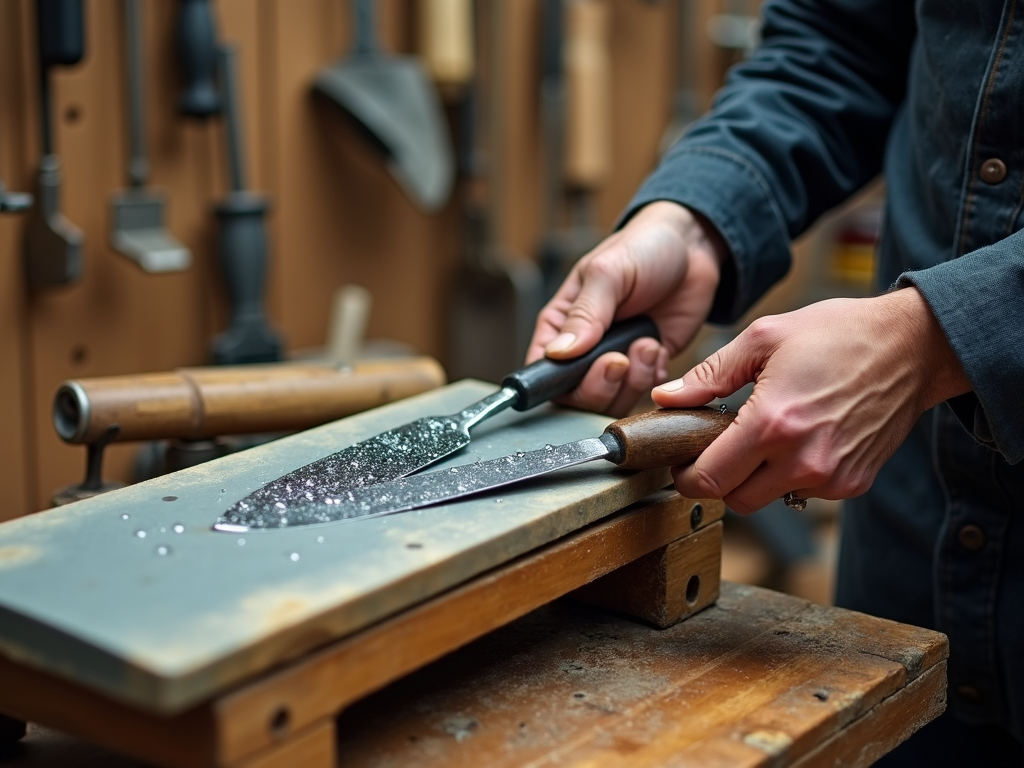
- The Ultimate Guide to Tool Sharpening Techniques
- The Evolution of Workman Tools: From Past to Present
- Top Workbench Accessories for Every Craftsman
- Advanced Power Tool Features Explained: Your Ultimate Guide
- How to Use a Hammer Safely: A Comprehensive Guide for Every Workman
- Stay Safe: Top DIY Safety Tips
- How to Build a Sturdy Workbench