Building your own workbench is a rewarding project that boosts your workshop's functionality. It gives you a solid surface for all your tasks and lets you add custom features. In this guide, we'll walk through the process step by step. You'll learn to make a bench that's strong and includes smart storage. This ties into other DIY workshop projects: build your own storage solutions to keep everything tidy.
I've built a few workbenches over the years, and each one taught me something new. The first was too wobbly, but now I focus on stability. Let's start with the basics.

Gather Your Materials
You need simple items for this build. Keep costs low by using common lumber.
Here's a list: - 4 pieces of 2x4 lumber, 8 feet long (for legs and frames) - 2 sheets of 3/4-inch plywood, 4x8 feet (for top and shelf) - Wood screws (3-inch and 2-inch) - Wood glue - Sandpaper (120-grit) - Optional: Pegboard and hooks for storage
These materials cost around $100-150, depending on where you shop. Check local stores for deals.
From my experience, using treated lumber helps if your workshop is damp. It lasts longer.
Tools You'll Need
Grab these tools: - Circular saw or table saw - Drill with bits - Measuring tape - Clamps - Level
If you're new, borrow tools from a friend. Safety first: wear goggles and gloves.
Step 1: Cut the Lumber
Measure twice, cut once. Cut the 2x4s into: - 4 legs at 32 inches (adjust for your height) - 4 long stretchers at 48 inches - 4 short stretchers at 24 inches
For plywood, cut one sheet to 48x24 inches for the top, and another for the shelf.
I once cut legs too short and had to start over. Take your time here.
Step 2: Build the Frames
Assemble the top frame with two long and two short stretchers. Screw them together to form a rectangle. Do the same for the bottom shelf.
Add glue at joints for extra strength. Clamp until dry.
Step 3: Attach the Legs
Screw legs to the corners of the top frame. Add the bottom frame about 6 inches from the floor. Use a level to ensure it's even.
This setup makes the bench stable. I've tested mine with heavy loads, and it holds up well.
Step 4: Add the Surfaces
Screw the plywood top to the upper frame. Do the same for the bottom shelf. Sand all edges smooth.
Step 5: Finish It Up
Apply a sealant if you want. Now your workbench is ready!
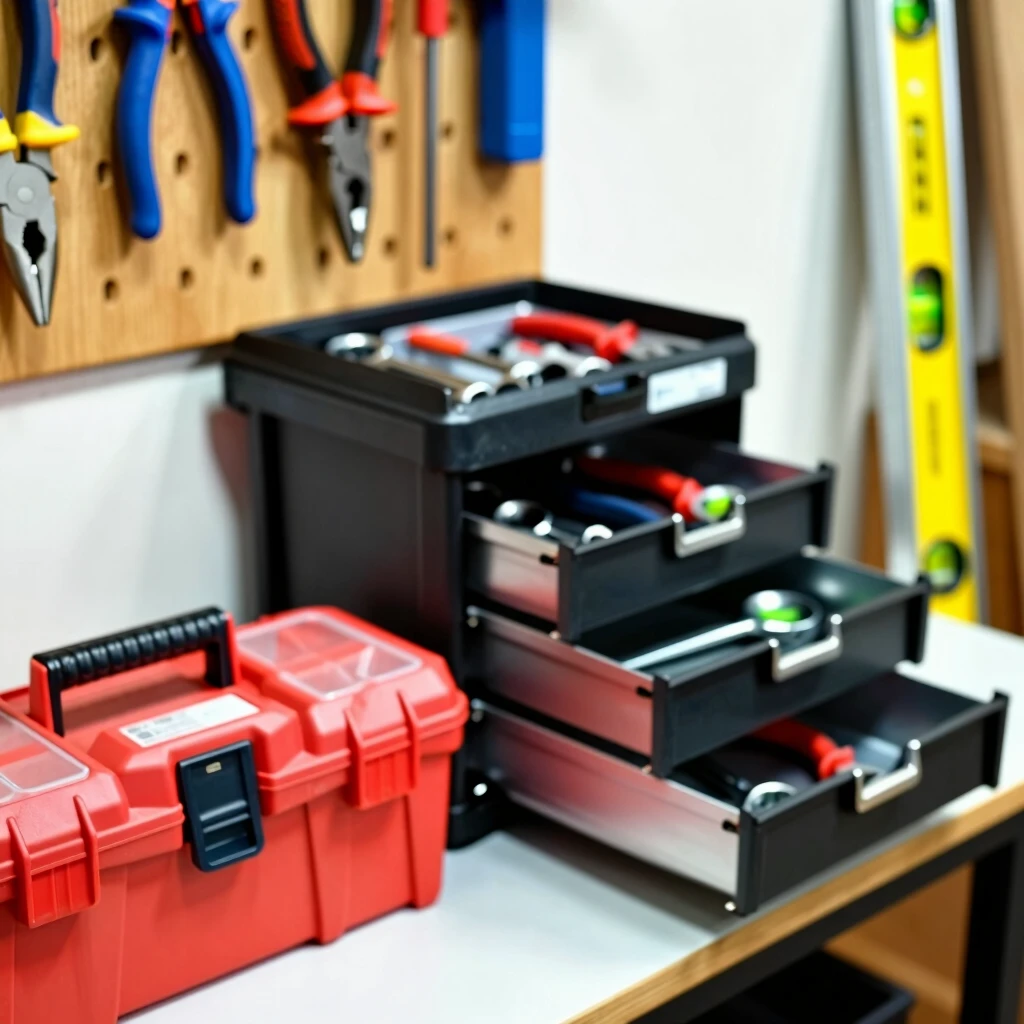
Integrate Storage Solutions
A great workbench includes storage. This leads to DIY workshop projects: build your own storage solutions. Add shelves or drawers underneath.
For example, install a pegboard on the back for hanging tools. It's easy and keeps things off the surface.
In my shop, I added pull-out bins for small parts. It saves time searching.
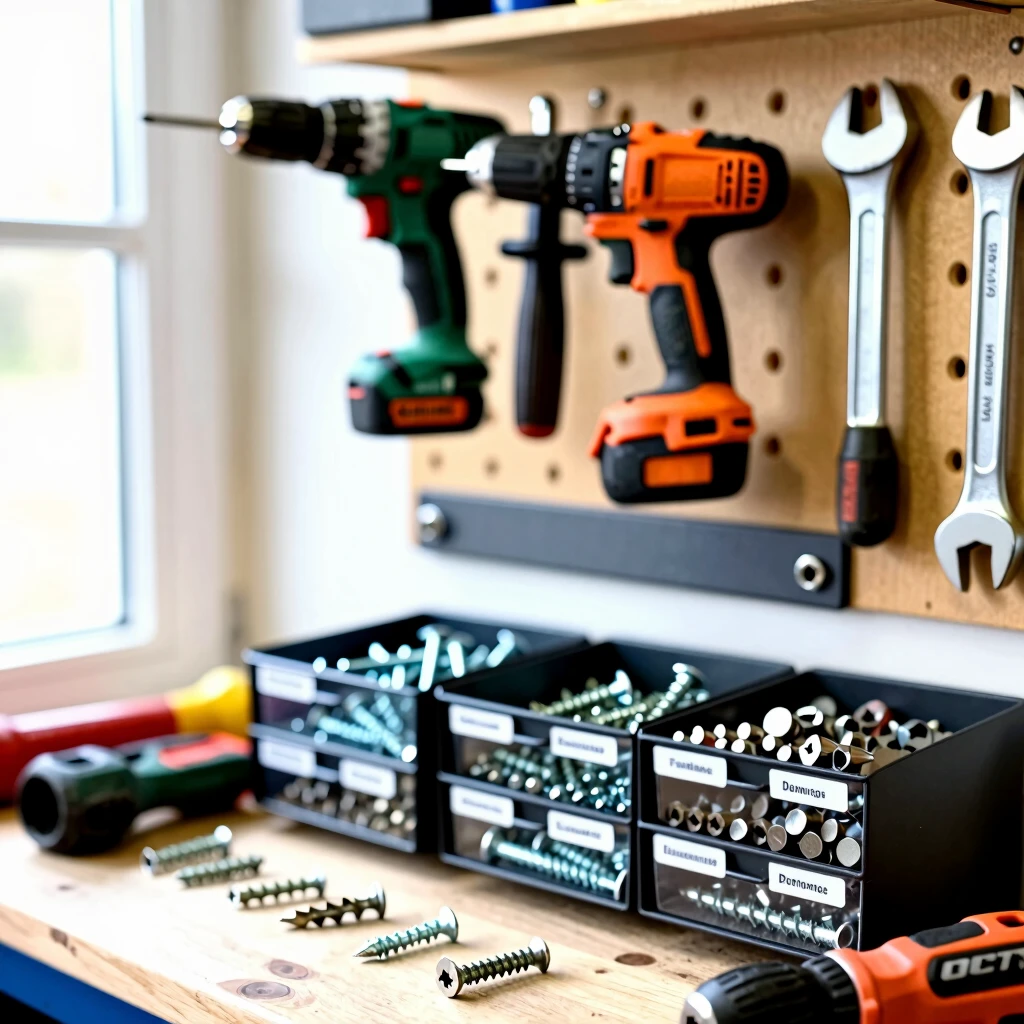
10 Clever Workshop Storage Ideas
Here are some tips to boost your space: 1. Use magnetic strips for metal tools. 2. Hang French cleats for modular shelves. 3. Label drawers clearly. 4. Mount jars under shelves for screws. 5. Build a tool cart on wheels. 6. Use PVC pipes for long tool storage. 7. Add overhead racks for lumber. 8. Install shadow boards for outlines. 9. Use stackable bins. 10. Create a charging station for batteries.
These ideas come from years of trial and error. Number 4, the jar trick, is my favorite for quick access.
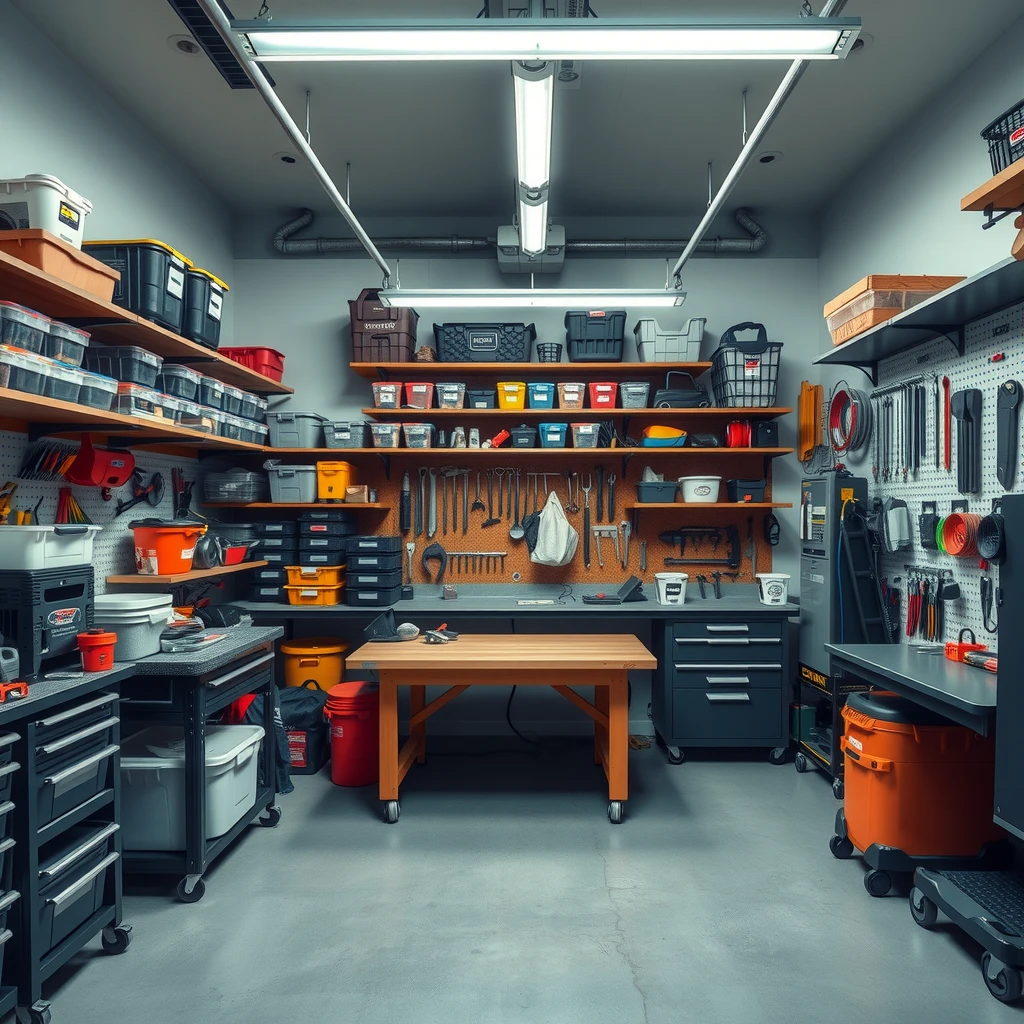
Organizing Your Workshop: Maximizing Space and Efficiency
A tidy workshop boosts productivity. Group tools by type: hand tools together, power tools near outlets.
Use vertical space with wall racks. Floor space is precious, so go up.
I rearranged my shop last year and gained 20% more room. Small changes make a big difference.
The Best Way to Store Power Tools
Store power tools safely to avoid damage. Use padded shelves or cases. Keep them dry and dust-free.
For drills, a wall-mounted dock works great. Saw blades go in protective sleeves.
From experience, hanging tools prevents cord tangles. It's simple but effective.
Tips for Customization
Make the bench yours. Add a vise for clamping. Or wheels for mobility.
If space is tight, make it foldable. I've seen designs that save room in small garages.
Common Mistakes to Avoid
Don't skip bracing; it leads to wobbles. Use quality screws, not nails.
Measure your space first. My first bench was too big for the door!
Maintenance Advice
Check screws yearly. Sand and reseal as needed. A well-kept bench lasts decades.
Why Build Your Own?
Store-bought benches cost more and lack personalization. DIY saves money and builds skills.
Building this workbench sparked my love for woodworking. It's empowering.
Final Thoughts
You've now got the know-how to build a workbench that enhances your workshop. Incorporate storage to stay organized. Start small, and enjoy the process.
Related DIY Workshop Projects: Build Your Own Workbench:
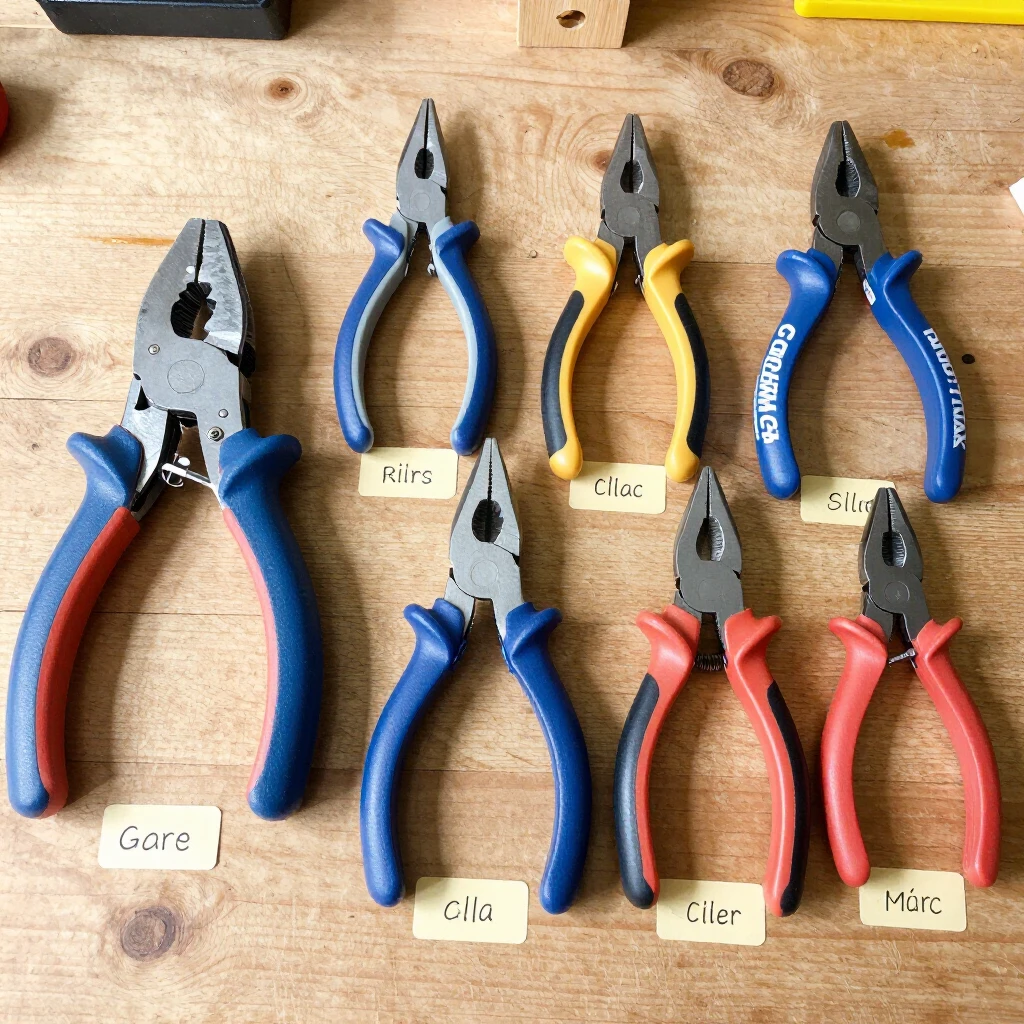
- Pliers 101: A Beginner’s Guide to This Versatile Tool
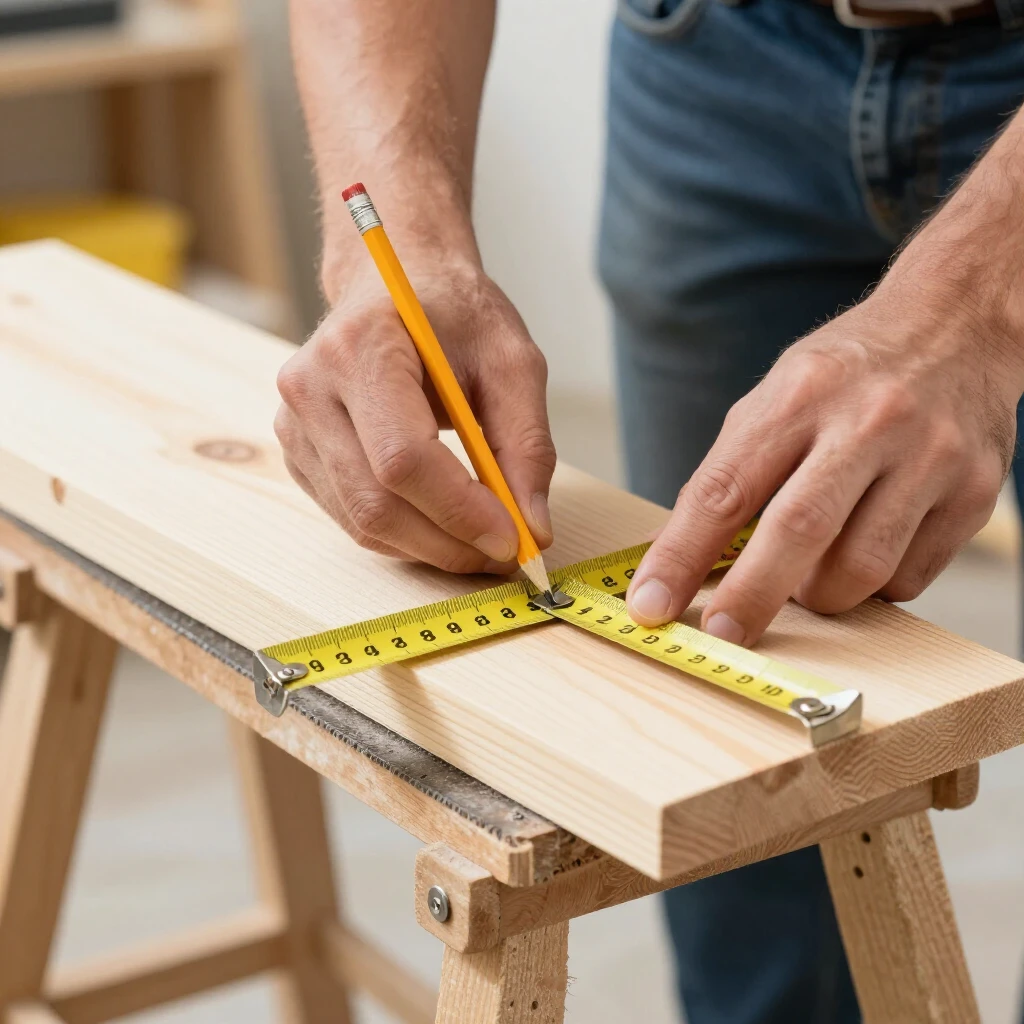
- Beginner's Guide to Measuring Tools
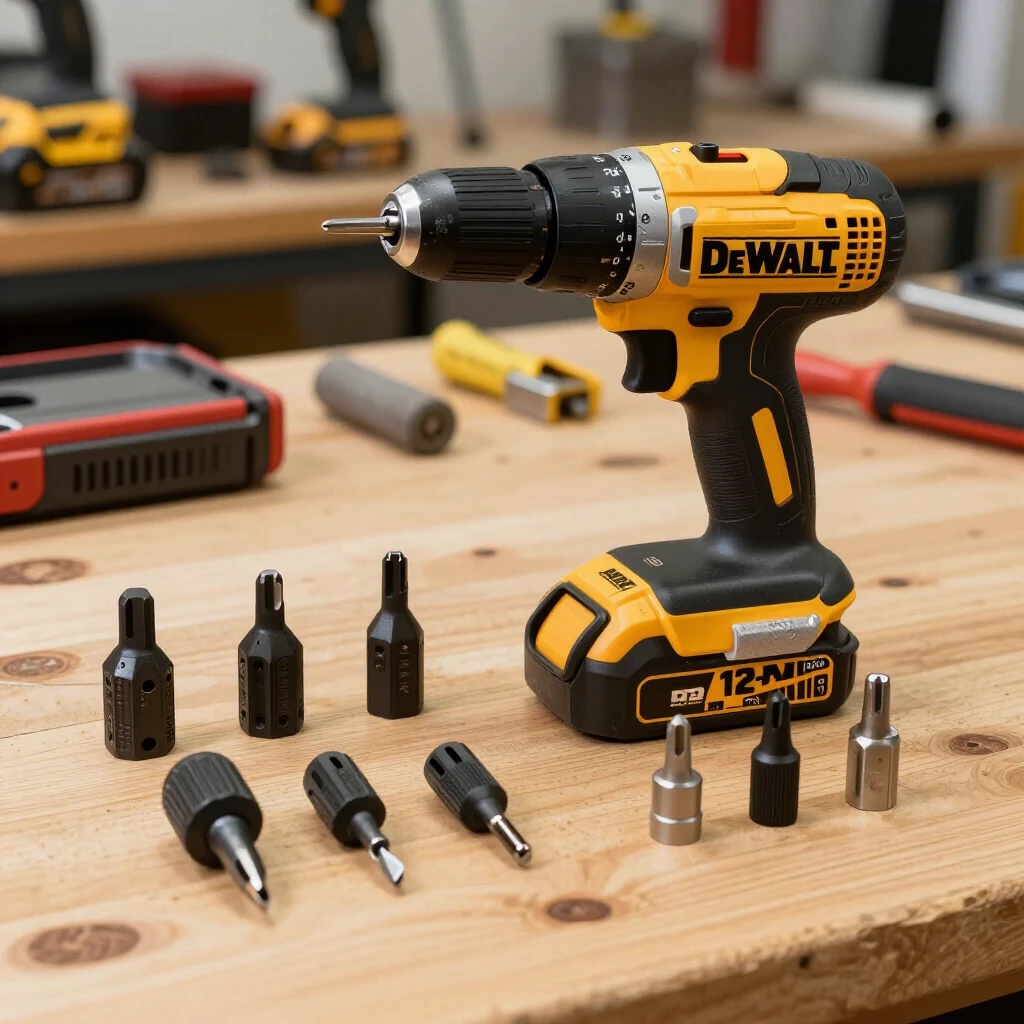
- The Ultimate Guide to Power Drills with Multiple Attachments
- Top 10 Smart Multimeters for Electricians in 2025
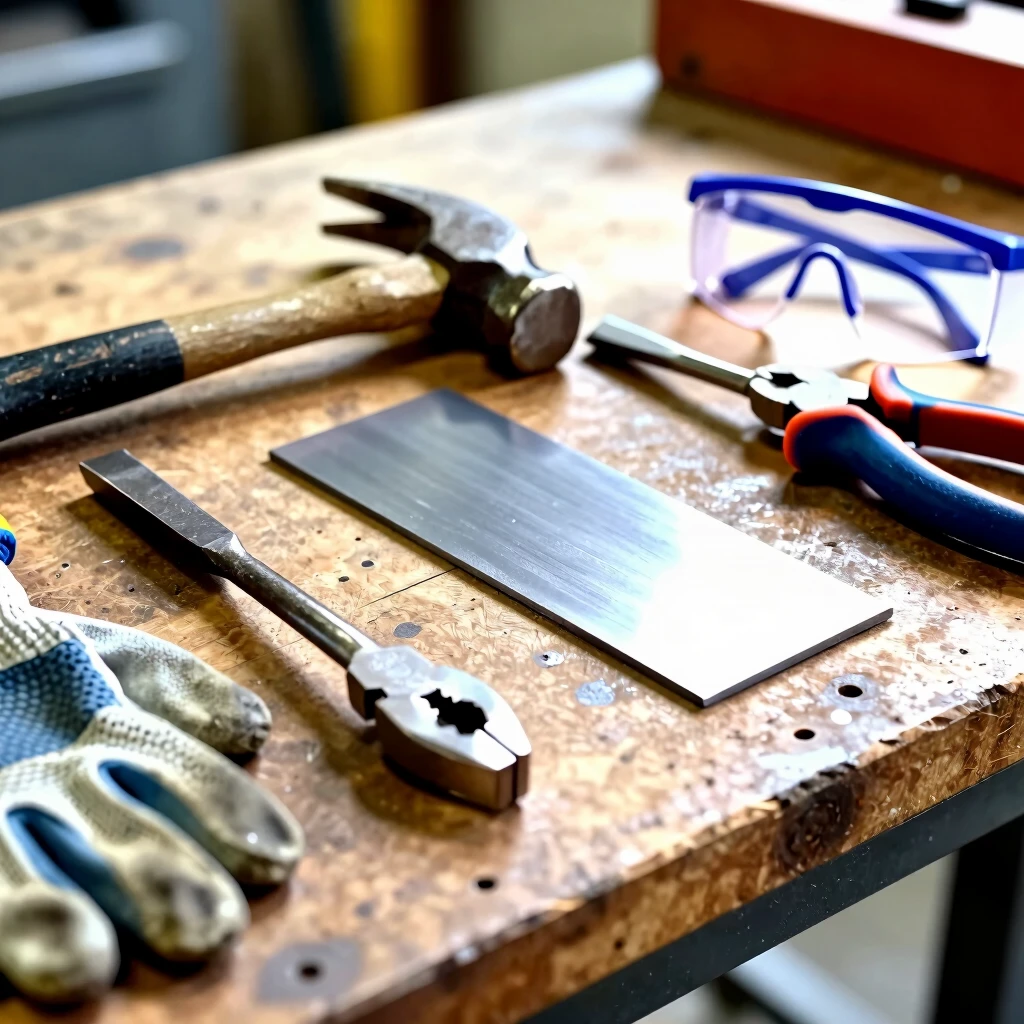
- Advanced Techniques: From Beginner to Pro in Metal Shaping
- How to Analyze Complex Topics
- Ultimate Guide to Power Washer Troubleshooting and Repair
- Easy DIY Projects to Try with Your Power Tools
- The Best Attachments to Upgrade Your Power Drill
- How IoT is Revolutionizing Construction Sites
- Ergonomic Hand Tools for Reduced Strain: Your Guide to Smarter, Safer Workmanship
- How to Choose the Perfect Toolbox for Your Workshop