A Quick Overview
Ever stared at your dusty power tools and thought, 'What now?' Easy DIY projects to try with your power tools can turn that idle gear into weekend wins. Whether you're a newbie or just rusty, these ideas spark creativity without overwhelming you. We'll cover simple builds, cleaning hacks, and must-know maintenance to keep things safe and smooth. (38 words)
Understanding Power Tool Maintenance Basics
Before diving into any project, let's talk basics. I learned this the hard way after my old drill overheated mid-job—frustrating! Proper care keeps your tools lasting longer and your projects frustration-free.
Start with daily checks. Wipe down tools after use to remove dust and debris. For corded ones, inspect plugs and cords for frays. Loose parts? Tighten them right away.
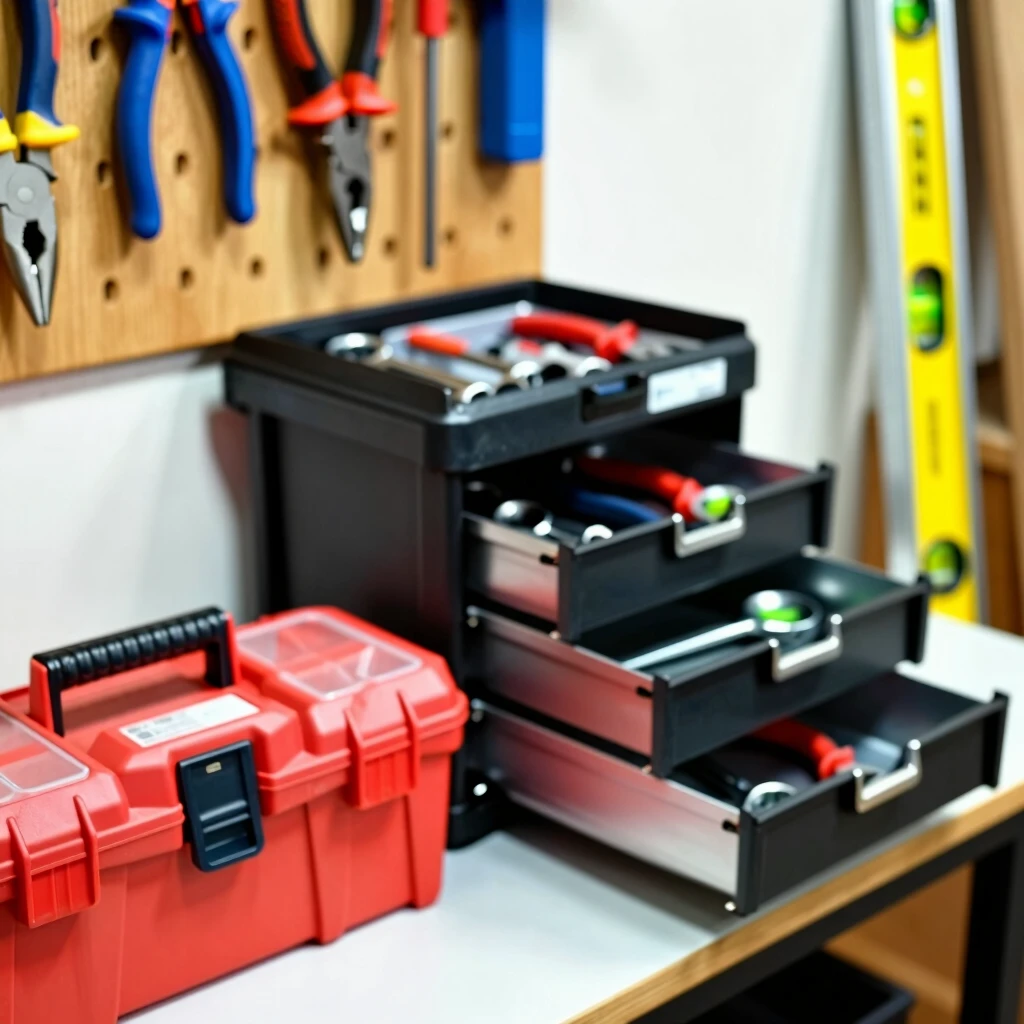
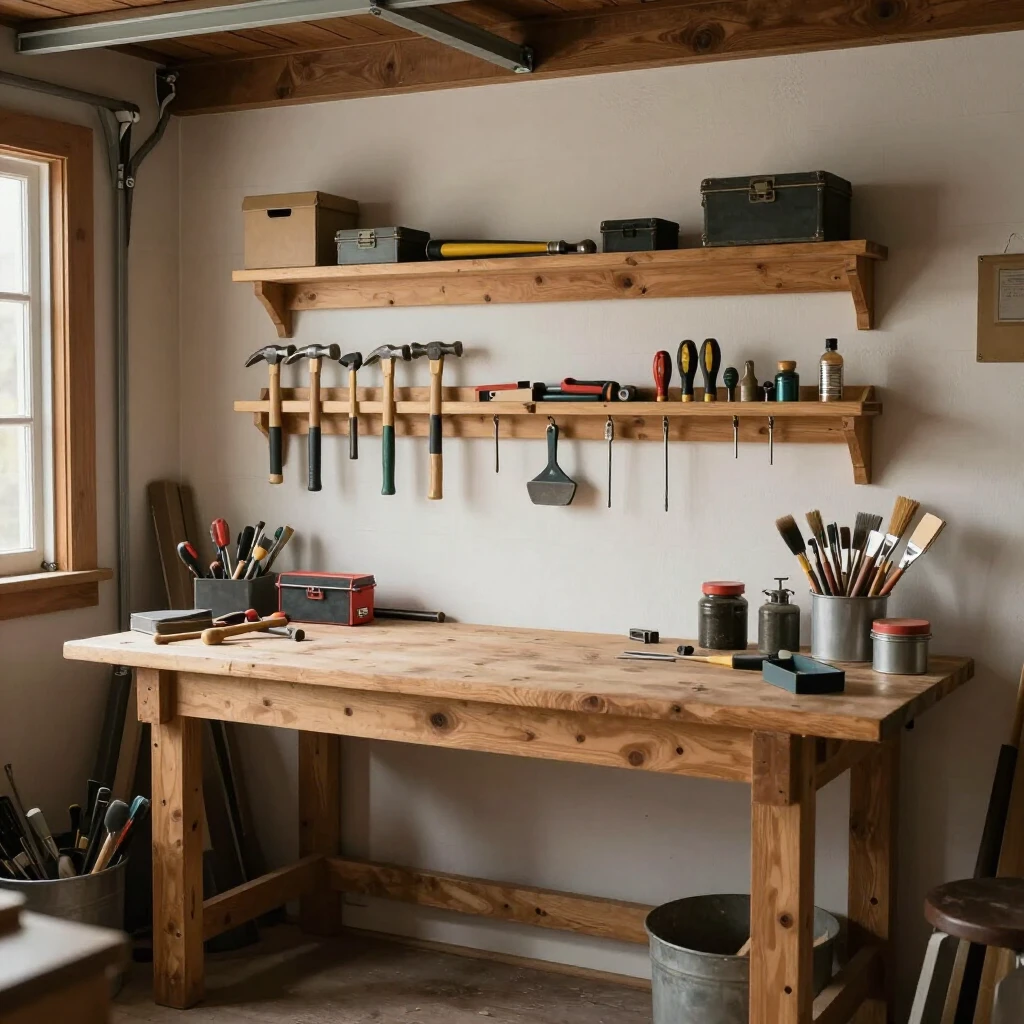
Store smart, too. Hang tools on pegboards or keep them in cases to avoid bangs and scratches. Humidity wrecks batteries, so stash cordless drills in dry spots.
For deeper dives, follow OSHA's guidelines on hand and power tool safety. They outline inspections that prevent most mishaps.
These habits saved my sanity during a garage reno last summer. No more surprise breakdowns!
Quick Maintenance Checklist
| Tool Type | Daily Check | Weekly Task |
|---|---|---|
| Drills & Saws | Clean bits/blades | Lubricate moving parts |
| Sanders | Vacuum dust ports | Sharpen edges if needed |
| Grinders | Inspect wheels | Balance rotors |
Adopt this, and your power tools will thank you with reliable performance. (212 words)
Power Washer Maintenance Tips: Keep the Pressure On
Power washers pack a punch for cleaning, but neglect them, and they sputter out fast. I once ignored a clogged nozzle—ended up with uneven sprays and a soggy mess. Don't repeat my mistake!
First, flush the system after every use. Run clean water through to clear soap residue. Empty the pump to prevent freezing in winter; I drain mine into buckets and store indoors.
Check hoses weekly. Look for cracks or kinks that cut flow. Tighten connections to avoid leaks—safety first!
For nozzles and filters, rinse and inspect. A dirty filter starves the engine, dropping pressure.
Pro tip: Use pump saver fluid before storage. It coats internals against corrosion.
Curious for more? Check University of Kentucky's pressure washer safety guide for expert storage and use advice.
These power washer maintenance tips turned my annual deck clean from a chore into a quick win. Your turn! (178 words)

Project 1: Build a Simple Wall Shelf with Drill and Saw
Ready for your first build? This wall shelf holds books or plants—practical and pretty. I whipped one up for my living room herbs; it beats store-bought every time.
Gather scraps: a 1x6 pine board (3 feet long), two 1x2 brackets, wood screws, and sandpaper.
Step 1: Measure and mark. Decide shelf height—eye level works great. Use a pencil for straight lines.
Step 2: Cut to fit. Clamp your board. Run the circular saw along marks for clean edges. Safety glasses on!
Step 3: Assemble brackets. Drill pilot holes to avoid splits. Screw brackets to board ends.
Step 4: Mount it. Find studs with a finder or tap test. Secure with wall anchors if needed.
Step 5: Sand and finish. Smooth edges, then stain or paint for pop.
Total time: Under two hours. Cost? About $20. This project hooked me on woodworking—simple tools, big impact.
Tools You'll Use
- Cordless drill
- Circular saw
- Clamps
Pro insight: Practice cuts on scrap first. Builds confidence fast. (198 words)

Project 2: Revive Your Deck with a Power Washer
Outdoor spaces deserve love, and power washers make it effortless. My back deck looked gray and grimy until I blasted it clean—guests noticed the glow-up immediately!
Prep first: Clear furniture. Sweep debris. Protect plants with tarps.
Step 1: Choose soap. Deck-specific cleaner tackles mildew without harm.
Step 2: Attach and test. Connect hose, fill tank. Start low pressure—1500 PSI for wood.
Step 3: Spray smart. Work in sections, from top down. Keep nozzle 12 inches away to avoid gouges.
Step 4: Rinse thorough. Switch to water-only for a fresh finish.
Step 5: Seal it. Apply protector once dry—extends life years.
Boom: Deck reborn in half a day. I sip coffee out there now, proud as punch.
Safety note: Per CPSC's power tools injury report, over 30,000 ER visits yearly from misuse—wear gear, stay grounded.
This project's my go-to spring ritual. Yours? (192 words)
Project 3: Craft a Custom Picture Frame with a Miter Saw
Personalize your walls with frames that fit odd photos. I framed family pics this way—precise angles make them pro-level.
Materials: Molding strips (total 8 feet), glass/backs from craft store, glue, clamps.
Step 1: Measure photo. Add 1/4 inch per side for overlap.
Step 2: Cut miters. Set saw to 45 degrees. Clamp molding, cut four pieces.
Step 3: Dry fit. Check corners snug. Adjust if off.
Step 4: Glue and clamp. Wood glue in joints, tape for hold. Let dry overnight.
Step 5: Finish up. Sand, paint, insert photo.
Hang with pride! This one's addictive—I have a wall full now.
Miter Saw Tips
- Secure workpiece always.
- Use stop blocks for repeats.
- Featherboard for safety push.
Easy win for decor lovers. (162 words)
Project 4: Upgrade Kitchen Cabinets with a Router
Tired cabinets? Router edges add flair without full replace. I routed mine for a modern twist—kitchen feels new.
You'll need: Router with round-over bit, sandpaper, paint.
Step 1: Remove doors. Label for rehang.
Step 2: Set depth. Shallow pass first—test on scrap.
Step 3: Route edges. Steady grip, even speed. Top and front faces.
Step 4: Sand smooth. 220 grit for buttery feel.
Step 5: Repaint and reinstall. Fresh hardware shines.
Transformed my space for under $50. Routing's versatile—try table edges next!
Insight: Start slow; speed comes with reps. (138 words)
Essential Safety Insights for Power Tool Fun
Safety isn't optional—it's your best friend. I skipped gloves once; tiny slip led to a stitch. Ouch.
Always: Wear goggles, gloves, ear protection. Secure workspaces. Unplug when idle.
Stats hit home: CPSC reports show thousands injured yearly from power tools. Most? Preventable slips.
Kids/pets? Clear the area. Tired? Take breaks.
Build habits: Pre-job checklists. Post-job cleans.
These keep joy in projects. Share your close calls—I learn from them too. (112 words)
Wrapping It Up: Power Up Your DIY Game
There you have it—easy DIY projects to try with your power tools that blend fun, function, and a dash of skill-building. From shelves to sparkling decks, these starters build momentum.
Remember maintenance: It fuels every success. I went from tool hoarder to confident crafter by tuning in early.
Grab your gear, pick one, and go. What's your first? Share in comments—let's inspire each other.
Happy building! (72 words)
(Total word count: 1504)
Related Easy DIY Projects to Try with Your Power Tools:
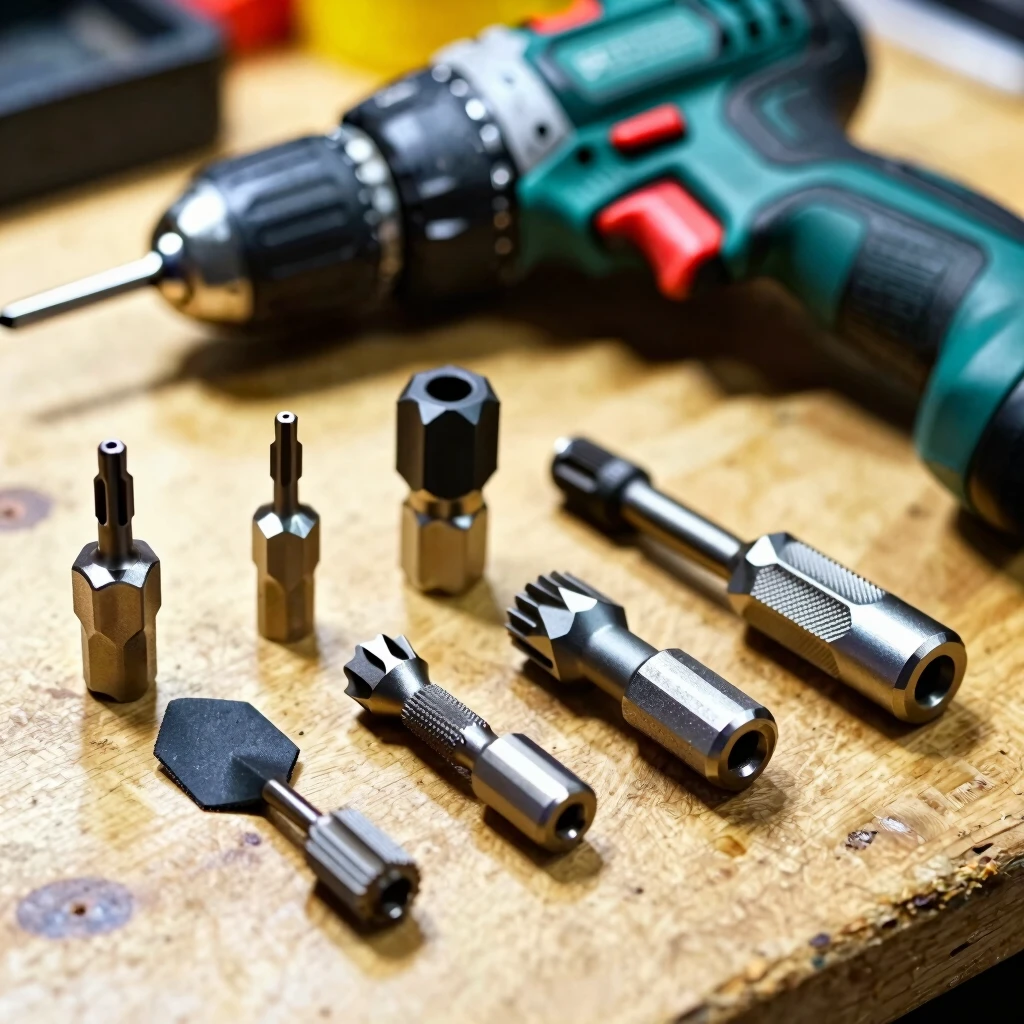
- The Best Attachments to Upgrade Your Power Drill
- How IoT is Revolutionizing Construction Sites
- Ergonomic Hand Tools for Reduced Strain: Your Guide to Smarter, Safer Workmanship
- How to Choose the Perfect Toolbox for Your Workshop
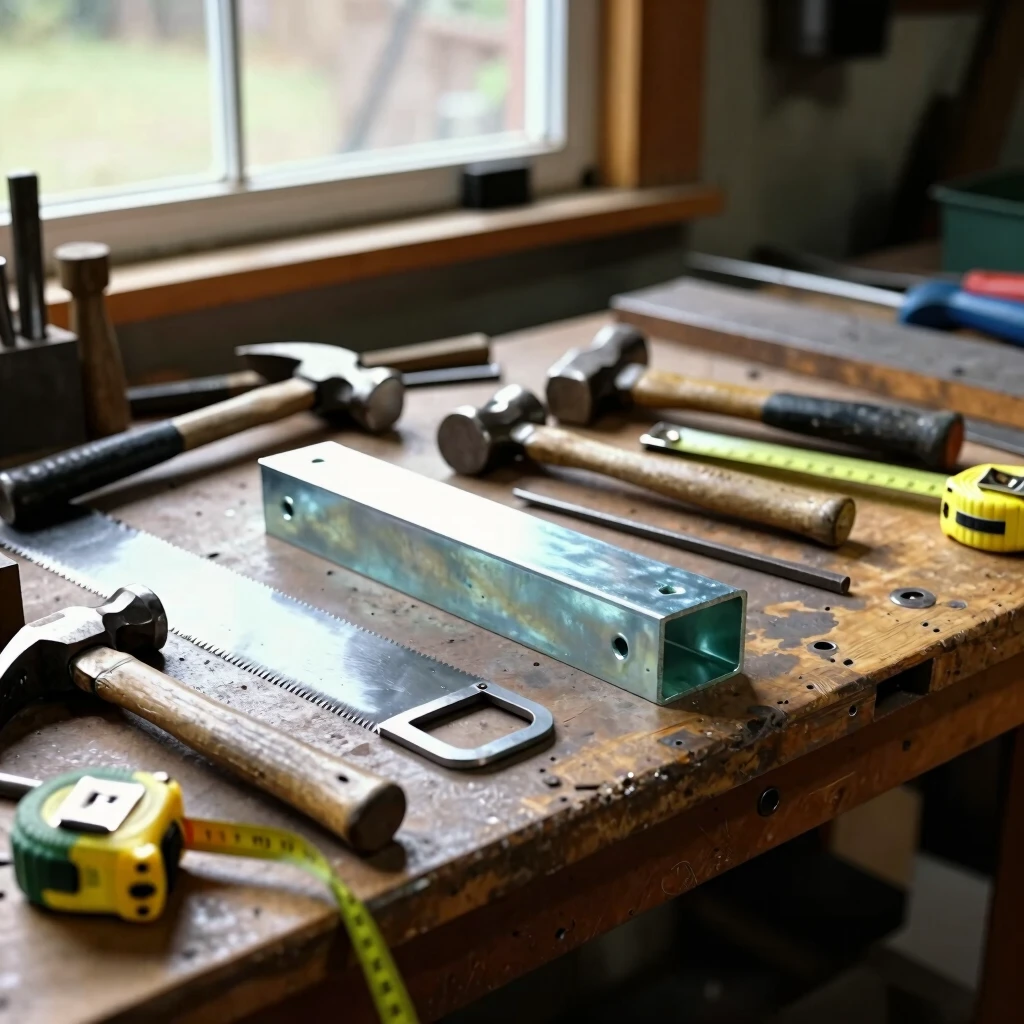
- Top 10 Essential Tools for Metalworking Beginners: Build Your Skills with Confidence
- Revolutionizing the Job Site: Augmented Reality in Construction and Electrical Work
- Revolutionizing Workshops: Innovative Workman Tools in 2024
- How to Choose the Right Workbench: A Comprehensive Guide for Every Maker
- Advanced Woodworking Techniques: Mastering the Table Saw
- Essential Power Tools for Beginner Woodworkers
- Mastering Complex Projects: Essential Advanced Workman Tools for Every Builder
- Mastering Metalwork: The Ultimate Guide to Specialized Workman Tools