A Quick Look at Table Saw Mastery
If you love building things from wood, the table saw stands out as a key power tool. It slices through boards with ease and precision. In this guide, we dive into advanced woodworking techniques: mastering the table saw. You'll pick up tips on safe use, smart cuts, and keeping your saw sharp. Whether you're crafting furniture or shelves, these steps will boost your skills.
Why the Table Saw Rules Woodworking
Table saws change how you work with wood. They handle long rips and clean crosscuts better than hand tools. As a hobbyist, I once struggled with uneven edges until I got my first table saw. It opened doors to cleaner joins and faster builds.
Pick table saws with user-friendly features like easy blade changes and digital fences. These make setup quick and reduce errors. Brands like DeWalt or SawStop offer models that fit tight spaces without losing power.
Step One: Choose Your Saw Wisely
Not all table saws fit every shop. Start with your space and budget. Cabinet saws shine for heavy use, while jobsite models travel easy.
Here's a simple breakdown:
| Type | Best For | Key Feature |
|---|---|---|
| Benchtop | Small shops | Portable, lightweight |
| Contractor | Home garages | More power, affordable |
| Cabinet | Pro work | Dust collection, stability |
I recommend tablesaws with user-friendly features for beginners advancing up. Look for quick-release fences—they save time on repeats.
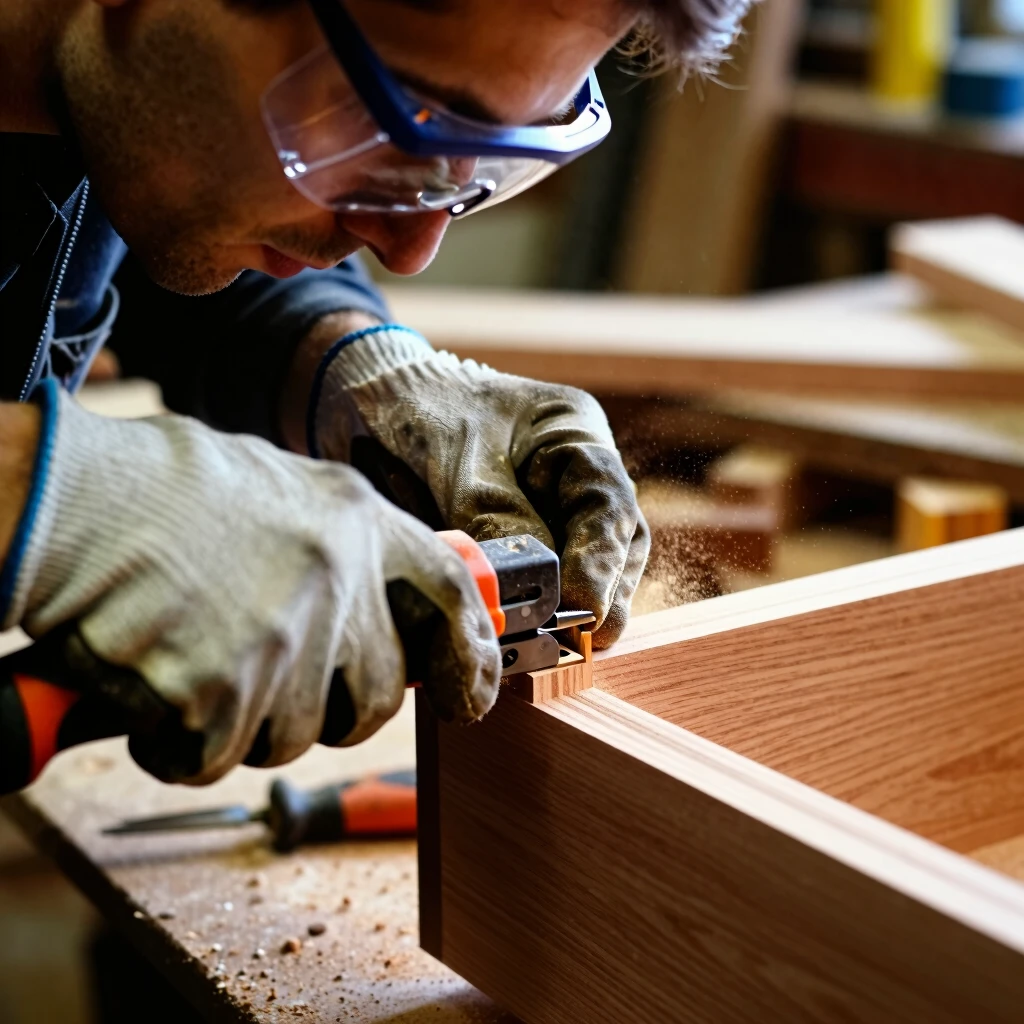
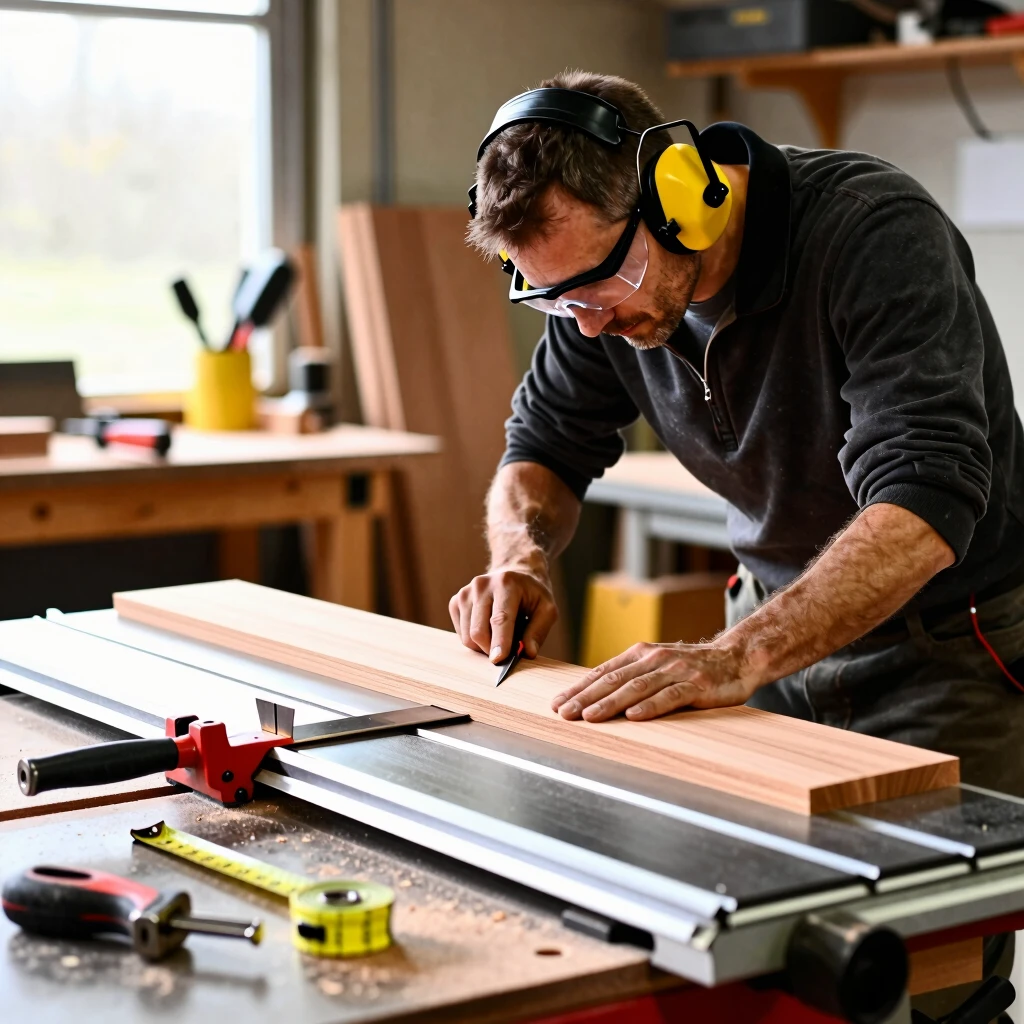
Safety: Your First Advanced Technique
Safety tops every list in advanced woodworking techniques: mastering the table saw. One slip can end your day—or worse. I learned this hard way early on, nicking a finger on a dull blade.
Always wear goggles, gloves, and ear plugs. Keep the area clear. For top tips, check the OSHA guidelines on table saw guarding. They stress enclosing blades and using push sticks.
Key rules: - Stand to the side of the cut line. - Never reach over a spinning blade. - Use a riving knife to stop kickback.
The Consumer Product Safety Commission backs this with standards on blade guards. Follow them to cut risks by up to 80%.
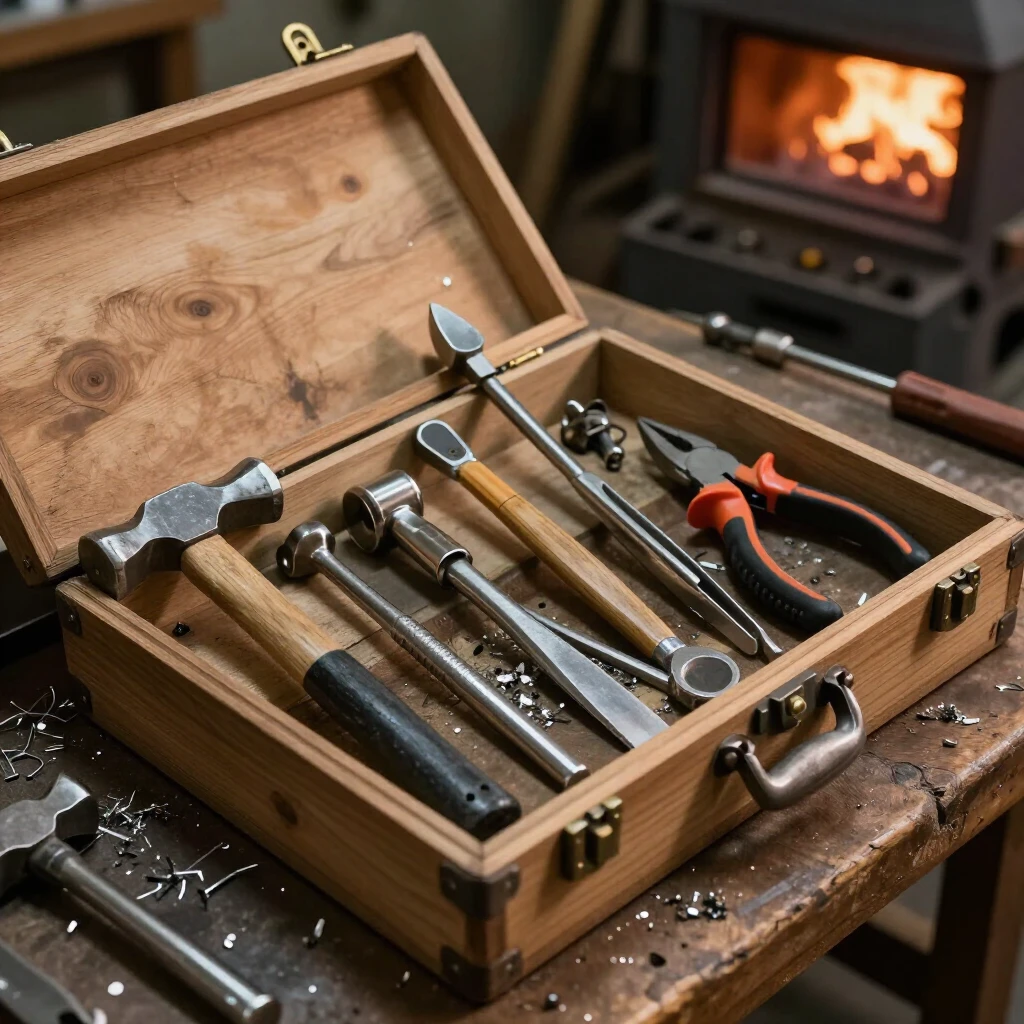
Gear Up with Must-Have Accessories
Power tools like table saws pair best with add-ons. A zero-clearance insert tightens throat plate gaps for smoother feeds. Dado stacks cut grooves in one pass—great for shelves.
Featherboards hold wood flat, cutting wobbles. I add one to every long rip now. It changed my game on wide panels.
Don't skip a good stand. It raises your saw to elbow height, easing back strain over hours.
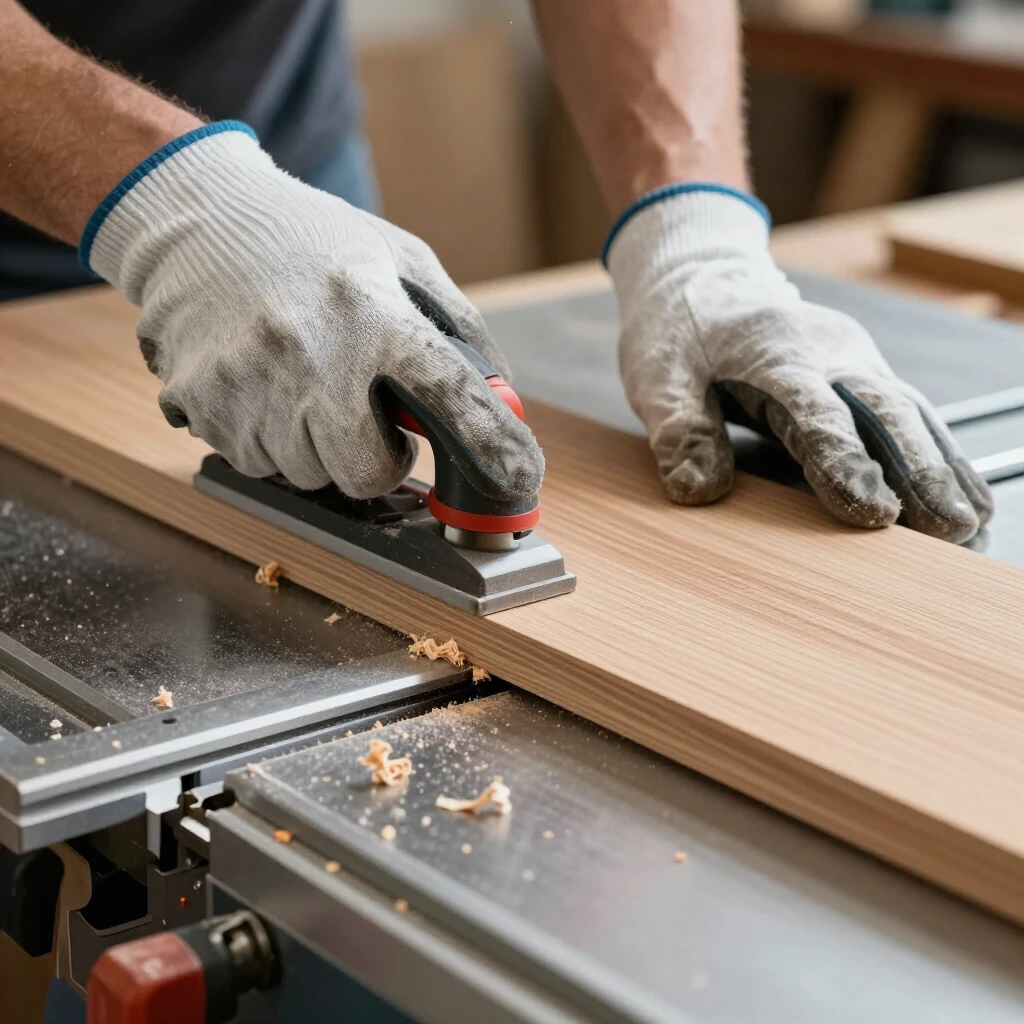
Master the Rip Cut: Long and Straight
Ripping means cutting along the grain. It's the table saw's sweet spot. Set your fence parallel to the blade—off by a hair, and your board binds.
Steps to nail it: 1. Measure and mark your board. 2. Adjust the fence to width. 3. Start the saw and let the blade reach full speed. 4. Feed steady with a push stick after halfway. 5. Clear the offcut right away.
Practice on scrap first. I wasted a few cherry boards learning, but now my rips stay laser-true.
Crosscuts: Clean Ends Every Time
Crosscuts slice across the grain for shorter pieces. Use the miter gauge here—never the fence alone, or kickback waits.
Lock the gauge at 90 degrees for squares. For angles, dial in precisely. A stop block speeds repeats, like frame parts.
Pro tip: Clamp a sacrificial board to the fence. It supports short cuts without tear-out. My first angled legs came out perfect this way.

Dado and Rabbet Cuts: Joinery Basics
Want strong shelves? Dado cuts are your friend—shallow trenches for perfect fits. Stack a dado blade and set depth shallow.
Rabbets notch edges for boxes. Run the board on edge with the fence. Test on scrap; wood swells with humidity.
These advanced woodworking techniques: mastering the table saw build heirloom pieces. I crafted a bookcase last year—dado joints held firm through moves.
Tackle Curves with Confidence
Table saws do more than straights. For gentle curves, use a jig with a pivot point. It guides the board in arcs.
Build one from plywood scraps. Mine handles cabriole legs for chairs. Start slow; curves demand feel.
Pair with a bandsaw for tight bends, then table saw for cleanup.
Maintenance: Keep It Running Smooth
A dull saw frustrates. Clean after every use—dust gums up rails.
Tune yearly: Check blade squareness and fence alignment. Lubricate trunnions lightly.
For expert advice, see Fine Woodworking's table saw tune-up guide. It covers blade sharpening and belt tension.
Sharpen blades or swap them. I do this monthly; cuts stay crisp, and safety improves.
Troubleshooting Common Hitches
Burn marks? Slow your feed. Vibration? Tighten belts.
If the motor bogs, check overload—too thick wood.
Log issues in a notebook. Mine helped spot a worn arbor bearing early.
Wrap-Up: Saw Smarter, Build Better
Mastering the table saw unlocks advanced woodworking techniques: mastering the table saw. From safe rips to dado joins, these power tools reward practice. Start small, stay safe, and your projects will shine.
Grab scraps and try one cut today. You'll feel the shift.
Related Advanced Woodworking Techniques: Mastering the Table Saw:
- Essential Power Tools for Beginner Woodworkers
- Mastering Complex Projects: Essential Advanced Workman Tools for Every Builder
- Mastering Metalwork: The Ultimate Guide to Specialized Workman Tools
- Workman Safety Tips: Maintaining Comfort and Health
- Woodworking for Dummies by Jeff Strong: Your Ultimate Beginner-to-Pro Guide
- Essential Safety Gear for Power Tools: Protect Yourself and Work Smarter
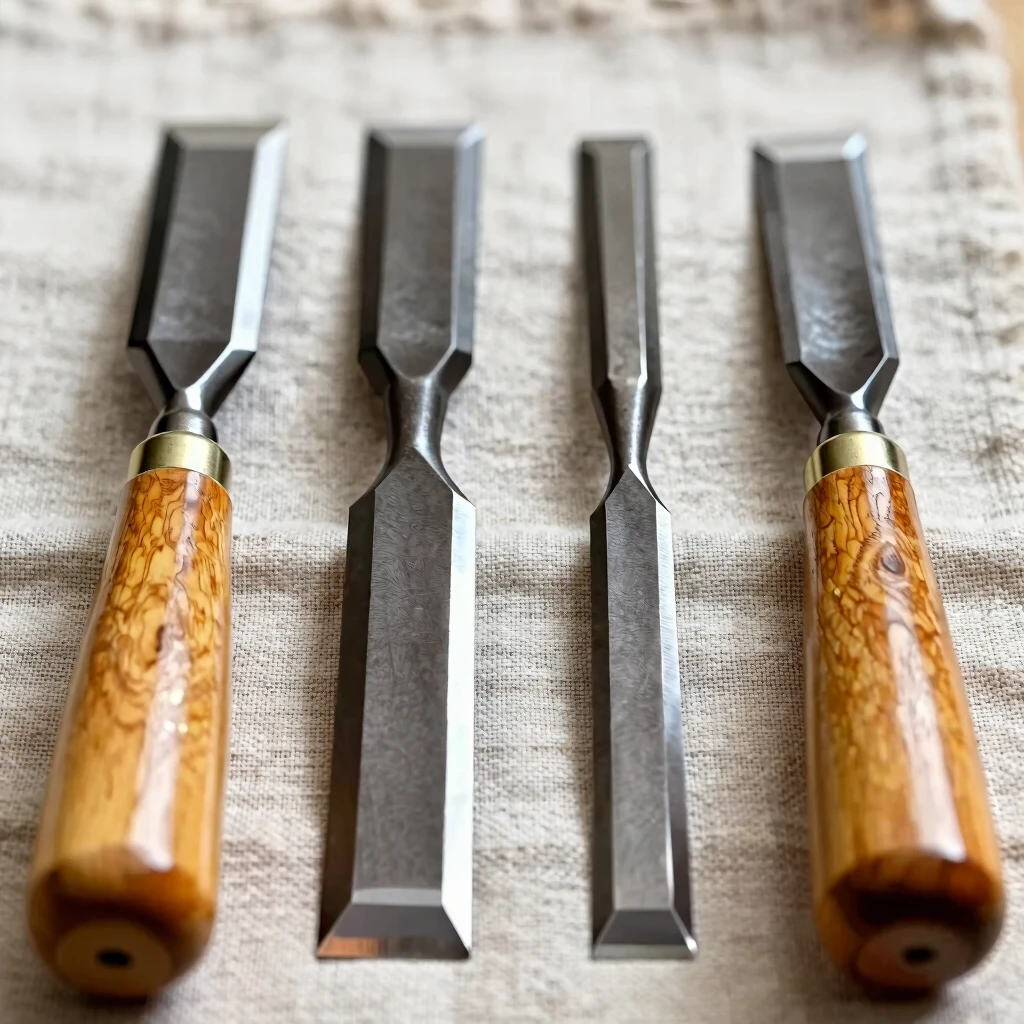
- Essential Chisels in a Woodworker's Toolkit: Your Guide to Precision and Craftsmanship
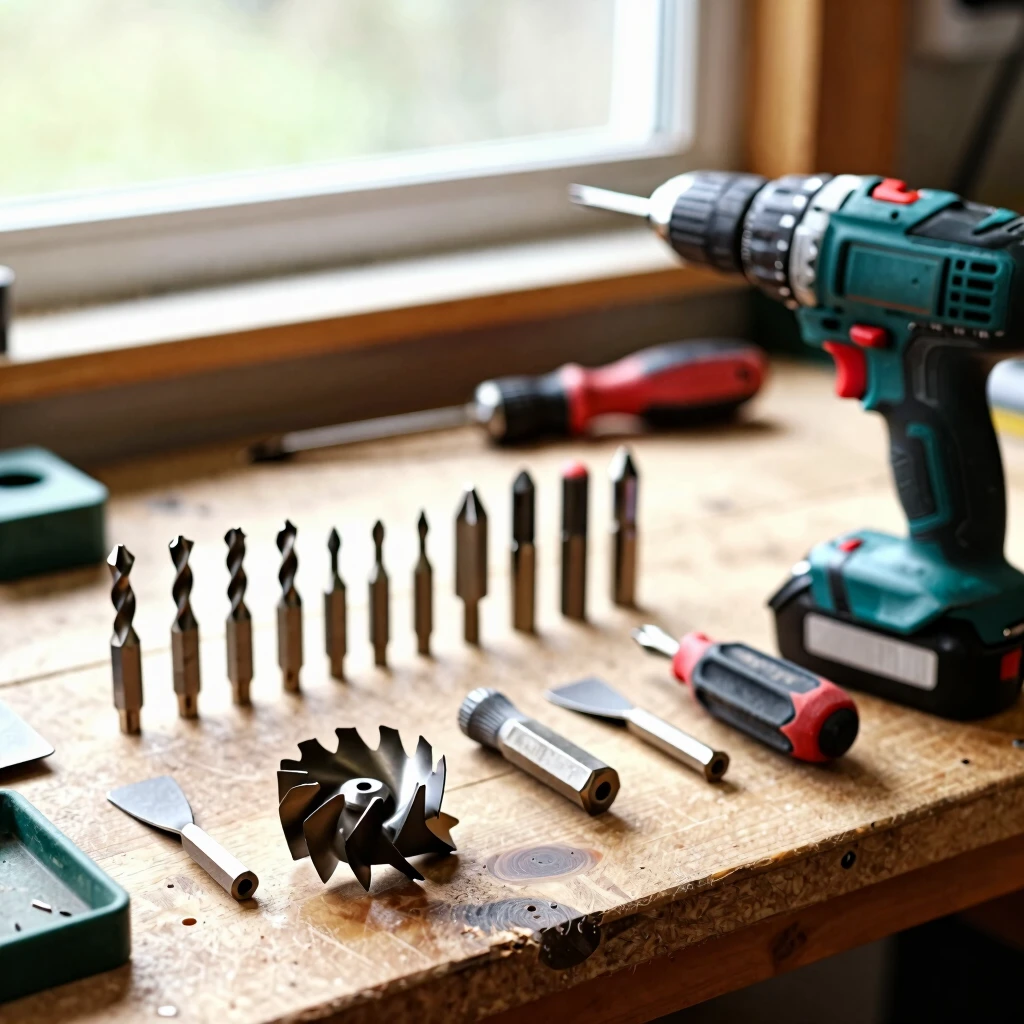
- Understanding Power Drill Attachments and Their Uses
- How to Organize Your Workshop Like a Pro
- Maintenance Tips for Workman Tools: Keep Your Gear Sharp and Safe
- Essential Electrical Tools for Troubleshooting and Repair: A Hands-On Guide
- Essential Safety Tips for Metalworking Beginners: Protect Yourself and Craft with Confidence