Overview
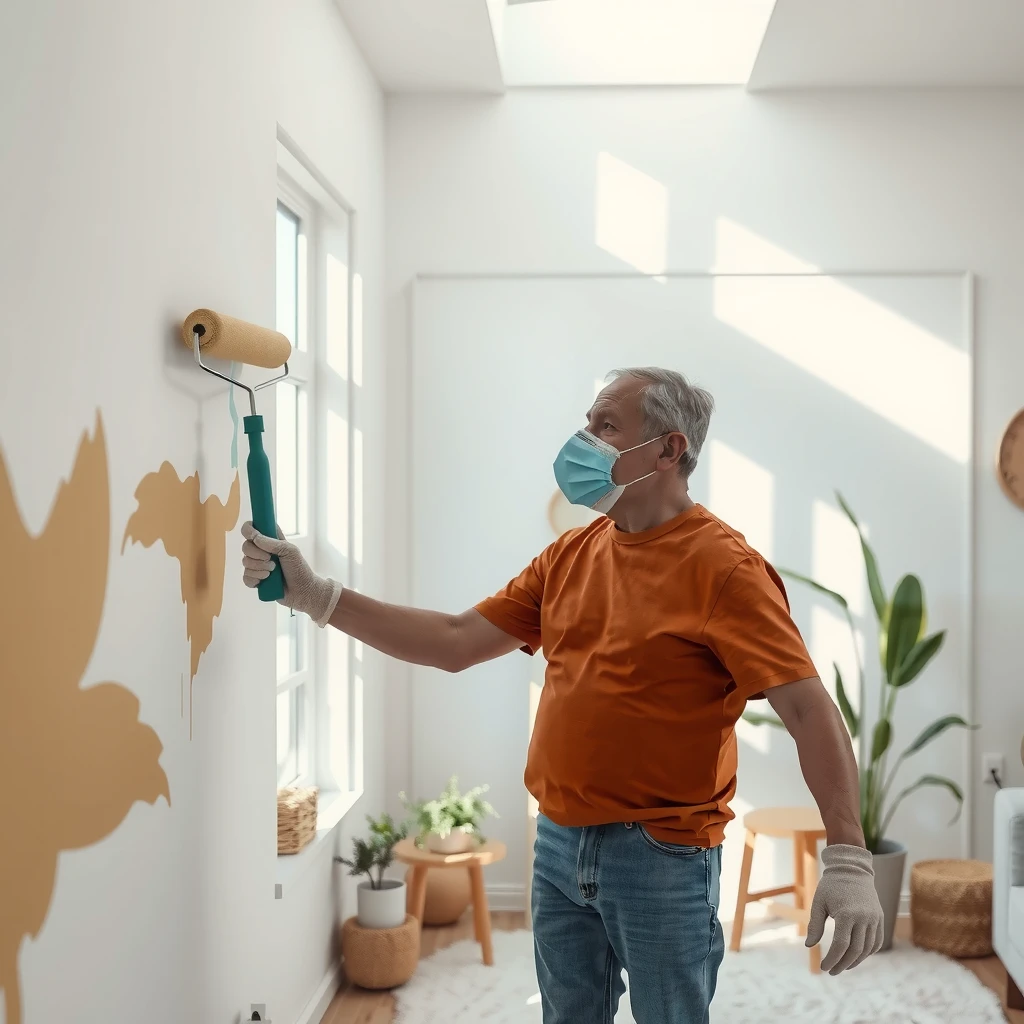
Proper surface preparation is the secret to a smooth, long-lasting paint job. Whether you’re painting walls, wood, or metal, taking the time to prep makes all the difference. This guide covers everything you need to know, from cleaning to priming, with practical tips and tools.
Why Preparation Is Key
Painting might seem simple—just grab a brush and go, right? But if you skip prepping the surface, you’re setting yourself up for trouble. Dirt, cracks, or old paint can ruin your finish, leaving you with peeling or uneven results. I’ve seen it happen. Years ago, I painted a wall without cleaning it first, and within weeks, the paint started flaking off. Lesson learned: prep work isn’t optional.
Good preparation ensures paint sticks properly and looks great. According to experts at Purdue University’s Department of Building Construction Management, a well-prepped surface can extend the life of your paint job by years. That’s worth the effort.

Step 1: Clean Thoroughly
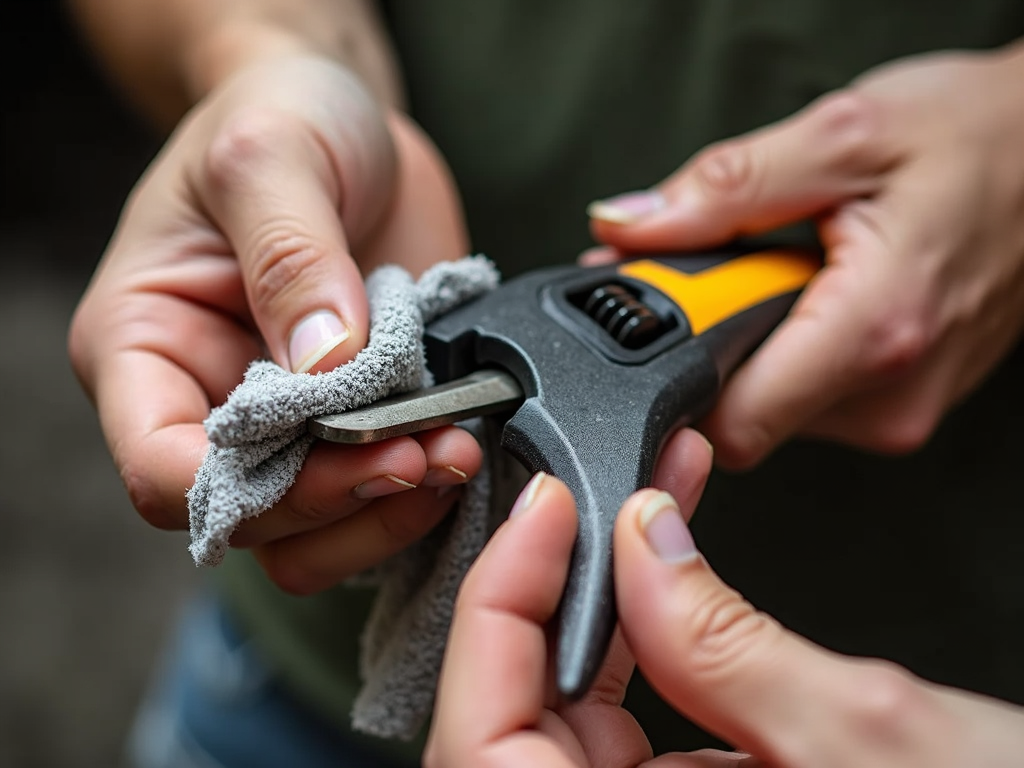
Start with a clean surface. Dust, grease, or grime can stop paint from sticking, so grab a sponge or cloth and get to work. For walls, I wipe them down with warm water and a little soap. Kitchens might need extra effort—grease spots don’t budge easily.
Wood and metal need special attention. I once prepped an old wooden fence covered in mildew. A scrub with a vinegar solution did the trick. For metal, like a rusty gate, use a wire brush. The U.S. General Services Administration recommends removing all loose debris before painting government buildings—solid advice for any project.
Let everything dry completely. Wet surfaces and paint don’t mix.
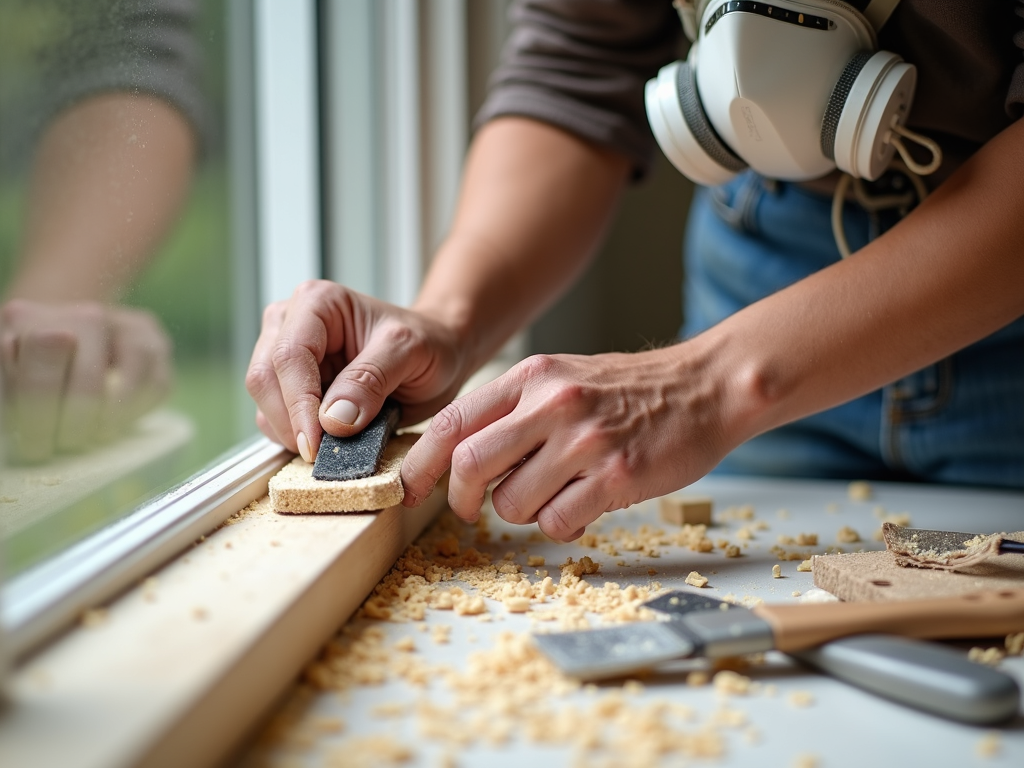
Step 2: Sand for Smoothness
Next, sand the surface. This smooths out rough spots and helps paint grip better. For walls, I use fine sandpaper to lightly scuff the top layer. Glossy finishes need more sanding to dull the shine—otherwise, the paint slides right off.
Wood takes a bit more effort. Start with coarse sandpaper, then switch to fine for a sleek finish. Metal might just need a quick pass to remove rust. I love my pole sander for big jobs—it’s easier on the shoulders.
Must-Have Tools for Sanding: - Sandpaper (coarse and fine grits) - Sanding block or pole sander - Dust mask (keep those lungs safe)
Step 3: Fix Flaws
Cracks, holes, or dents? Fix them now. On walls, I dab spackle into small holes with a putty knife, then smooth it out. Bigger damage might need a patch. Wood gets wood filler—perfect for scratches or knots. Metal can be trickier; I’ve used metal filler for dents on an old mailbox.
Wait for the filler to dry, then sand it flat. I skipped this once on a cracked wall, thinking paint would hide it. Nope—it just made the crack stand out more. Take the time to repair properly.
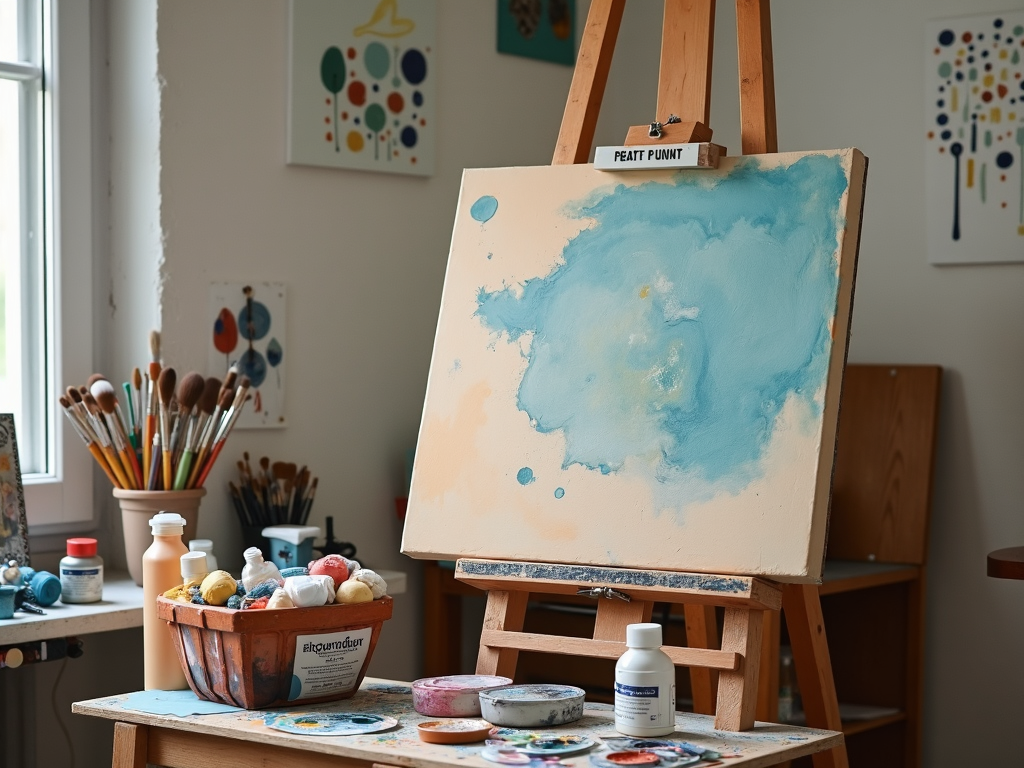
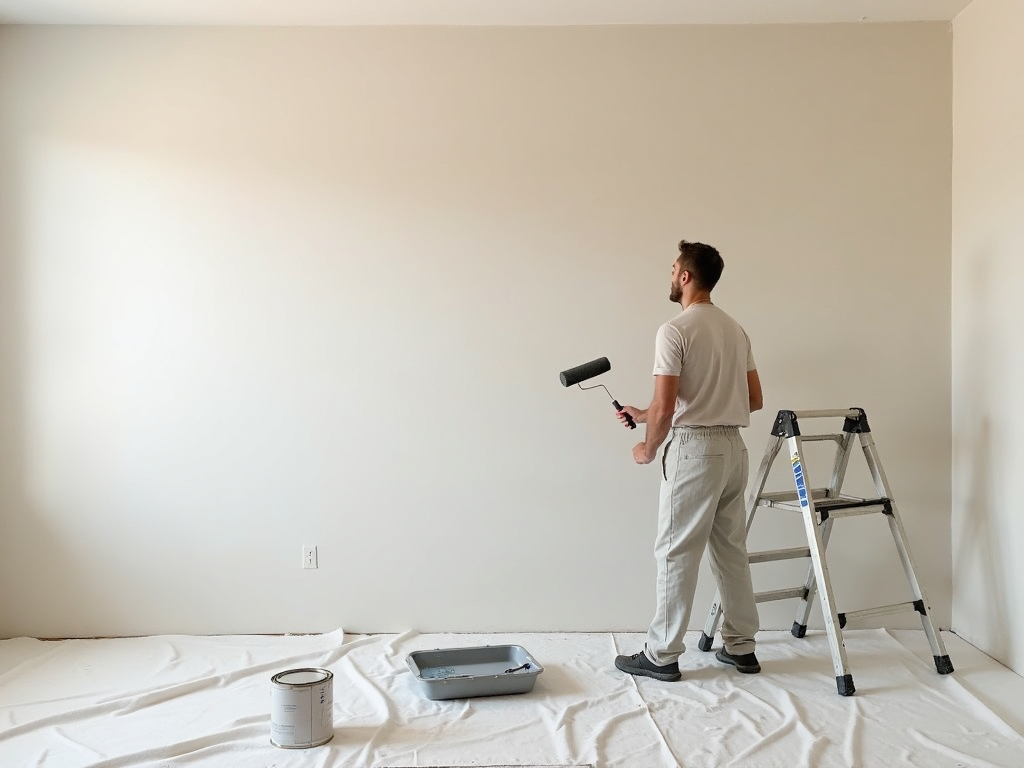
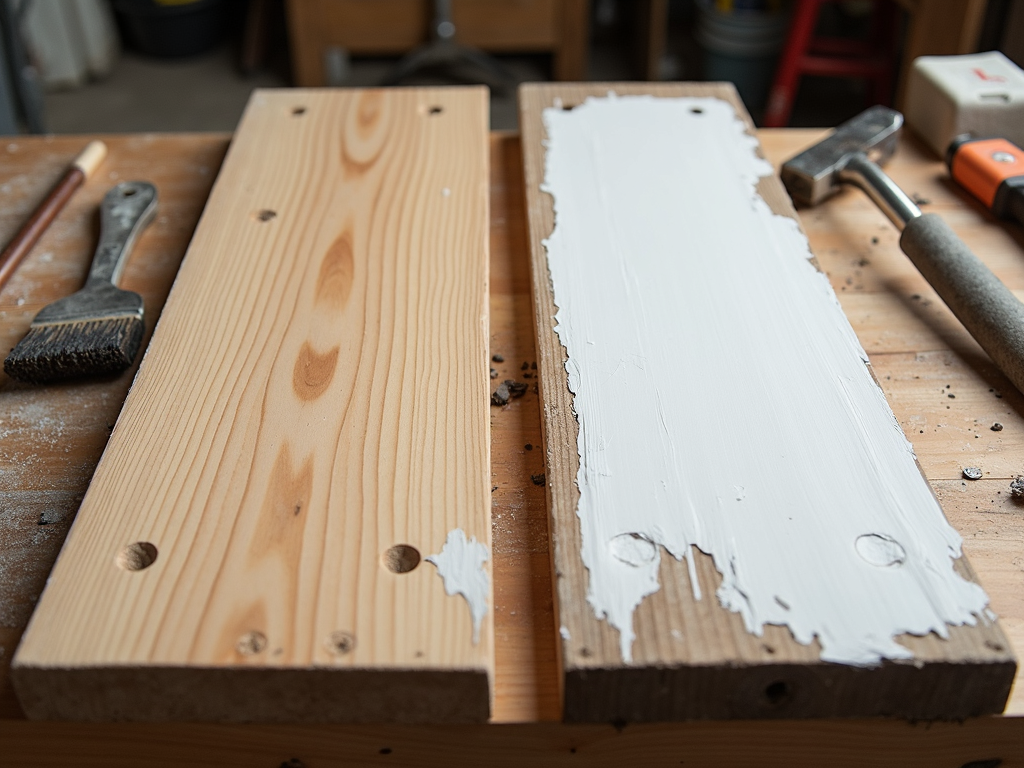
Step 4: Prime Like a Pro
Priming seals the surface and sets up your paint for success. It’s a must for bare wood or metal, and it hides stains on walls. I use a latex primer for drywall and an oil-based one for wood—it keeps the grain in check.
For dark walls going light, tint your primer. It cuts down on paint coats. The Paint Quality Institute says priming can improve adhesion by up to 50%. That’s a stat I trust from experience.
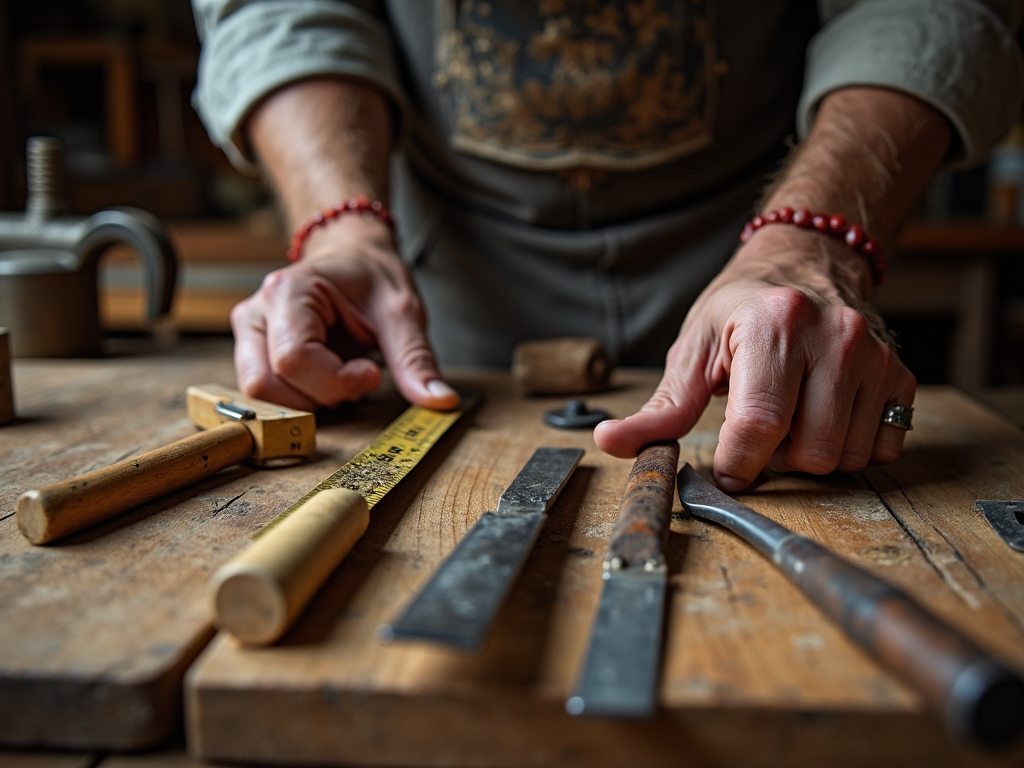
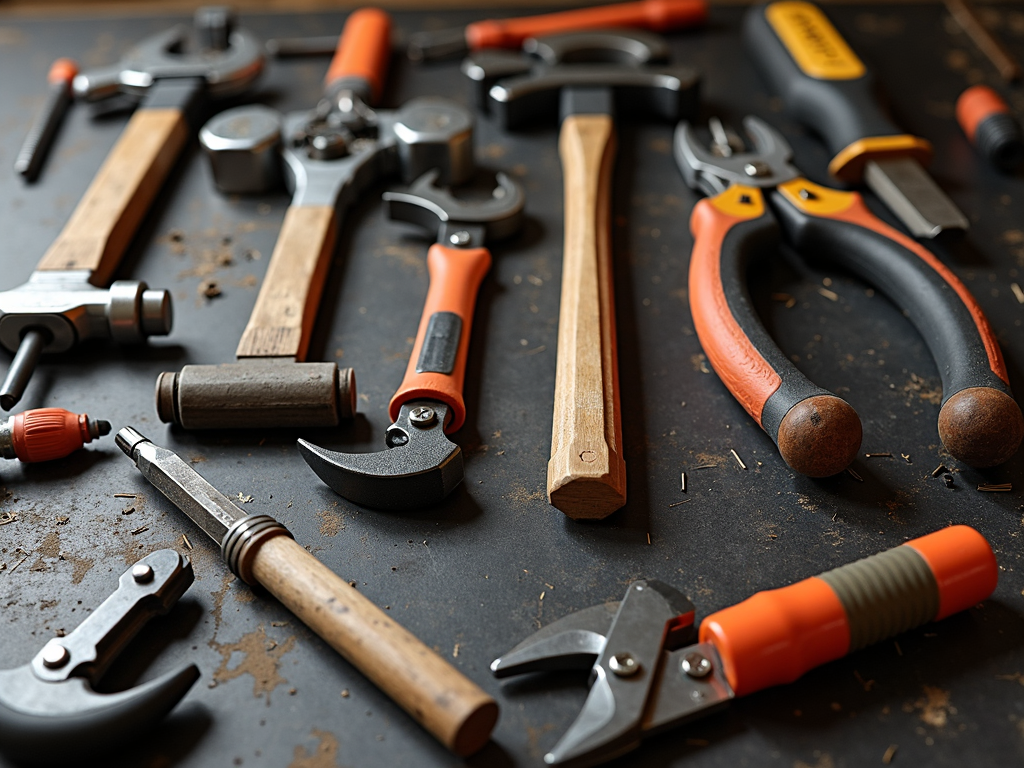
Must-Have Tools in a Painter’s Toolkit
You can’t prep surfaces without the right gear. Here’s what I keep handy:
| Tool | Use |
|---|---|
| Paintbrushes | Priming tight spots |
| Rollers | Covering large areas |
| Putty Knife | Filling holes and cracks |
| Sandpaper | Smoothing surfaces |
| Drop Cloths | Protecting floors |
| Painter’s Tape | Keeping edges clean |
These painting tools are essentials for any workman. Quality matters—cheap brushes shed bristles, and flimsy tape peels up. Spend a little more for better results.
Tips for Different Surfaces
Not all surfaces prep the same way. Here’s what works:
- Walls: Clean well, patch holes, and prime evenly. Rollers speed things up.
- Wood: Sand until smooth, fill imperfections, and use an oil primer.
- Metal: Scrub off rust, sand lightly, and apply a rust-proof primer.
I painted a metal shed once without rust-proofing. A year later, rust bled through. Now, I’m extra careful with metal.
Mistakes to Dodge
Even pros mess up sometimes. Avoid these:
- Skipping Cleaning: Paint won’t stick to filth.
- Light Sanding: Too little effort leaves a bumpy finish.
- No Primer: Bare surfaces soak up paint unevenly.
- Rushing: Hurry now, regret later.
I’ve rushed priming before. The paint looked streaky, and I had to redo it. Slow down—it pays off.
Extra Tricks I’ve Learned
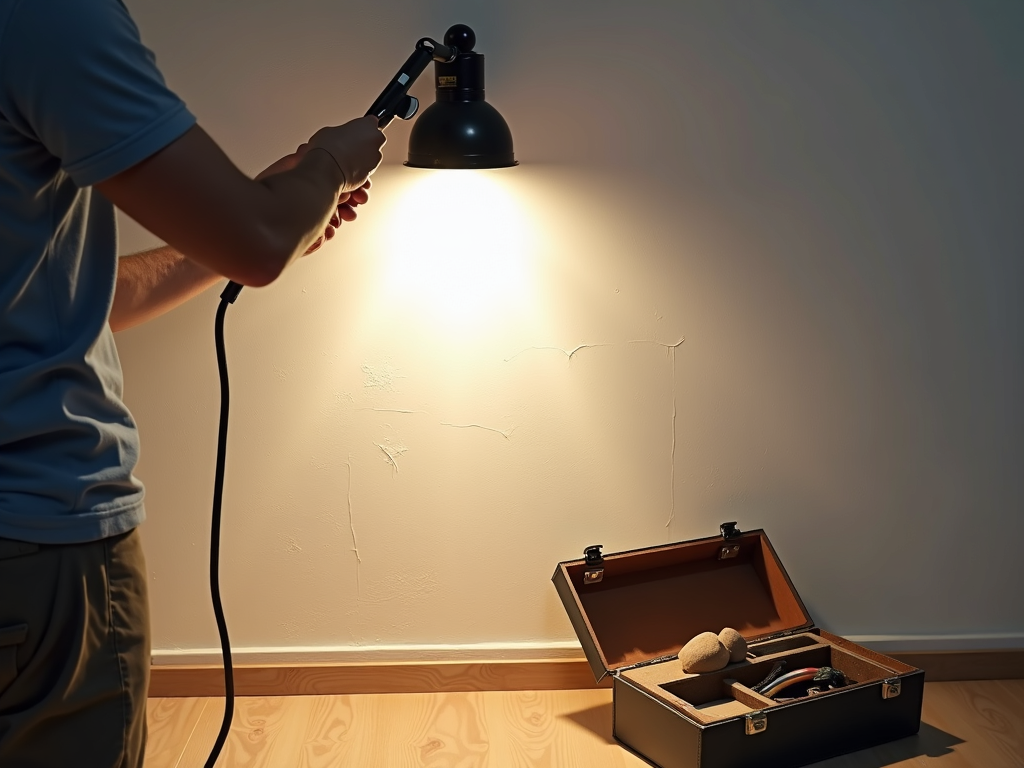
Here’s a bonus tip: test your prep. After sanding and priming, run your hand over the surface. If it feels rough, keep going. Another trick—use a bright light to spot flaws before painting. It’s saved me from missing cracks more than once.
For tough stains, try a stain-blocking primer. The University of Illinois Extension suggests this for old homes, and it’s worked wonders for me on vintage walls.
Summary
Prepping surfaces for painting takes time, but it’s the foundation of a great result. Clean, sand, repair, and prime—do these steps right, and your paint will look amazing and last longer. With the right tools and patience, anyone can get professional-quality finishes.
Related How to Prepare Surfaces for Painting:
- Choosing the Best Paint for Your Home: A Comprehensive Guide
- Guide to Eco-Friendly Painting
- The Ultimate Guide to Metalworking Tools
- Maintenance Tips for Workman Tools: A Comprehensive Guide for Construction Professionals
- Mastering Craftsmanship: Essential Tool Techniques
- 10 Must-Have Tools for Every Workshop
- Extending Tool Longevity with Routine Checks: A Comprehensive Guide
- Unlocking the Benefits of Oscillating Tools for Tight Spaces
- Advanced Troubleshooting Techniques for Electricians
- The Painter’s Toolkit: Essential Tools and How to Care for Them
- Power Drill Safety Tips for Beginners
- Modern Workman Tools with Ergonomic Design: Comfort Meets Efficiency