Overview: Picking the perfect paint for your home can transform your space and boost its value. This guide simplifies the process, covering paint types, surface prep, and essential tools. With practical tips and personal insights, you’ll be ready to tackle your next painting project with confidence.
Understanding Paint Types
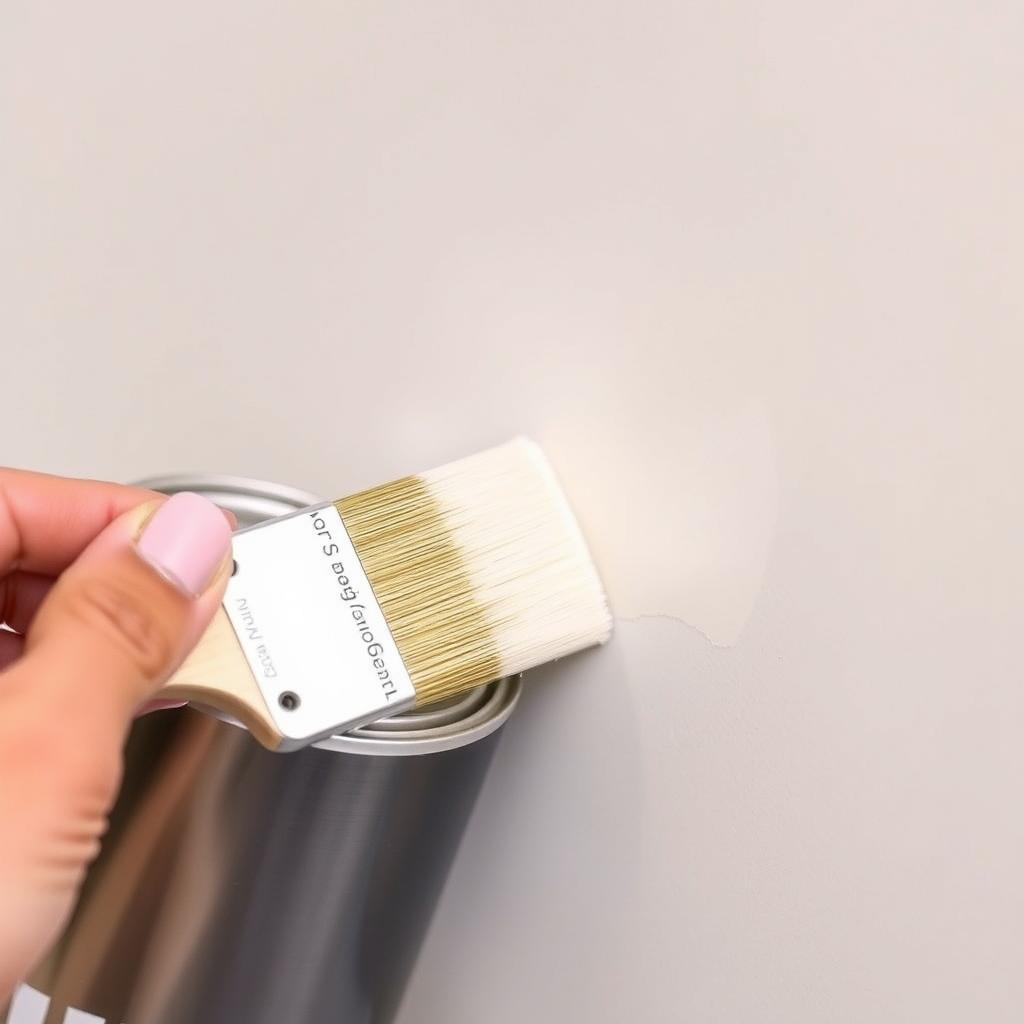
Choosing the best paint for your home starts with knowing your options. The main types are latex, oil-based, and acrylic paints. Latex paint, which is water-based, dries fast and cleans up easily with soap and water. It’s perfect for walls and ceilings. Oil-based paint takes longer to dry but offers a tough finish, ideal for doors, trim, and high-traffic spots. Acrylic paint blends durability and flexibility, working well on many surfaces.
I’ve painted plenty of rooms, and latex is my go-to for its ease and variety. Once, I used oil-based paint on a front door—it held up against weather and scratches like a champ. Your choice depends on the surface and how much wear it’ll face. For more on paint chemistry, check out this guide from Purdue University on how paints work.

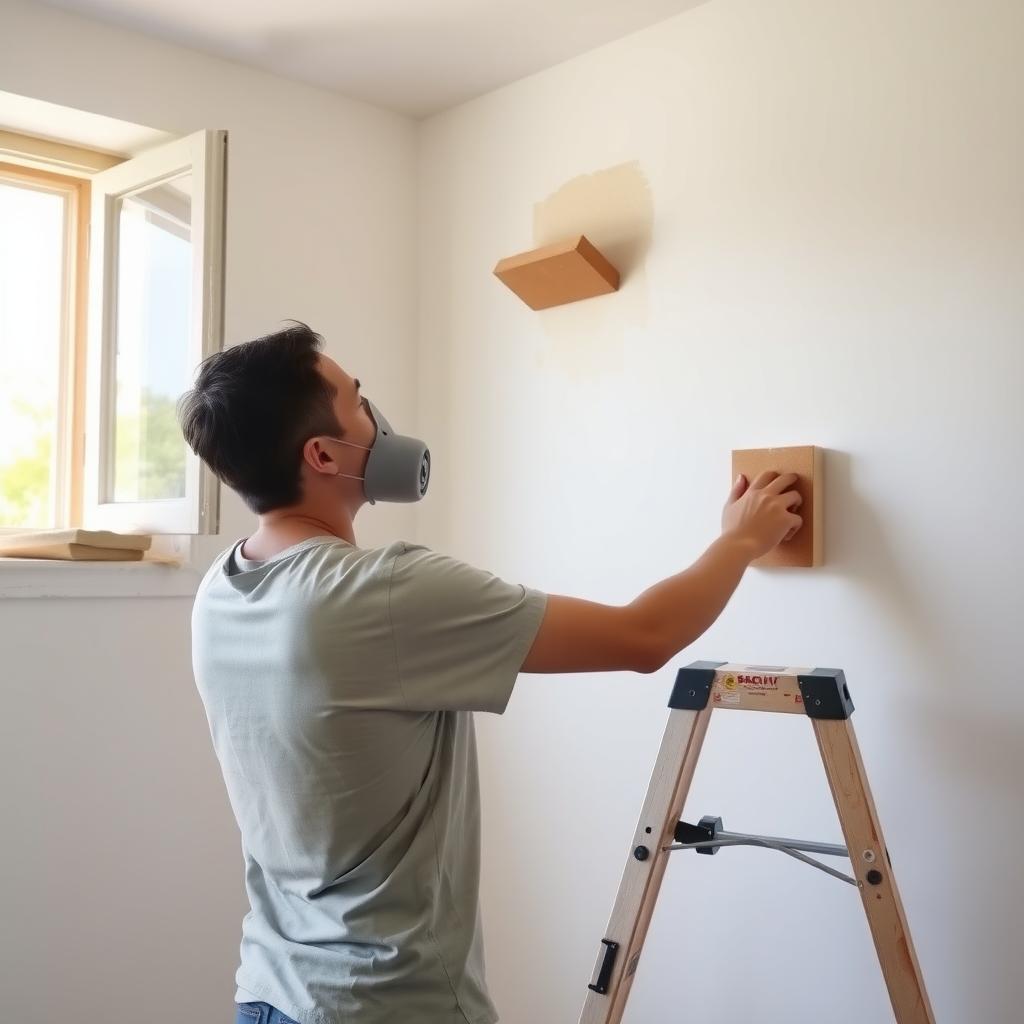
How to Prepare Surfaces for Painting
Good prep makes all the difference in a paint job. Start by cleaning your surfaces—dirt and grease can ruin adhesion. Use warm water and a mild detergent for walls, or a degreaser for kitchens. Next, sand lightly with medium-grit sandpaper to smooth things out. Fill cracks or holes with spackle, then sand again.
Priming seals the surface and helps paint stick. I learned this the hard way when I skipped primer on a dark wall—the new color bled through in patches. A quality primer, like those recommended by The Paint Quality Institute, saves time and paint. Don’t rush this step; it’s the foundation of a lasting finish.
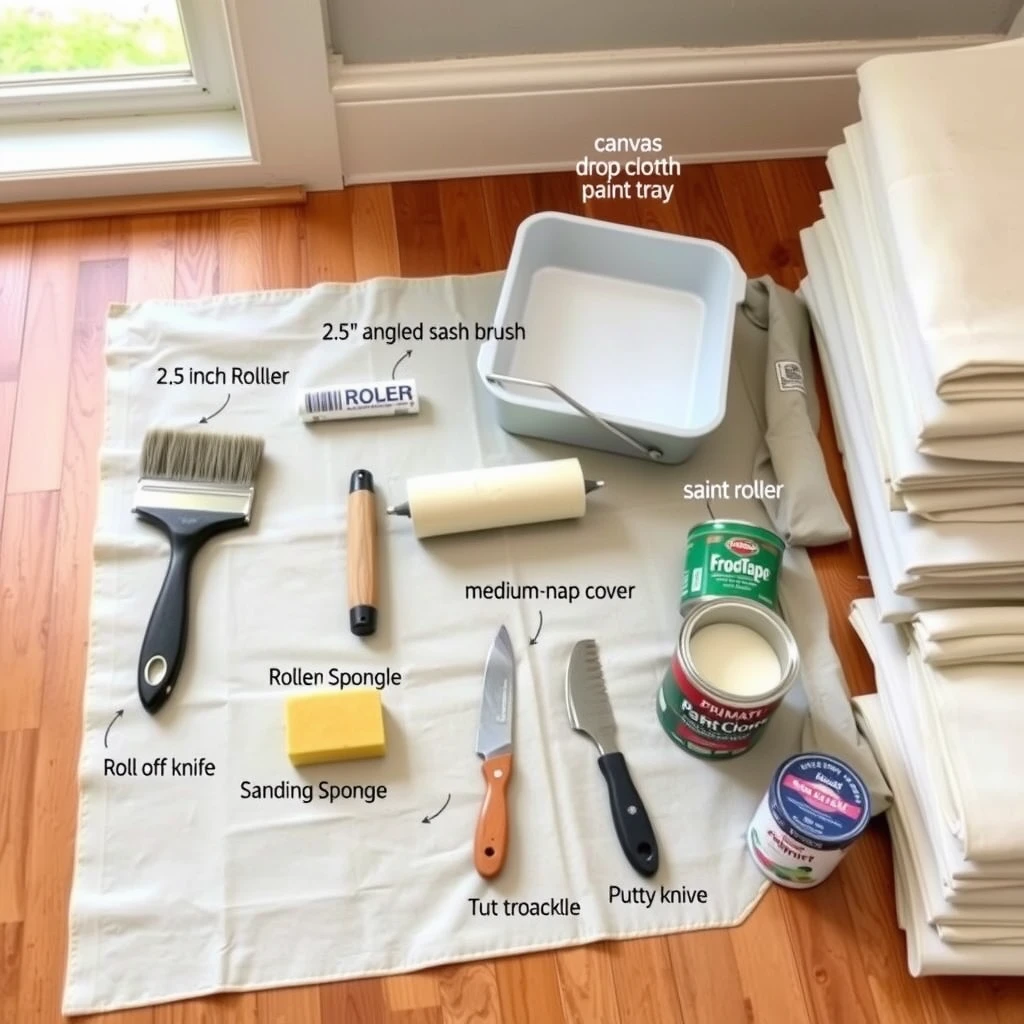
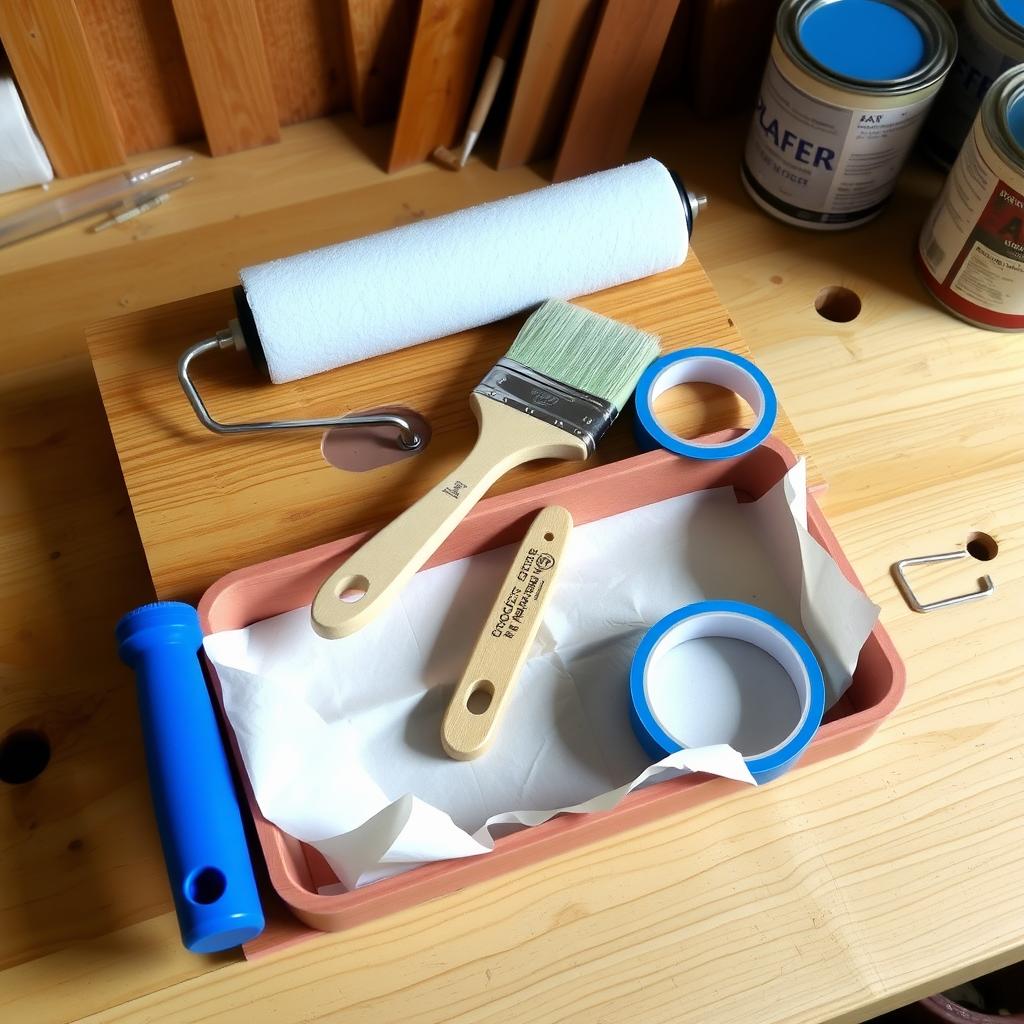
Must-Have Tools in a Painter’s Toolkit
The right painting tools can turn a messy job into a masterpiece. Here’s what you need:
- Brushes: Get a 2-inch angled brush for edges and a wider one for trim.
- Rollers: Pick a short-nap roller for smooth walls, longer for textured ones.
- Painter’s Tape: Keeps lines crisp—don’t skimp on quality.
- Drop Cloths: Canvas beats plastic; it doesn’t slip.
- Paint Tray: Use liners for quick cleanup.
Early on, I used bargain brushes and regretted it—bristles fell out mid-job. Now, I invest in solid workman tools. A sturdy toolkit cuts frustration and boosts results.
Picking the Right Paint Finish
Finish matters as much as color. Flat finishes hide imperfections but don’t clean easily—great for ceilings. Satin offers a soft sheen and wipes down well, perfect for living rooms. Glossy finishes shine and resist moisture, so they’re suited for bathrooms or kitchens.
I painted my kitchen with satin once, and it’s held up to spills and scrubbing. Gloss on a bathroom door was a win too—easy to clean. Test a small spot first; lighting changes how finishes look.
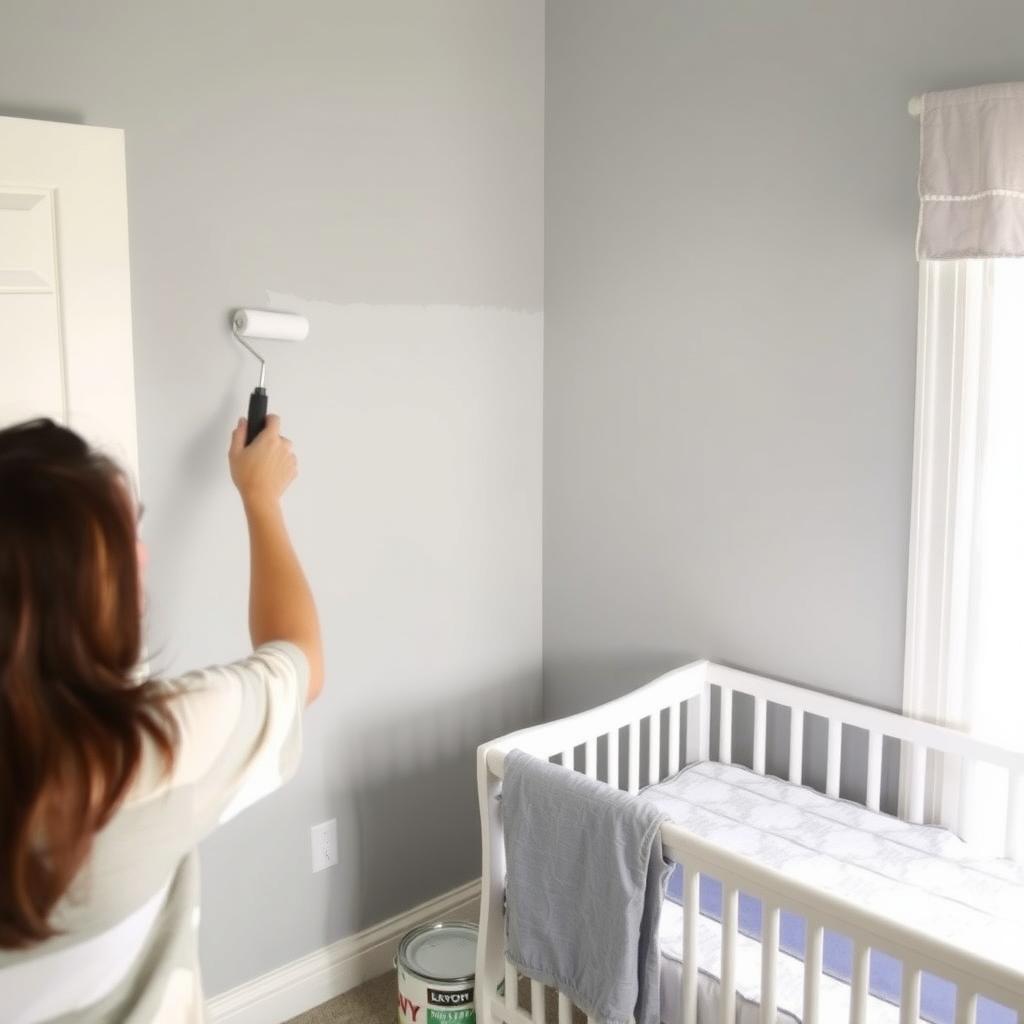
Painting Techniques for a Pro Finish
Technique separates amateurs from pros. Cut in edges with a brush first, then roll the big areas. Work in 3-foot sections, keeping a wet edge to avoid streaks. Use two thin coats, not one thick one—drips ruin the look.
I overloaded a roller once, and paint ran everywhere. Now, I load lightly and roll evenly. For tricky spots, Sherwin-Williams’ painting tips suggest feathering edges—blend while wet for seamless coverage.

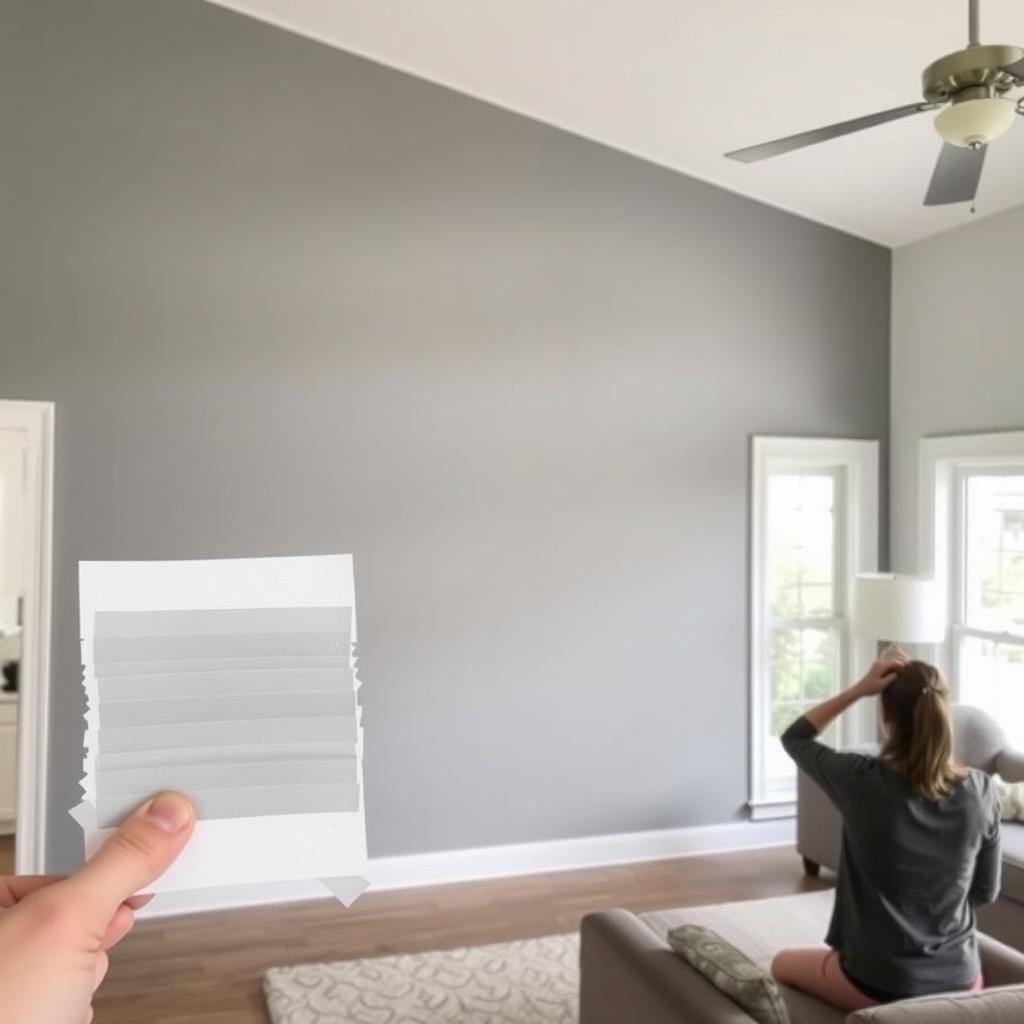
Choosing Colors That Last
Color sets the mood, but it’s got to last too. Neutrals like grays and beiges stay timeless and sell homes faster. Bold hues work in small doses—think accent walls. Test samples on your wall; store lighting tricks you.
I went bold with a red accent wall once—it popped but faded fast in sunlight. Stick to quality paints with UV resistance for vibrancy that sticks around.
Budgeting and Buying Tips
Paint costs add up, so plan smart. A gallon covers about 350 square feet—measure your space first. Quality paint runs $30-$50 per gallon, but cheap stuff needs more coats. Buy 10% extra for touch-ups.
I underestimated once and ran out mid-wall—hassle city. Stores like Home Depot offer calculators to nail amounts. Splurge on paint, save on tools if you must.

Eco-Friendly Paint Options
Green paints cut fumes and waste. Low-VOC or zero-VOC options, like those from Benjamin Moore’s Natura line, dry fast and smell less. They cost more but feel better to use, especially indoors.
I switched to low-VOC for my kid’s room—no headaches, no worries. Check labels; ‘eco’ doesn’t always mean safe.
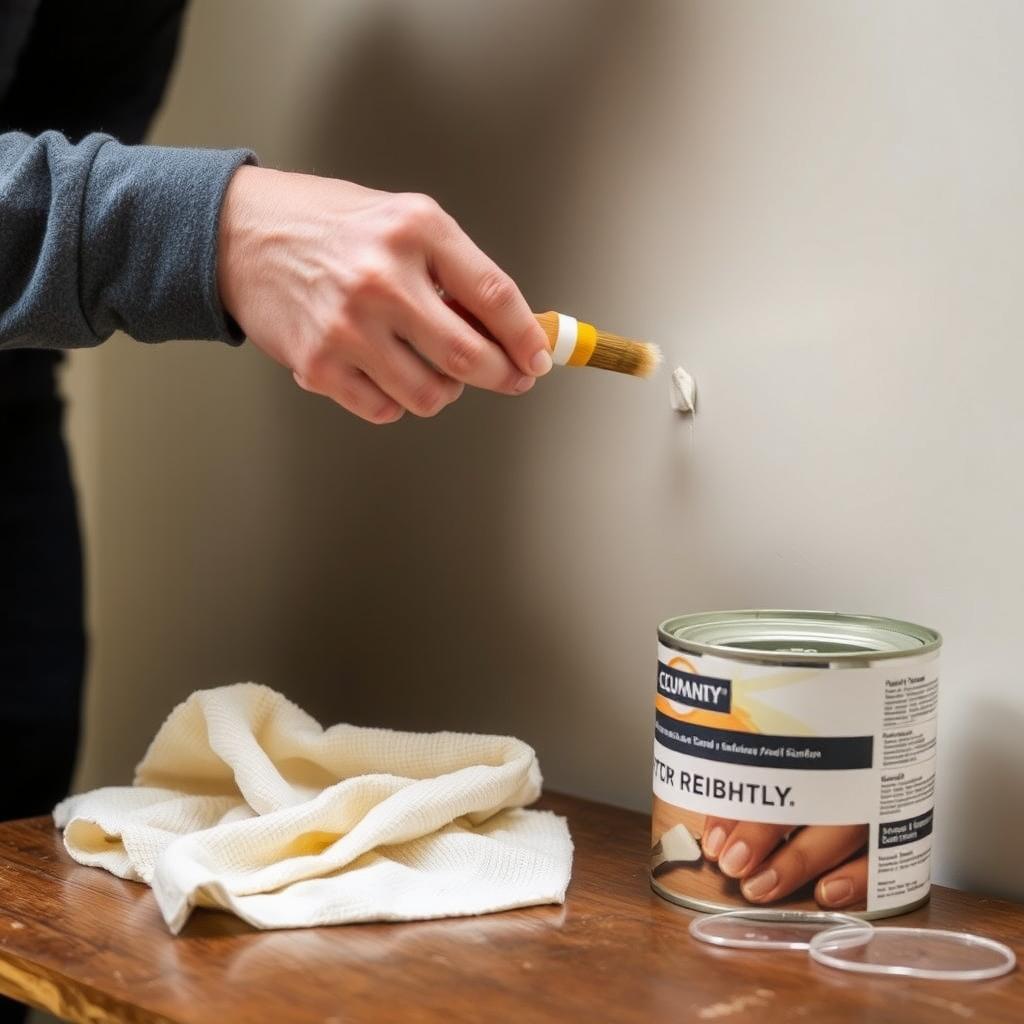
Maintenance and Touch-Ups
Paint lasts longer with care. Dust walls yearly, wipe stains with a damp cloth—gentle soap for satin or gloss. Keep leftover paint for touch-ups; label cans with the room and date.
I’ve saved walls with quick fixes. A scuff on my hallway? Dabbed it with stored paint—good as new. Regular checks keep your work fresh.
Summary: Choosing the best paint for your home means matching type, finish, and color to your needs. Prep surfaces well, grab must-have tools, and paint smart for a pro look. With these steps, your home will shine—inside and out. Start today and enjoy the results!
Related Choosing the Best Paint for Your Home:
- DIY Painting Hacks for Beginners: Simple Tips for Professional Results
- Electrical Tools for Wiring and Installations: A Comprehensive Guide
- DIY Organizer Ideas for Your Workshop
- Energy-Efficient Lighting Options for Your Home
- The Future of Workshop Tools: Trends to Watch in 2025
- Rotary Tools for Jewelry Making: A Comprehensive Guide
- An In-Depth Guide to Hand Tools for DIY Projects
- Safety Essentials for Construction Work
- Safety Gear Maintenance Tips: A Comprehensive Guide to Workwear and Safety Gear
- Comprehensive Guide to Key Features in Cordless Power Tools
- How to Maintain Your Car's Engine for Longevity
- Safety First: Protecting Yourself and Your Tools