Painting your own walls can completely transform a room without spending a fortune. These DIY painting hacks for beginners will help you avoid common pitfalls and get smooth, professional-looking results—even if it's your first time picking up a brush.
With the right preparation and a few smart shortcuts, you'll feel confident and enjoy the process.
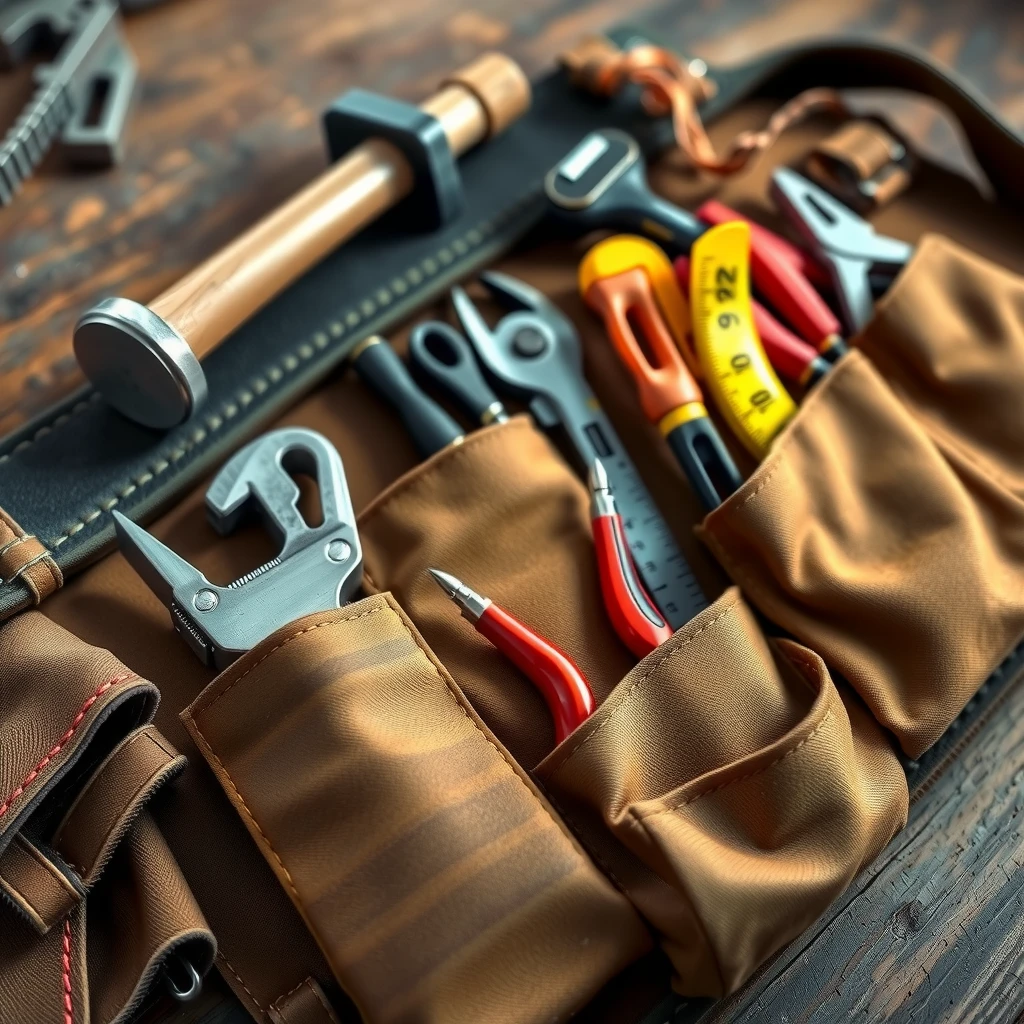
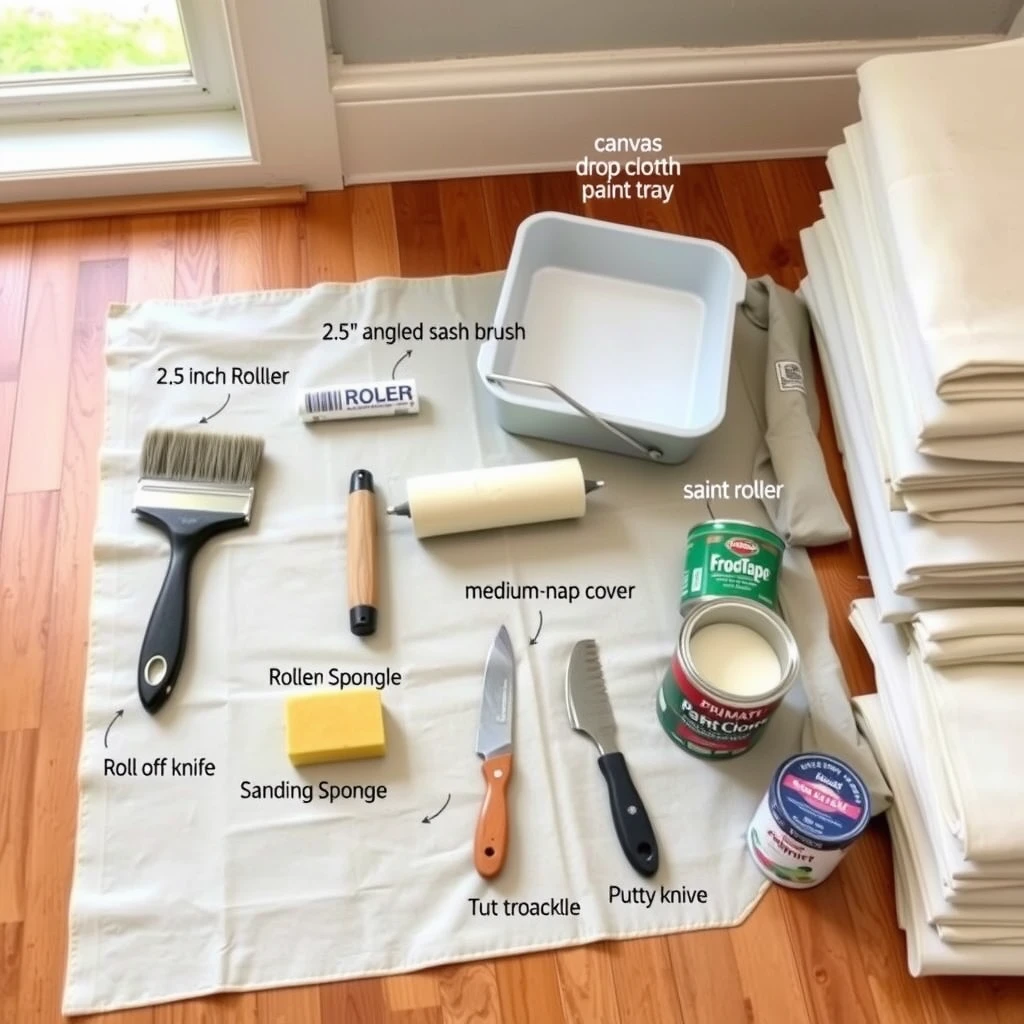
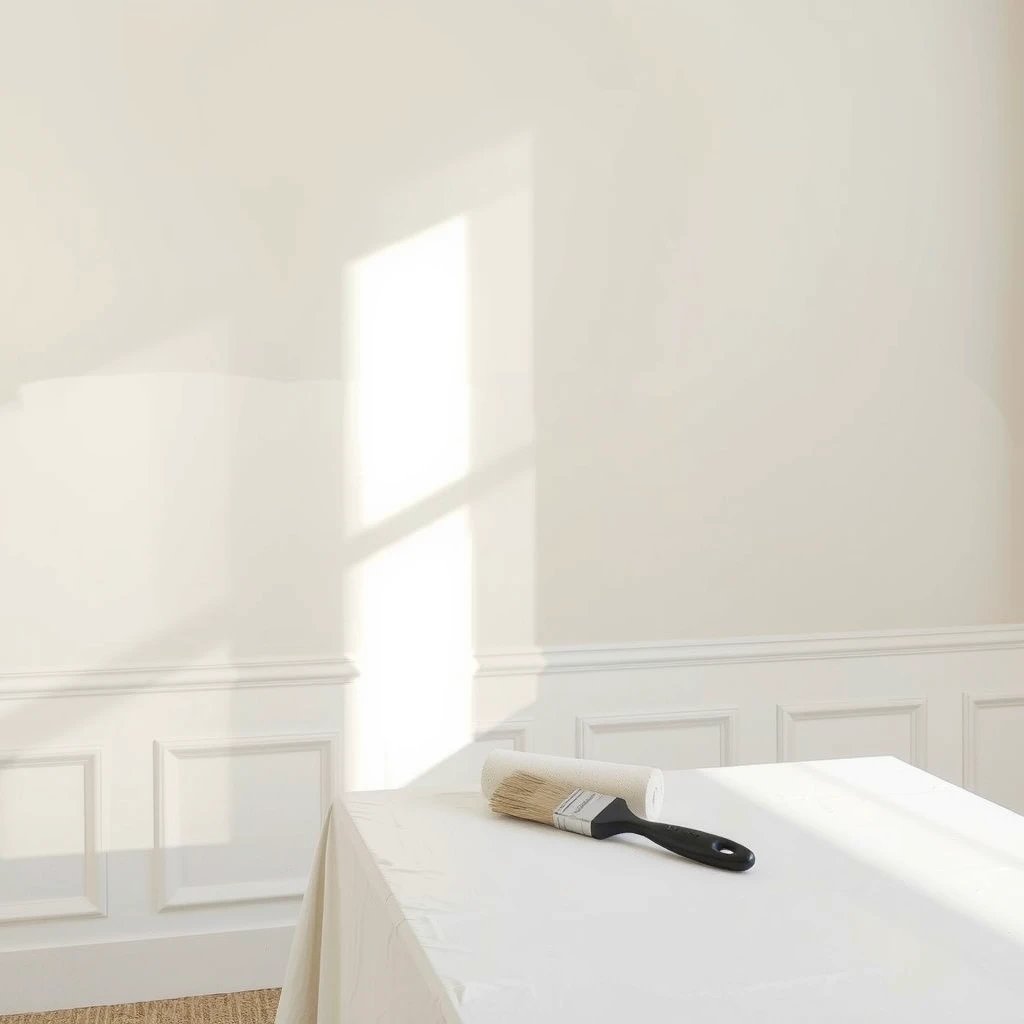
Must-Have Tools in a Painter's Toolkit
Good painting tools make all the difference. I've learned the hard way that cheap brushes shed bristles and leave streaks, while quality ones give clean lines and save time.
Here are the essential painting tools every beginner needs:
- Angled sash brush (2–2.5 inches): Perfect for cutting in edges and trim.
- 9-inch roller frame and covers: Choose medium-nap (3/8-inch) for most walls.
- Extension pole: Saves your back when painting ceilings and high areas.
- Paint tray and liners: Liners make cleanup fast.
- FrogTape or high-quality painter's tape: Gives sharper lines than basic blue tape.
- Drop cloths (canvas preferred): Canvas stays put better than plastic.
- Sanding block or sponge (120–220 grit): For smoothing surfaces.
- Putty knife and lightweight spackle: For patching holes.
- Primer: Never skip this on bare or patched areas.
- Stir sticks and paint can opener: Basic but essential.
Invest in mid-range tools from brands like Purdy or Wooster—they last longer and perform better.
Choosing the Best Paint for Your Home
Picking the right paint prevents headaches later. Most beginners do best with water-based latex (acrylic) paint—it's low-odor, dries fast, and cleans up with soap and water.
Consider sheen carefully:
| Sheen | Best For | Pros | Cons |
|---|---|---|---|
| Flat/Matte | Ceilings, low-traffic rooms | Hides imperfections | Harder to clean |
| Eggshell | Living rooms, bedrooms | Slight sheen, washable | Shows some flaws |
| Satin | Hallways, family rooms | Durable, good scrub resistance | Shows roller marks if rushed |
| Semi-Gloss | Kitchens, bathrooms, trim | Very washable, moisture-resistant | Highlights imperfections |
For color, test large swatches on different walls and view them at various times of day. Popular reliable brands include Behr, Benjamin Moore, and Sherwin-Williams. Many stores offer sample pints—buy a few and try them first.
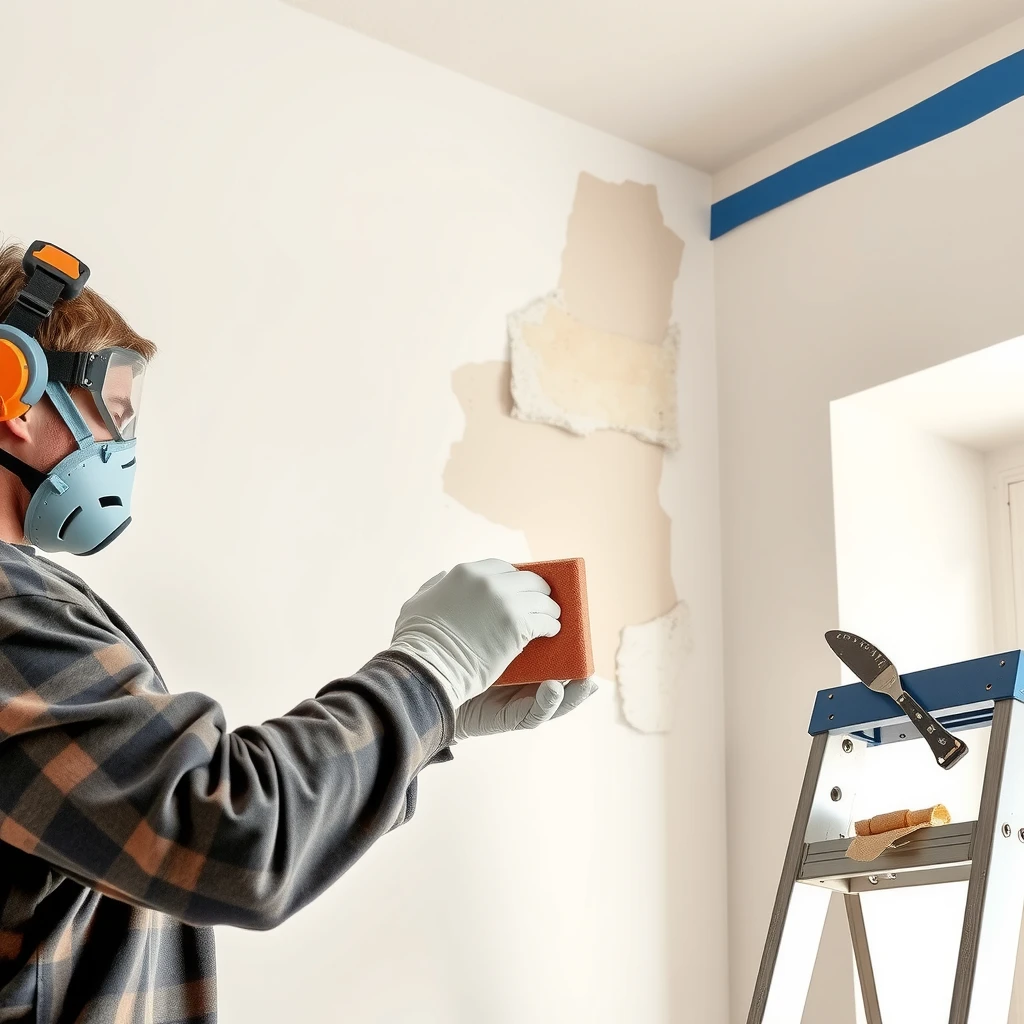
How to Prepare Surfaces for Painting
Proper prep is 80% of a great paint job. Skipping steps leads to peeling or uneven coverage.
Follow this simple process:
- Clear the room or move furniture to the center and cover it.
- Remove switch plates, outlet covers, and hardware (or coat knobs with petroleum jelly so paint wipes off easily).
- Wash walls with mild detergent or TSP substitute to remove grease and dust.
- Scrape any loose paint and patch holes with lightweight spackle. Let dry.
- Sand patched areas and lightly sand glossy surfaces for better adhesion.
- Vacuum dust and wipe walls with a damp cloth.
- Apply painter's tape to trim, ceilings, and baseboards.
- Prime patched areas, stains, or bare drywall.
Good prep takes time but guarantees results that last years.
Smart Painting Hacks and Techniques for Beginners
These tricks will save time and frustration:
- Seal tape for razor-sharp lines: After applying FrogTape, paint over the edge with the existing wall color. This seals gaps so the new color can't bleed.
- Load roller correctly: Dip only ½ inch into paint, then roll on the tray ridges to distribute evenly. Use a W or M pattern on the wall, then fill in without lifting.
- Keep a wet edge: Work in 3–4 foot sections so edges stay wet and blend seamlessly.
- Use aluminum foil in the tray: Wrap the tray for instant cleanup.
- Rubber band trick: Stretch a thick band around an open paint can to wipe excess off the brush.
- Petroleum jelly on hardware: Coat doorknobs and hinges—paint won't stick.
- Garbage bags for covers: Slit bags to protect light fixtures quickly.
- Paint in the right order: Ceiling first, then walls, then trim.
I've used the tape-sealing trick on every project since discovering it—perfect edges every time.
Common Beginner Mistakes to Avoid
Learn from others' errors:
- Buying cheap tools (they shed and streak).
- Skipping primer on patches or dark colors.
- Overloading the roller (causes drips).
- Removing tape too late (paint can tear).
- Painting in direct sunlight (dries too fast and shows lap marks).
- Not stirring paint thoroughly.
Take your time—rushing almost always shows in the final result.
Final Tips and Wrap-Up
Start small if you're nervous—try a closet or accent wall first. Work with good ventilation and take breaks. Clean tools immediately with warm soapy water for latex paint.
With these DIY painting hacks for beginners, you'll gain confidence quickly. The key is preparation, quality supplies, and patience. Your home will look refreshed, and you'll feel proud of the work you did yourself.
Happy painting!
Related DIY Painting Hacks for Beginners:
- How to Prep Walls for Painting – Sherwin-Williams: Your Complete DIY Guide
- The Ultimate Guide to Tool Belts with Built-In Storage in 2026
- Best Beginner Power Tools Reviews - Wood Magazine
- Beginner's Guide to Lawn Mower Upkeep
- How to Choose the Right Oil for Your Car
- Innovative Construction Tools for Efficiency: Boosting Productivity on the Job Site
- How to Sharpen Your Tools Like a Pro
- Best Tool Belts for Different Trades: The Ultimate Guide to Choosing the Right Tool Belt for You
- How to Use Electrical Tools Safely
- Maintenance Tips for Keeping Your Tools in Top Condition: A Practical Guide
- How to Pick the Perfect Wrench for Your Project
- Router Tricks for Stunning Wood Designs