Unlock the full potential of your router to transform ordinary wood into eye-catching pieces. These router tricks for stunning wood designs will help you add elegant details that make your projects stand out.
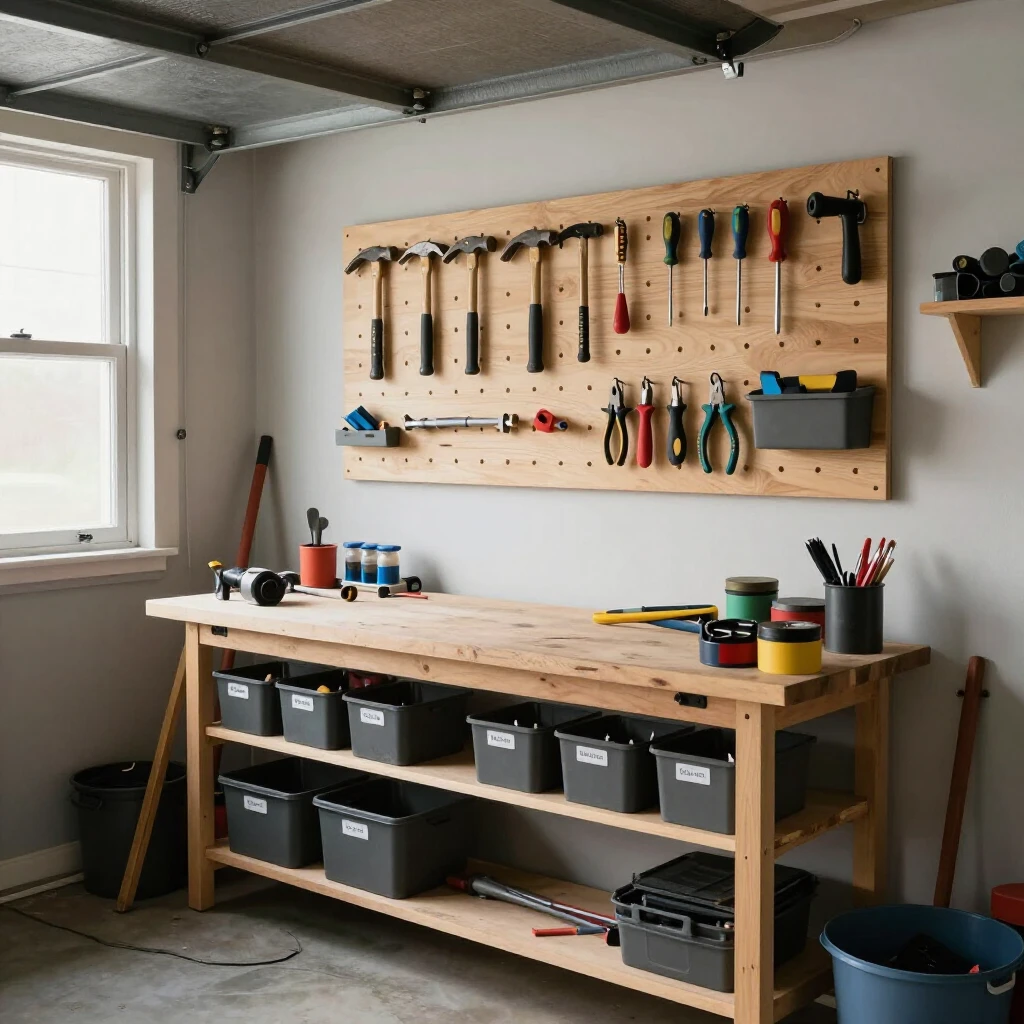
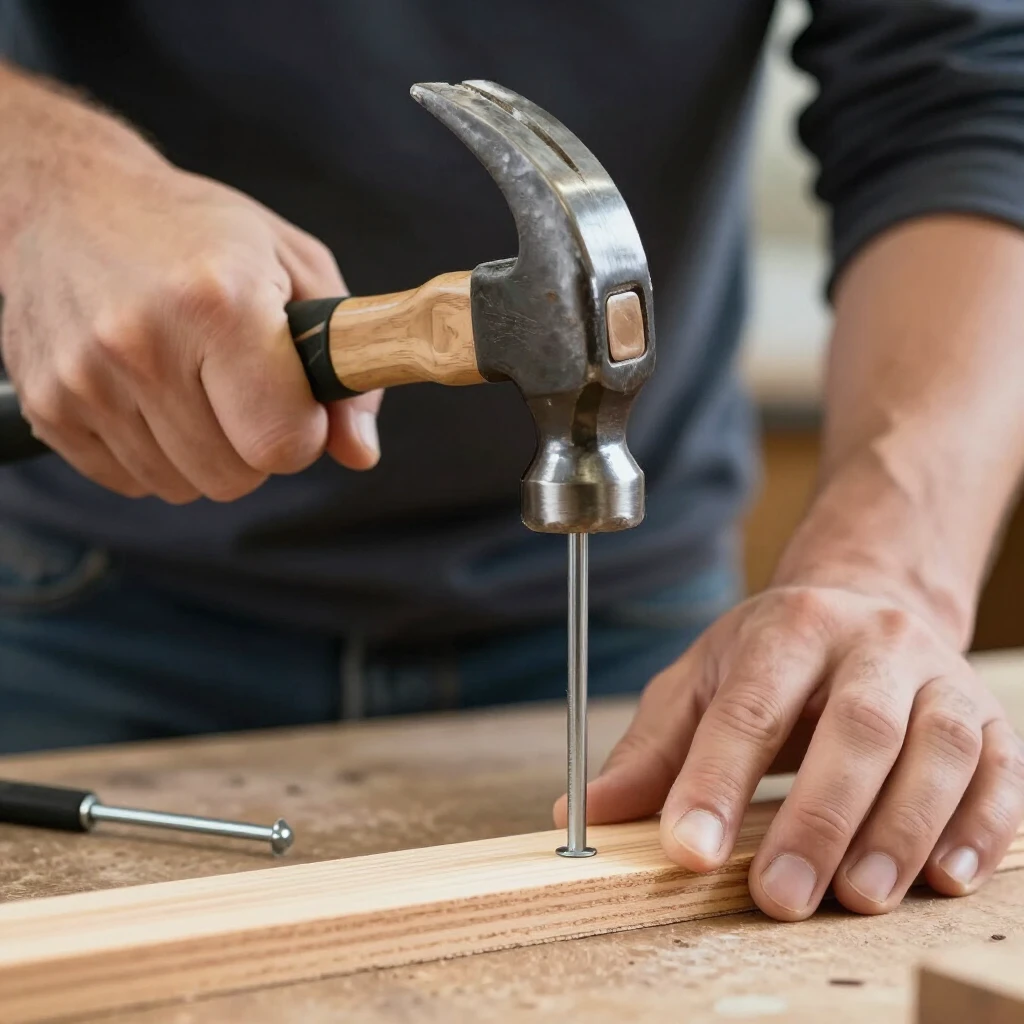
Woodworking starts with the right power tools. A good router is one of the most versatile power tools for woodworking enthusiasts. Pair it with power drills for drilling pilot holes or attachments, and you can tackle almost any design challenge.
Why Routers Shine in Woodworking
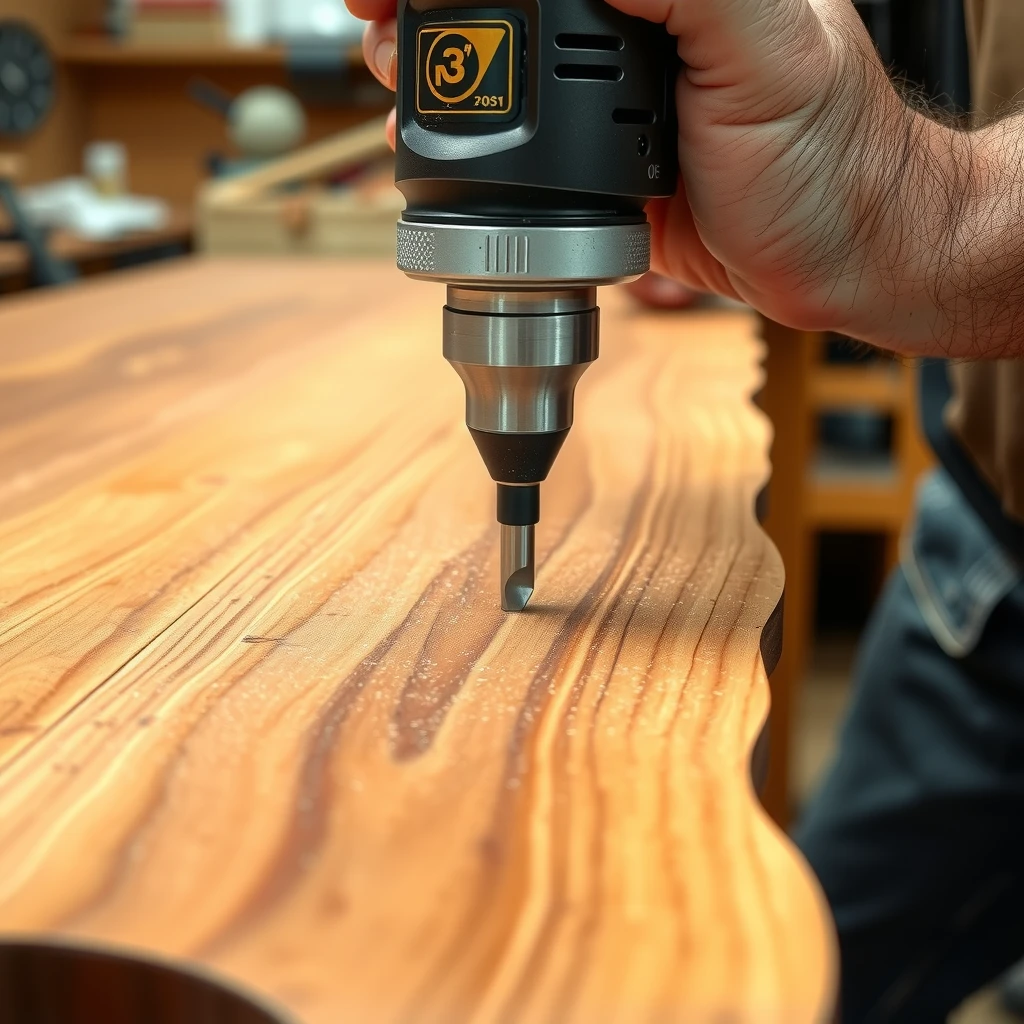
Routers let you shape edges, cut grooves, and add inlays with precision. I remember my first project—a simple picture frame—that turned amazing once I added a rounded edge. It felt professional right away.
Start with safety. Always wear eye protection and a dust mask. Use sharp bits to avoid burns and tear-out. According to OSHA guidelines for woodworking tools, proper guards and stable setups prevent accidents.
Choose the right router. Fixed-base for edges, plunge for interior cuts. Variable speed helps with larger bits.
Master Decorative Edges
Decorative edges turn plain boards into art. Try these tricks:
- Practice on scrap wood first.
- Make multiple shallow passes for deep profiles.
- Move the router counterclockwise on outside edges for control.
- Climb-cut lightly for smoother finishes on tricky grains.
From WOOD Magazine's 20 Best Router Tips and Tricks: Use a backing board to prevent tear-out on end grain.
I once routed a tabletop edge in walnut. Slow feeds avoided burns, and the result looked store-bought.
Create Beautiful Inlays
Inlays add contrast and detail. Use templates and guide bushings for perfect fits.
Steps for inlays: 1. Make a template from hardboard. 2. Rout the recess slightly shallower than the inlay. 3. Cut the inlay piece using the same template with a different bushing. 4. Glue and sand flush.
Fine Woodworking experts recommend different bushing sizes for pocket and insert to ensure snug fits.
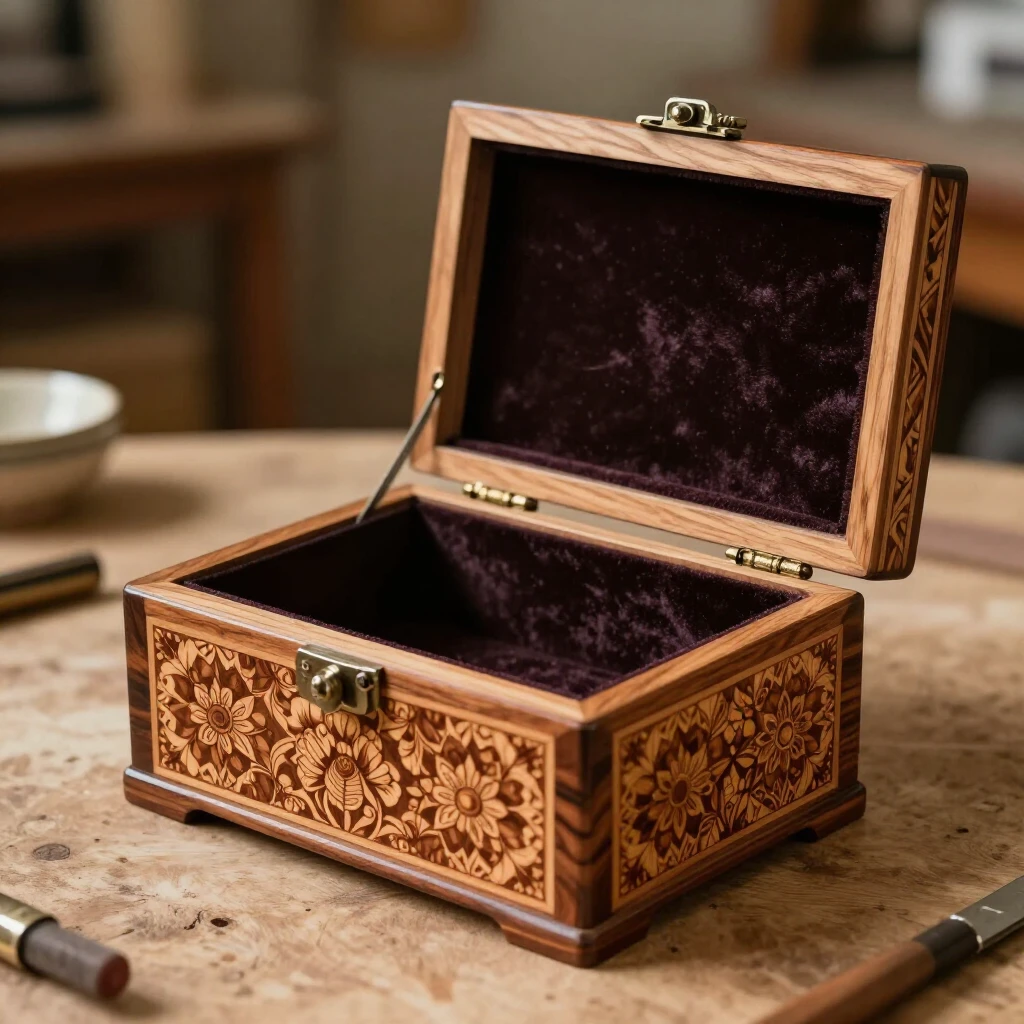
My favorite was inlaying a maple leaf on an oak box. The contrast popped, and it became a family heirloom.
Perfect Joints with Jigs
Routers excel at dovetails, dados, and rabbets using simple jigs.
Build a basic straight-edge jig for dados. Clamp it to your workpiece and run the router along it.
For dovetails, commercial jigs make it easy. Practice setup for tight joints every time.
WOOD Magazine shares techniques for flawless shelf pins and dadoes using hinged guides.
Advanced Tricks and Tips
- Flush-trim veneers or edging without tipping—clamp pieces together for stability.
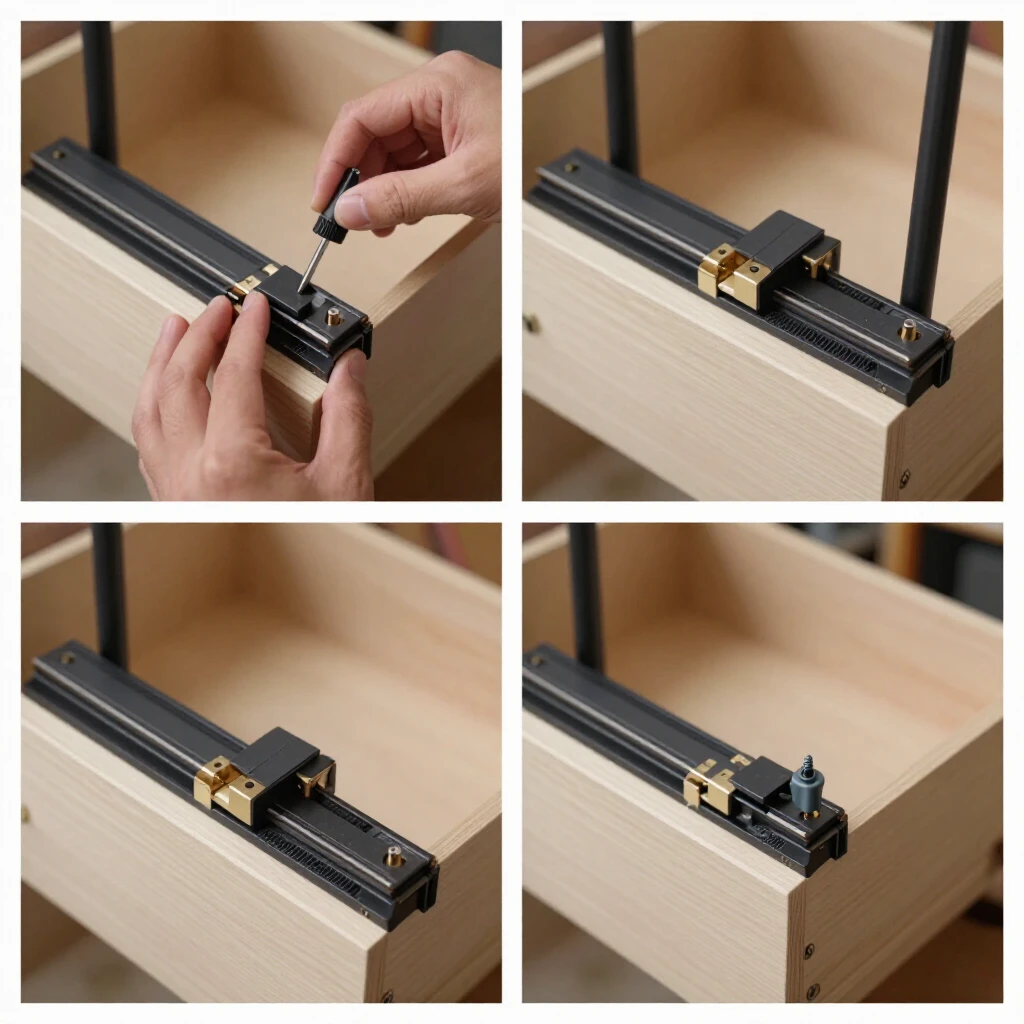
- Use brass setup bars for exact bit heights.
- Slow router speed for large bits to reduce vibration.
Combine routers with other power tools. Power drills help mount jigs or make starter holes.
Fix mistakes: Inlay patches hide router slips perfectly, as shown in Fine Woodworking tutorials.
Experiment on scraps. One trick I love: Tape over areas to prevent chip-out during plunge cuts.
Common Mistakes to Avoid
- Routing too deep in one pass—always multiple passes.
- Wrong direction—leads to climb-cutting dangers.
- Dull bits—keep them sharp for clean cuts.
These router tricks for stunning wood designs come from years of trial and error. Start small, stay safe, and watch your projects transform.
Your router is a gateway to professional-level woodworking. Grab some scrap, try these tips, and create something beautiful today.
Related Router Tricks for Stunning Wood Designs:
- Decorative Edge Profiles: From Basic to Intricate
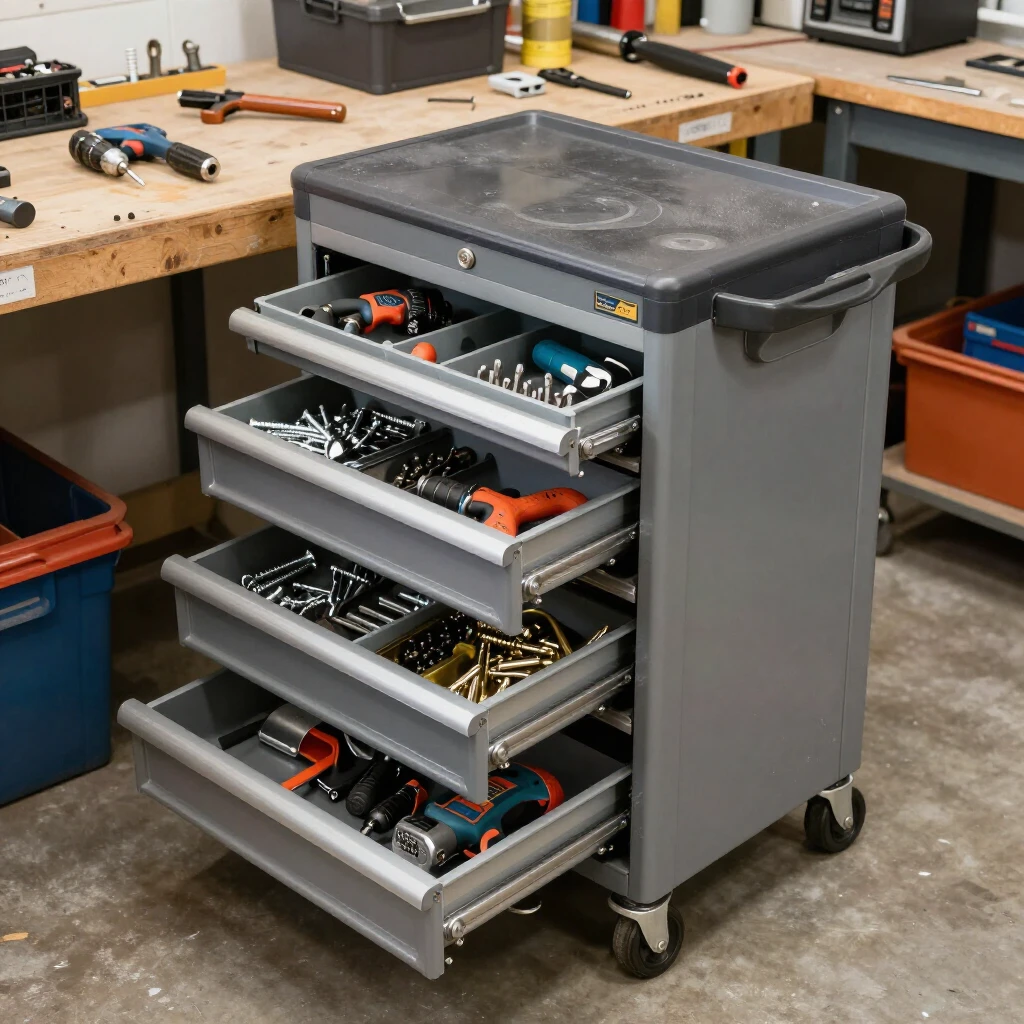
- DIY Storage Solutions for Small Workspaces: Boost Efficiency in Tight Areas
- Hand Tools Maintenance Tips: Keep Your Workman Tools in Top Shape for Years
- Tool Storage Ideas for Small Workshops
- Top Ergonomic Hand Tools for DIY Projects
- Advanced Techniques for Tool Organization
- Innovative Electrical Tools for 2023: Game-Changers for Electricians
- The Evolution of Automotive Tools
- Common Handyman Mistakes and How to Avoid Them
- Essential Workman Tools for Every Homeowner
- Essential Construction Tools for Masonry Work: A Complete Guide
- Essential Safety Tips for Construction Workers