DIY Organizer Ideas for Your Workshop: Transform Your Space with Simple Solutions
Overview/Summary (20-50 words):
Discover practical DIY organizer ideas to transform your workshop into an efficient, clutter-free space. This guide offers simple, cost-effective solutions for better organization and maintenance, perfect for any DIY enthusiast or professional.
Main Content: DIY Organizer Ideas for Your Workshop
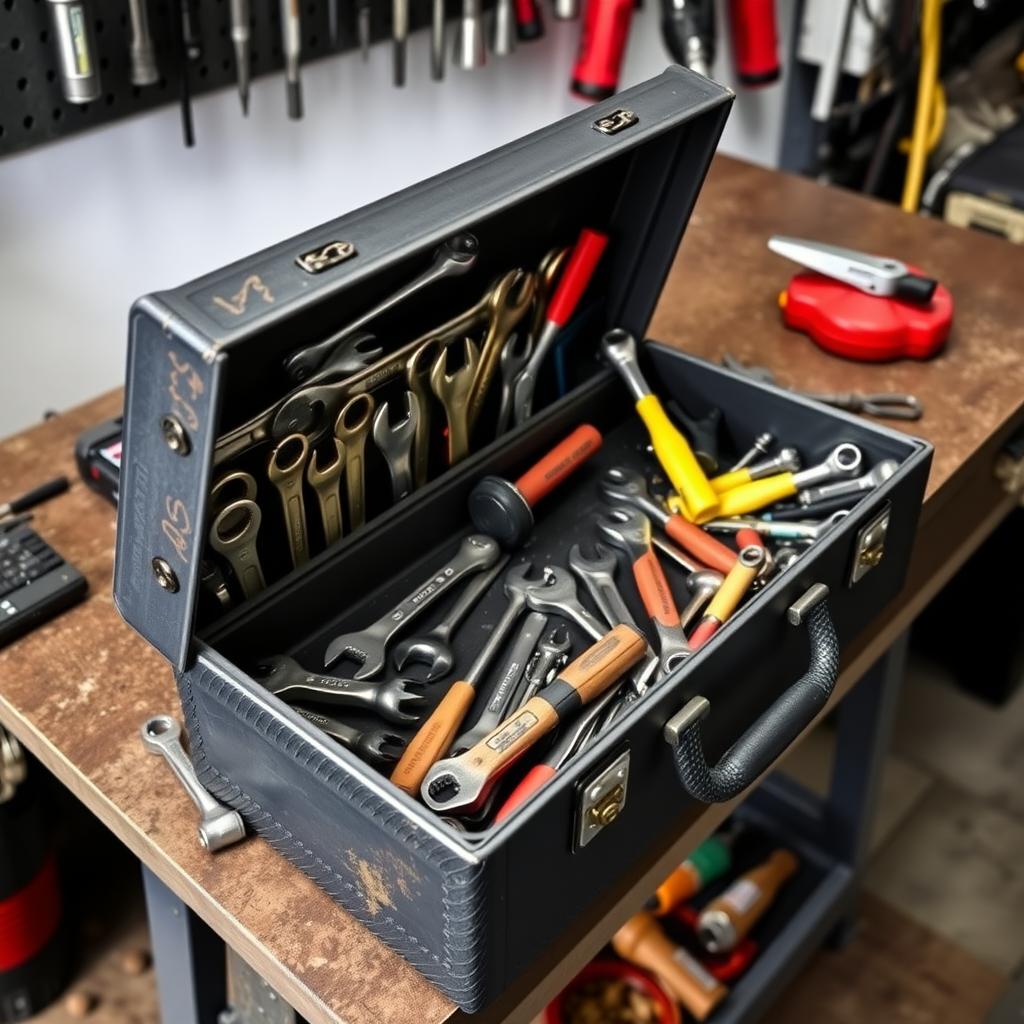
1. Pegboards: The Ultimate Tool Organizer
Pegboards are a workshop classic for a reason—they’re cheap, versatile, and keep your tools right where you can see them. When I first set up my workshop, tools were scattered everywhere. Installing a pegboard changed that fast. Now, I can grab a hammer or pliers without a scavenger hunt.
How to Get Started: - Pick a pegboard that fits your wall space (hardware stores have plenty of sizes). - Add hooks, baskets, or small shelves to hold everything from screwdrivers to power tools. - Group similar items together—like all cutting tools in one section.
Pro Tip: Paint your pegboard a bright color. It makes tools pop and adds a little personality to your space.
2. Magnetic Strips: Perfect for Small Metal Tools
Magnetic strips are a lifesaver for small metal tools like drill bits, wrenches, or Allen keys. I used to lose these in drawers all the time—hours wasted searching for the right size. Then I stuck a magnetic strip above my workbench. Problem solved. Everything’s lined up, easy to grab, and just as easy to put back.
How to Install: - Screw a magnetic strip to your wall or workbench edge. - Stick your metal tools right onto it—no hooks needed. - Label sections (like “drill bits” or “wrenches”) for extra order.
Pro Tip: Use a couple of strips if you’ve got lots of small tools. Keeps things from getting crowded.
3. Mason Jars: Clear Storage for Screws and Nails
Mason jars are perfect for keeping screws, nails, and bolts in check. Before I started using them, I’d dump all my fasteners into one big box—total mess. Now, I’ve got jars lined up on a shelf, each labeled with what’s inside. The clear glass means I can spot what I need without digging.
How to Set It Up: - Screw the jar lids under a shelf or cabinet. - Twist the jars into the lids—grab and go. - Write labels (e.g., “1-inch screws”) on each one.
Pro Tip: Match jar sizes to how much you use—small ones for odd sizes, big ones for everyday stuff.
4. PVC Pipe Holders: Ideal for Long Tools
Long tools like shovels, brooms, or pry bars can clutter up your floor fast. I tackled this with PVC pipe holders. Cut some pipes, mounted them on the wall, and now those awkward tools have a home. It’s cheap, quick, and keeps everything upright and ready.
How to Make PVC Pipe Holders: - Cut PVC pipes into 6-8 inch pieces (a hand saw works fine). - Attach them vertically to the wall with screws or brackets. - Slide tools in, handle-first—they’ll stay put.
Pro Tip: Use wider pipes for thicker handles and narrower ones for slimmer tools.
5. Tool Drawers with Foam Inserts: Precision Organization
For tools that need extra care—like chisels or measuring gear—tool drawers with foam inserts are a must. I added these to my setup after noticing dings on my good tools. Cutting foam to fit each tool keeps them safe and organized. Plus, it looks sharp.
How to Create Foam Inserts: - Measure your drawer and cut a foam sheet to fit (craft foam is affordable). - Trace each tool’s shape onto the foam with a marker. - Cut out the shapes with a utility knife and set the foam in the drawer.
Pro Tip: Use bright foam so you can tell right away if something’s missing.
6. Workbench with Built-In Storage: Maximize Your Space
Your workbench is the heart of your workshop—why not make it pull double duty? I built mine with shelves and drawers underneath, and it’s been a total win. Tools, sandpaper, whatever I need—it’s all right there. No more running across the room mid-project.
How to Build a Workbench with Storage: - Pick a solid design with a strong top (plywood works great). - Add shelves or drawers below for tools and supplies. - Throw a pegboard or magnetic strip above for bonus storage.
Pro Tip: Tailor the shelves to your go-to items—keep them in reach.
7. Workshop Equipment Maintenance Tips: Keep Your Tools in Top Shape
Organizing is step one—keeping your workshop equipment in good shape is step two. I’ve learned the hard way that neglected tools wear out fast. A little care goes a long way. Here’s what works for me:
- Clean After Use: Wipe off dirt or grease—takes two minutes.
- Sharpen Blades: Dull tools are a pain; sharpen saws and chisels regularly.
- Lubricate: A drop of oil on moving parts stops rust and keeps things smooth.
- Store Smart: Use these organizers to avoid bangs and scratches.
Pro Tip: Block out a monthly hour to check and tune up your workman tools. It’s worth it.
For more on tool care, check out this guide from Popular Mechanics.
Recommended Readings
- How to Build a Custom Workbench for Your Workshop
- Essential Workshop Equipment for DIY Enthusiasts
- Top Workman Tools Every Workshop Needs
- Advanced Workshop Organization Techniques
- Tool Maintenance 101: Keep Your Equipment in Top Shape
Related DIY Organizer Ideas for Your Workshop:
- Tool Maintenance 101: Keep Your Equipment in Top Shape
- Energy-Efficient Lighting Options for Your Home
- The Future of Workshop Tools: Trends to Watch in 2025
- Rotary Tools for Jewelry Making: A Comprehensive Guide
- An In-Depth Guide to Hand Tools for DIY Projects
- Safety Essentials for Construction Work
- Safety Gear Maintenance Tips: A Comprehensive Guide to Workwear and Safety Gear
- Comprehensive Guide to Key Features in Cordless Power Tools
- How to Maintain Your Car's Engine for Longevity
- Safety First: Protecting Yourself and Your Tools
- Green Tools: The Future of Batteries
- Organizing Your Workbench for Maximum Efficiency