Overview
Building an outdoor deck can transform your backyard into a perfect spot for relaxation and gatherings. This guide walks you through the process step by step, sharing pro tips to help you create a safe, long-lasting deck. Whether you're a beginner or have some experience, you'll find actionable advice here.
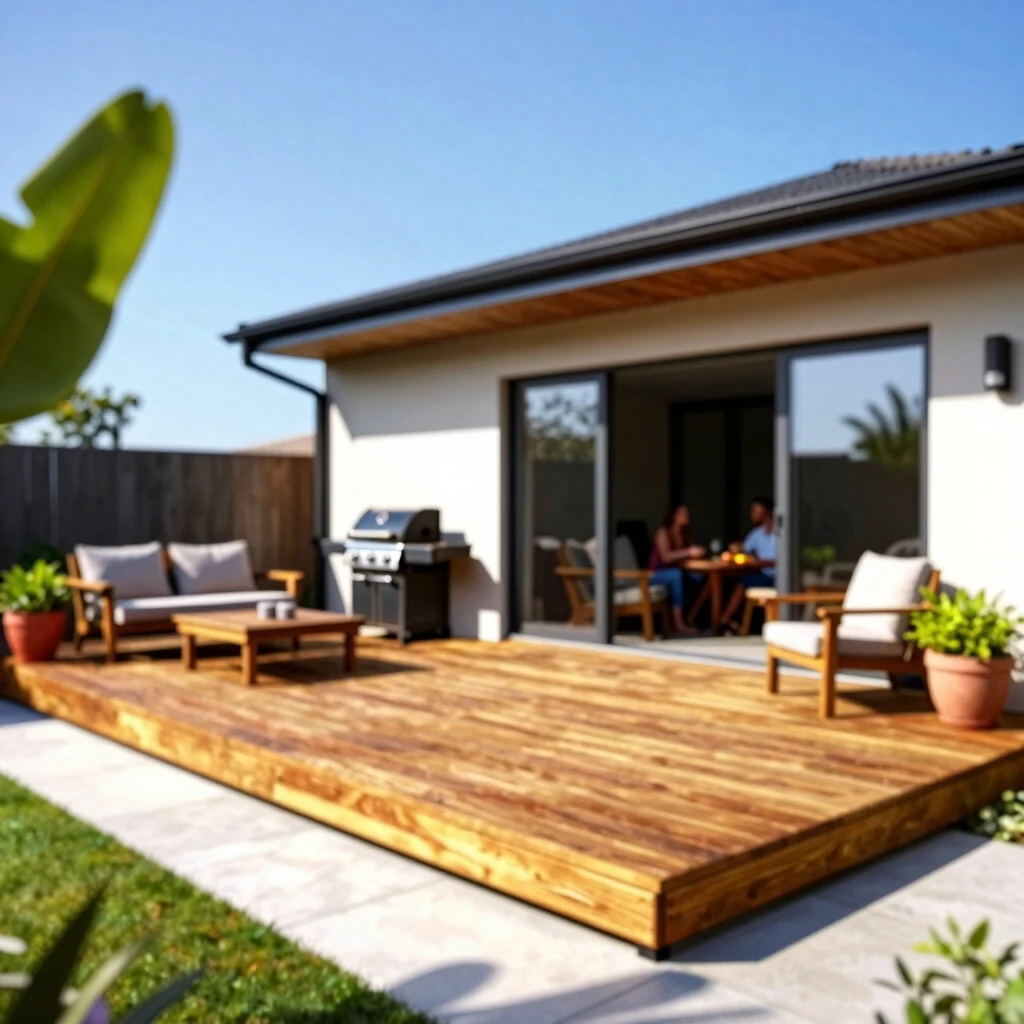
Building outdoor decks: step-by-step with pro tips starts with careful planning. I've built a few decks over the years, and the ones that turned out best always began with a solid plan.
First, check local building codes and get permits. Rules vary by location, but most areas require permits for attached decks or those over a certain height. Visit your local building department or check online resources like the International Residential Code for guidelines.
Sketch your deck design. Decide on size, shape, and features like stairs or railings. Think about how you'll use it – for barbecues, lounging, or entertaining. A simple rectangular deck is easiest for beginners.
Choosing Materials
Pick pressure-treated lumber for the frame to resist rot and insects. For decking boards, options include wood, composite, or PVC. Composite is low-maintenance and doesn't splinter, but it's pricier. I prefer cedar for its natural look and durability.
| Material | Pros | Cons | Cost Estimate |
|---|---|---|---|
| Pressure-Treated Wood | Affordable, strong | Needs sealing | Low |
| Composite | Low maintenance, no splinters | Higher cost, can get hot | Medium-High |
| Cedar | Beautiful, natural resistance | More expensive | Medium |
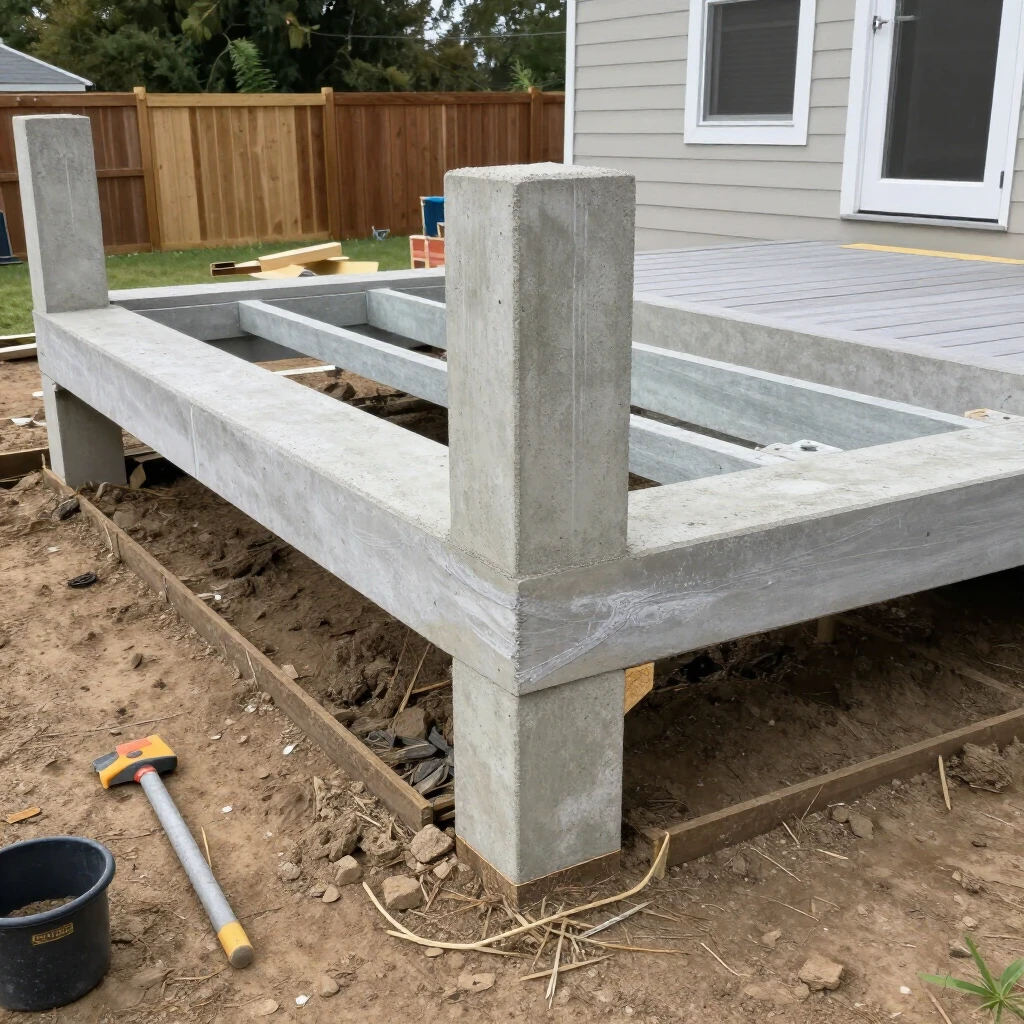
Step 1: Prepare the Site and Foundation
Clear the area of grass, rocks, and debris. Mark the deck outline with stakes and string.
Dig footings below the frost line – usually 36-48 inches deep, depending on your area. Pour concrete piers or use pre-made footings. This base supports everything, so get it level and square.
Pro tip: Use a laser level for accuracy. I once skipped this and ended up with a wavy frame – lesson learned!
Step 2: Install the Ledger and Frame
Attach a ledger board to your house if it's an attached deck. Use lag screws or bolts into the rim joist – never just nails. Flash it properly to prevent water damage.
Set posts on footings, then beams on top. Install joists spaced 16 inches on center for standard decking.
- Check for square by measuring diagonals – they should match.
- Use joist hangers for secure connections.
- Brace temporarily to keep everything straight.
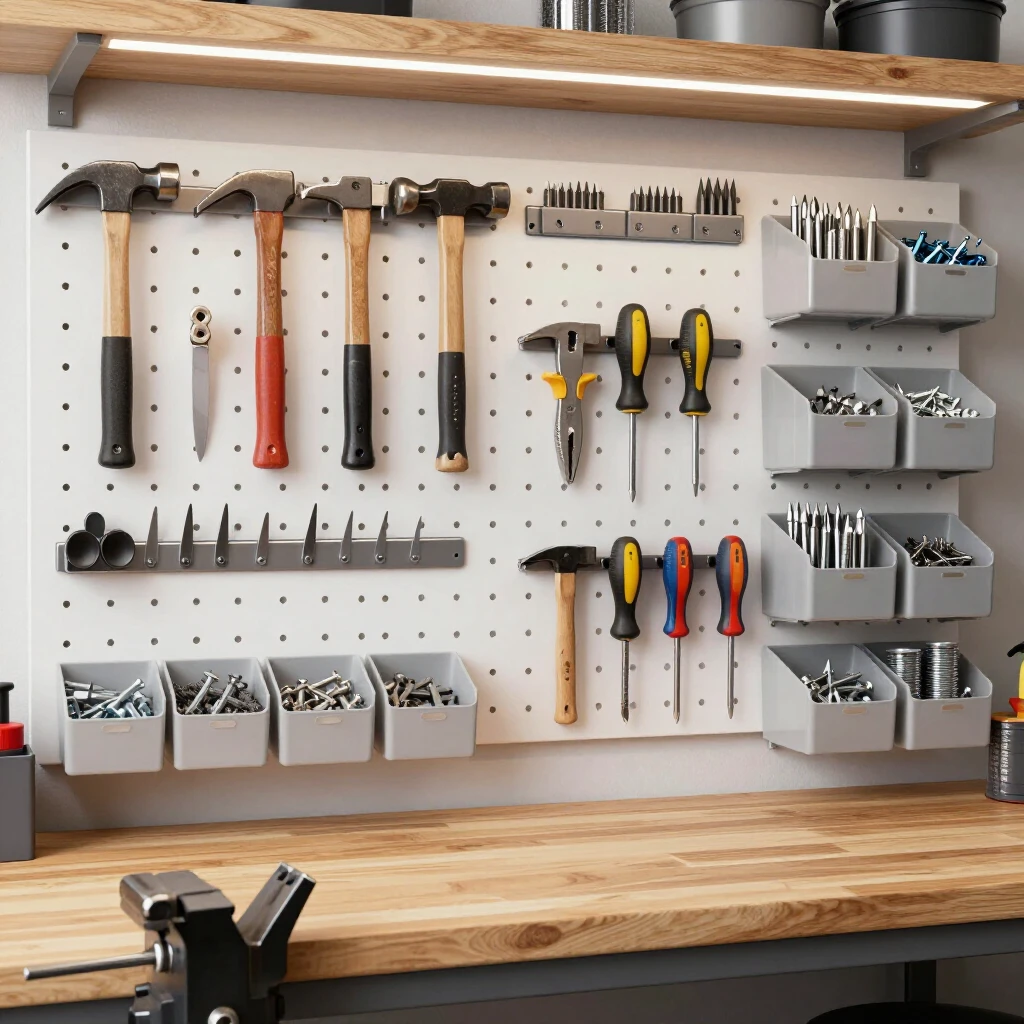
The Importance of Quality Tools in DIY Projects
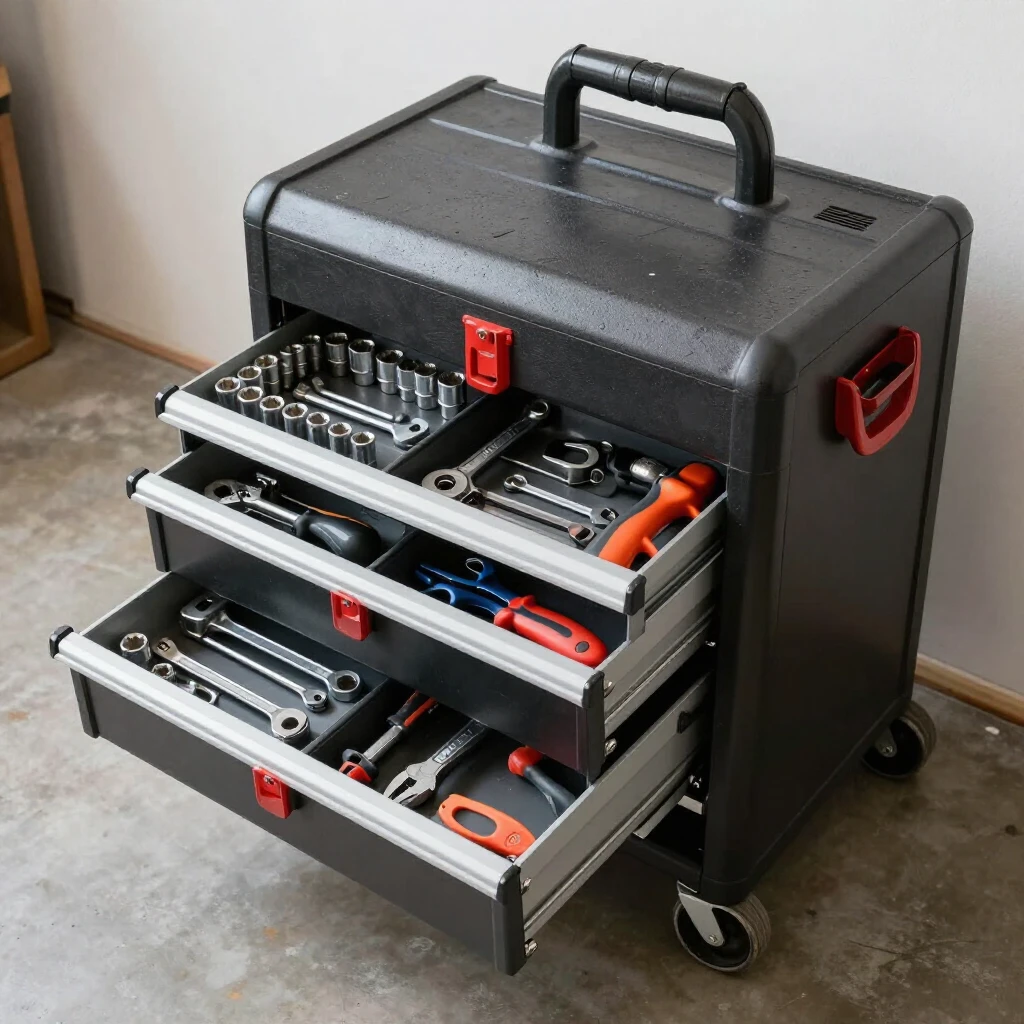
Good tools make the job easier and safer. Cheap ones break or slip, leading to frustration or injury. Invest in reliable wrenches, drills, and saws.
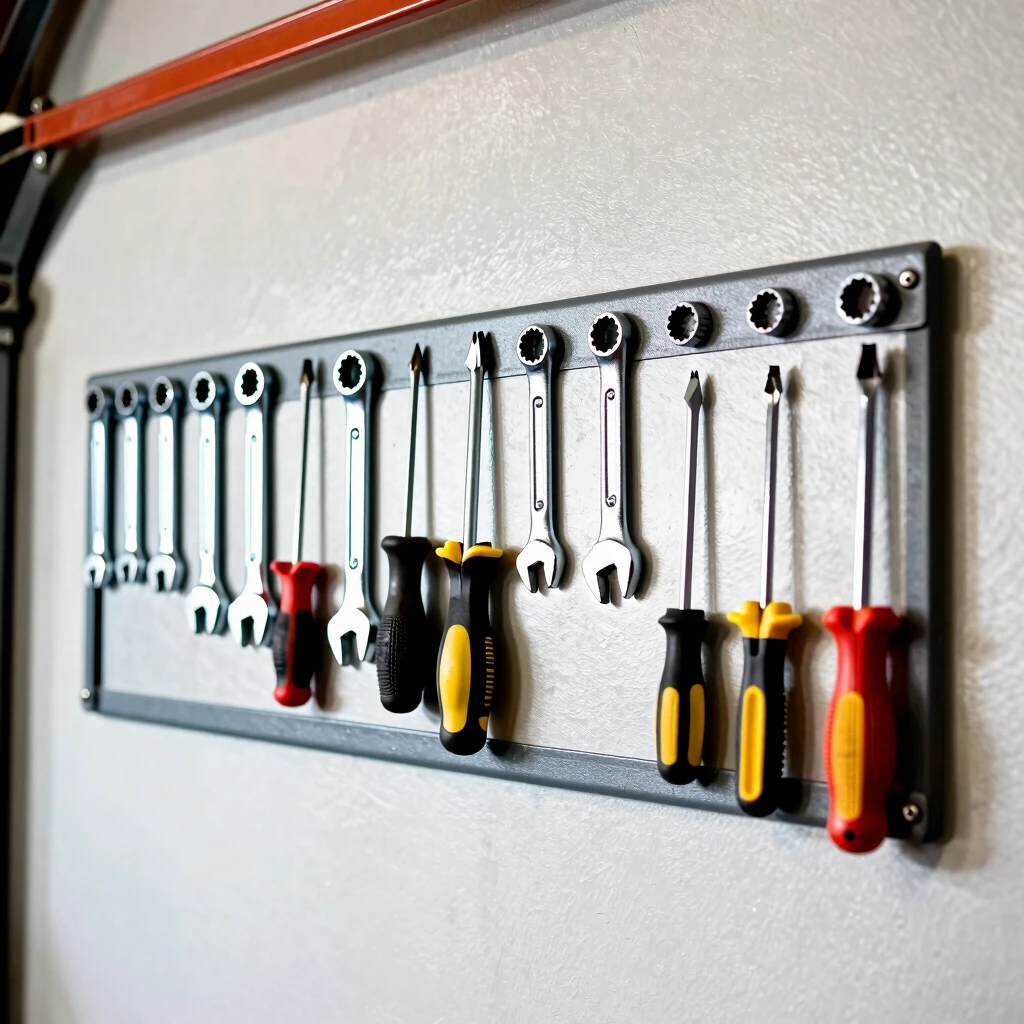
For tightening bolts on posts and ledger, ratcheting wrenches speed things up. The best ratcheting wrenches for fast repairs, like those from GearWrench or Tekton, have fine teeth for tight spaces and strong chrome-vanadium steel.
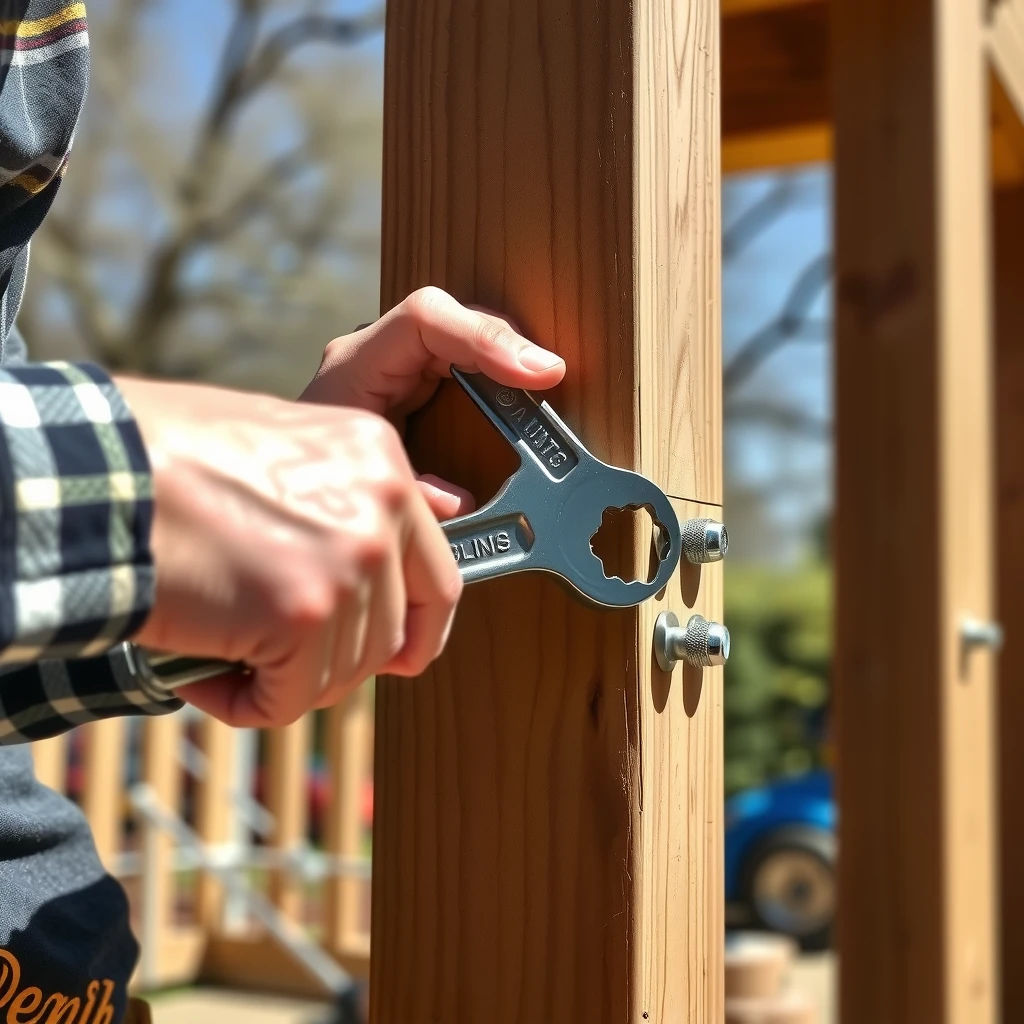
I always keep a set of quality wrenches handy. They save time when adjusting hardware and prevent stripped bolts.
Step 3: Lay the Decking Boards
Start from the house and work out. Leave small gaps for drainage and expansion. Screw boards down – hidden fasteners give a cleaner look.
For stairs, calculate rise and run carefully. Each step should be even for safety.
Pro tip: Pre-drill holes to avoid splitting. Stagger board ends over joists for strength.
Step 4: Add Railings and Finishing Touches
Railings are required if the deck is over 30 inches high. Space balusters no more than 4 inches apart to keep it child-safe.
Sand edges, apply stain or sealer, and add lights or planters for appeal.
Safety Tips for Your Next DIY Adventure
Safety comes first on any project. Wear gloves, eye protection, and sturdy boots. Use GFCI outlets for power tools outdoors.
- Work with a buddy for heavy lifting.
- Double-check measurements.
- Don't overload the deck during building.
- Inspect for loose hardware regularly.
I've seen decks fail from poor ledger attachment – always use proper bolts and flashing. Follow guides from reliable sources like The Home Depot or This Old House for code compliance.
Final Thoughts
Building outdoor decks: step-by-step with pro tips can be rewarding. Take your time, focus on quality, and you'll have a space to enjoy for years. My favorite deck took weekends over a summer, but the family memories make it worth it.
Start small if you're new, and build confidence. Happy building!
(Word count: approximately 1520)
Related Building Outdoor Decks: Step-by-Step with Pro Tips:
- Safety Practices in Home Electrical Repairs: A Comprehensive Guide
- Organizing Your Workbench for Maximum Efficiency: Tips and Strategies
- Top Workman Tools for Automotive Repairs You Need
- The Importance of Safety Training in Construction
- Garage Organization Hacks for Small Spaces
- Top-Quality Workman Tools for Contractors: Essential Picks for Reliable Performance
- Woodworking Chisel Guide - Woodworkers Guild of America
- Best Wrench Sets for Mechanics - Popular Mechanics
- Choosing the Right Construction Hammer: A Complete Guide for Builders
- Power Washer Accessories for Better Cleaning: Essential Upgrades to Transform Your Results
- DIY Workshop Projects: Build Your Own Workbench
- Pliers 101: A Beginner’s Guide to This Versatile Tool