A Quick Overview
Setting up your ideal workbench doesn't have to be complicated. With the right location, sturdy surface, smart organization, and essential workman tools, you can create a space that makes every project easier and more enjoyable.
Whether you're a weekend DIYer or7 or someone who tackles bigger builds, having a dedicated workbench changes everything. It gives you a reliable spot to measure, cut, assemble, and finish projects without hunting for tools or clearing the kitchen table.
I've spent years tweaking my own setup, and I've learned that small changes make a huge difference. Let's walk through the key steps to build your perfect workbench area.
1. Choose the Right Location
Pick a spot with plenty of natural light if possible. Good lighting reduces eye strain and helps you spot details. A garage, basement, or spare room works well. Make sure there's enough space around the bench—at least 3 feet on all sides—so you can move freely.
Consider power outlets too. You'll need several for workman tools like drills, sanders, and lights. If outlets are limited, add a quality power strip with surge protection.
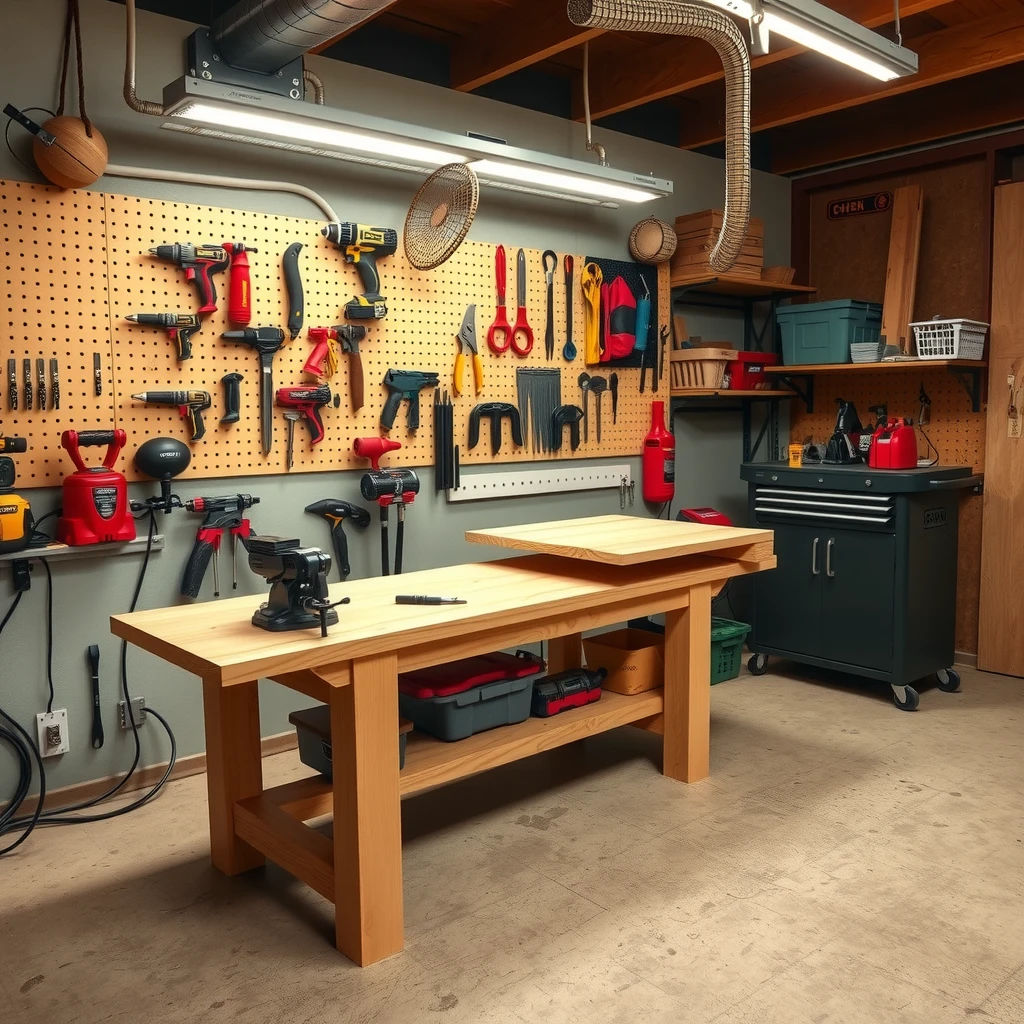
2. Select a Sturdy Workbench
The bench itself is the heart of your setup. You can buy a ready-made one or build your own. Pre-built workbenches come in different sizes and materials. Look for heavy-duty steel frames or solid wood tops that won't bounce when you hammer.
If you build your own, use 2x4s for the frame and a thick plywood or hardwood top. Add a vise—it's invaluable for holding pieces steady. I added a woodworking vise to mine years ago and still use it almost daily.
| Workbench Type | Best For | Approximate Cost |
|---|---|---|
| Folding portable | Small spaces, apartments | $100–$300 |
| Heavy-duty steel | Garages, frequent use | $300–$800 |
| Custom built wood | Serious hobbyists | $200–$600 (materials) |
| Professional cabinet-style | Advanced workman tools for professionals | $800+ |
3. Prioritize Lighting
Poor lighting leads to mistakes. Combine overhead lights with task lighting. LED shop lights are bright, energy-efficient, and last forever. Mount them directly above the bench so shadows don't fall on your work.
A swing-arm lamp gives focused light for detailed tasks like soldering or painting small parts.
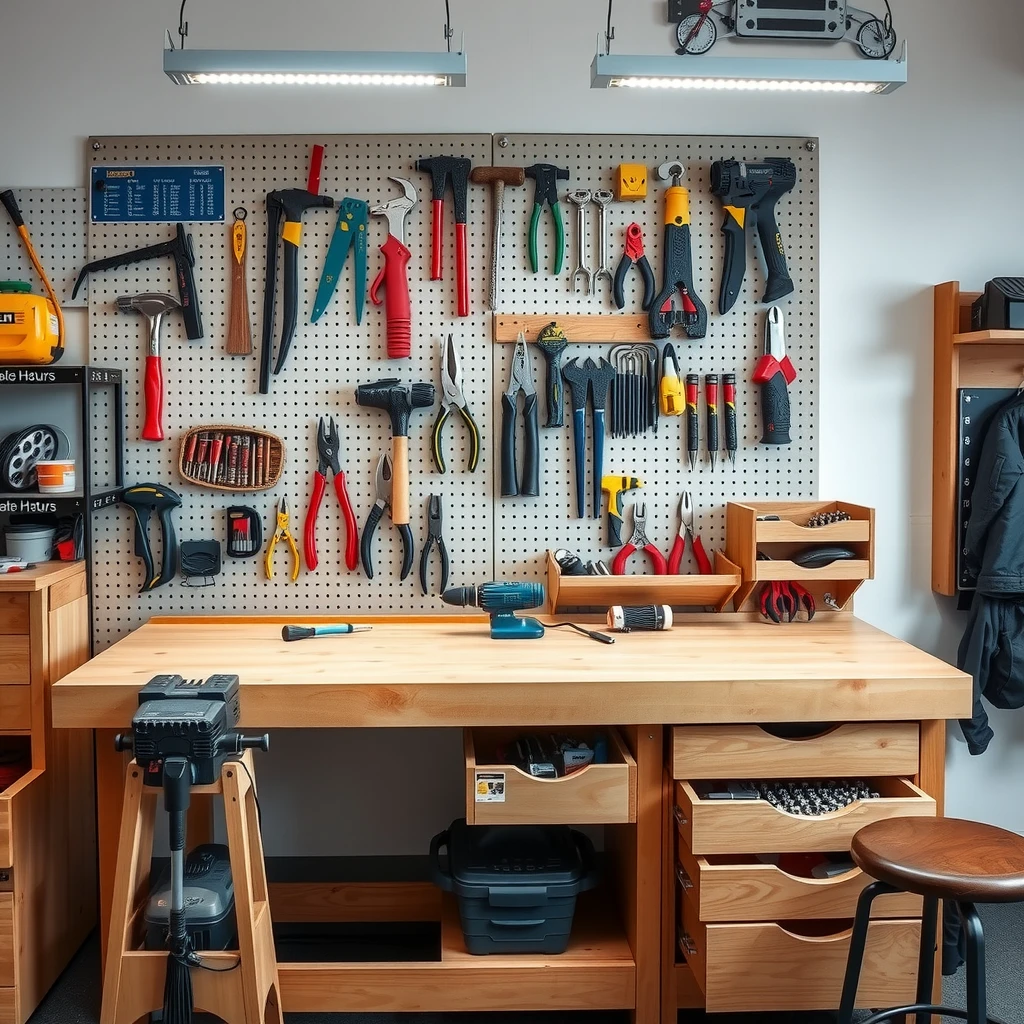
4. Organize Your Workman Tools
Nothing slows you down like searching for a screwdriver. Start with the basics and build up.
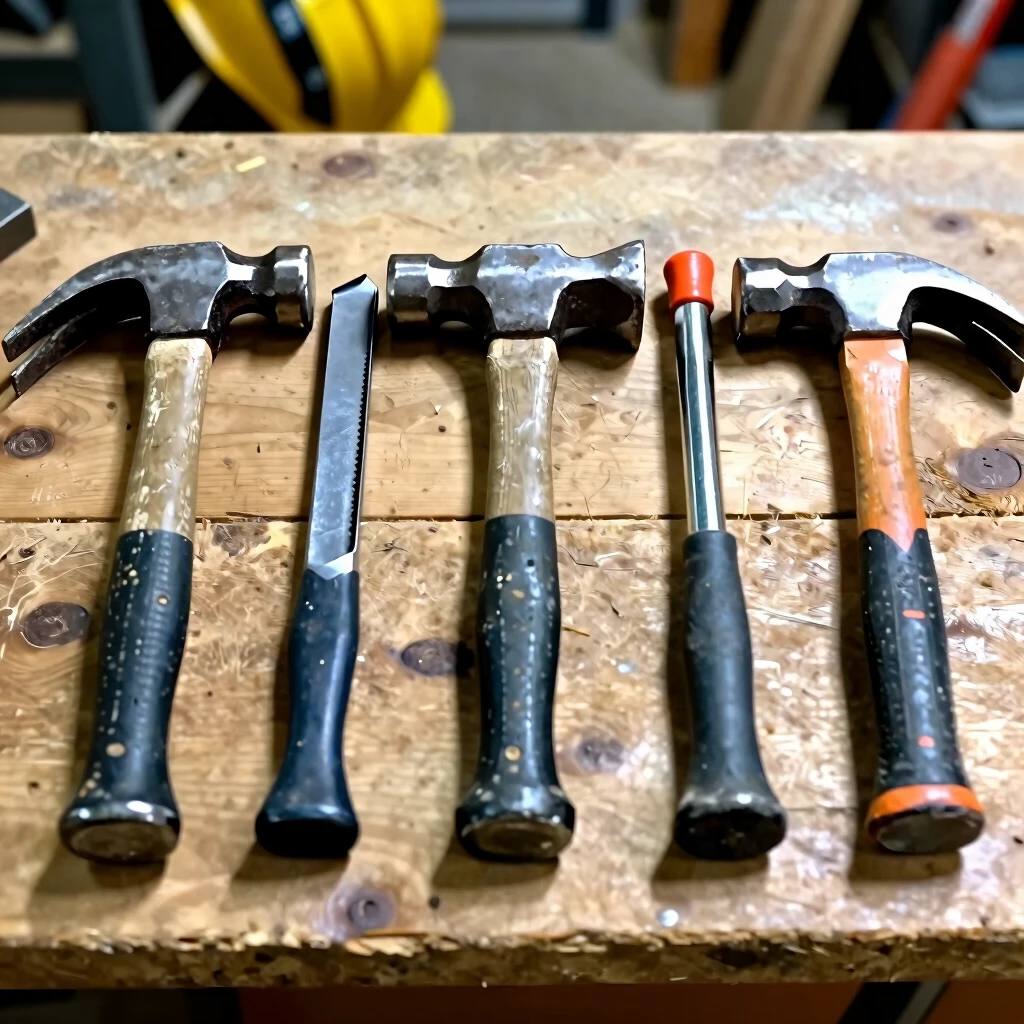
Here are must-have workman tools for most setups: - Hammer (16–20 oz claw hammer) - Tape measure (25-foot) - Screwdriver set (Phillips and flathead) - Adjustable wrench and pliers - Level (torpedo and 4-foot) - Utility knife - Safety gear: glasses, ear protection, dust masks
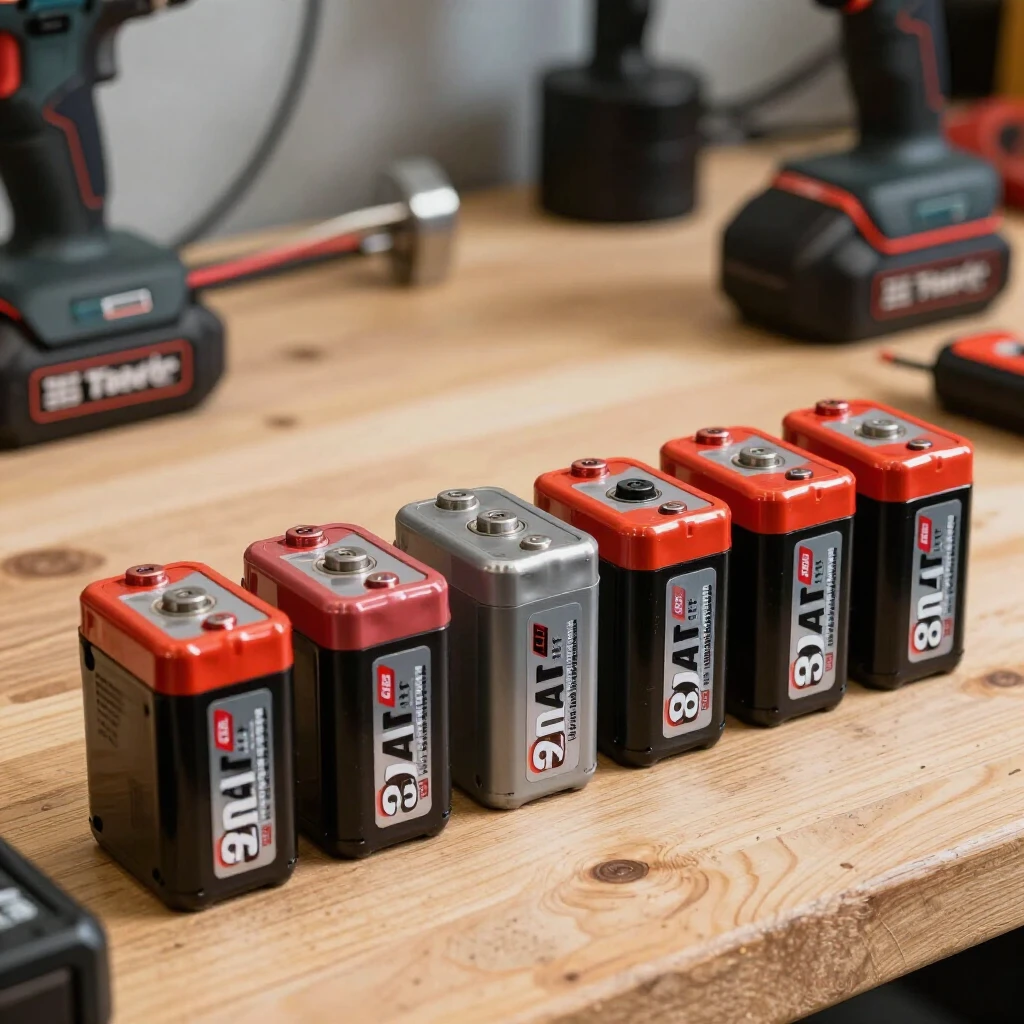
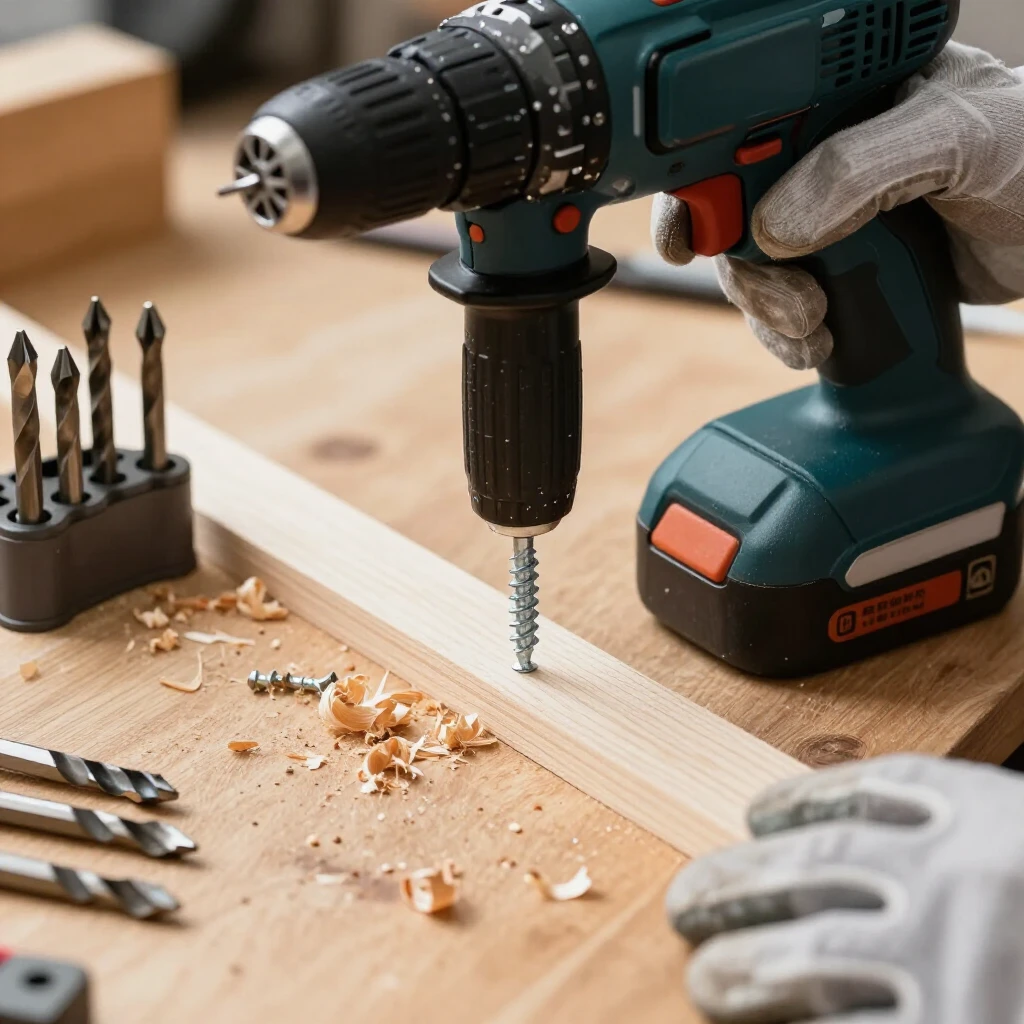
When you're ready for power, learn how to choose the right power drill for your projects. A good cordless drill/driver is the most-used tool in my shop.
Key factors when choosing a drill: - Voltage: 12V for light work, 18–20V for heavier tasks - Chuck size: 1/2-inch handles most bits - Brushless motor: lasts longer, more power - Battery platform: stick with one brand for interchangeable batteries - Extra features: built-in LED light, hammer function for masonry
I switched to an 18V brushless model a few years back and haven't looked back. It powers through everything from hanging shelves to building furniture.
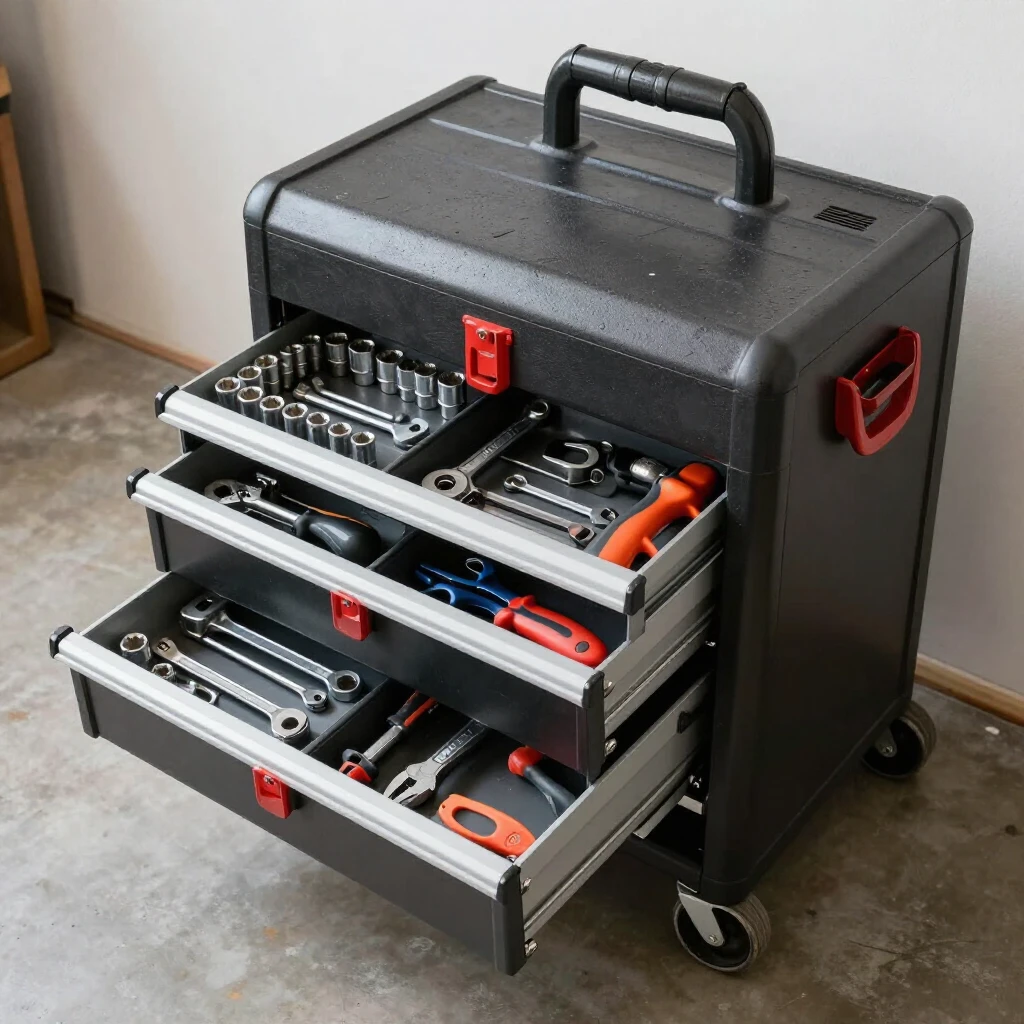
5. Smart Storage Solutions
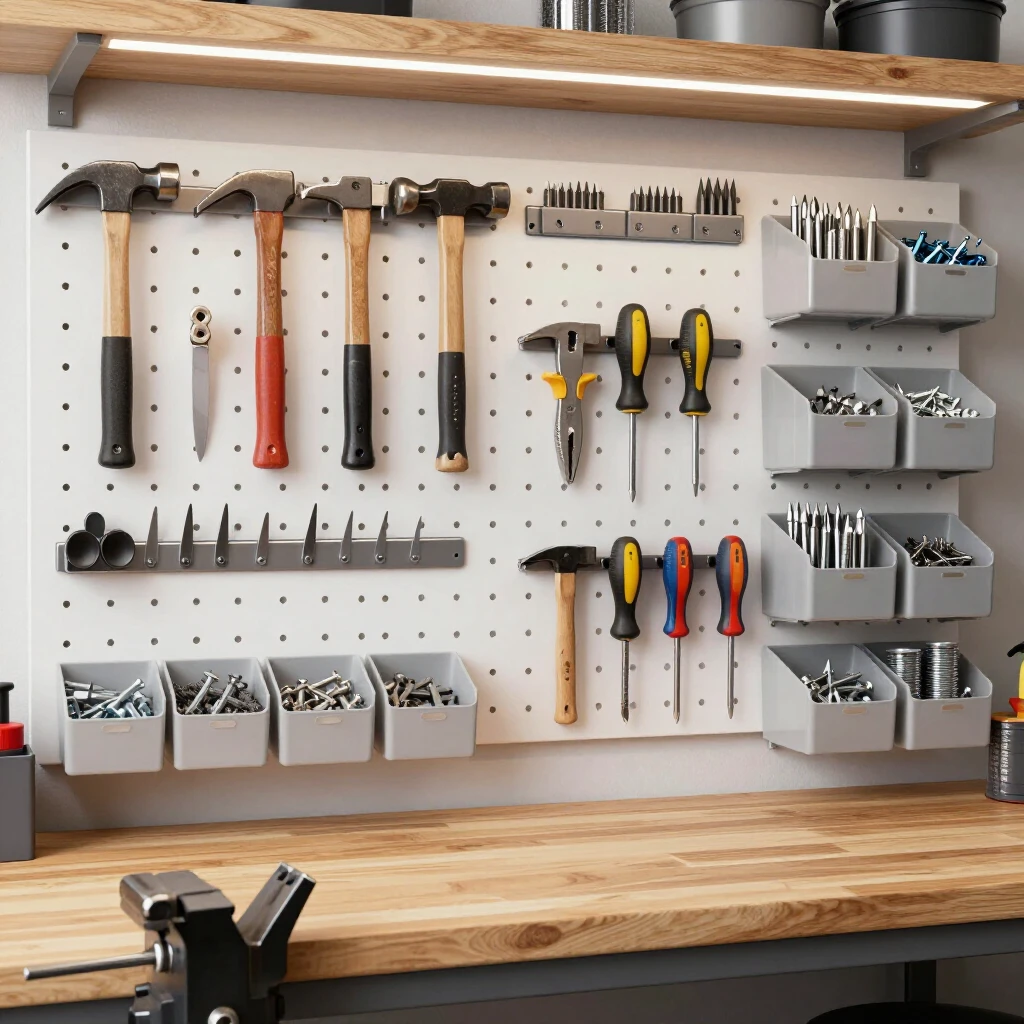
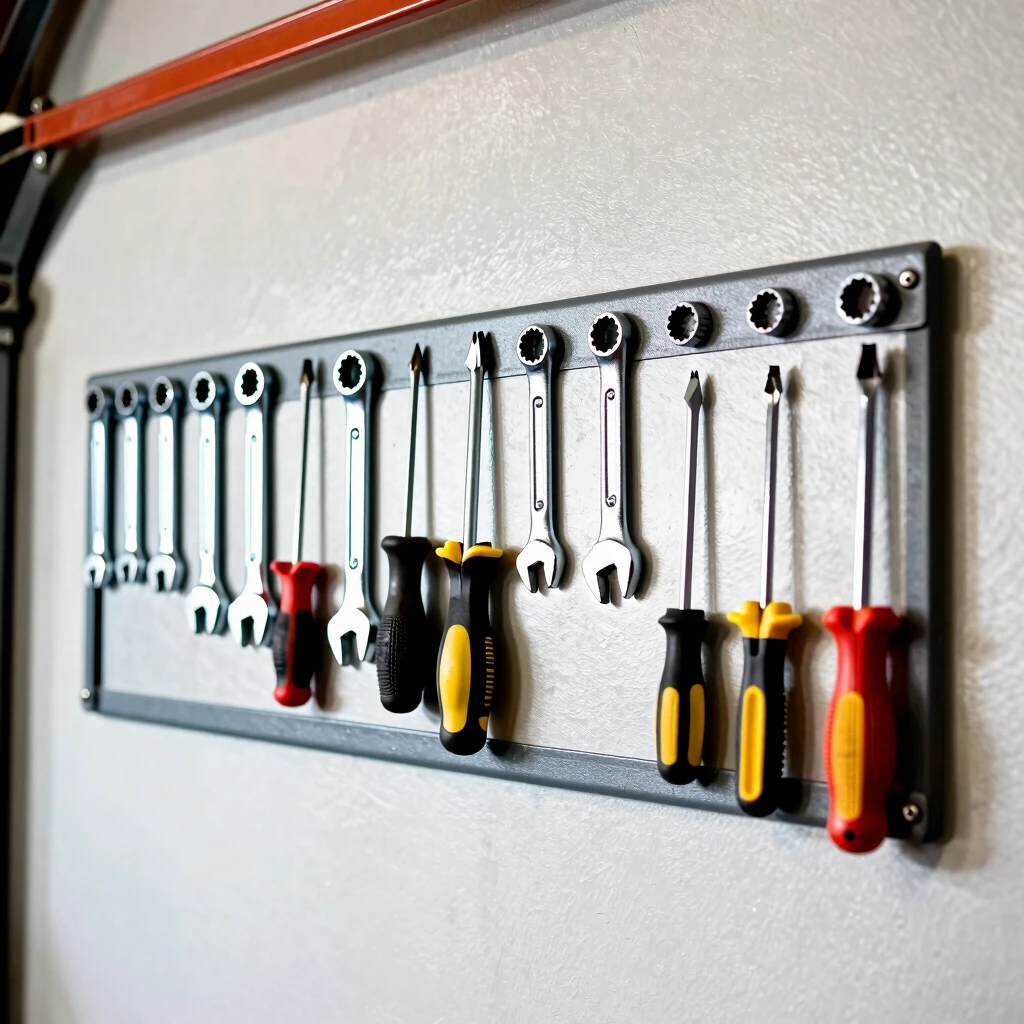
Use pegboard for frequently used hand tools—it's cheap and customizable. Drawer organizers keep small parts like screws and nails sorted.
Shelves above or below hold less-used items. Label everything. Clear plastic bins let you see contents at a glance.
Magnetic strips are great for holding drill bits and driver bits right where you need them.
6. Add Comfort and Safety Features
Stand on an anti-fatigue mat—your back and feet will thank you. Keep a sturdy stool nearby for tasks that don't require standing.
Install a first-aid kit and fire extinguisher within reach. Always wear safety glasses, especially when using power tools.
7. Personalize Your Space
Make it yours. Add a radio or speaker for music. Hang inspirational photos or project plans. A whiteboard helps sketch ideas quickly.
Over time, your workbench becomes more than a work surface—it becomes your creative space.
Final Thoughts
Setting up your ideal workbench takes some planning and investment, but it pays off every time you start a new project. Start simple, add advanced workman tools for professionals as your skills grow, and keep organizing. You'll end up with a space that makes woodworking, repairs, and crafting pure enjoyment.
Related Setting Up Your Ideal Workbench: Tips and Tricks:
- Key Features to Look for in Cordless Power Tools
- Top 10 Workman Tools Every Contractor Needs
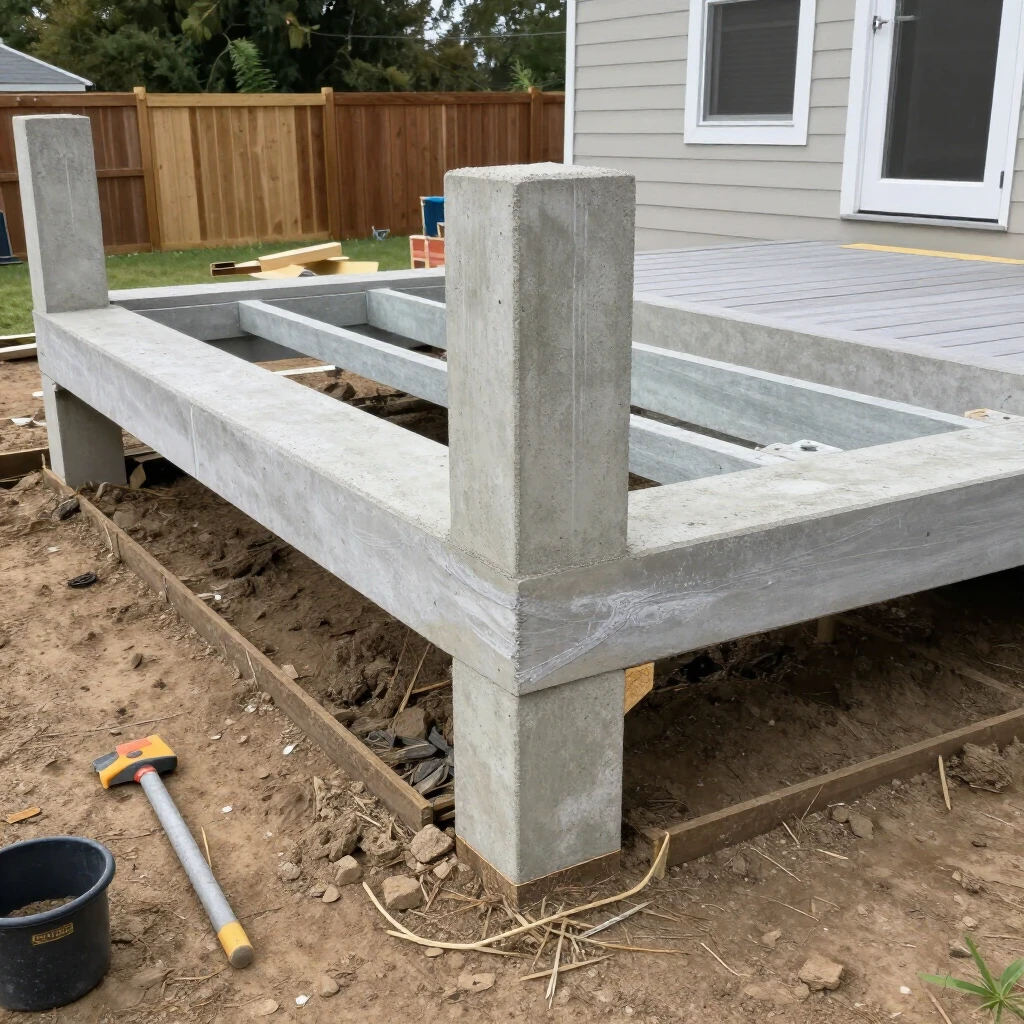
- Building Outdoor Decks: Step-by-Step with Pro Tips
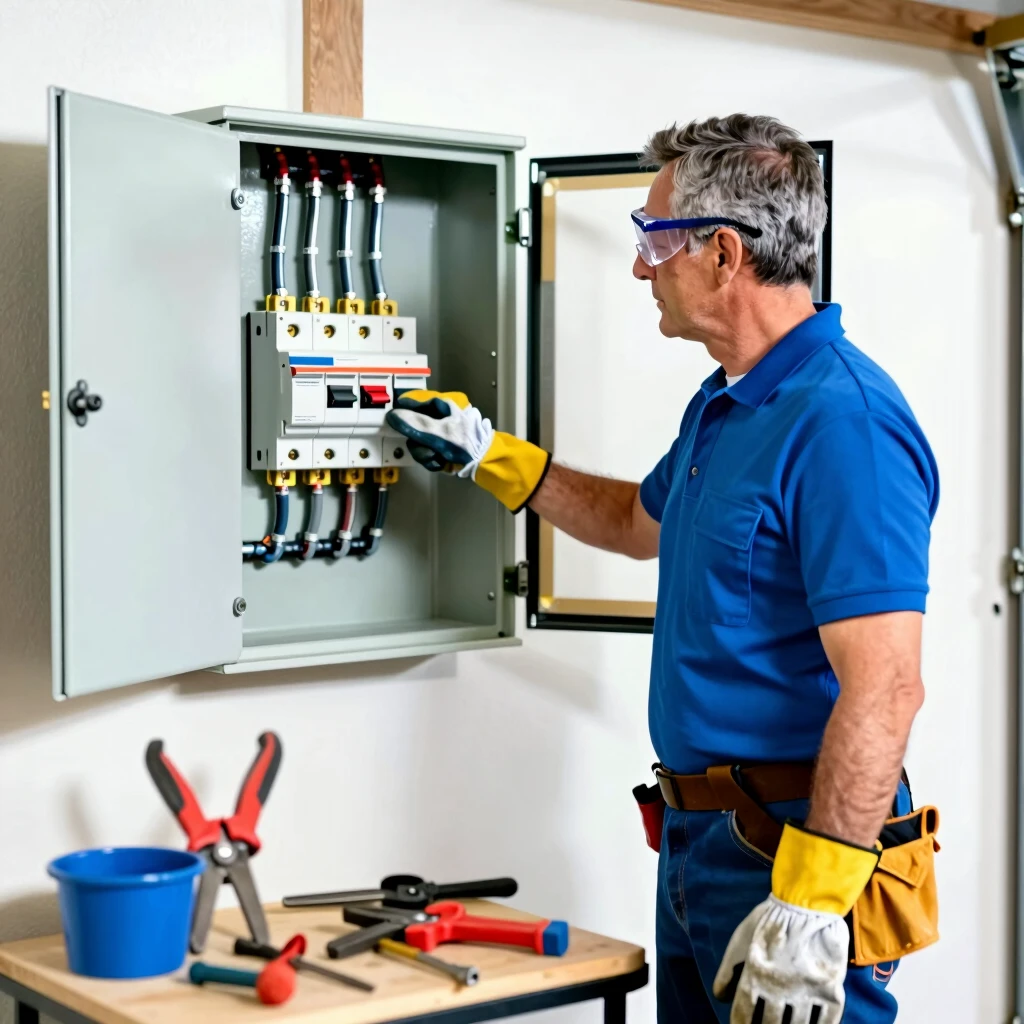
- Safety Practices in Home Electrical Repairs: A Comprehensive Guide
- Organizing Your Workbench for Maximum Efficiency: Tips and Strategies
- Top Workman Tools for Automotive Repairs You Need
- The Importance of Safety Training in Construction
- Garage Organization Hacks for Small Spaces
- Top-Quality Workman Tools for Contractors: Essential Picks for Reliable Performance
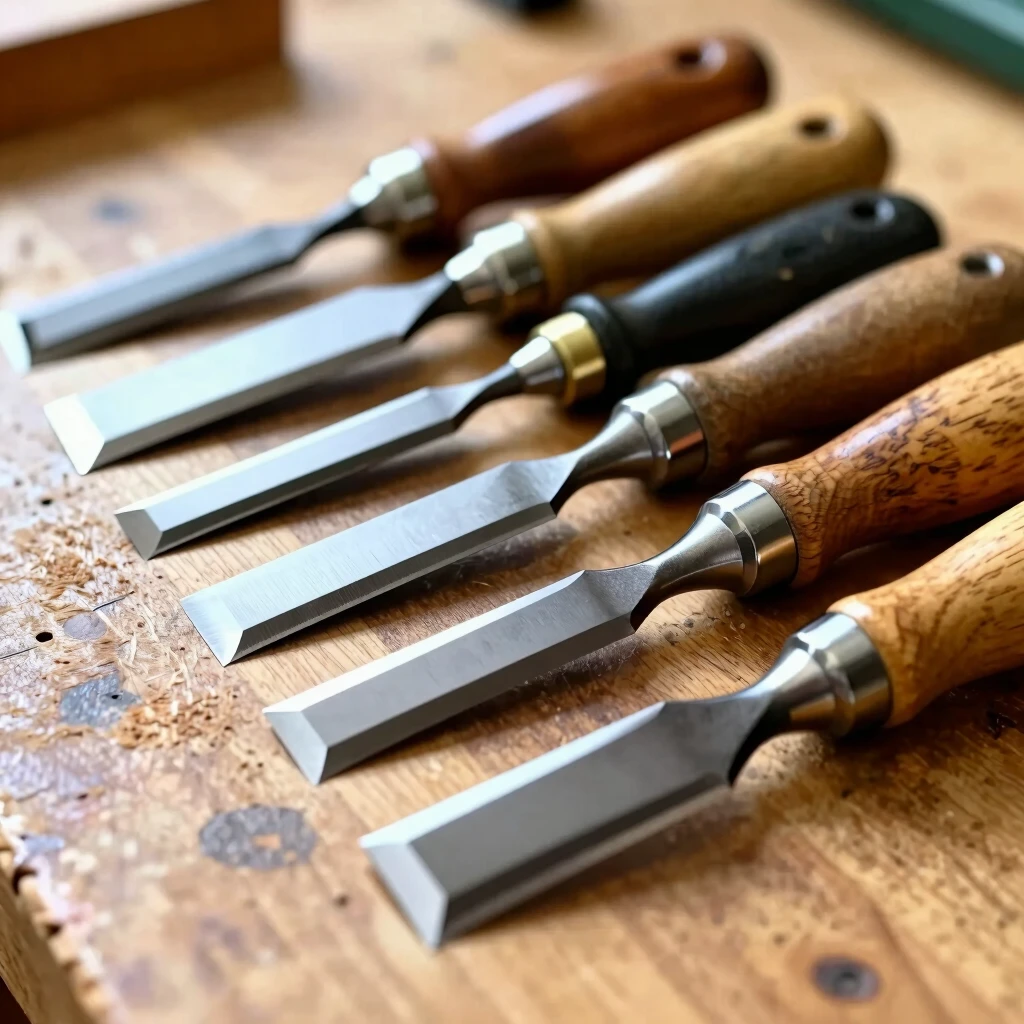
- Woodworking Chisel Guide - Woodworkers Guild of America
- Best Wrench Sets for Mechanics - Popular Mechanics
- Choosing the Right Construction Hammer: A Complete Guide for Builders