Overview
Metal forming is an art that blends strength, precision, and creativity. Advanced Hammering Techniques for Metal Forming allow craftsmen to shape metal with accuracy and flair. This guide dives into practical methods, essential tools, and personal insights to help you master metalwork, whether you're a hobbyist or a seasoned professional.
Why Hammering Matters in Metal Forming
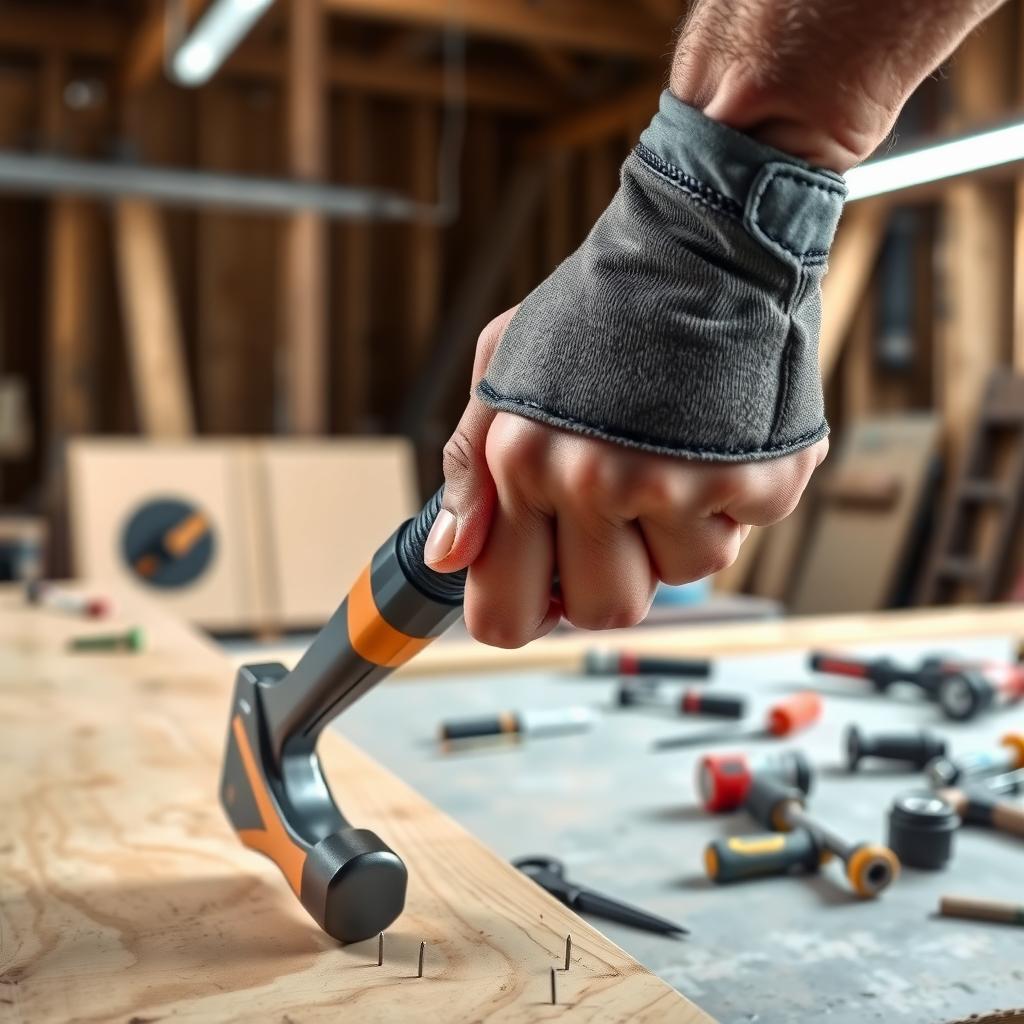
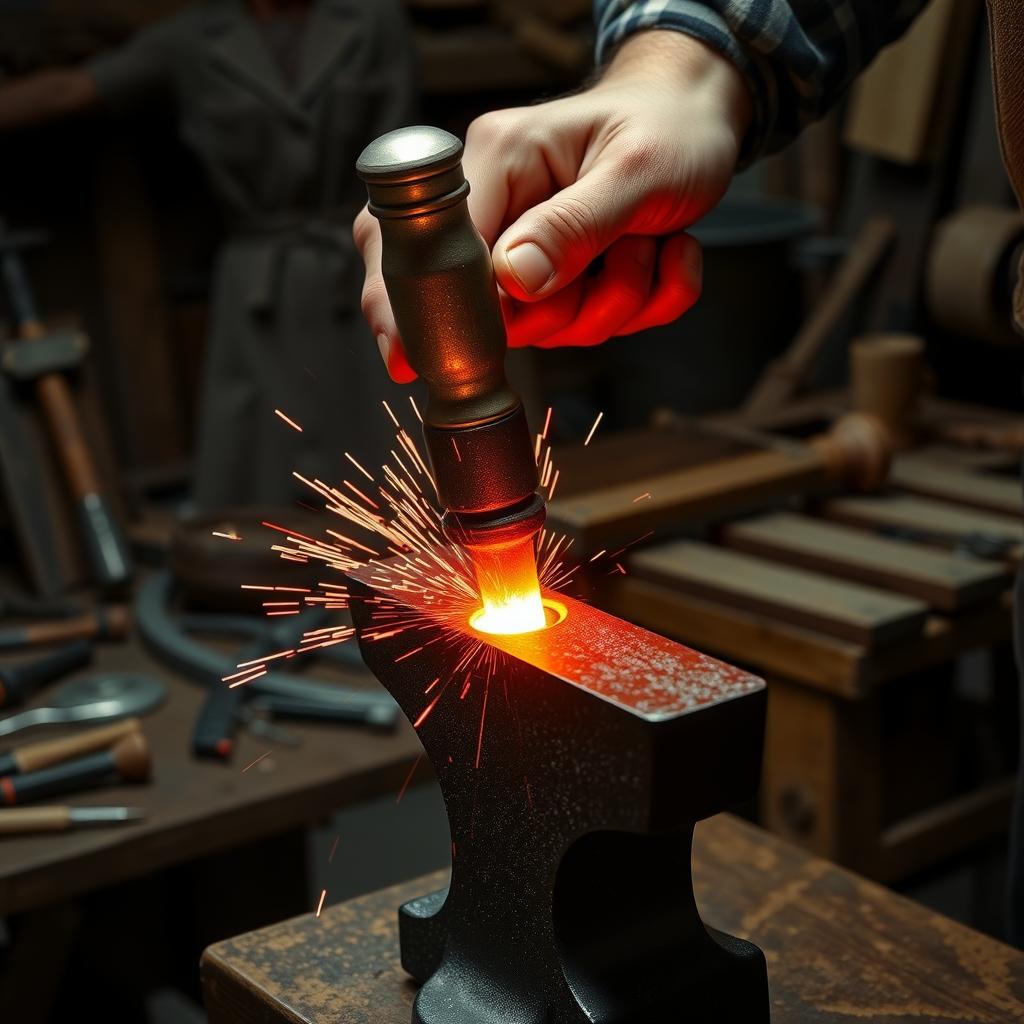
Hammering is the heartbeat of metal forming. It’s not just about hitting metal—it’s about controlling force, angle, and rhythm to mold it into something functional or beautiful. From forging blades to crafting intricate jewelry, hammering shapes raw material into art. Unlike automated methods, hand hammering gives you unmatched control, letting you feel the metal’s response with every strike.
Over years of working with metal, I’ve learned that mastering hammering is about understanding the material. Steel, copper, or aluminum each react differently. A soft tap can coax copper into a smooth curve, while steel demands a firmer hand. This guide will walk you through techniques and tools to elevate your craft.
Core Hammering Techniques for Metal Forming
To excel in Mastering Metal Forming: Techniques and Tools, you need to understand key hammering methods. Here are the essentials:
1. Drawing Out
Drawing out stretches metal to make it longer and thinner. Use a flat-faced hammer and strike with steady, overlapping blows along the metal’s length. Keep the metal hot (around 1,800°F for steel) to avoid cracking. I’ve found that short, controlled strikes work better than heavy swings—patience is key.
2. Upsetting
Upsetting thickens metal by compressing it. Strike the end of a heated piece with firm, direct blows. This is great for creating sturdy bases, like for a table leg. A heavy cross-peen hammer is my go-to for this, as it focuses force effectively.
3. Bending
Bending shapes metal into curves or angles. Use a rounded hammer and an anvil’s horn for smooth arcs. For sharp bends, a vise and square-faced hammer work best. I once bent copper sheets into a decorative bowl—slow, even taps made all the difference.
4. Planishing
Planishing smooths metal surfaces for a polished finish. Use a polished, slightly convex hammer and light, overlapping strikes. This technique is perfect for jewelry or decorative pieces. A tip: keep your anvil clean to avoid marking the metal.
5. Texturing
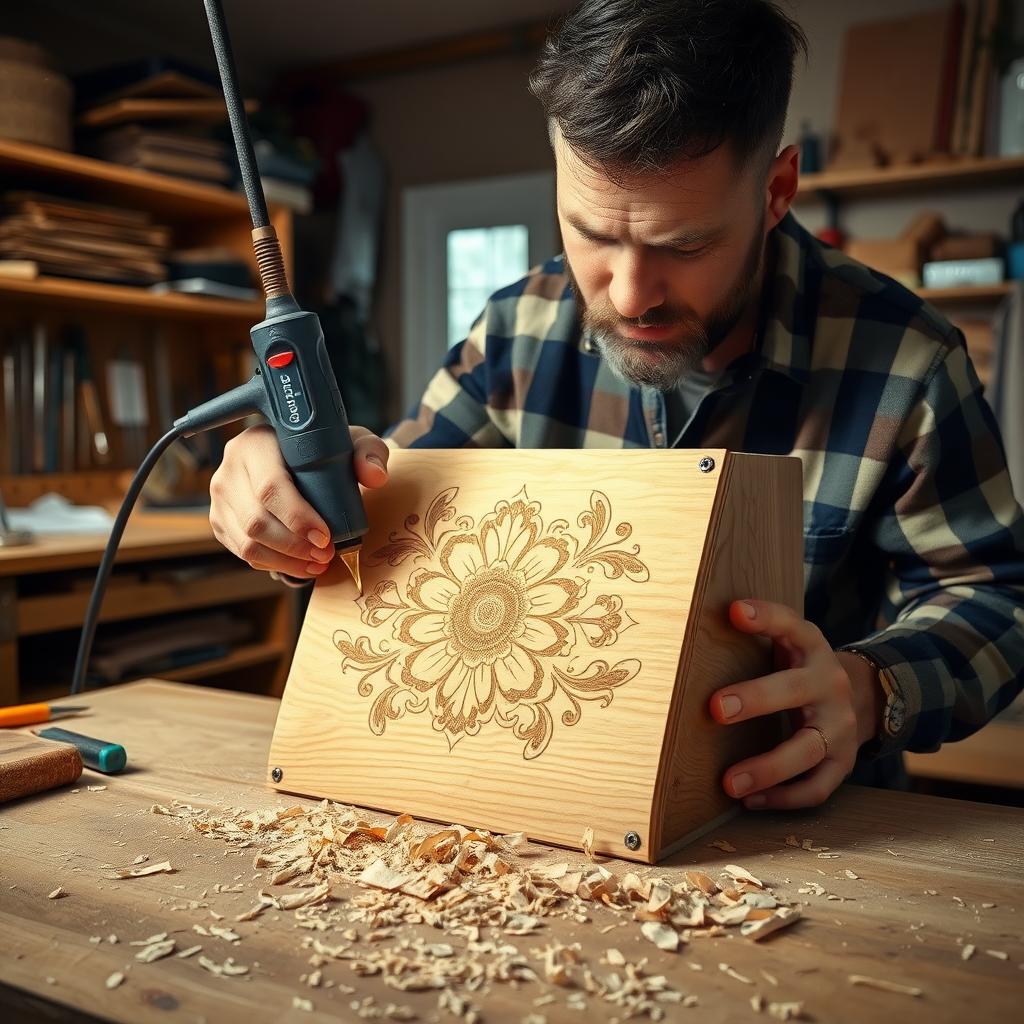
Texturing adds visual flair, like hammered patterns on a bracelet. Use specialty hammers with patterned faces. Experiment with light taps on cold metal for subtle effects or hot metal for deeper impressions. I love using a crosshatch hammer for unique designs.
Choosing the Right Tools
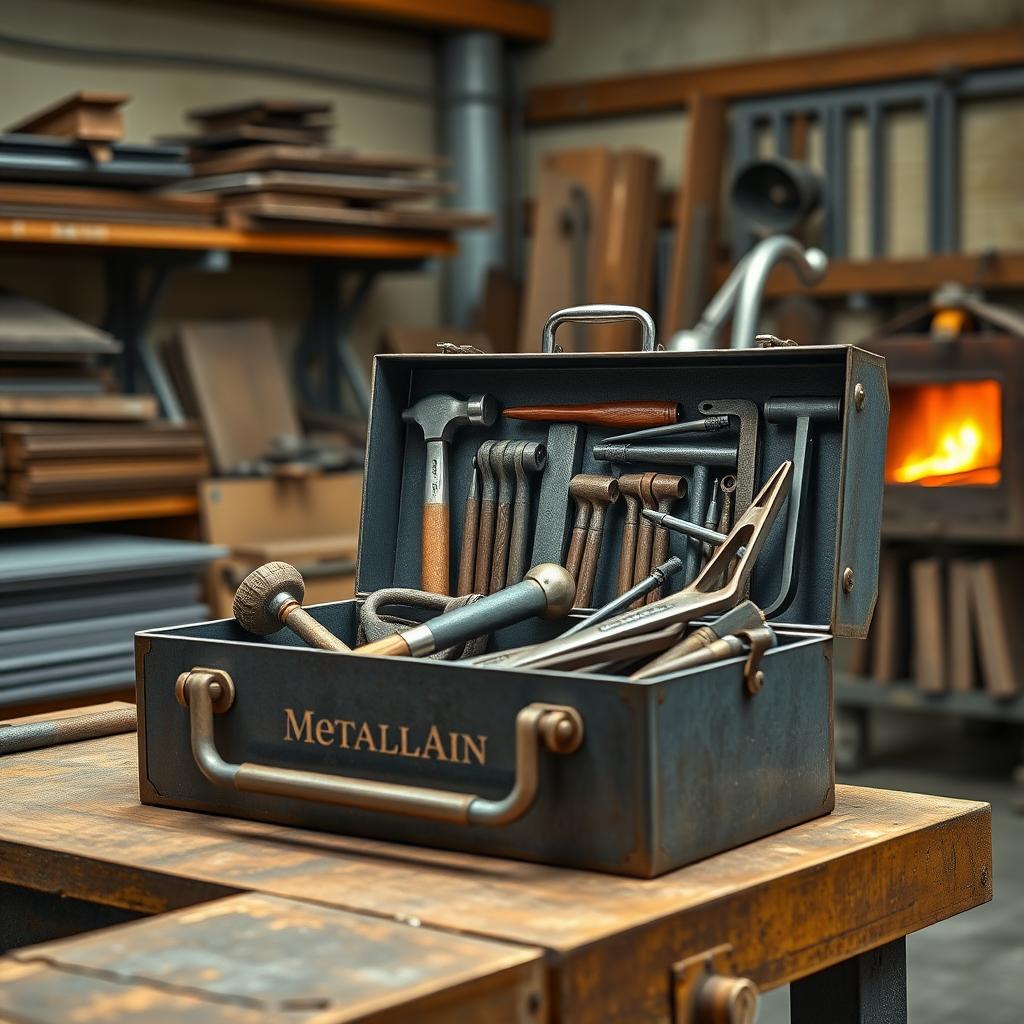
Specialized workman tools for metalwork are critical for success. Here’s a breakdown of must-have tools:
| Tool | Purpose | Recommended Type |
|---|---|---|
| Ball-Peen Hammer | General forming, planishing | 24-32 oz, hardwood handle |
| Cross-Peen Hammer | Drawing out, upsetting | 2-3 lb, balanced grip |
| Texturing Hammer | Adding patterns | Interchangeable faces |
| Anvil | Stable striking surface | 100-150 lb, forged steel |
| Tongs | Holding hot metal | 18-24 inches, insulated |
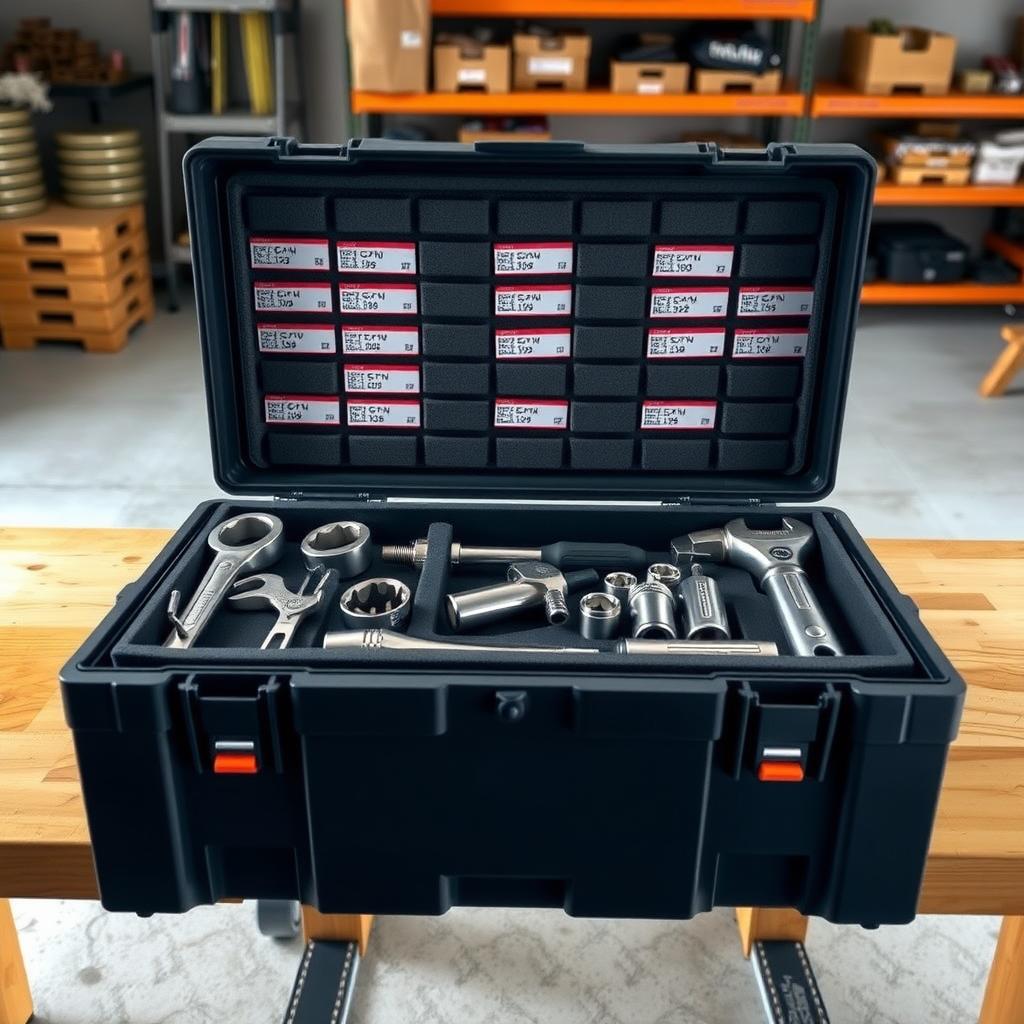
A good toolbox keeps your tools organized and accessible. I prefer a metal toolbox with compartments for hammers, tongs, and chisels. Look for one with a sturdy lock—tools are an investment worth protecting. Brands like Kennedy or Snap-on make durable options.
Practical Tips for Effective Hammering
Here are some hard-earned lessons from my time at the anvil:
- Control Your Force: Start with light taps to gauge the metal’s response. Too much force can crack or warp it.
- Work Hot Metal: Heat metal to the right temperature (cherry red for steel, dull orange for copper) for easier shaping.
- Use the Right Hammer Face: A flat face is versatile, but curved or textured faces add precision for specific tasks.
- Maintain Your Tools: A chipped hammer can ruin your work. Regularly polish hammer faces and oil wooden handles.
- Practice Rhythm: Hammering is like drumming—find a steady rhythm to maintain consistency and reduce fatigue.
I once spent hours shaping a steel sculpture, only to realize my hammer was slightly nicked, leaving tiny marks. A quick polish fixed it, but it taught me to check tools before starting.
Advanced Techniques for Precision
Once you’ve mastered the basics, try these advanced methods:
1. Repoussé and Chasing
Repoussé involves hammering metal from the back to create raised designs, while chasing refines details from the front. Use a small, rounded hammer and a pitch bowl for support. This is perfect for intricate jewelry or armor. I’ve used this for custom belt buckles, and the results are stunning.
2. Fold Forming
Fold forming involves folding metal, hammering it, then unfolding it for unique shapes. Use a soft mallet to avoid stretching the metal too much. This technique creates organic, flowing forms, ideal for artistic pieces.
3. Differential Hardening
This involves hammering specific areas of heated metal to control hardness. It’s common in blade forging, where you want a hard edge but a flexible spine. Use precise, controlled strikes and quench carefully. I’ve seen blades snap from rushed quenching—slow and steady wins here.

Safety and Best Practices
Metal forming is rewarding but demands respect. Always wear safety glasses—sparks and metal chips are real risks. Use heat-resistant gloves when handling hot metal, and ensure your workspace is well-ventilated to avoid fumes. Keep a fire extinguisher nearby, as forges can be unpredictable. I’ve had a few close calls with sparks, so I never skip safety gear.
Also, invest in a sturdy workbench. A wobbly surface can throw off your strikes and ruin your work. If you’re new, start with softer metals like copper or brass before tackling steel—it’s more forgiving and builds confidence.
Summary
Advanced Hammering Techniques for Metal Forming combine skill, the right workman tools, and practice. From drawing out to repoussé, each method offers unique ways to shape metal. With a well-stocked toolbox and attention to safety, you can create stunning pieces. Keep experimenting, stay patient, and let the metal guide your hands.
Related Advanced Hammering Techniques for Metal Forming:
- Choosing the Best Hammers for Metalwork - https://www.toolsforworkingmetal.com
- Preventing Hand Injuries at Work: Practical Tips for a Safer Workplace
- Future Trends in Construction Planning: Revolutionizing the Industry
- Must-Have Workman Tools for Every Toolbox: Your Ultimate Guide
- DIY Storage Builds: Make Your Own Tool Racks
- DIY Home Improvement Projects for Beginners: Your Ultimate Guide to Getting Started
- The Ultimate Guide to Hand Tools Storage Solutions
- Master Your Projects: A Complete Guide to Rotary Tool Accessories and Attachments
- DIY Toolbox Organization Ideas: The Ultimate Guide to Toolboxes for Every Need
- Essential Safety Gear for Construction Workers: Stay Protected on the Job
- Best Practices for Work-from-Home Boundaries: Boost Productivity and Balance
- The Ultimate Guide to Power Tools for Woodworking Enthusiasts