Quick Overview
Tired of digging through a messy toolbox? Organizing it can save you hours on every project. In this guide, we'll cover simple steps to sort your workman tools, with a special look at wrenches. Expect actionable advice to make your setup efficient and frustration-free. (38 words)

Why Bother Organizing Your Toolbox?
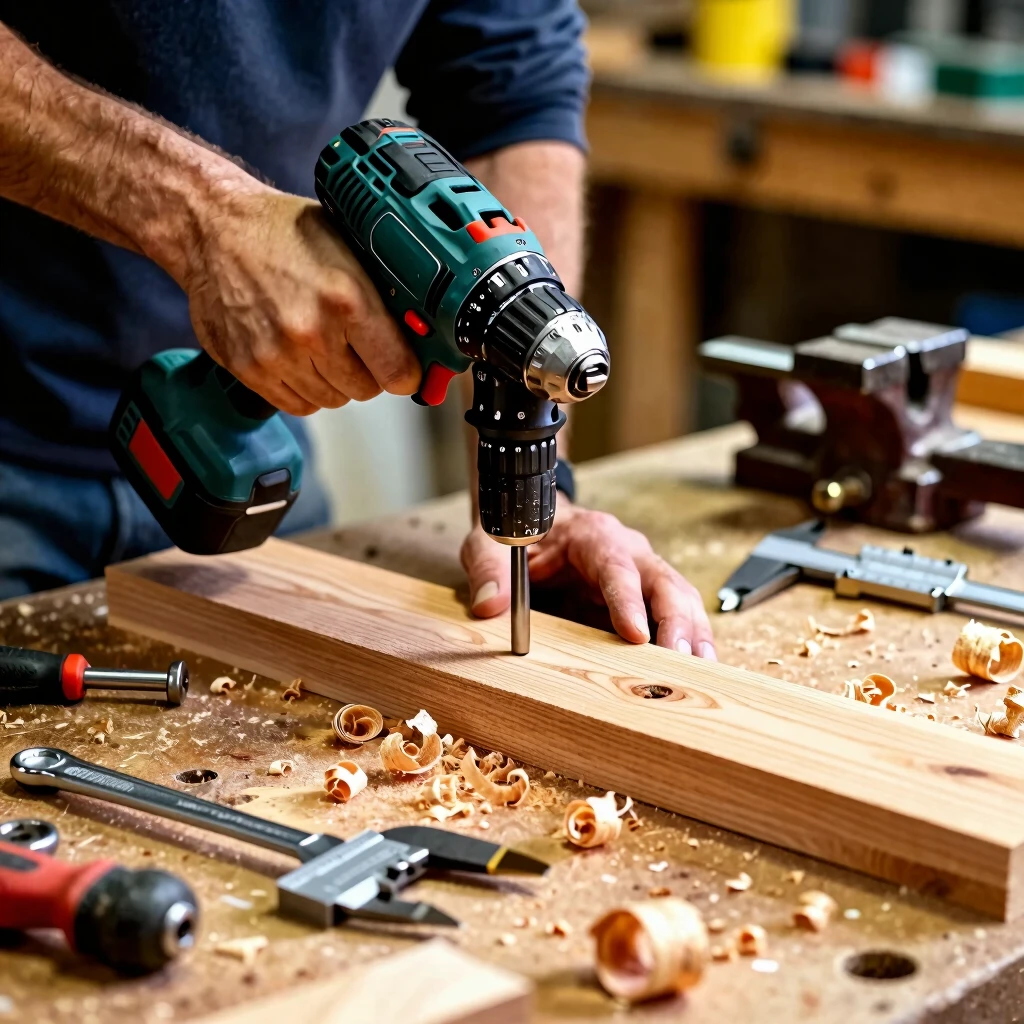
I remember my first big DIY project—a backyard deck build. I spent more time hunting for the right screwdriver than actually nailing boards. That chaos taught me a hard lesson: a disorganized toolbox wastes time and sparks frustration.
Organizing isn't just about neatness. It boosts safety by keeping sharp tools in place. It extends tool life through proper storage. And it sharpens your focus, letting you dive into the work you love.
Studies from the National Safety Council back this up: cluttered workspaces lead to more accidents. A tidy toolbox? It keeps you sharp and productive.
Think about your last project. Did you pause to rummage? Multiply that by every job, and you'll see the toll. Good news: You can fix it today with a few smart changes.
Start small. Pull everything out and lay it on a tarp. You'll spot duplicates or forgotten gems. This purge sets the stage for real efficiency.
Step 1: Assess What You Have
Before you sort, inventory your gear. List every item—hammers, pliers, levels, and yes, wrenches. Group them by use: cutting, measuring, fastening.
I once found three tape measures in my box. Ditching extras freed space. Ask yourself: Have I used this in a year? If not, donate or store it elsewhere.
Pro tip: Use a spreadsheet app on your phone. Snap photos as you go. It makes reassembly a breeze.
| Tool Category | Examples | Frequency of Use |
|---|---|---|
| Fastening | Wrenches, Screwdrivers | High |
| Cutting | Saws, Snips | Medium |
| Measuring | Tapes, Levels | High |
| Safety | Gloves, Goggles | Always |
This table helps prioritize. High-use items get prime spots.
Step 2: Pick the Perfect Storage System
Not all toolboxes are equal. I switched from a battered plastic one to a rolling cabinet with soft-close drawers. Game-changer.
Consider your space. Garage dweller? Go for a sturdy roller. Apartment handyman? Opt for stackable bins.
Budget options start at $50 for basic organizers. Invest in dividers and foam cutouts—they keep things from shifting.
For portability, magnetic strips hold bits and small parts. Pegboards on the wall extend your setup without cluttering the floor.
Tailor to your habits. If you're always on ladders, lightweight canvas bags beat heavy metal.
Step 3: Categorize Like a Pro
Group tools by task, not type. Put all fastening gear together—screwdrivers next to bits, wrenches beside sockets.
Use labels. I grabbed a label maker for $20. Clear vinyl stickers on drawers? They stick even in greasy hands.
Create zones: Daily drivers up front, seasonal stuff in back. This flow mimics how you work.
- Zone 1: Essentials – Hammer, tape, utility knife. Grab-and-go.
- Zone 2: Power Tools – Drill, sander in padded slots.
- Zone 3: Specialty – Files, chisels in protective wraps.
- Zone 4: Consumables – Nails, screws in sorted bins.
Walk through a sample job in your mind. Adjust zones to match.
Spotlight on Wrenches: The Ultimate Guide to Choosing the Right Wrench for Every Job
Wrenches deserve their own section. They're workman tools you reach for constantly, from tightening bike chains to plumbing fixes.
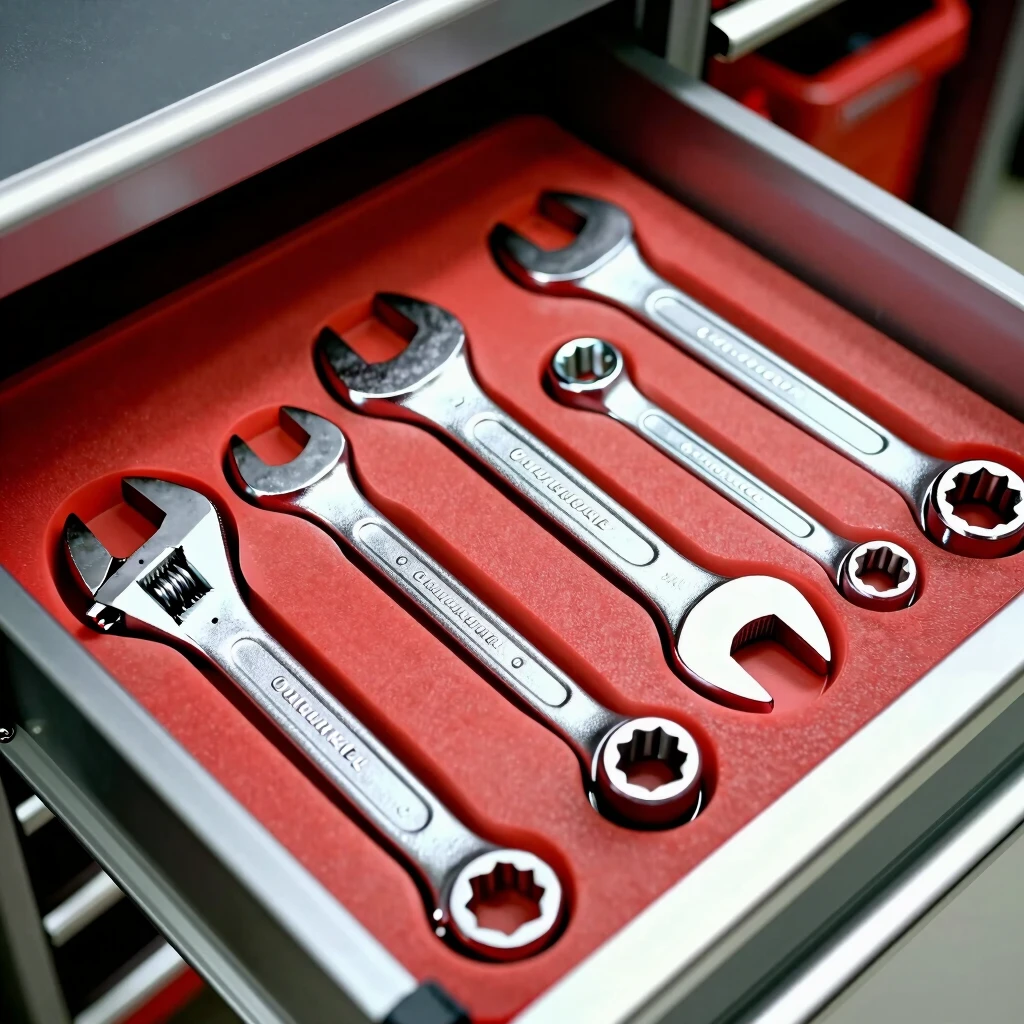
First, know your types:
- Adjustable Wrench: Versatile for odd sizes. Great starter.
- Combination Wrench: Open one end, boxed the other. Ideal for nuts and bolts.
- Socket Wrench: With ratchet, speeds up repetitive turns.
- Torque Wrench: For precise jobs like car repairs.
Pick based on tasks. For home DIY, a 6-inch adjustable covers most. Pros might build a full metric and SAE set.
I learned the hard way on a car tune-up. Wrong wrench size stripped a bolt. Now, I measure twice.
Check out this guide from Family Handyman for visuals on each type.
How to Maintain and Store Wrenches
Wrenches last decades with care. Clean after use—wipe with a rag soaked in mineral spirits. Dry fully to fend off rust.
Store upright in racks or laid flat in drawers. Avoid tossing them loose; jaws dent easily.
Oil moving parts yearly. A drop of WD-40 keeps ratchets smooth.
For efficiency, hang wrenches on a shadow board. Trace outlines on plywood, hook them in place. Spot missing tools instantly.

In humid spots, silica packs in drawers absorb moisture. Rotate your set—use all to keep them limber.
Personal story: During a kitchen reno, my organized wrenches let me swap pipe fittings in minutes. Chaos before? Hours of swearing.
Step 4: Maintain the System
Organization isn't set-it-and-forget-it. Weekly, tidy as you go. Monthly, deep clean—vacuum crumbs, sharpen edges.
Involve family or crew. Make it a ritual: Post-project sort.
Track wear. Dull wrench? Sharpen or replace. Safety first.
Apps like Tool Inventory help log maintenance. Set reminders for oiling or inspections.
Adapt as you grow. New power tool? Carve out space ahead.
Wrapping It Up
You've got the blueprint: Assess, store smart, categorize, focus on stars like wrenches, and maintain relentlessly. Your toolbox transforms from black hole to best friend.
Start today—pull it all out. In a weekend, you'll work faster, safer, happier. What's your first move? (42 words)
Related How to Organize Your Toolbox for Maximum Efficiency:
- Essential Workman Tools for Every Homeowner - /essential-workman-tools
- Advanced Workshop Organization: Beyond the Basics
- Ergonomic Workman Tools for Comfort: Boost Your Productivity Without the Aches
- Seasonal Maintenance Checklist for Outdoor Equipment
- How to Maintain Your Torque Wrench for Longevity
- Top 10 Tools Every Workshop Needs
- Ultimate Guide to Power Tools for Metalworking: Boost Your Workshop Game
- The Essential Toolbox for Every DIY Enthusiast: Build Yours Right
- DIY Workshop Storage Solutions: Transform Chaos into Creative Flow
- OSHA’s Guide to Personal Protective Equipment: Essential Safety Gear for Construction Workers
- Essential Tools for Every Handyman: Build Your Ultimate Toolkit
- DIY Tool Repair: When to Fix and When to Replace