A Quick Overview
Ever stepped into your workshop and felt overwhelmed by the chaos? Organizing your workshop for maximum efficiency turns frustration into flow. In this guide, we'll cover smart layouts, tool storage, and safety tips to help you work smarter, not harder. Get ready to reclaim your space in just a few hours.

Why Bother Organizing Your Workshop?
I remember my first workshop—a tiny garage corner piled high with rusty saws and tangled extension cords. Projects took twice as long because I spent half my time hunting for the right wrench. That changed when I decided to organize my workshop for maximum efficiency. Suddenly, ideas flowed, and I finished pieces faster.
A tidy space isn't just nice; it saves time and reduces stress. Studies show that cluttered environments increase error rates by up to 20%. Plus, it keeps you safe—no more tripping over loose cables. Whether you're a weekend hobbyist or a pro relying on high-quality workman tools for professionals, these steps will make a difference.
Step 1: Assess Your Space and Needs
Start by taking stock. Walk into your workshop with fresh eyes. What's working? What's not? Measure your square footage and note high-traffic areas.
Ask yourself: - What projects do you tackle most? Woodworking? Metal fab? Electronics? - How many people use the space? - Do you need room for big workshop equipment like table saws or lathes?
In my experience, underestimating power needs led to frustrating extension cord daisy chains. Map out zones: one for rough cutting, another for finishing. This prevents bottlenecks.
For layout ideas, check out this guide from St. Edward's University on setting up a wood workshop, which emphasizes workflow and lighting.
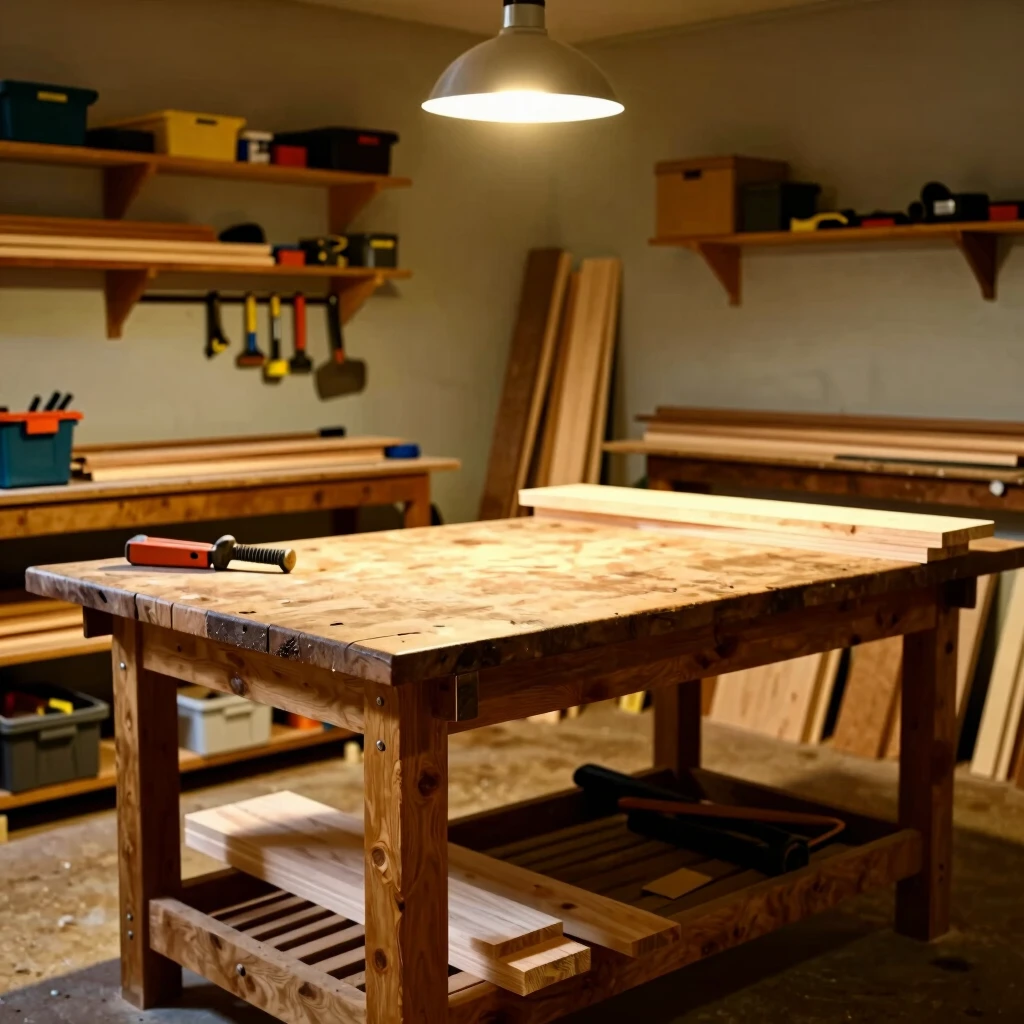
Create a Floor Plan
Sketch a simple diagram. Place heavy workshop equipment against walls to free up the center. Aim for a U-shape or L-shape layout—it keeps everything within arm's reach.
Here's a quick table for common space sizes:
| Space Size | Recommended Layout | Key Tip |
|---|---|---|
| Under 100 sq ft | Linear bench along one wall | Use vertical storage to save floor space |
| 100-200 sq ft | U-shaped zones | Add mobile carts for flexibility |
| Over 200 sq ft | Island workbench in center | Include paths at least 3 ft wide for safety |
Step 2: Declutter and Sort Your Tools
Grab three boxes: Keep, Donate, Trash. Be ruthless— if you haven't used a tool in a year, it's probably not essential.
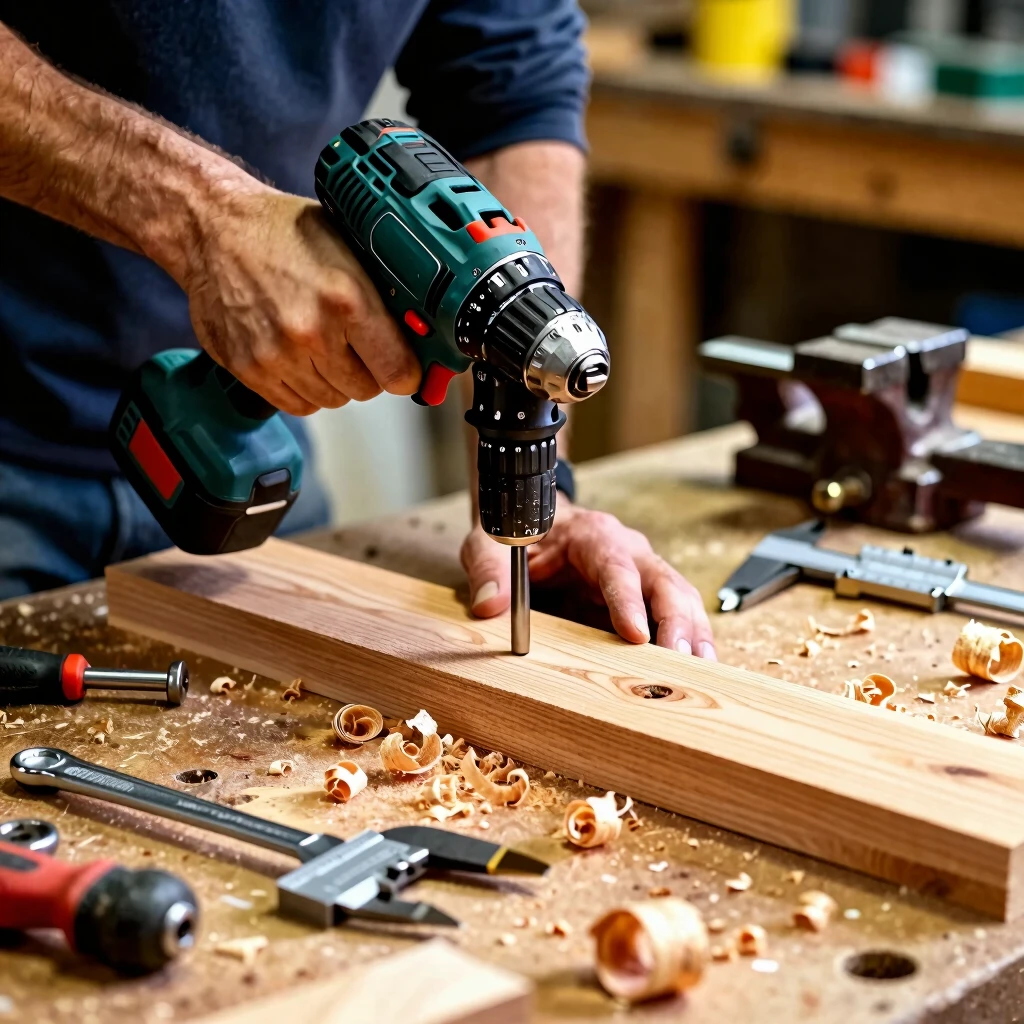
Sort your workman tools by type and frequency of use. Hammers and screwdrivers go front and center; specialty bits can hide in drawers.
I once found a drawer full of duplicate pliers. Donating extras cleared space and funded better organizers. Invest in high-quality workman tools for professionals—they last longer and justify the organization effort.

Smart Storage Solutions
- Pegboards for Hand Tools: Outline each tool's spot with paint or markers. It's cheap and customizable.
- Drawer Dividers: Use foam inserts for bits and blades. No more rattling messes.
- Shadow Boards: Cut foam to fit tool shapes. Pull one out, and you see what's missing at a glance.
For best practices on tool storage, the OSHA guidelines on hand and power tools stress keeping them in good condition and accessible to prevent accidents.
Step 3: Optimize Your Workflow
Efficiency comes from smooth transitions. Arrange your bench so materials move logically: raw stock in, finished piece out.
Group related workshop equipment together. Sanders near the dust collector, clamps by the assembly table.
Pro tip: Use rolling carts for mobile stations. I wheel mine between projects, cutting setup time in half. Test your flow by timing a sample task—adjust until it's under 10 minutes.
Incorporating High-Quality Gear
Don't skimp on essentials. High-quality workman tools for professionals, like ergonomic handles and precision edges, reduce fatigue. Pair them with sturdy workshop equipment—think adjustable-height benches.
When buying, prioritize durability over quantity. A single good router beats three cheap ones that break mid-job.

Step 4: Prioritize Safety and Ergonomics
A efficient workshop is a safe one. Clear walkways, secure heavy items low to the ground.
Ergonomics matter—raise your bench to elbow height to avoid back strain. The CDC's ergonomic guidelines for manual material handling recommend gradual introductions to tasks for new users, but apply it daily: stretch before starting.
Install bright LED lights (at least 500 lumens per sq ft) and good ventilation. Fire extinguisher? Check. First aid kit? Stocked.
Quick Safety Checklist
- Eye and ear protection within reach.
- No cords across floors—use cord reels.
- Label hazardous materials clearly.
In my shop, a simple mirror above the bench lets me spot behind me without turning—small change, big safety win.
Step 5: Maintain the Momentum
Organization isn't a one-time fix. Schedule 15 minutes weekly to tidy up. Rotate seasonal tools to off-site storage.
Track what works with a journal. Did that new rack speed up sanding? Note it.
Over time, your workshop becomes an extension of your mind—tools where you expect them, space for inspiration.
Wrapping It Up
Organizing your workshop for maximum efficiency boils down to planning, sorting, and habits. Start small: clear one shelf today. Soon, you'll wonder how you ever worked any other way.
Your space should spark joy and productivity. With these tips, plus quality workman tools and smart workshop equipment, you're set for years of smooth projects.
Related How to Organize Your Workshop for Maximum Efficiency:
- Top High-Quality Workman Tools for Professionals
- Essential Workman Tools for Plumbing Projects: A Complete Guide
- ShopSavvy’s Best Tool Belts for 2025: Gear That Keeps You Moving
- How to Organize Your Toolbox for Maximum Efficiency
- Advanced Workshop Organization: Beyond the Basics
- Ergonomic Workman Tools for Comfort: Boost Your Productivity Without the Aches
- Seasonal Maintenance Checklist for Outdoor Equipment
- How to Maintain Your Torque Wrench for Longevity
- Top 10 Tools Every Workshop Needs
- Ultimate Guide to Power Tools for Metalworking: Boost Your Workshop Game
- The Essential Toolbox for Every DIY Enthusiast: Build Yours Right
- DIY Workshop Storage Solutions: Transform Chaos into Creative Flow