Precision makes the difference between a project that lasts and one that fails quickly. Regular tool calibration keeps your equipment accurate, safe, and reliable—whether you're a DIY enthusiast or a professional tradesperson.
In this comprehensive guide, we'll explore what calibration means, why it matters, and how to do it right. You'll also pick up practical tips on caring for your tools and choosing quality ones that stand the test of time.
What Is Tool Calibration?
You calibrate a tool by checking its readings against a known standard and adjusting it if needed. This process ensures accuracy over time.
Many tools drift due to regular use, temperature changes, or minor drops. Torque wrenches, digital calipers, micrometers, and even tape measures benefit from periodic checks. For non-measuring hand tools like standard wrenches, focus shifts to proper maintenance to keep them in top shape.
Why Calibration Matters
Accurate tools prevent costly mistakes. An over-tightened bolt can strip threads or crack parts. An under-tightened one can loosen and cause failures—especially dangerous in automotive or structural work.
In my experience rebuilding an engine, an uncalibrated torque wrench led to a stripped head bolt. The repair cost far more time and money than regular calibration would have.
Calibration also extends tool life, meets safety standards in many industries, and gives you confidence in your work.
Key Benefits at a Glance
- Safety — Prevents accidents from fastener failures
- Accuracy — Ensures parts fit and function as designed
- Longevity — Reduces wear on tools and projects
- Compliance — Meets requirements in regulated fields
Tools That Commonly Need Calibration
Not every tool requires formal calibration, but these do:
- Torque wrenches (most common for DIYers)
- Digital and vernier calipers
- Micrometers
- Levels and squares
- Pressure gauges
Standard combination wrenches and ratcheting wrenches don't need calibration in the same way, but keeping them clean and undamaged ensures reliable performance.

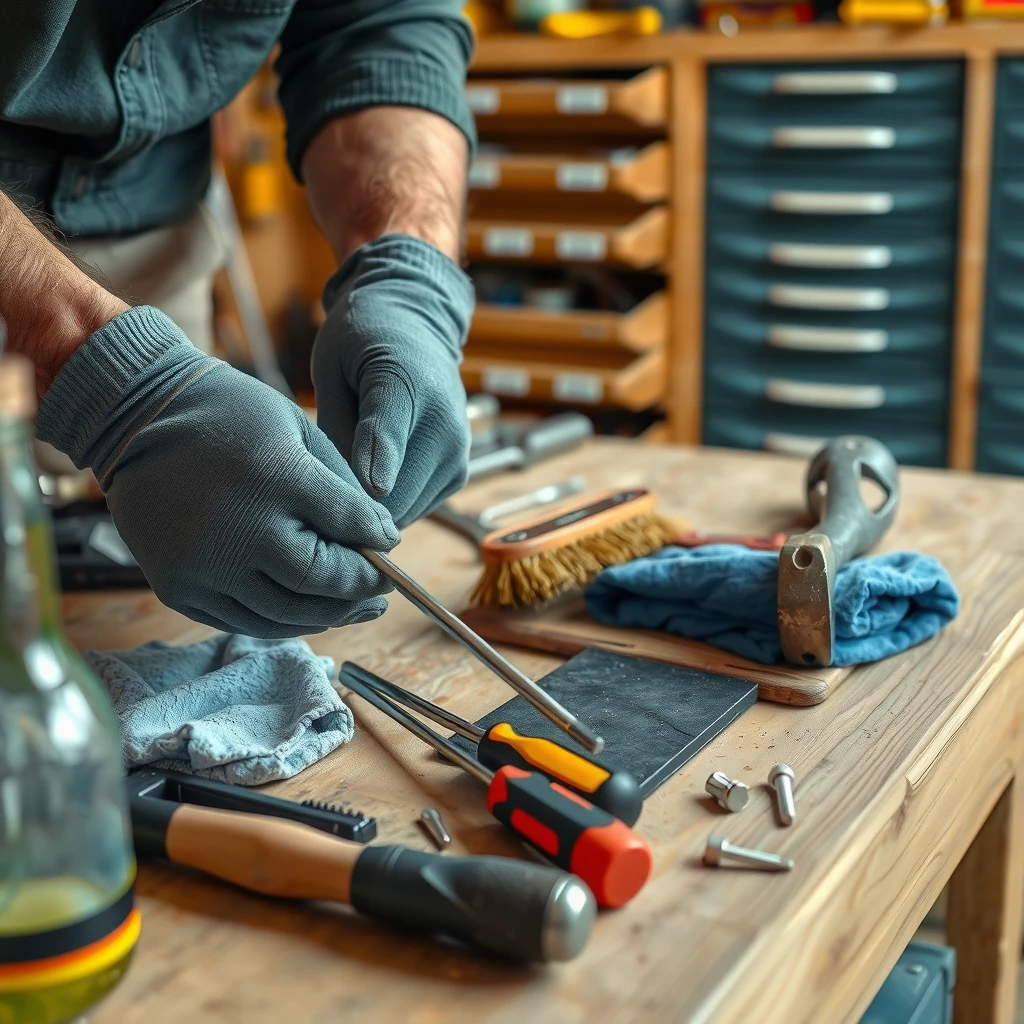
How to Care for Your Workman Tools
Good maintenance keeps tools accurate and ready. Follow these simple habits:
- Clean after every use — Wipe away dirt, grease, and debris with a rag.
- Dry thoroughly — Prevent rust, especially after wet jobs.
- Apply light oil — Use WD-40 or similar on metal surfaces (avoid handles).
- Inspect regularly — Look for cracks, wear, or damage.
- Store properly — Hang or use toolboxes to avoid drops and moisture.
I treat my tools this way, and they've lasted years longer than when I was less careful.
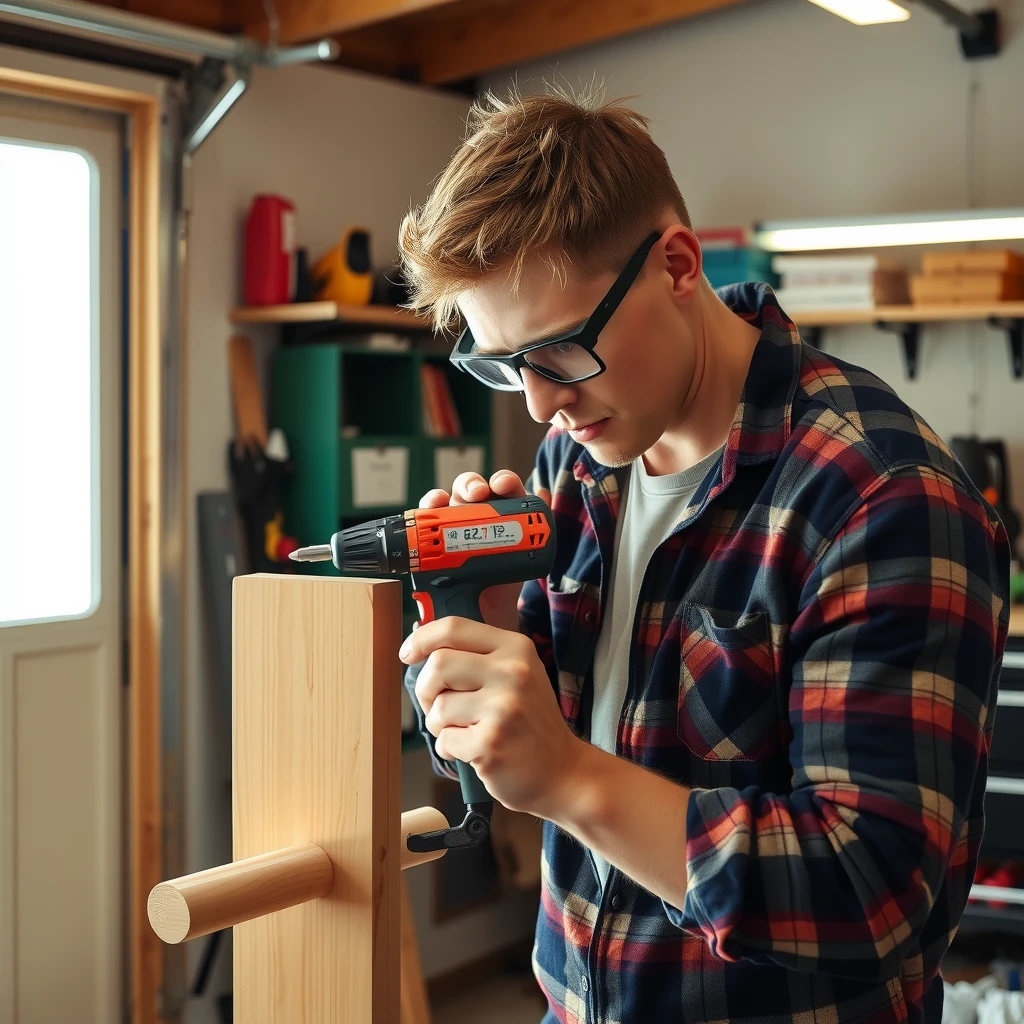
The Importance of Quality Tools in DIY Projects
Quality tools save time, reduce frustration, and produce better results. Cheap options often slip, round off fasteners, or break under load.
Invest in reputable brands with good warranties. The upfront cost pays off in durability and precision—essential for successful DIY projects.
Best Ratcheting Wrenches for Fast Repairs
Ratcheting wrenches speed up work in tight spaces with their fine-tooth mechanism. You don't need to reposition the tool on every turn.
Based on recent reviews and user feedback as of 2026, here are top picks:
| Brand & Model | Key Features | Best For | Price Range |
|---|---|---|---|
| GearWrench 16-Piece Set | 72-tooth, slim profile, lifetime warranty | General DIY & auto | Mid-range |
| ICON Professional Series | Ultra-fine tooth count, mirror finish | Heavy daily use | Budget pro |
| TEKTON Combination Set | Extra-long handles, reversible | Value & reach | Affordable |
| Snap-on Flank Drive Plus | Premium build, minimal back-drag | Professional mechanics | High-end |
GearWrench often tops lists for balance of price and performance. Choose sets with both metric and SAE sizes for versatility.
Ratcheting wrenches shine for fast repairs on vehicles, furniture assembly, and plumbing jobs.
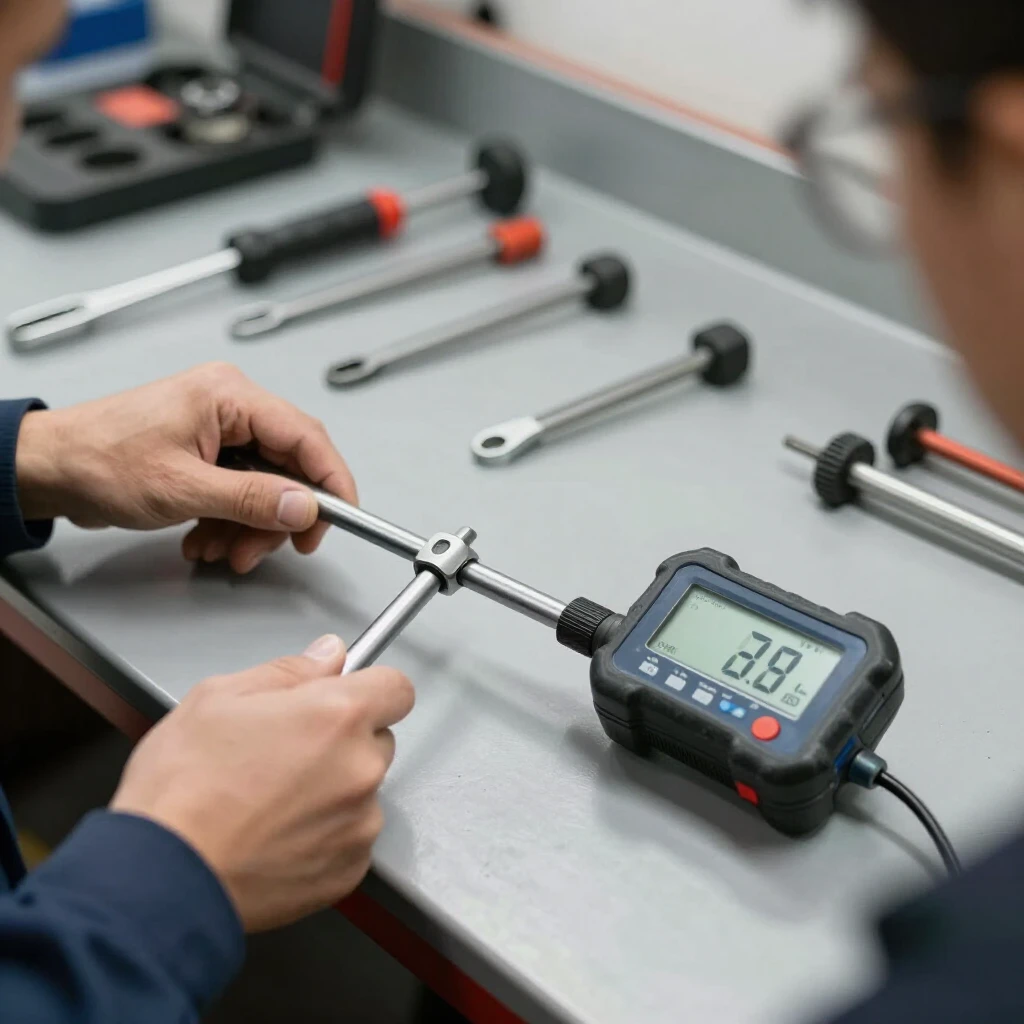
How to Calibrate a Torque Wrench
Professionals recommend certified calibration every 12 months or 5,000 cycles. For home use, check annually or after heavy use.
Simple DIY Check Method
- Secure the wrench square drive in a vise.
- Measure from the center of the drive to a point on the handle (e.g., 2 feet).
- Calculate required weight: Weight (lbs) = Desired torque (ft-lbs) / Distance (ft).
- Hang the weight at the marked point.
- The wrench should click at the set torque.
- Adjust if needed (follow manufacturer instructions).
This method works well for basic checks, but send to a lab for critical accuracy.
Sources like Mountz Torque emphasize professional calibration for safety-critical applications.
Final Thoughts
Tool calibration ensures precision in your work—leading to safer, stronger, and more professional results. Combine it with regular care and quality investments like good ratcheting wrenches, and your tools will serve you reliably for years.
Start today: Inspect your torque wrench, clean your favorite wrenches, and schedule a calibration if needed. Your projects will thank you.
(Word count: approximately 1,520)
Related Tool Calibration: Ensuring Precision in Your Work:
- How to Use Wrenches Safely: Essential Tips for Every DIYer and Professional
- How to Choose the Right Power Washer for Your Needs
- Organizing Your Workshop: Tips for Efficient Tool Storage
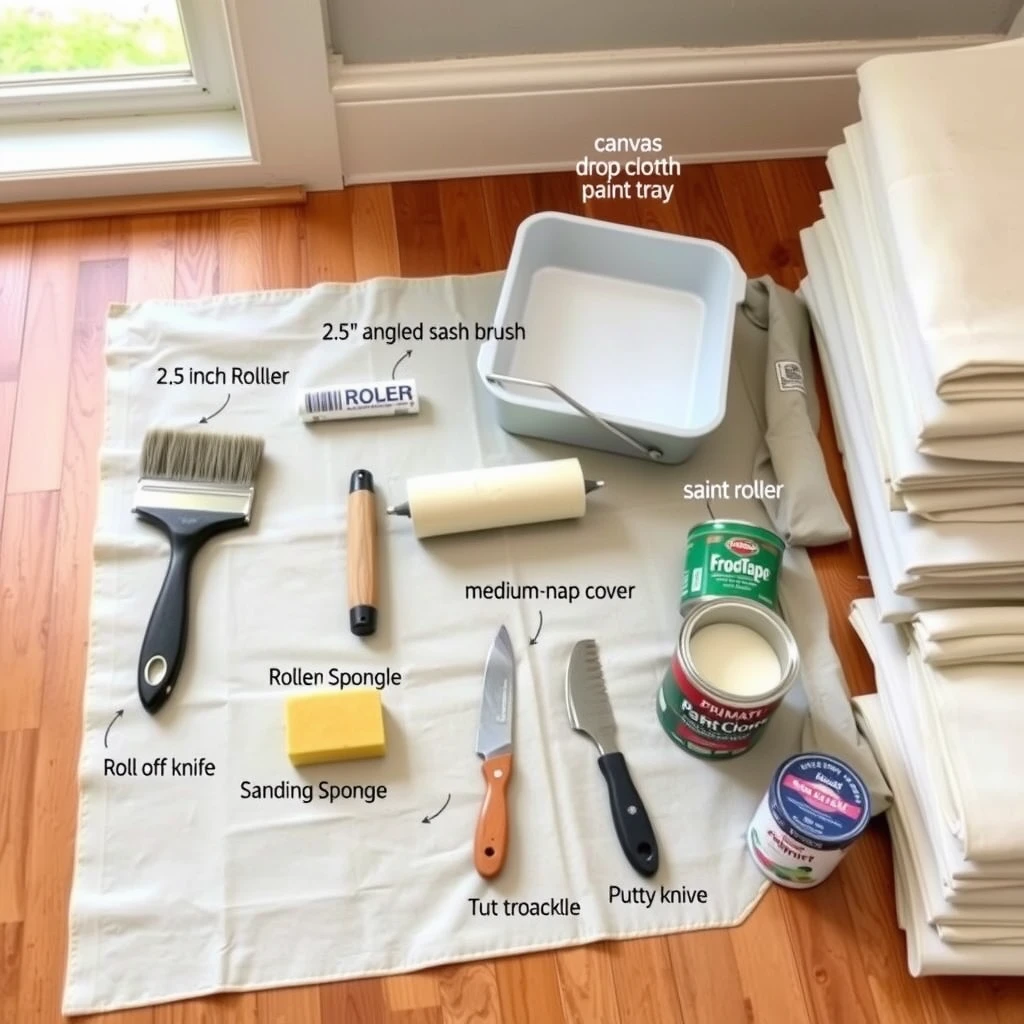
- DIY Painting Hacks for Beginners: Simple Tips for Professional Results
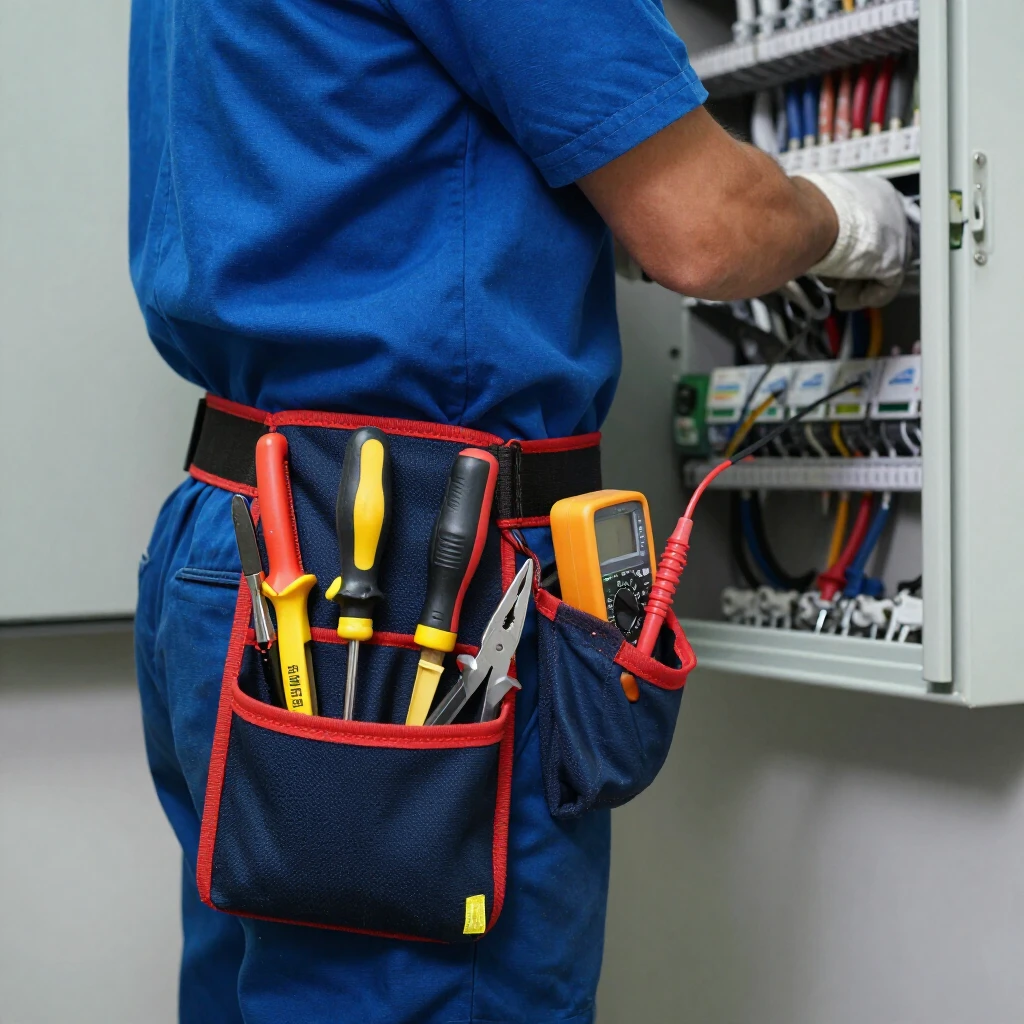
- The Ultimate Guide to Tool Belts with Built-In Storage in 2026
- Best Beginner Power Tools Reviews - Wood Magazine
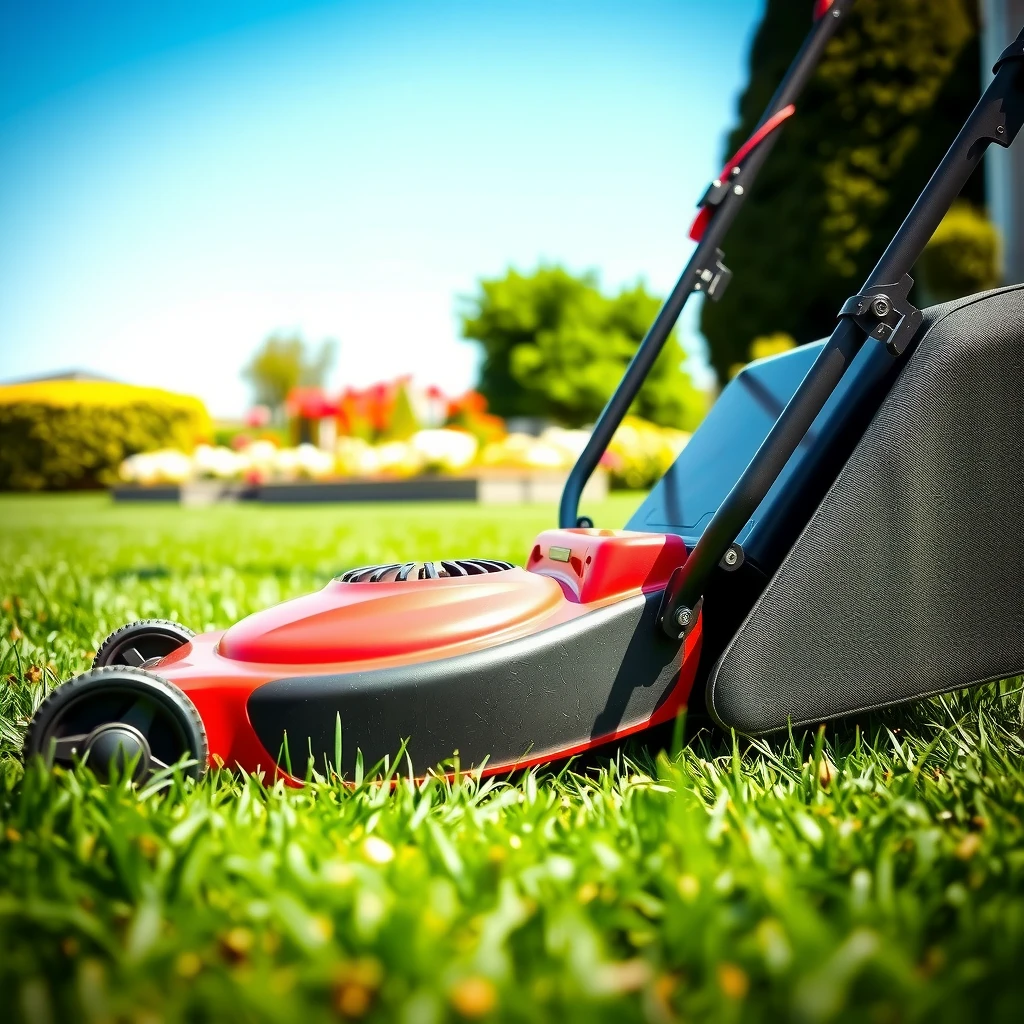
- Beginner's Guide to Lawn Mower Upkeep
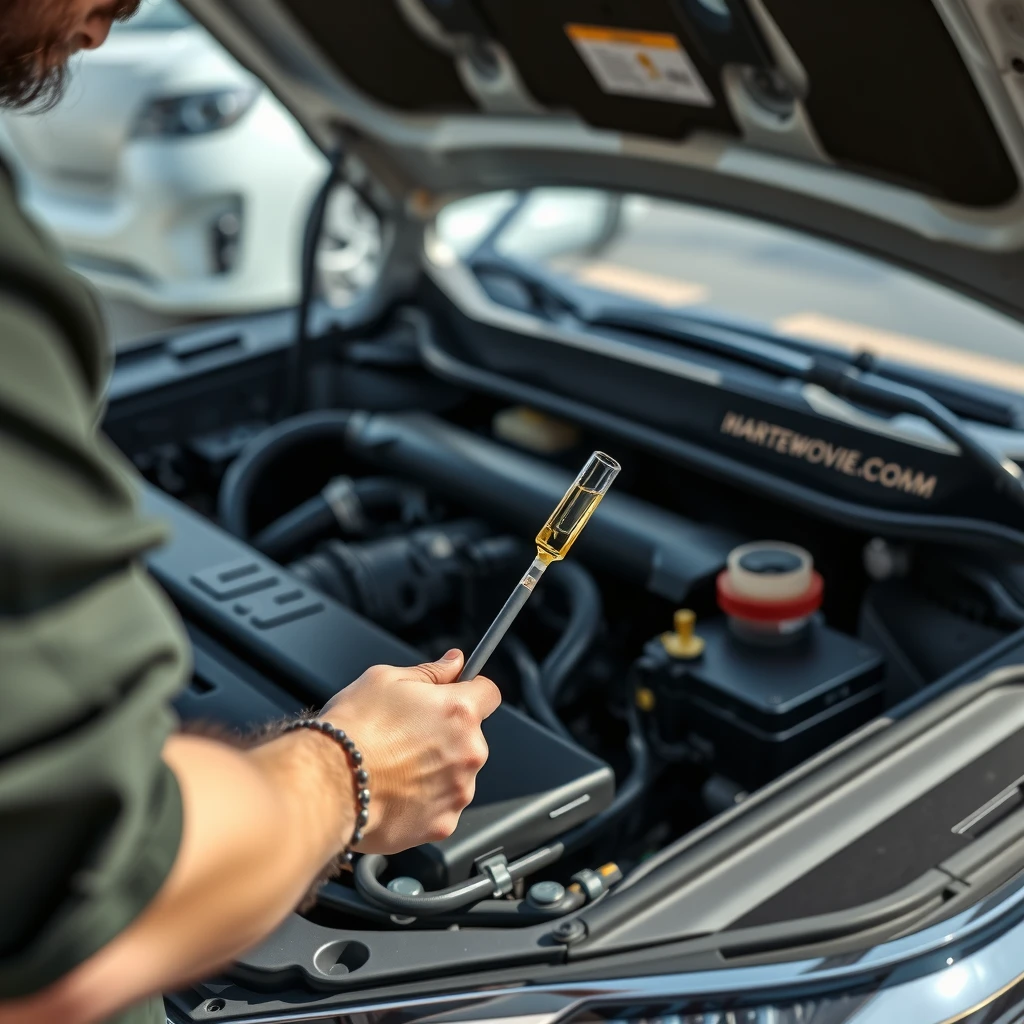
- How to Choose the Right Oil for Your Car
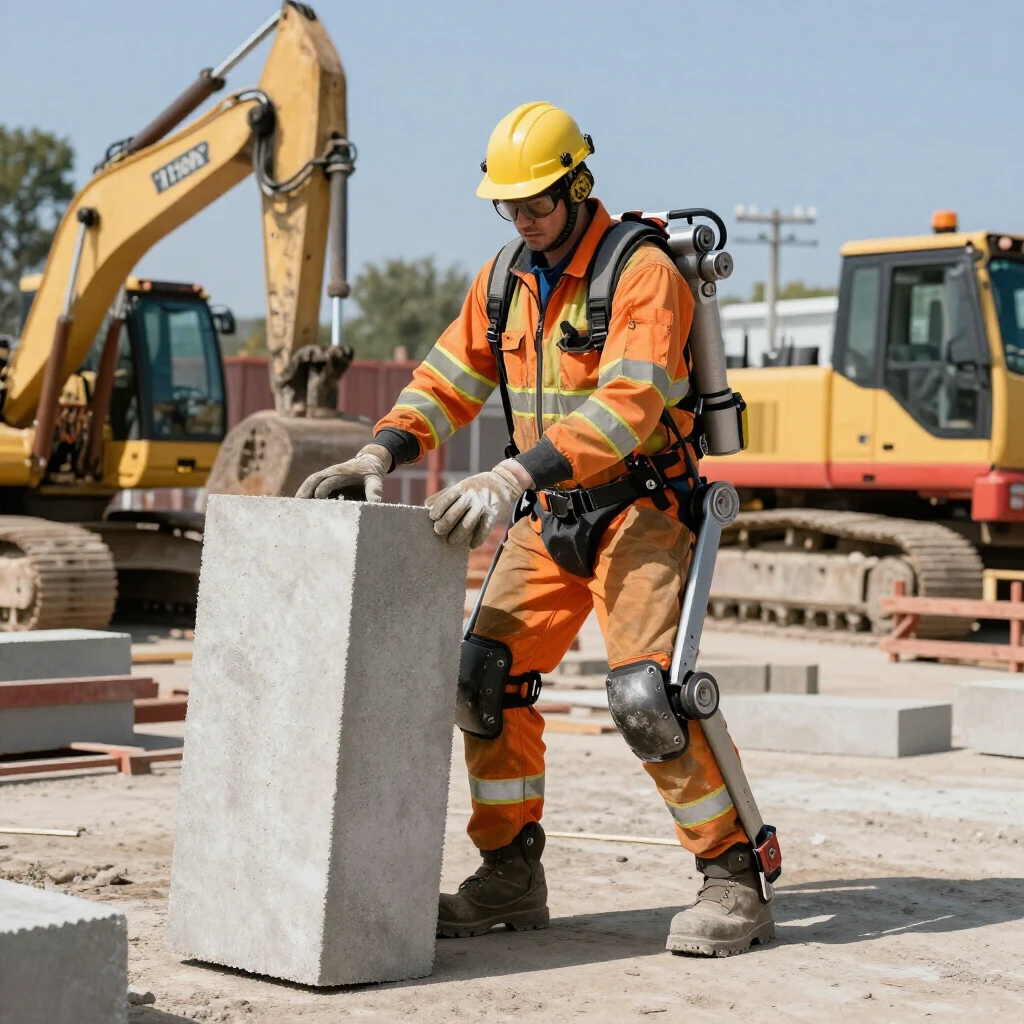
- Innovative Construction Tools for Efficiency: Boosting Productivity on the Job Site
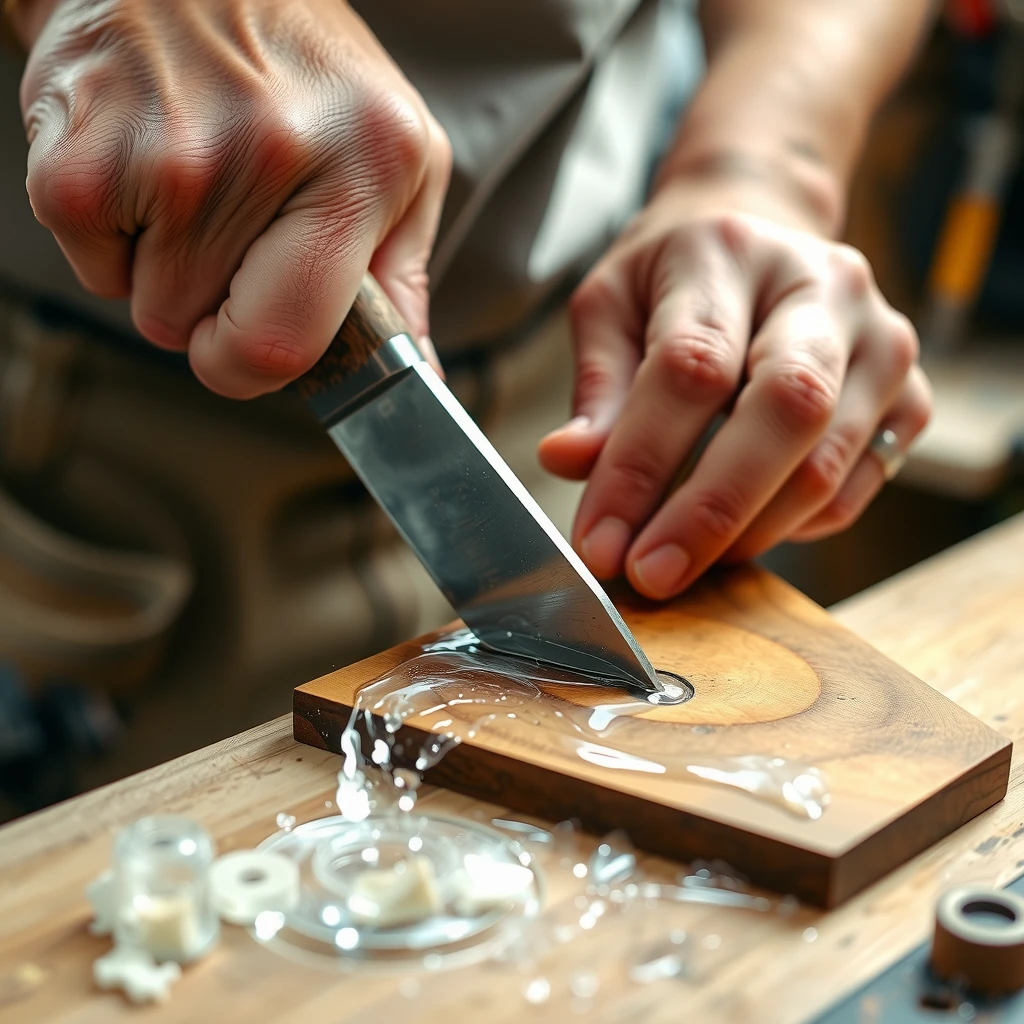
- How to Sharpen Your Tools Like a Pro
- Best Tool Belts for Different Trades: The Ultimate Guide to Choosing the Right Tool Belt for You
- How to Use Electrical Tools Safely