Quick Overview
Hammers are essential workman tools that see heavy action in any toolbox. But like any tool, they need care to last. In this guide, we'll cover how to maintain your hammers for longevity, from simple cleaning to safe handling. Follow these steps, and your hammers will serve you well for decades. (38 words)
Why Bother Maintaining Your Hammers?
I've swung hammers since I was a kid helping my dad build fences on our farm. Back then, we didn't think much about upkeep—just grabbed and went. But over the years, I've learned the hard way that a little effort goes a long way. A neglected hammer can rust, splinter, or even break mid-swing, leading to frustration or injury.
Maintaining your hammers isn't just about saving money on replacements. It's about safety and efficiency. A well-kept hammer feels balanced in your hand and delivers precise blows. Plus, it keeps your workspace tidy. Think of it as investing time now to avoid headaches later.
According to the Tool Institute, proper tool maintenance can extend the life of hand tools by up to 50%. That's real value for everyday users like DIYers or pros on the job site.
Know Your Hammers: Types and Their Needs
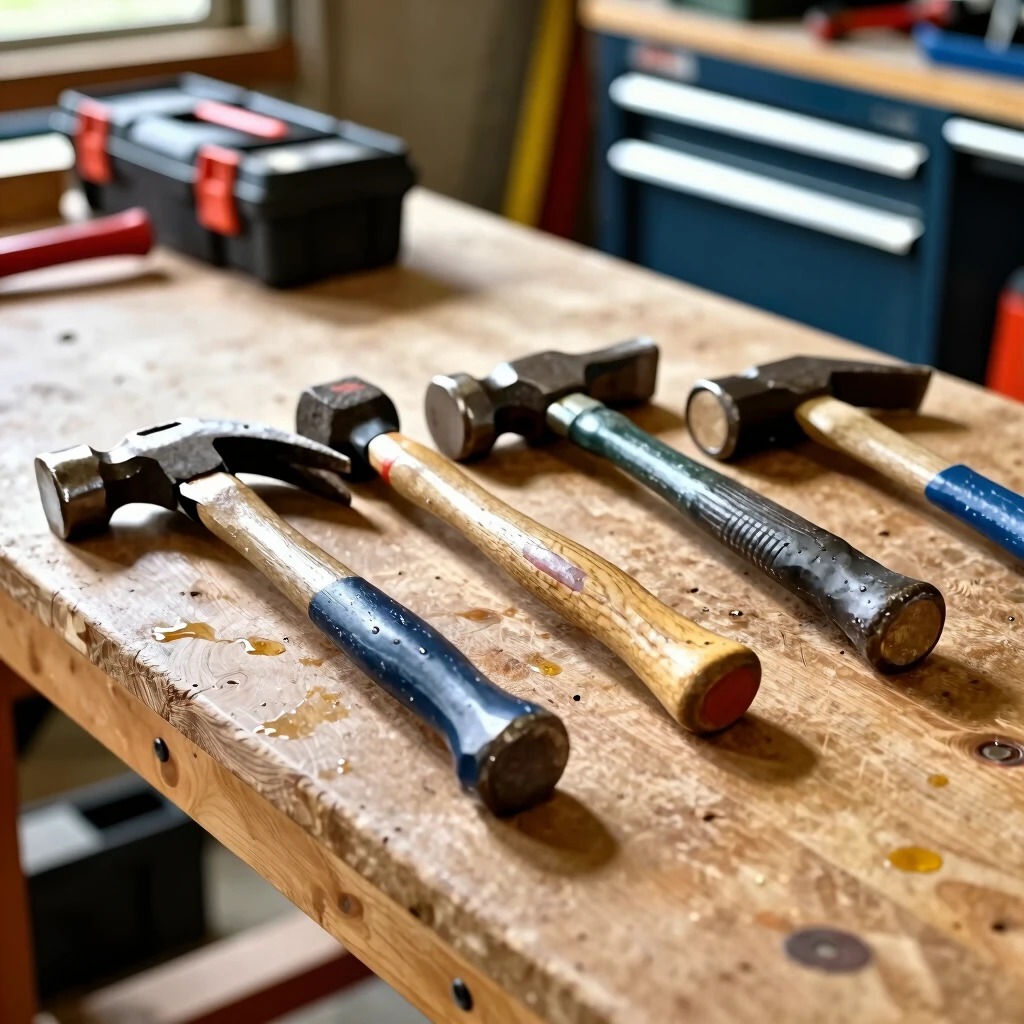
Not all hammers are the same, and understanding yours helps tailor your care routine. Let's break down the basics.
Claw Hammer
The go-to for nailing and prying. Its curved claw makes it versatile for home projects. Focus on keeping the claw sharp to avoid slips.
Ball-Peen Hammer
Great for metalwork. The rounded peen shapes rivets. These need extra attention to the peen to prevent dings.
Sledgehammer
For heavy demolition. Its weight demands sturdy handle checks to handle the force.
Here's a quick table to compare maintenance focuses:
| Hammer Type | Key Material | Main Wear Spot | Quick Tip |
|---|---|---|---|
| Claw | Steel head, wood/fiberglass handle | Claw edge | File edges monthly |
| Ball-Peen | Steel head, wood handle | Peen surface | Polish after each use |
| Sledge | Steel head, fiberglass handle | Handle grip | Tighten head if loose |
Pick the right one for the job, and you'll reduce wear from the start.
Step-by-Step Cleaning: Keep Dirt at Bay
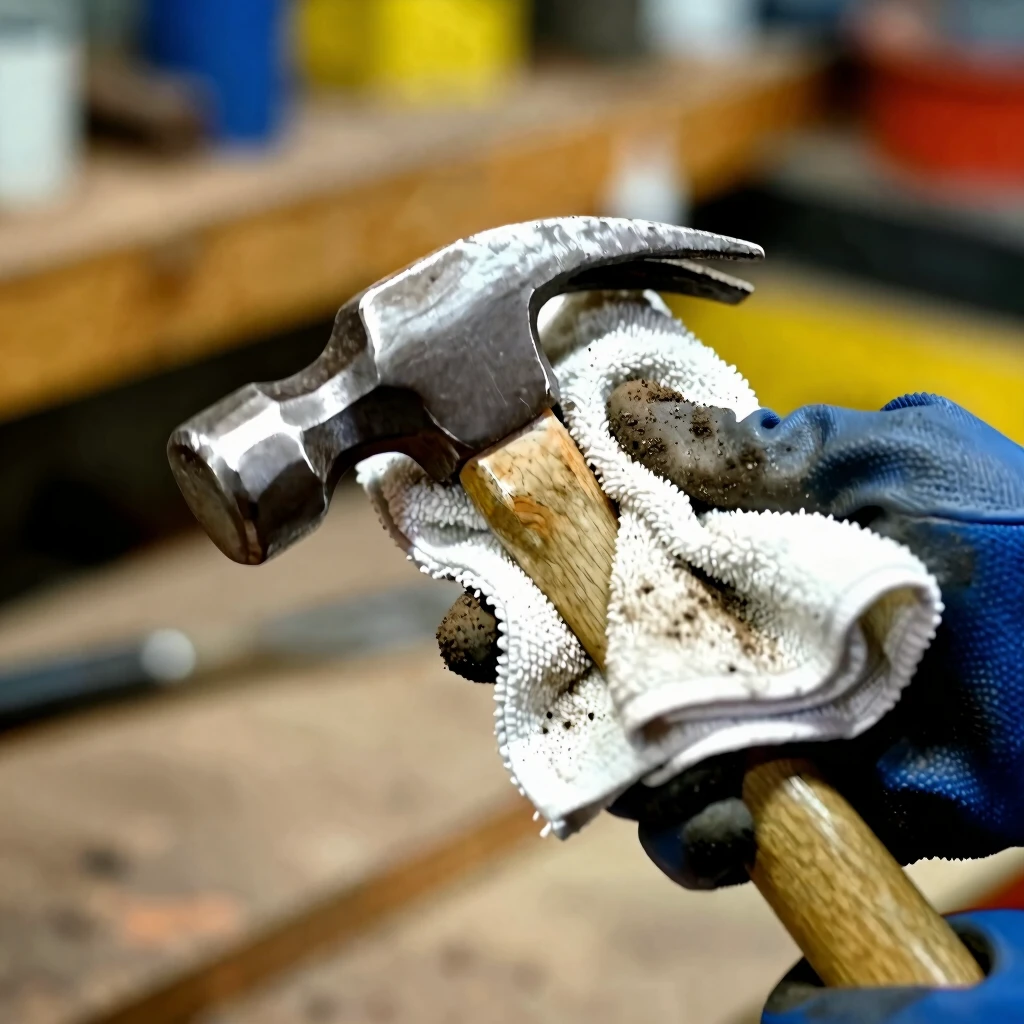
Dirt is a hammer's worst enemy. It grinds into joints and promotes rust. I make it a habit to clean mine after every big project—takes five minutes, tops.
Start with the head. Wipe it down with a soft cloth dampened in soapy water. Avoid soaking wooden handles; they swell and crack. For stubborn grime, use a wire brush gently on metal parts.
Rinse with fresh water and dry immediately. Buff the head with a light oil like WD-40 to fend off rust. On handles, apply linseed oil sparingly—it soaks in and protects wood from drying out.
Pro tip from my workshop: Do this weekly if you're using them daily. It prevents buildup that could lead to slips.
For fiberglass handles, a simple wipe with a damp cloth suffices—no oil needed. Always air-dry tools in a shaded spot to avoid heat warping.
Smart Storage: Protect When Not in Use
Where you store your hammers matters as much as how you use them. Toss them in a drawer haphazardly, and you'll chip heads or splinter handles.
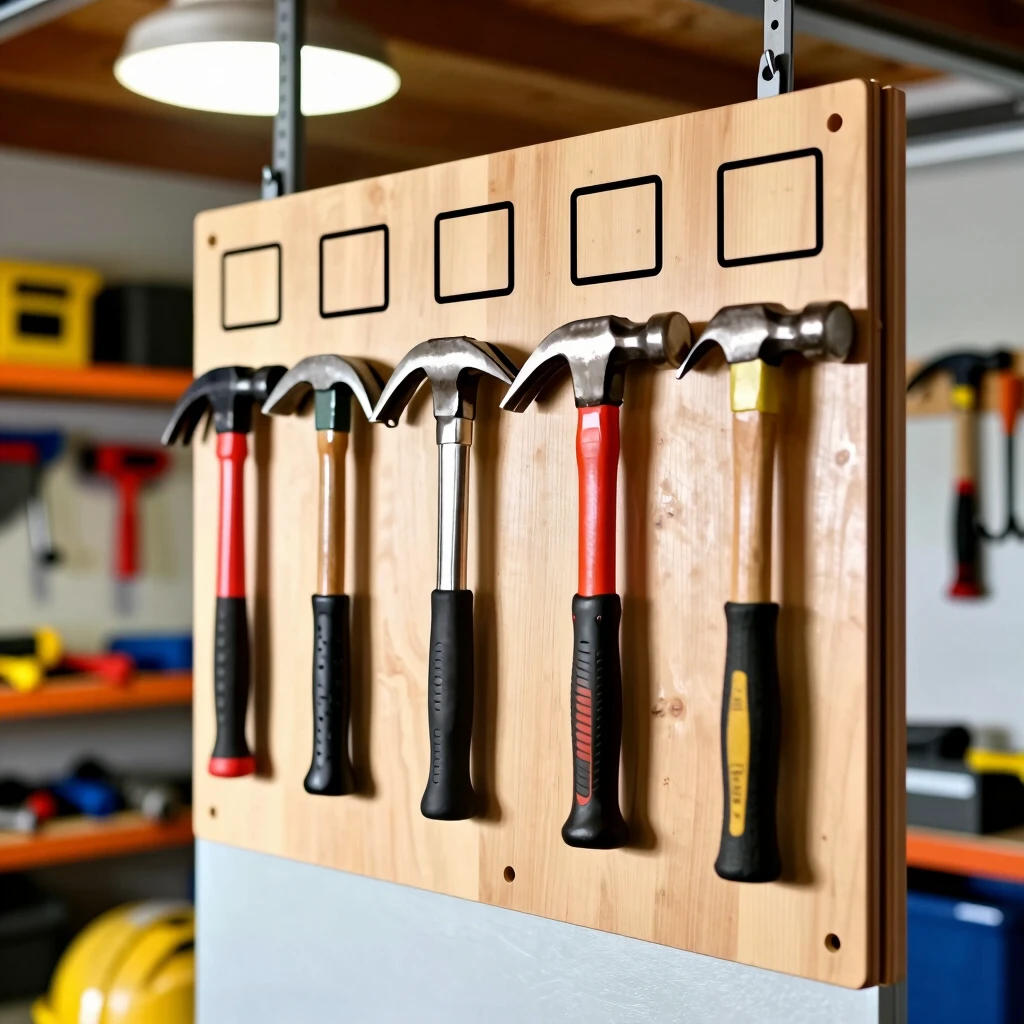
Hang them up. A pegboard in your garage or shed works wonders. Outline each spot with marker so they snap back easily. This keeps weight off the heads and handles straight.
If space is tight, use a canvas tool roll. Roll it out on your bench for quick access, then fold away. Avoid damp areas—moisture invites rust faster than you can say 'corrosion.'
In my experience, storing near the door of my shed cut down on grabbing the wrong tool. Efficiency boost!
- Checklist for Storage:
- Dry, cool spot (under 70°F ideal)
- Off the floor to dodge spills
- Group by type for easy grab
- Inspect before stowing
Follow this, and your hammers stay ready.
Inspections and Repairs: Catch Issues Early
Regular checks save headaches. Once a month, I sit down with a coffee and go over my set. Look for cracks in handles—wood splits from impact. Sand and oil any rough spots.
For loose heads, tap the wedge tighter with a mallet. If it's a steel wedge, hammer it in firmly. Fiberglass handles? Check for delamination; replace if fibers show.
Rust spots? Sand them off with fine-grit paper, then oil. A little prevention beats a full redo.
I've fixed more hammers this way than I've bought new. It's satisfying, like giving old friends a tune-up.
When to replace? If the head wobbles despite wedging or the handle feels unbalanced, retire it. Safety first—no tool is worth the risk.
How to Use a Hammer Safely: Technique Matters
Maintenance pairs with smart use. Poor swings wear tools faster and invite accidents.
Grip it right: Choke up for control, extend for power. Swing from the shoulder, not the wrist—reduces strain.
Wear eye protection always. Gloves help grip but don't over-tighten; you need feel.
Here's a safety list: 1. Inspect before each use. 2. Clear your swing path. 3. Start light to gauge force. 4. Rest if fatigued—mistakes happen then.
The CDC reports thousands of hammer-related injuries yearly, mostly from slips. Good habits cut that risk.
For more on safety, check OSHA's guidelines here.
Personal Stories: Lessons from the Field
Let me share a tale. Early in my contracting days, I ignored a splintering handle on my favorite claw hammer. One swing into framing a deck, it snapped—sent a nail flying into my thumb. Hurt like fire, and I lost a day.
That taught me routine care. Now, I teach my crew: Treat hammers like partners. Another time, storing tools in a wet basement rusted my whole set. Switched to a dry loft—problem solved.
These aren't just stories; they're why I swear by maintenance. Your tools deserve it, and so do you.
Advanced Tips for Pro-Level Longevity
If you're heavy into projects, level up.
Use handle wraps for extra grip—leather strips tied on. They absorb shocks.
For metal heads, a yearly dip in vinegar dissolves deep rust. Neutralize with baking soda rinse.
Track usage in a log. Note projects per hammer to spot overuse early.
Brands like Estwing make one-piece steel hammers that need less wedging, but even they benefit from oiling.
Experiment with ergonomic grips if arthritis creeps in. Small changes yield big comfort.
Wrapping It Up: Your Hammers, Built to Last
Maintaining your hammers for longevity boils down to clean, store, inspect, and use wisely. These workman tools reward the effort with reliability and safety.
Start small—pick one tip today. Over time, it'll become habit. Your future self (and toolkit) will thank you. Swing on! (42 words)
Related How to Maintain Your Hammers for Longevity:
- Essential Workman Tools for Electrical Work: A Hands-On Guide to Getting the Job Done Right
- Top Voltage Testers for Safe Electrical Work
- How AI is Transforming Manufacturing: The Future of Industrial Automation
- Guide to Selecting the Best Paint for Your Home
- Must-Have Tools in a Painter's Toolkit: Essentials for Every Project
- Beginner’s Guide to Woodworking Tools
- Advanced Electrical Troubleshooting: Tips from the Pros
- Preventing Work-Related Injuries: Tips and Tricks
- Unlocking Efficiency: Why Tool Belts with Customizable Pockets Are a Must for Every Tradesperson
- How to Choose the Best Tool Belt for Your Needs
- Workman Tools for Electricians: What You Need to Know
- Budget-Friendly Workshop Setup Ideas: Transform Your Space Without Breaking the Bank