Painting a room can transform your space, but getting that professional finish takes more than just a brush and a can of paint. Whether you're refreshing a bedroom or revamping your living room, this guide will walk you through every step to achieve a flawless result. With the right preparation, tools, and techniques, you can master How to Paint a Room Like a Pro and save money while creating a space you love.
Why Painting Your Room Matters
A fresh coat of paint does more than change a room’s color—it sets the mood, enhances lighting, and can even make a space feel larger. I remember painting my first apartment, a tiny studio with dull beige walls. Choosing a soft gray made it feel airy and modern, but I learned the hard way that skipping prep work leads to uneven results. Let’s dive into how to do it right.
Step 1: How to Choose the Best Paint Color for Your Room
Picking the right color is exciting but tricky. Consider the room’s purpose—calming blues work well for bedrooms, while vibrant yellows energize kitchens. Test samples on your walls, as lighting changes how colors appear. Natural light in my living room made a creamy white look warm, but in a basement, it felt cold. Use small sample cans to paint swatches and observe them at different times of day.
Pro tip: Check the Light Reflectance Value (LRV) on paint cans. Higher LRV means more light reflection, ideal for darker rooms. For expert advice on color psychology, The Spruce’s guide to choosing paint colors offers practical insights to match your room’s vibe.
Step 2: How to Prep Your Room for a Perfect Paint Job
Preparation is the secret to a pro-level finish. How to Prep Your Room for Painting starts with clearing the space. Move furniture to the center or out of the room. Cover floors and remaining furniture with drop cloths—I prefer canvas ones because they’re reusable and don’t slip like plastic.
Next, clean your walls. Dust, grease, or grime can ruin paint adhesion. Use a mild detergent with warm water and a sponge, then let the walls dry completely. I once skipped this step and ended up with streaks that required a second coat. Don’t make my mistake!
Tape off trim, windows, and doorframes with painter’s tape. Apply it carefully to avoid gaps, pressing down firmly for crisp lines. Remove switch plates and outlet covers, and patch any holes or cracks with spackling compound. Sand patched areas smooth for a seamless finish. For detailed prep tips, This Old House’s painting prep guide is a reliable resource.
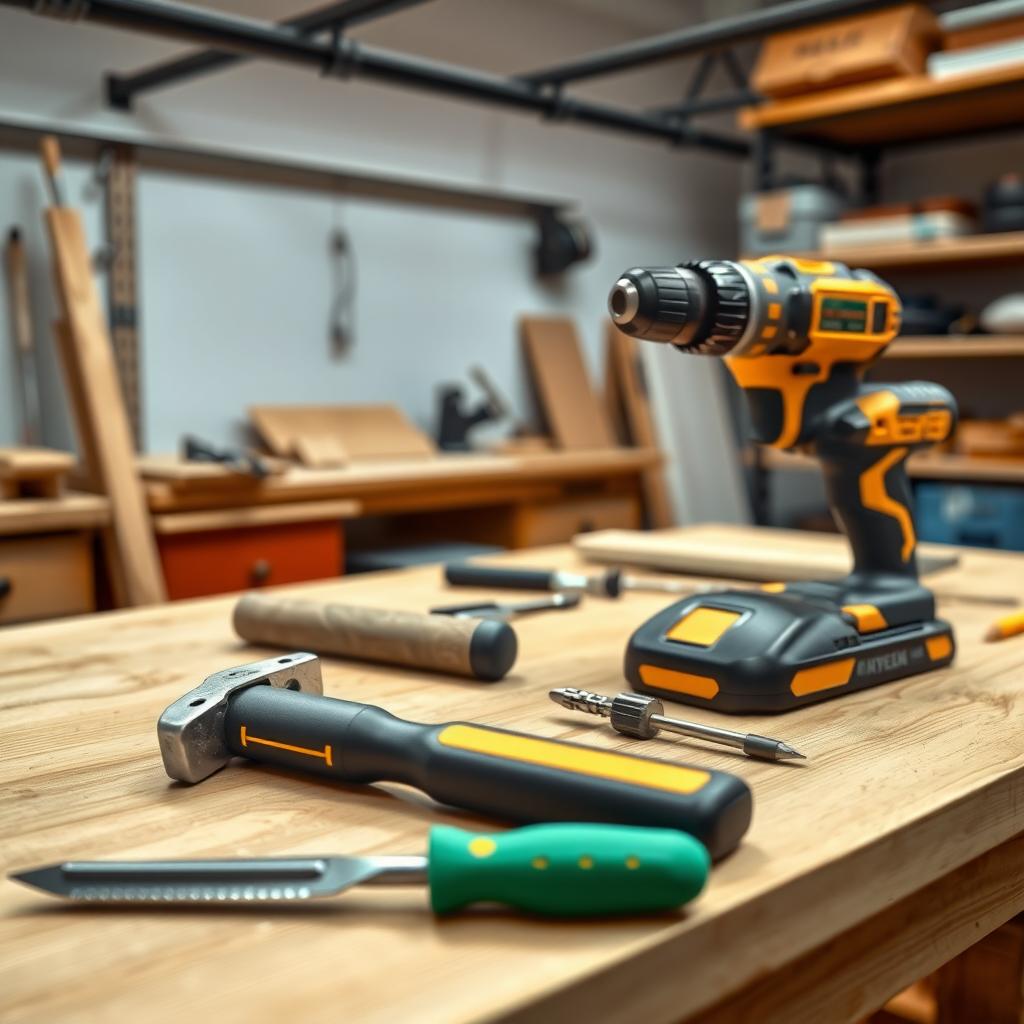
Step 3: Gather the Right Tools
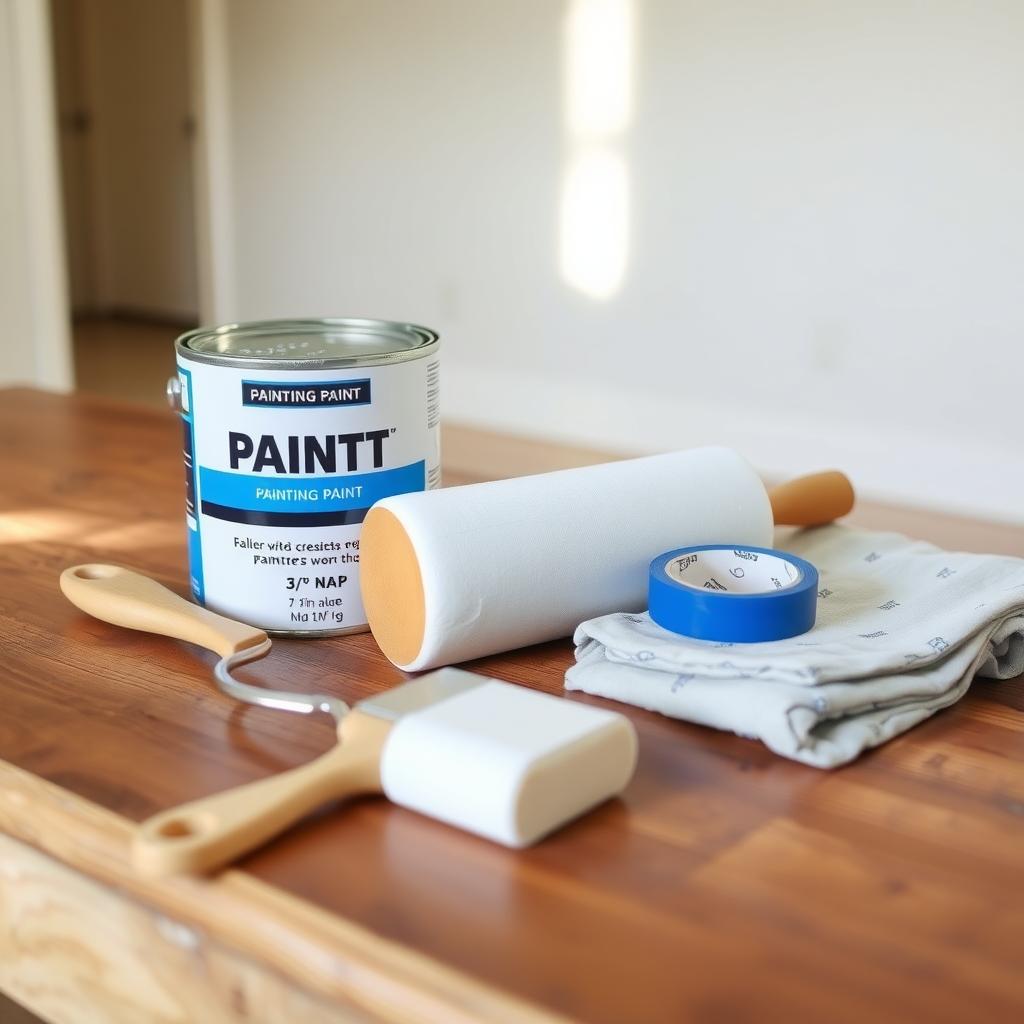
Investing in quality tools makes a huge difference. Here’s what you need:
- Paint: Choose high-quality latex paint for easy cleanup and durability.
- Primer: Use for bare drywall or drastic color changes.
- Brushes: A 2-inch angled brush for edges and a 3-inch flat brush for trim.
- Rollers: 9-inch rollers with 3/8-inch nap for smooth walls.
- Trays and liners: For easy pouring and cleanup.
- Extension pole: For high walls or ceilings.
I learned to avoid cheap rollers after one left fuzz on my walls, forcing me to sand and repaint.
Step 4: Prime for Perfection
Priming seals porous surfaces and ensures even color. Apply primer with a roller for large areas and a brush for edges. Let it dry fully—usually 4-6 hours. I skipped primer once when painting over dark red walls, and it took three coats of white to cover it. Save time and money by priming first.
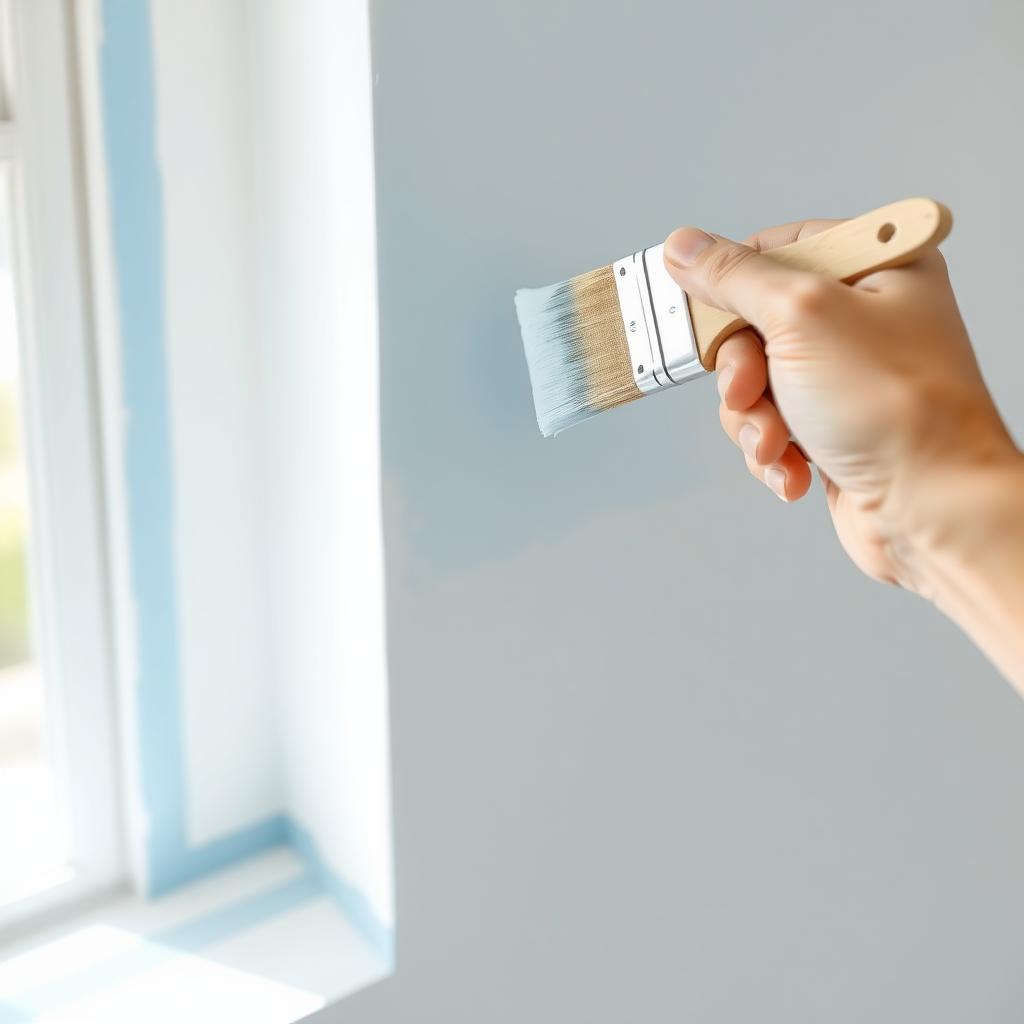
Step 5: Master the Painting Process
Start with the edges, or 'cutting in,' using an angled brush along trim and corners. Work in small sections to keep a wet edge, preventing lap marks. Then, roll the main wall areas using a 'W' pattern to distribute paint evenly. Apply two thin coats rather than one thick one for a smoother finish.
Keep a clean rag handy to wipe mistakes immediately. I once dripped paint on my baseboard and caught it before it dried—crisis averted! Work in a well-ventilated room, and avoid painting in high humidity, which slows drying. For technical tips on paint application, Sherwin-Williams’ painting techniques guide is a solid reference.
Step 6: DIY Painting Hacks for Perfect Results
Here are some game-changing hacks I’ve picked up:
- Use a paint grid: Place a metal grid in your paint can to wipe excess paint from your brush, keeping the rim clean.
- Wrap brushes in plastic: During breaks, wrap brushes or rollers in plastic wrap to prevent drying.
- Remove tape carefully: Pull tape off at a 45-degree angle while the paint is still slightly wet to avoid peeling.
- Add a touch of vanilla: A few drops of vanilla extract in paint can reduce fumes (test on a small area first).
These hacks saved me hours on my last project, especially the tape trick for crisp lines.
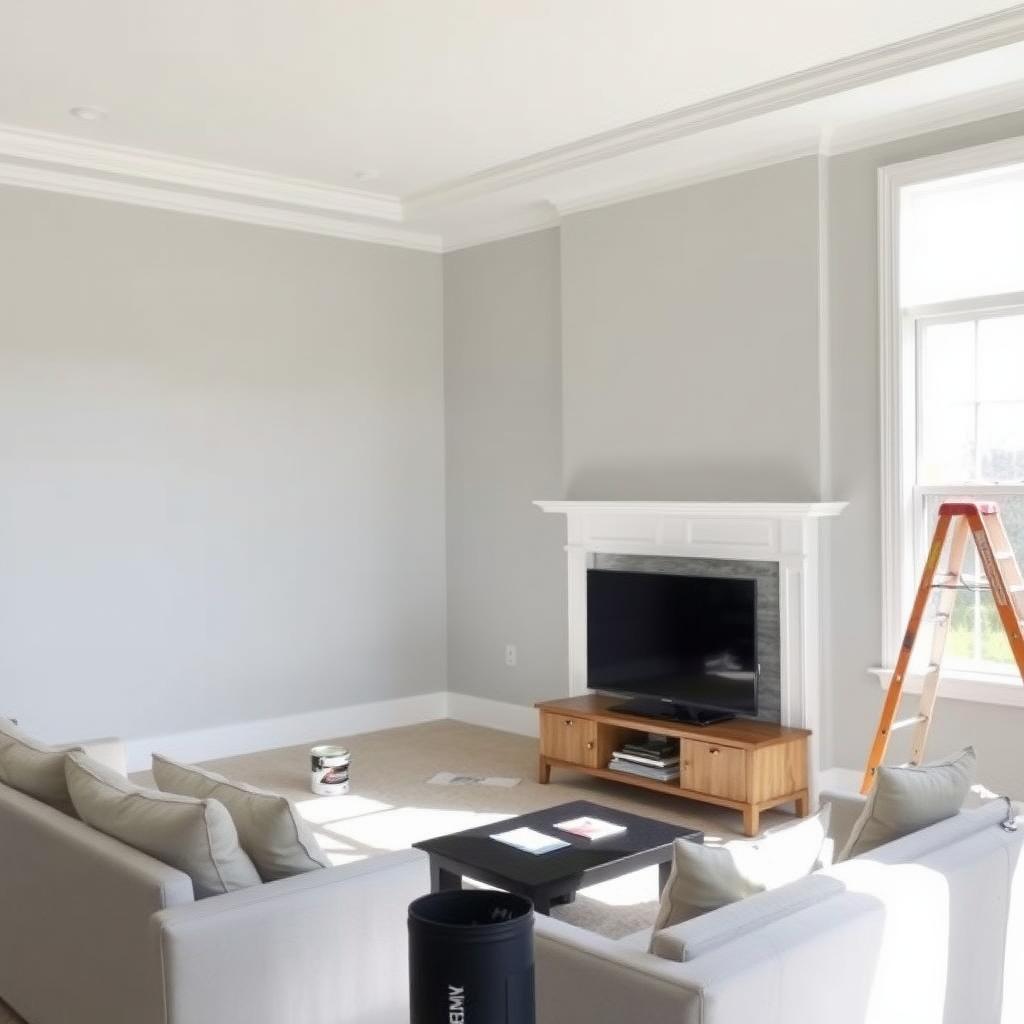
Step 7: Clean Up and Admire Your Work
Once the paint is dry, remove tape slowly to avoid damaging your fresh work. Clean brushes and rollers with soap and water for latex paint, or mineral spirits for oil-based. Store leftover paint in airtight containers, labeling them with the room and date for touch-ups.
Step back and enjoy your transformed space. My first perfectly painted room felt like a personal victory—clean lines, no drips, and a color that made the space mine. With these steps, you’ll get that same satisfaction.
Final Thoughts
Painting a room like a pro is about preparation, patience, and the right techniques. From choosing the best color to mastering DIY Painting Hacks for Perfect Results, this guide equips you to tackle your project with confidence. Follow these steps, and your room will look like it was painted by a seasoned professional.
Related How to Paint a Room Like a Pro:
- Guide to Eco-Friendly Paint Options: Sustainable Choices for a Healthier Home
- Essential Tools for a Professional Paint Job: How to Paint a Room Like a Pro
- The Importance of Quality Tools in Construction: Building a Solid Foundation
- Beginner’s Guide to Car Repair Tools: Your Toolkit Essentials
- The Pomodoro Technique: Boosting Productivity Through Structured Work Sessions
- How to Maintain Your Tools for Longevity: A Comprehensive Guide
- Exploring Types of Wrenches for Different Jobs: A Workman’s Guide
- Top 10 DIY Projects for Beginners to Kickstart Your Creative Journey
- The Art of Metalwork: Techniques and Tips for Beginners
- Mastering the Art of Woodworking with Power Tools: A Comprehensive Guide
- Must-Have Wrenches for Every Toolbox: Your Ultimate Guide
- How to Choose Ergonomic Tools for Your Workshop