Overview
A cluttered tool shed can turn any DIY project into a frustrating hunt for the right tool. Organizing Your Tool Shed Like a Pro means creating a space where every wrench, hammer, and screwdriver has a home. This guide offers practical steps to declutter, optimize storage, and maintain a safe, efficient workspace.
Why an Organized Tool Shed Matters
I’ve spent countless weekends in my own shed, wrestling with tangled cords and misplaced tools. A disorganized shed doesn’t just waste time—it can make projects feel overwhelming. An organized shed, on the other hand, boosts productivity and keeps you safe. Imagine grabbing the exact wrench you need without digging through a pile of workman tools. That’s the goal here.
A well-organized shed also protects your tools. Rust, damage, and wear happen faster when tools are tossed together haphazardly. Plus, knowing how to use wrenches safely—or any tool—starts with easy access and proper storage. Let’s dive into the steps to make your shed a pro-level workspace.
Step 1: Declutter and Assess Your Tools
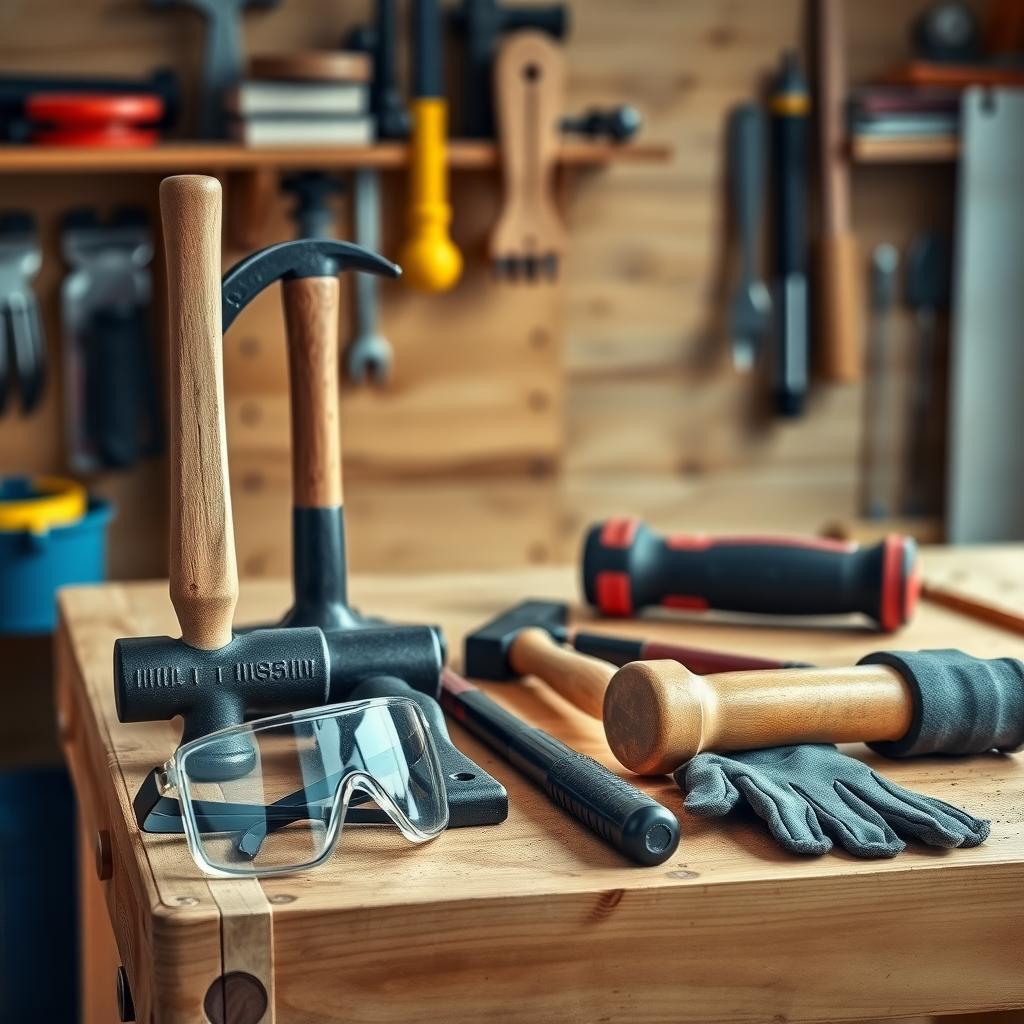
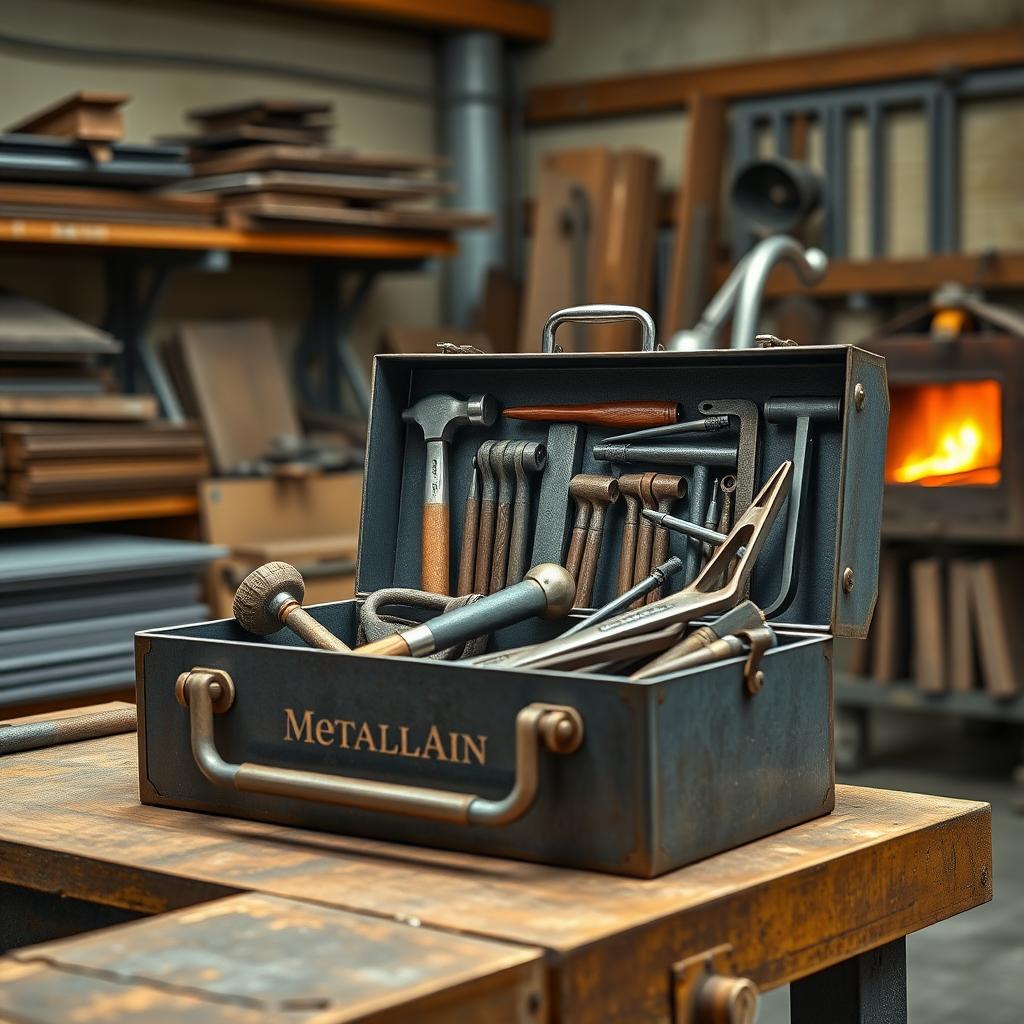
Start by emptying your shed. Yes, it’s a big job, but it’s worth it. Lay everything out—wrenches, hammers, drills, and all your workman tools. Sort them into three piles: keep, donate, and toss. Be ruthless. That rusty wrench you haven’t used in years? Toss it. Duplicate tools? Keep the best one.
Ask yourself: Do I use this? Is it in good condition? If not, let it go. This step sets the foundation for a shed where every tool earns its place.
Step 2: Categorize and Group Tools
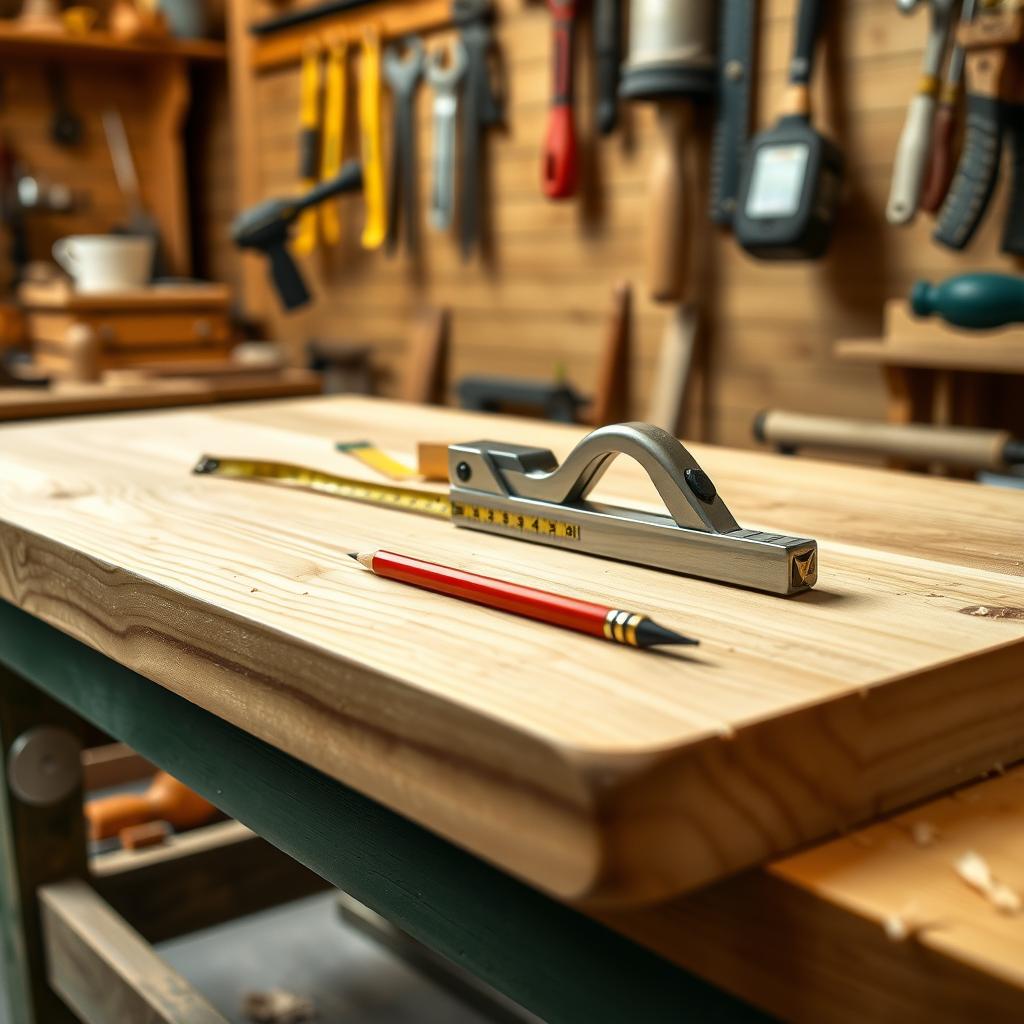
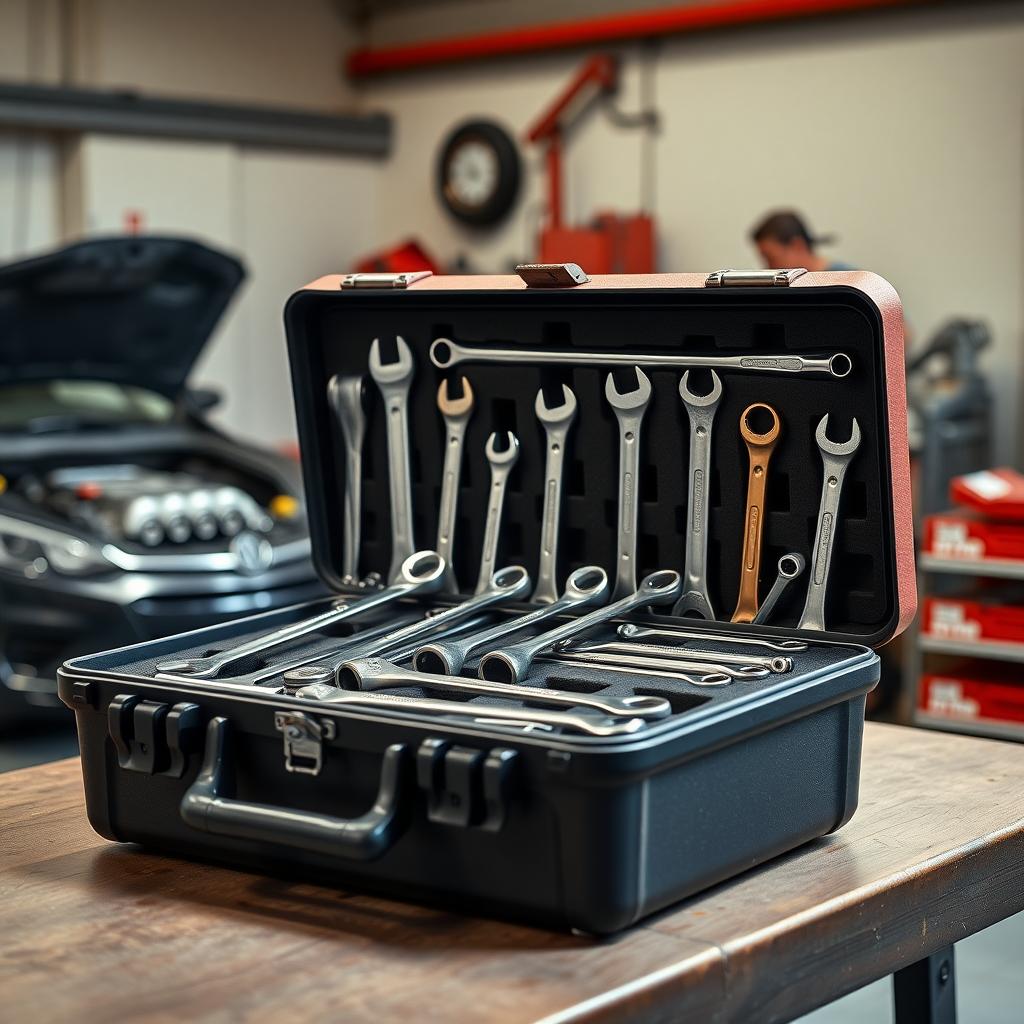
Once you’ve decluttered, group similar tools together. I like to organize by function: cutting tools, fastening tools (like wrenches and screwdrivers), and measuring tools. For example, keep all your wrenches in one spot, sorted by size or type (adjustable, combination, or socket).
Here’s a quick categorization table:
| Tool Type | Examples | Storage Suggestion |
|---|---|---|
| Fastening Tools | Wrenches, Screwdrivers | Pegboard or magnetic strip |
| Cutting Tools | Saws, Utility Knives | Wall-mounted racks |
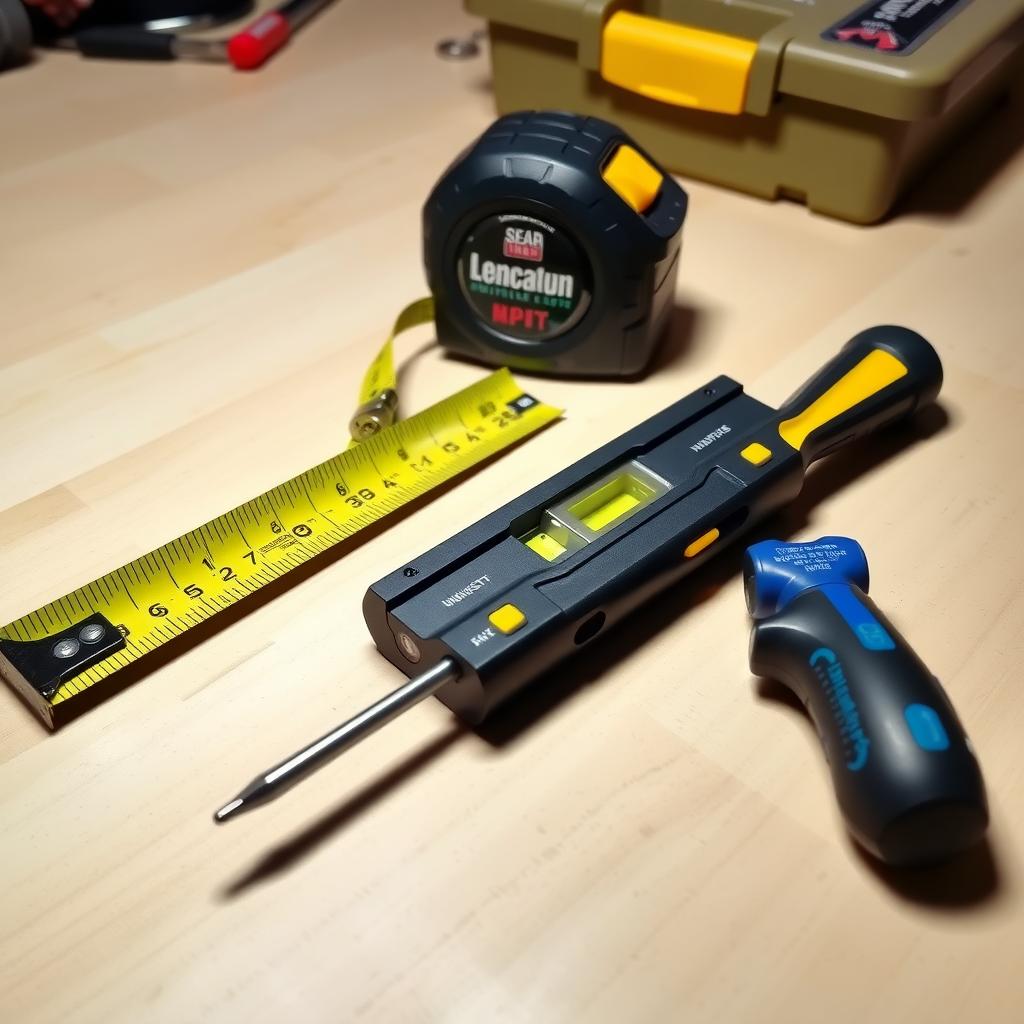
| Measuring Tools | Tape Measures, Levels | Small drawers or bins |
| Power Tools | Drills, Sanders | Dedicated shelves |
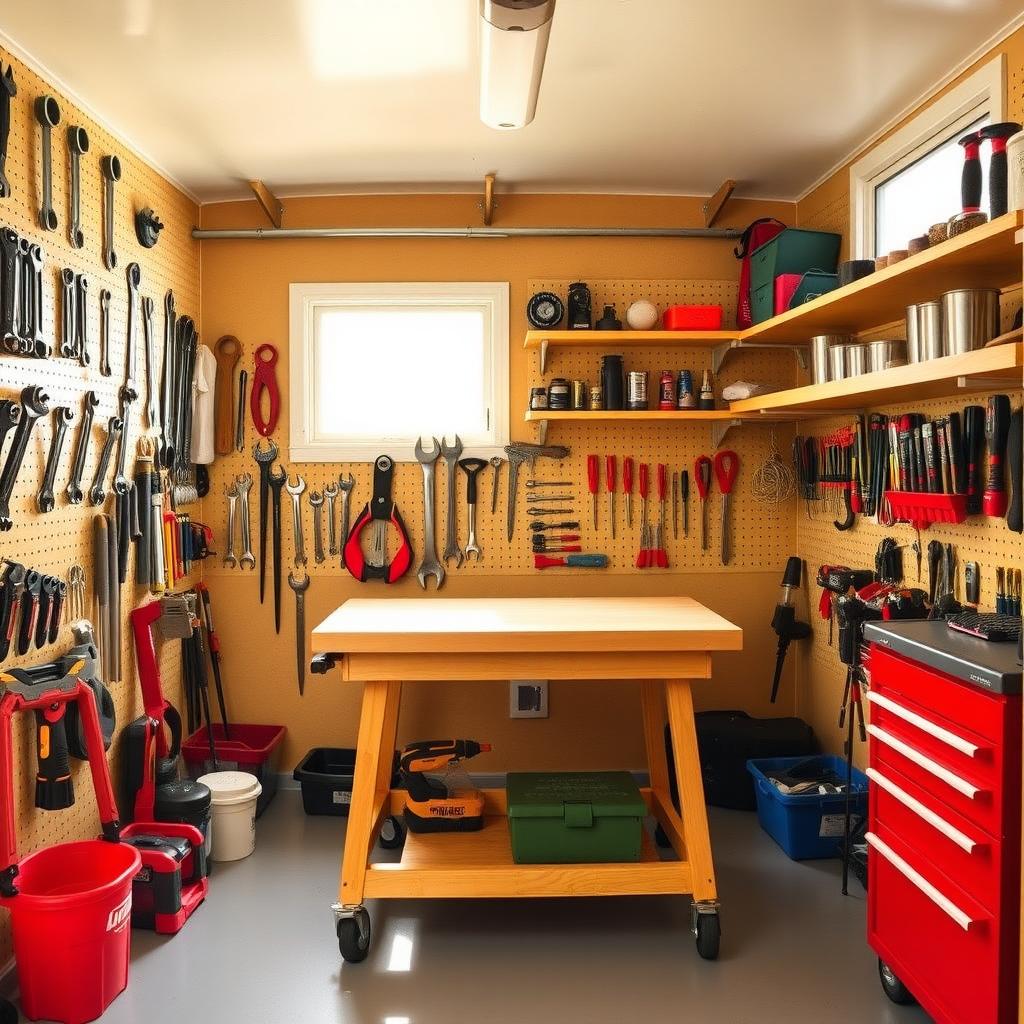
Step 3: Optimize Your Storage
Now, let’s talk storage. The key to Organizing Your Tool Shed Like a Pro is maximizing space while keeping tools accessible. Here are some ideas:
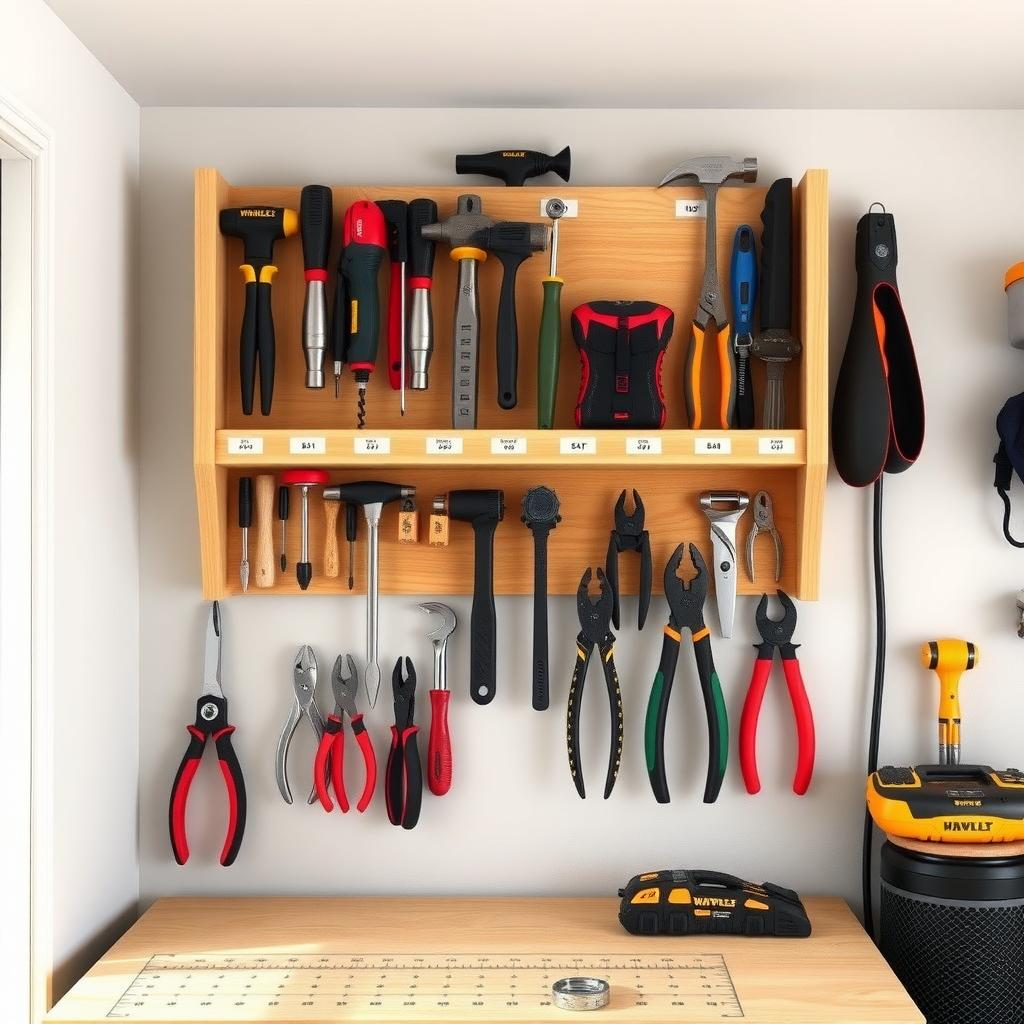
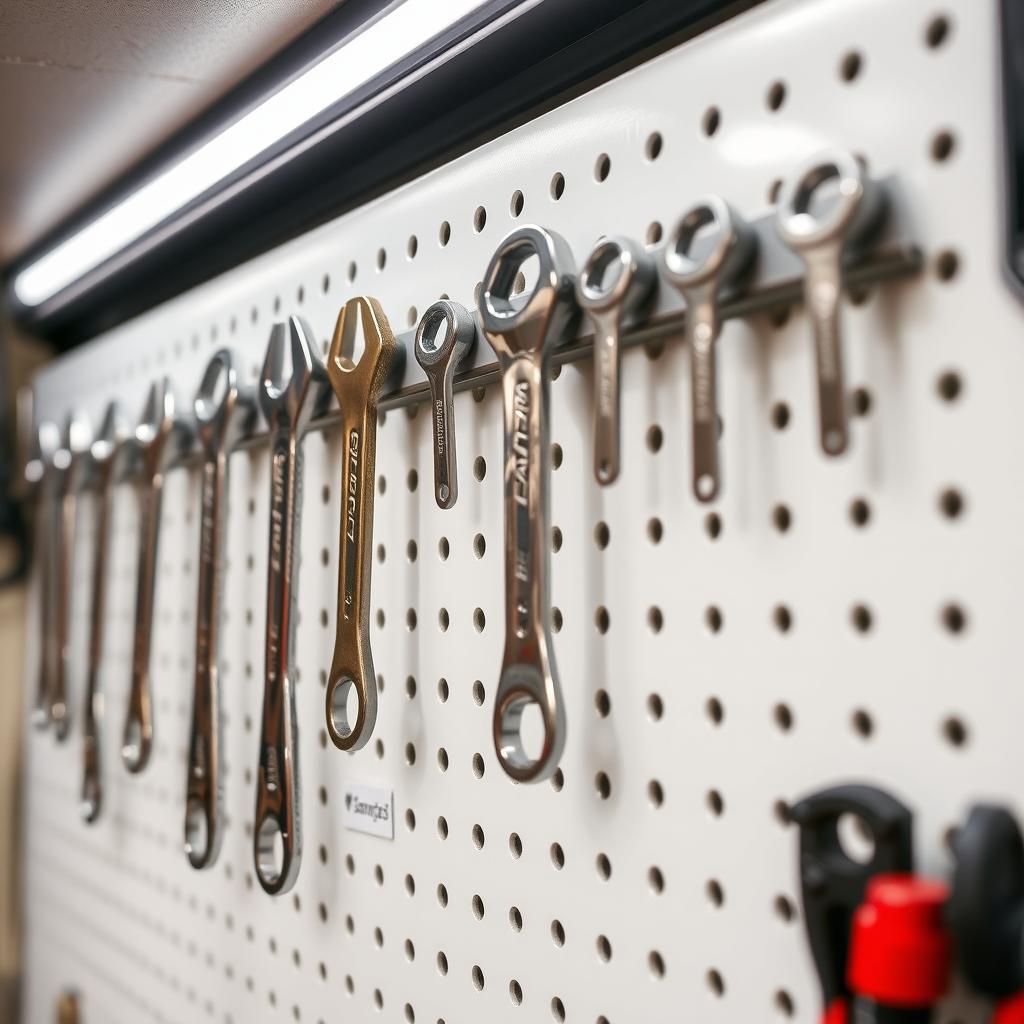
- Pegboards: Perfect for hanging wrenches and other small tools. I use hooks to keep my wrenches in size order—it saves so much time.
- Shelves: Install sturdy shelves for heavier tools or bins. Adjustable shelves are great for flexibility.
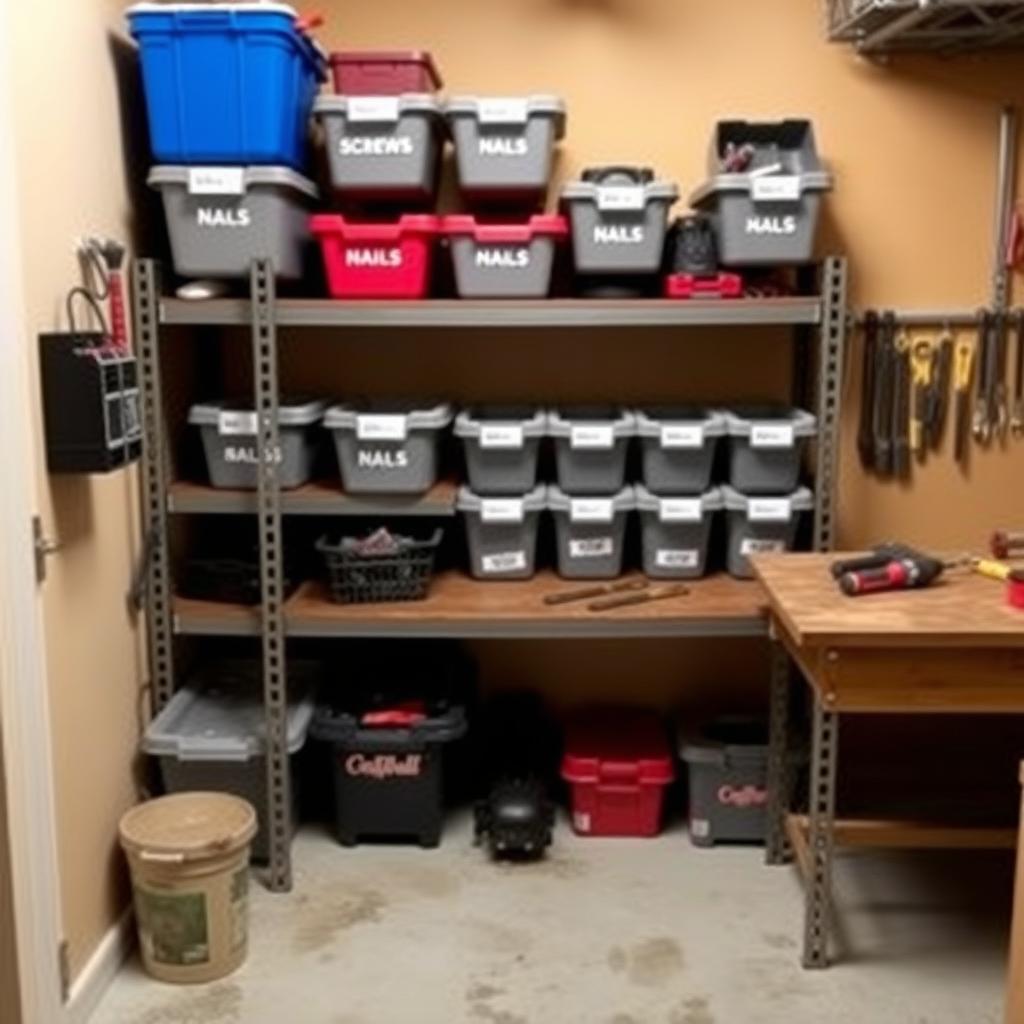
- Drawers or Bins: Store small items like screws or drill bits in labeled containers.
- Magnetic Strips: Ideal for metal tools like wrenches or screwdrivers.
Pro tip: Measure your shed’s dimensions before buying storage solutions. I once bought a shelf that was an inch too wide—frustrating!
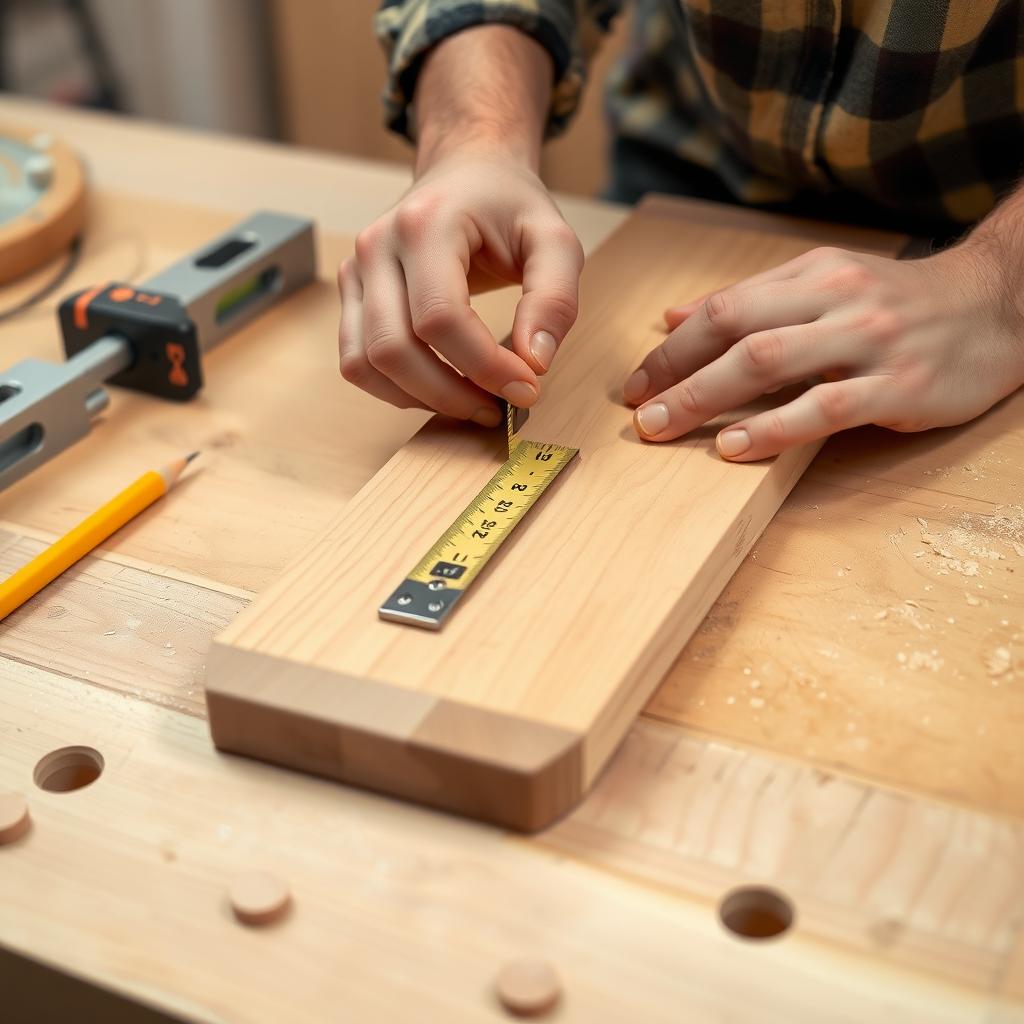
Step 4: How to Use Wrenches Safely
Wrenches are a staple in any shed, but using them safely is critical. I learned this the hard way after bruising my knuckles from a slipping wrench. Here’s how to use wrenches safely:
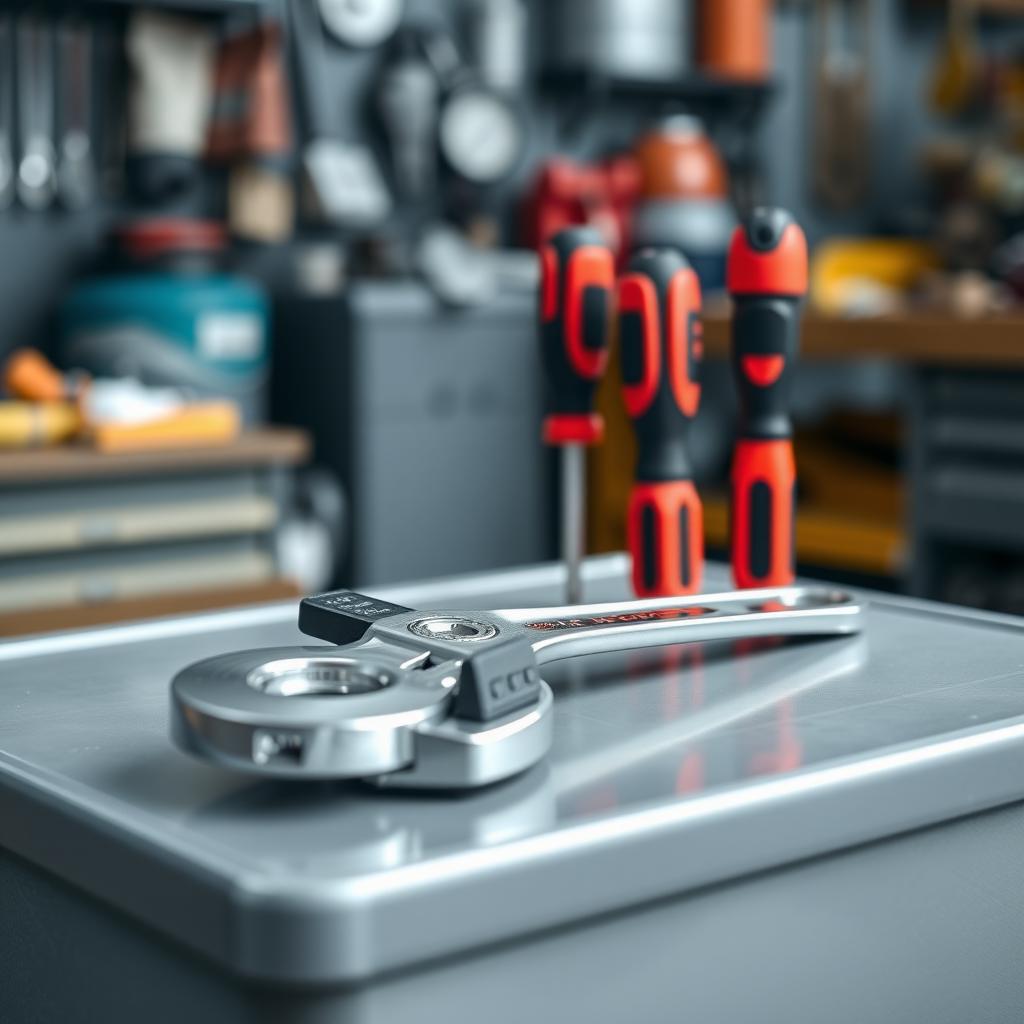
- Choose the Right Wrench: Match the wrench size to the nut or bolt. A loose fit can strip the fastener or cause injury.
- Inspect Before Use: Check for cracks or wear. A damaged wrench can slip.
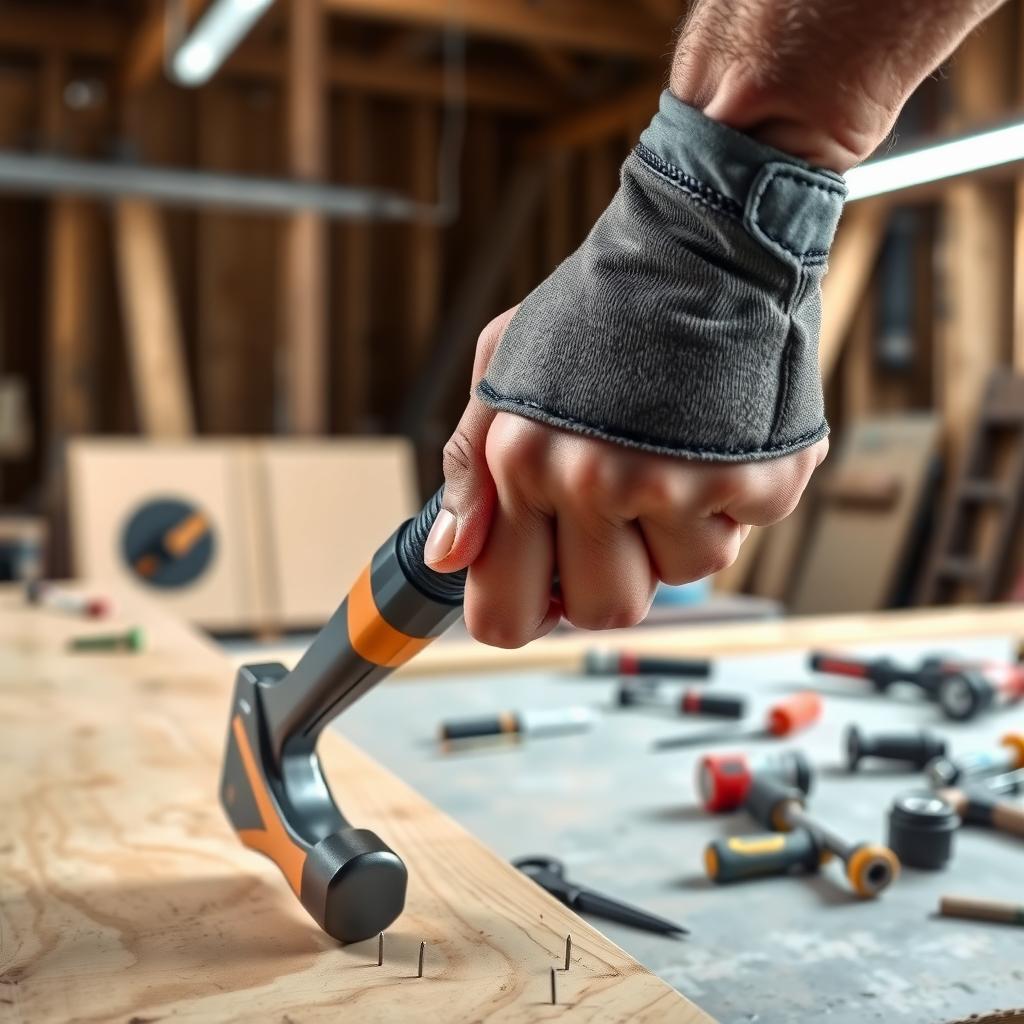
- Pull, Don’t Push: Pull the wrench toward you to avoid smashing your knuckles if it slips.
- Store Properly: Hang wrenches on a pegboard or in a toolbox to prevent damage and keep them accessible.
The Occupational Safety and Health Administration (OSHA) emphasizes proper tool handling to prevent injuries (OSHA Hand Tool Safety). Following these tips keeps you safe and your tools in top shape.
Step 5: Create a Maintenance Routine
An organized shed stays that way with regular upkeep. Set aside 10 minutes each month to tidy up. Return tools to their spots after every project. I keep a small broom in my shed to sweep away sawdust—it makes a big difference.
Also, check your tools for wear. Clean wrenches and other metal tools with a rag and some WD-40 to prevent rust. A quick wipe-down keeps them ready for action.
Step 6: Label Everything
Labels are a game-changer. I used to waste time searching for the right screwdriver bit until I labeled my bins. Use a label maker or even masking tape and a marker. Label drawers, bins, and shelves with clear descriptions like “Metric Wrenches” or “Drill Bits.” It’s simple but effective.
Step 7: Make It Your Own
Your shed should reflect how you work. If you’re a woodworker, prioritize space for saws and clamps. If you’re a mechanic, keep wrenches and sockets front and center. I added a small radio to my shed for music while I work—it keeps me motivated.
Think about lighting, too. Good lighting prevents accidents and makes finding tools easier. I installed LED strip lights, and it’s like working in daylight.
Common Mistakes to Avoid
- Overcrowding: Don’t cram too many tools into a small space. It defeats the purpose of organization.
- Skipping Labels: Unlabeled bins lead to chaos.
- Ignoring Safety: Always store heavy tools low to avoid falling hazards.
I once stacked a heavy drill on a high shelf—bad idea. It fell and barely missed my foot. Learn from my mistake and keep safety first.
Summary
Organizing Your Tool Shed Like a Pro transforms your workspace into a hub of efficiency and safety. By decluttering, categorizing, and using smart storage, you’ll save time and protect your tools. Knowing how to use wrenches safely and maintaining a tidy shed ensures every project runs smoothly. Start small, stay consistent, and enjoy a shed that works as hard as you do.
Related Organizing Your Tool Shed Like a Pro:
- Woodworking Tools Every DIY Enthusiast Should Own
- Must-Have Hand Tools for Mechanics: Your Essential Guide
- Top Toolkits for Every Handyman: Building Your Essential Collection
- Mastering Joinery with Mortise Chisels: A Woodworker’s Guide
- Safety Tips for Using Hand Tools in the Workshop
- Tool Belts with Ergonomic Designs: Comfort and Efficiency for Workmen
- Mastering Metal Forming: Advanced Hammering Techniques and Tools
- Preventing Hand Injuries at Work: Practical Tips for a Safer Workplace
- Future Trends in Construction Planning: Revolutionizing the Industry
- Must-Have Workman Tools for Every Toolbox: Your Ultimate Guide
- DIY Storage Builds: Make Your Own Tool Racks
- DIY Home Improvement Projects for Beginners: Your Ultimate Guide to Getting Started