Home repairs don’t have to be intimidating. I remember the first time I fixed a leaky faucet—nervous at first, but proud when it worked. DIY saves cash and teaches you skills you can use forever. Plus, it’s satisfying to solve problems yourself. This guide will show you how to start, focusing on tools and maintenance.
Starting your journey into DIY home repairs doesn’t require a massive toolbox. In fact, a few essential tools can handle most basic repairs. Here’s a list of must-have tools for beginners:
- Hammer: A good hammer is versatile. Use it for driving nails, removing them, or even light demolition work. Look for one with a comfortable grip and a claw end for nail removal.
- Screwdriver Set: You’ll need both flathead and Phillips-head screwdrivers in various sizes. These are crucial for assembling furniture, tightening cabinet handles, or fixing loose screws.
- Tape Measure: Accurate measurements are key to successful repairs. A 25-foot tape measure is a good starting point.
- Utility Knife: Perfect for cutting through packaging, trimming materials, or scoring surfaces.
- Pliers: A set of pliers (needle-nose and slip-joint) will help with gripping, bending, and cutting wires.
- Level: Ensures your shelves, pictures, and other installations are straight.
- Adjustable Wrench: Useful for tightening or loosening bolts and nuts of various sizes.
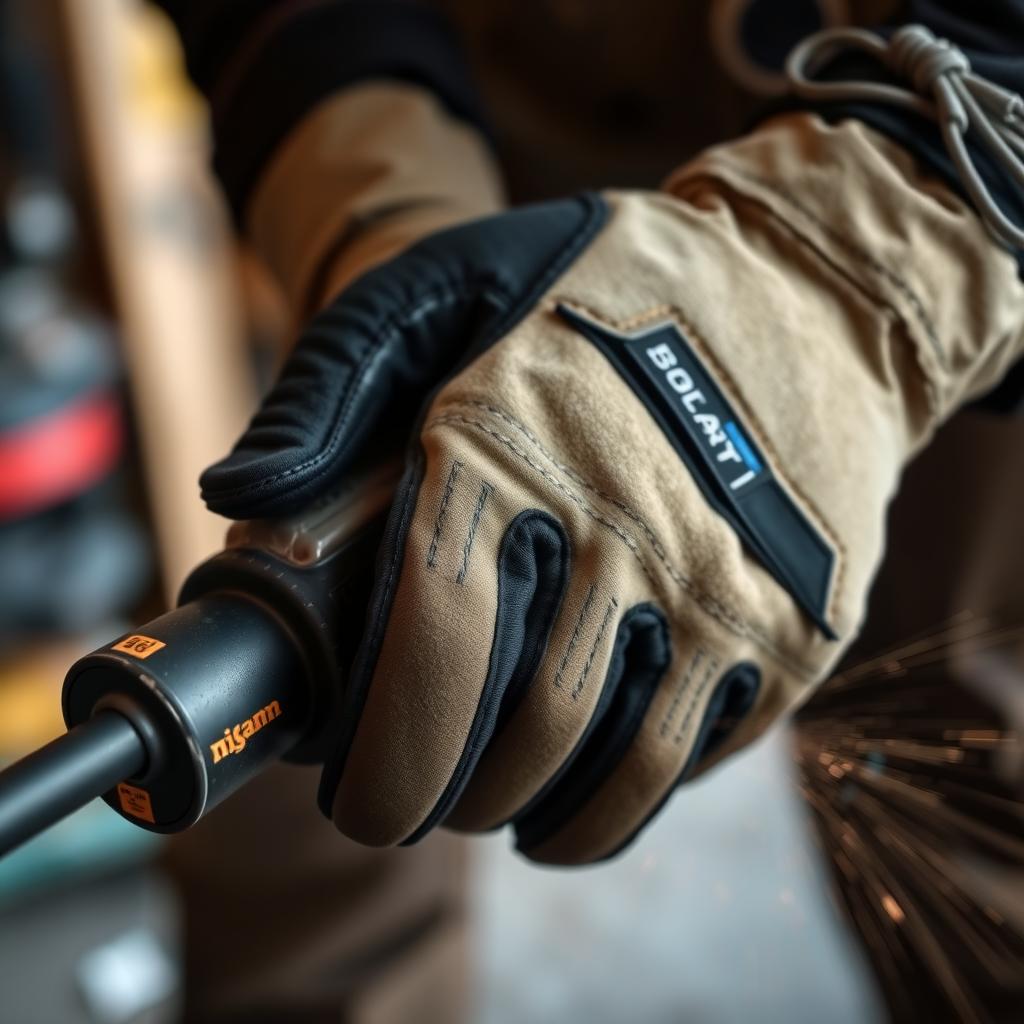
- Safety Gear: Don’t forget safety glasses, gloves, and a dust mask for protection.
Once you’ve invested in quality tools, maintaining them properly is crucial for longevity. Here are some advanced tool maintenance techniques to keep your tools in top shape:
- Cleaning: After each use, wipe down your tools with a clean cloth to remove dust, grease, or debris. For metal tools, a light coat of oil can prevent rust.
- Sharpening: Keep cutting tools like utility knives and chisels sharp. A dull blade is not only inefficient but also dangerous.
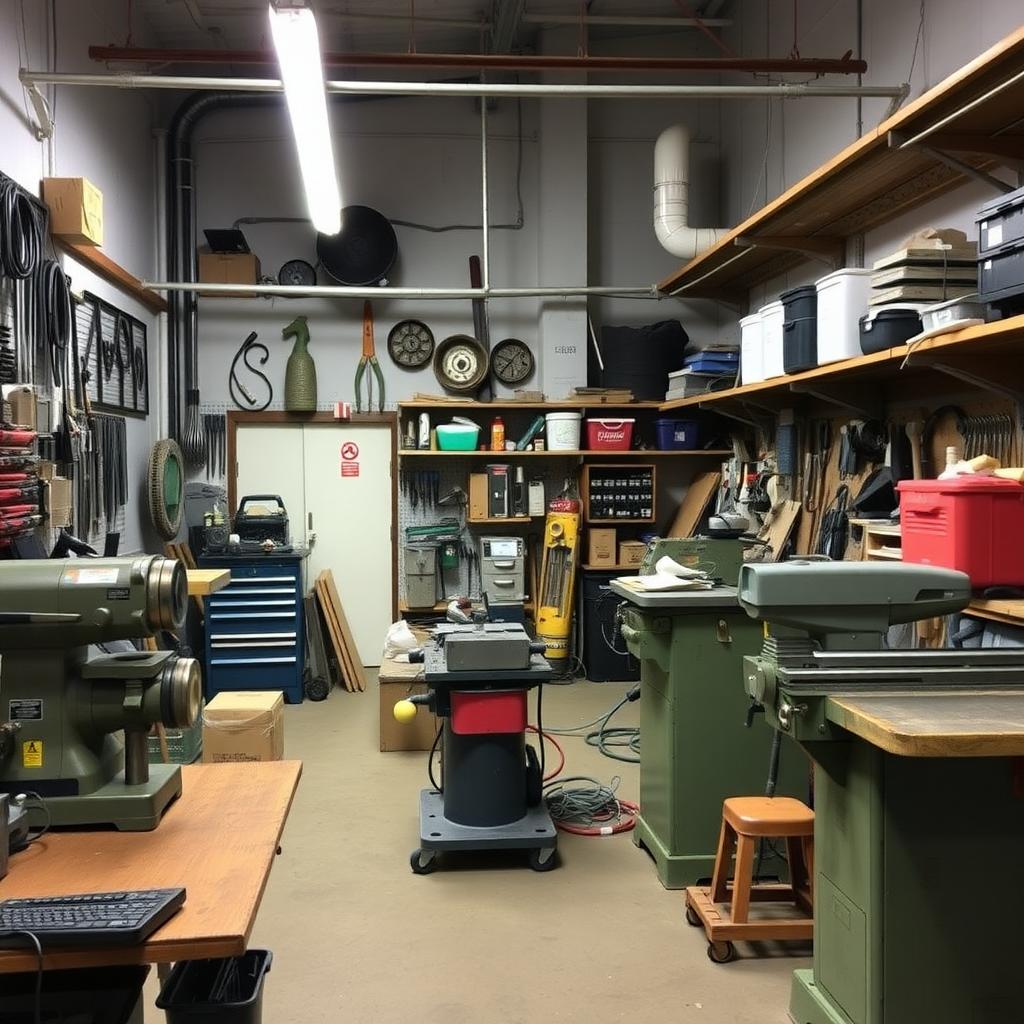
- Storage: Store tools in a dry, cool place. Use a toolbox or pegboard to keep them organized and easily accessible.
- Inspection: Regularly check your tools for signs of wear or damage. Replace any tool that shows cracks, rust, or other signs of deterioration.
- Battery Care: For cordless tools, follow the manufacturer’s instructions for charging and storing batteries to maximize their lifespan.
Maintaining your tools goes beyond just cleaning and storing them. Here are some additional tips to ensure your tools last for years: - Avoid Misuse: Use tools only for their intended purpose. For example, don’t use a screwdriver as a pry bar or a hammer as a chisel. - Lubricate Moving Parts: Tools with moving parts, like pliers or adjustable wrenches, benefit from occasional lubrication to keep them functioning smoothly. - Handle with Care: Dropping tools can cause damage, especially to precision instruments like levels or tape measures. - Sharpen Blades Regularly: For tools like utility knives, invest in a sharpening stone or take them to a professional for sharpening. - Check for Rust: If you notice rust on metal tools, use a wire brush or sandpaper to remove it, then apply a rust-inhibiting spray.
Now that you have your tools and know how to maintain them, here are some practical tips to help you tackle common home repairs: - Start Small: Begin with simple tasks like tightening loose screws or replacing cabinet knobs. As you gain confidence, move on to more complex repairs. - Watch Tutorials: There are countless online videos and guides that walk you through specific repairs. Use them as a learning tool. - Measure Twice, Cut Once: Accuracy is key in repairs. Double-check your measurements before making any cuts or drilling holes. - Safety First: Always wear appropriate safety gear, especially when working with power tools or in potentially hazardous areas like attics or crawl spaces. - Know When to Call a Pro: If a repair seems too complex or involves electrical or plumbing systems, it’s often safer and more cost-effective to hire a professional.
DIY home repairs can be rewarding and cost-effective, but they require the right tools and knowledge. By starting with essential tools, maintaining them properly, and following practical tips, beginners can confidently tackle a variety of home repair tasks. Remember, the key to success is patience, practice, and a willingness to learn.
Here’s a quick look at key tools and their uses: | Tool | Main Use | Beginner Tip | |-------------------|---------------------------|--------------------------------| | Hammer | Driving or removing nails | Hold near the end for power | | Screwdriver | Tightening screws | Match the tip to the screw | | Tape Measure | Measuring lengths | Lock it to keep it steady | | Adjustable Wrench | Turning bolts/nuts | Adjust snugly to avoid slips | | Pliers | Gripping or cutting | Use needle-nose for precision |
Related Beginner’s Guide to DIY Home Repairs:
- How to Choose the Right Safety Gear for Your Job
- The Essential Guide to Workman Tools for Plumbing and Maintenance
- Productivity Hacks for Mechanics and Tradespeople
- Essential Skills for the Future Workforce
- Understanding Power Tool Warranties and Repairs
- Workshop Equipment Maintenance Tips: A Comprehensive Guide
- DIY Maintenance Tricks for Power Washers
- The Evolution of Electrical Tools: A Historical Perspective
- Advanced Metalworking Techniques: A Guide
- Organizing Workman Tools in a Small Space: A Comprehensive Guide
- The Best Power Tools for Woodworking
- The Best Ergonomic Tools for Home Projects