Overview
Starting a painting project can feel overwhelming, especially for beginners. The right tools make all the difference, turning frustration into creativity. This guide covers essential painting tools for beginners, from brushes to rollers, and shares insights to help you build a solid foundation for your painting journey.
Why the Right Tools Matter
When I first tried painting a room, I grabbed a cheap brush from a discount store, thinking it wouldn’t matter. Big mistake. The bristles fell out, the paint streaked, and I spent hours cleaning up the mess. Quality painting tools save time, reduce stress, and deliver better results. Whether you’re tackling a canvas or a wall, having the must-have tools in a painter’s toolkit sets you up for success.
For beginners, it’s tempting to buy everything at once, but you don’t need a truckload of workman tools to start. Focus on versatile, high-quality basics that work for most projects. Let’s break down the essentials, why they matter, and how to use them effectively.
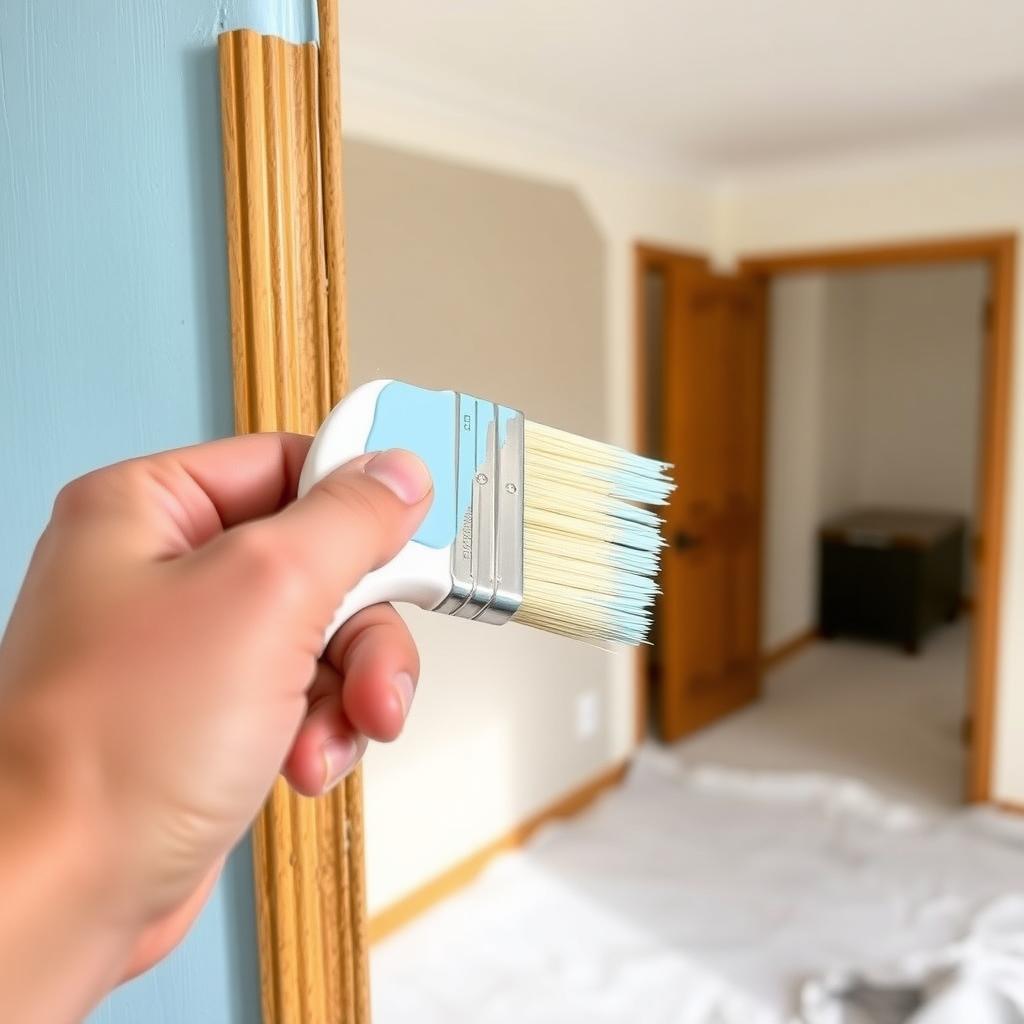
Choosing the Right Paintbrush for Your Project
Paintbrushes are the heart of any painting job, but not all brushes are created equal. The right brush depends on your project—whether it’s a detailed canvas or a broad wall. Here’s a quick guide to help you choose:
- Bristle Type: Natural bristles (like hog hair) work best for oil-based paints, while synthetic bristles (nylon or polyester) are ideal for water-based paints like latex or acrylic. I learned this the hard way when my synthetic brush swelled up with oil paint!
- Size and Shape: A 2- or 3-inch angled brush is perfect for cutting in edges or painting trim. Flat brushes (1-4 inches) cover larger surfaces. For intricate work, like furniture details, go for a small round brush.
- Quality: Look for brushes with firm, flexible bristles and a comfortable handle. A good brush holds paint well and leaves smooth strokes. Brands like Purdy or Wooster are trusted by pros, but even budget-friendly options from hardware stores can work if they’re well-made.
Pro Tip: Clean your brushes immediately after use with warm water (for latex) or mineral spirits (for oil). It’s a chore, but it saves your brushes for future projects.
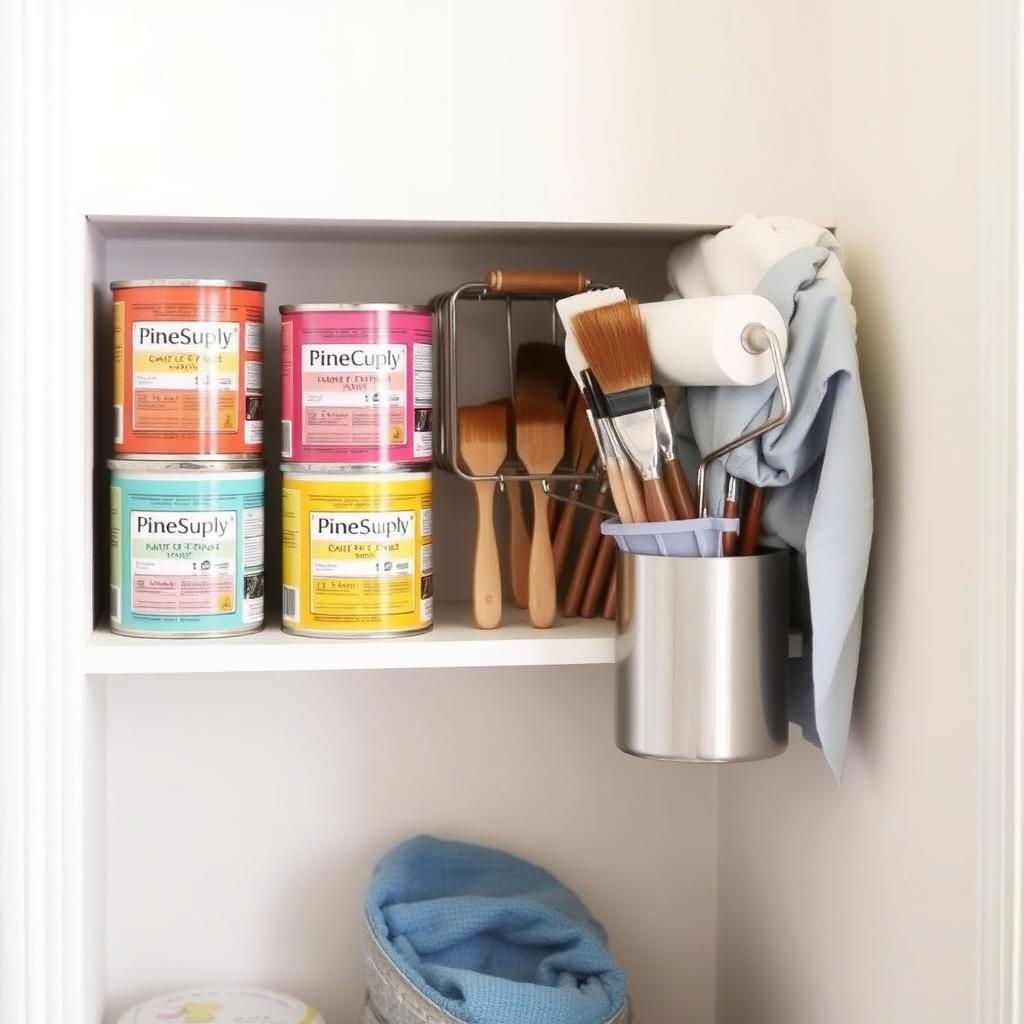
Must-Have Tools in a Painter’s Toolkit
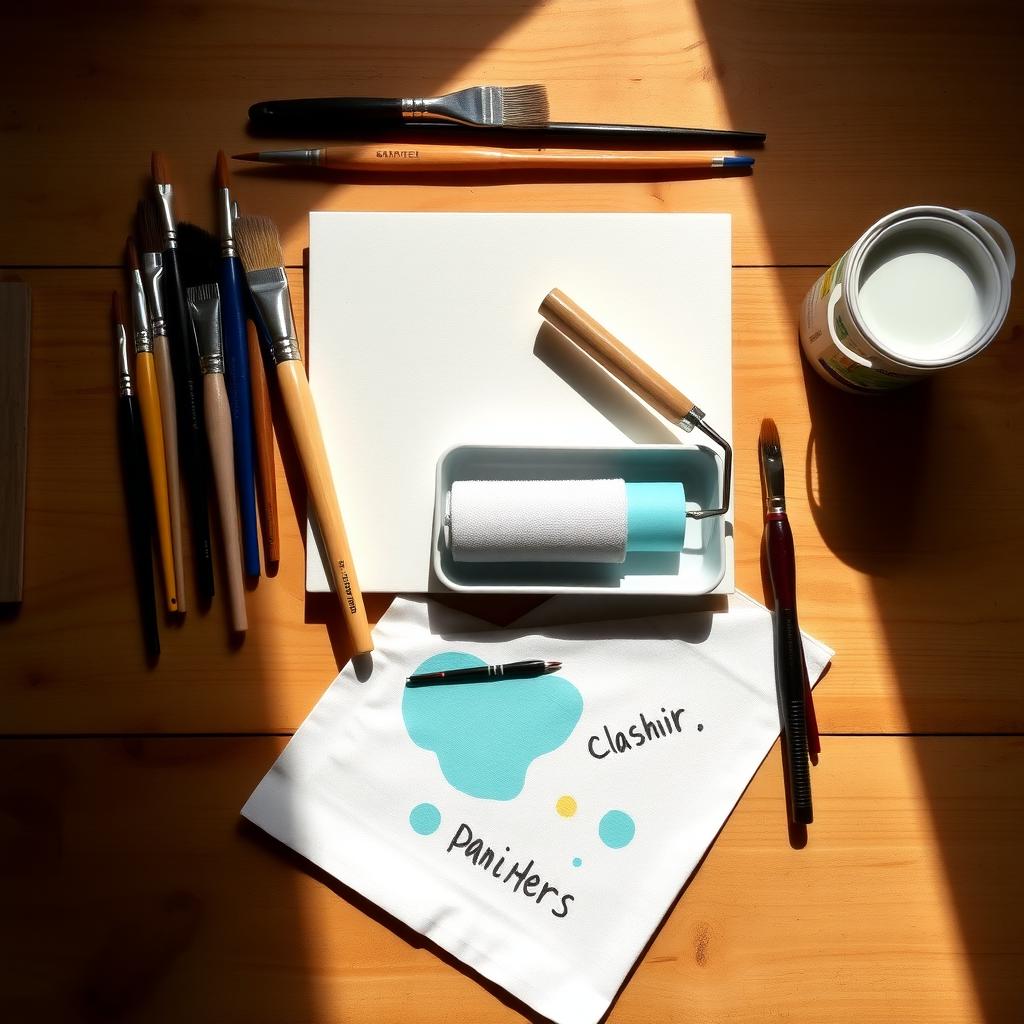
Beyond brushes, here’s a rundown of essential painting tools for beginners you’ll need to tackle most projects. I’ve included why each tool matters and how to use it effectively.
1. Paint Roller and Tray
Rollers make quick work of large surfaces like walls or ceilings. A 9-inch roller with a 3/8-inch nap is versatile for most interior walls. The tray holds your paint and lets you load the roller evenly. I once skipped the tray and tried pouring paint directly onto the roller—disaster! Stick with the tray for smooth, even coverage.
2. Painter’s Tape
This is your secret weapon for clean lines. Apply it to edges, trim, or anywhere you want crisp boundaries. Remove it before the paint fully dries to avoid peeling. I recommend 3M ScotchBlue for reliable adhesion without residue.
3. Drop Cloth
Spills happen. A canvas drop cloth protects floors and furniture better than plastic, which can get slippery. Lay it down before you start, and you’ll thank yourself during cleanup.
4. Paint Can Opener
It sounds basic, but a proper paint can opener (usually a small metal tool) prevents damaging the can’s lid. Many hardware stores give these away free with paint purchases.
5. Sandpaper or Sanding Block
Smooth surfaces lead to better paint adhesion. Use 120-150 grit sandpaper for prepping walls or furniture. I sanded an old dresser before painting it, and the smooth finish made it look professional.
6. Primer
Not always a tool, but a must-have for beginners. Primer seals porous surfaces and ensures your paint sticks. It’s a game-changer for covering dark colors or bare wood.
7. Stir Sticks
Mixing paint ensures consistent color. Use wooden stir sticks (often free at paint counters) to blend thoroughly before starting.
| Tool | Purpose | Beginner Tip |
|---|---|---|
| Paint Roller | Covers large surfaces quickly | Use a tray for even loading |
| Painter’s Tape | Creates clean edges | Remove before paint dries |
| Drop Cloth | Protects surfaces | Choose canvas over plastic |
| Sandpaper | Smooths surfaces | Start with 120-150 grit |
| Primer | Improves paint adhesion | Don’t skip on new surfaces |
Practical Tips for Using Painting Tools
Here are some lessons I’ve learned from my own painting mishaps:
- Test Your Tools: Before diving into a big project, practice on a scrap piece of wood or cardboard. It helps you get a feel for your brush or roller.
- Don’t Overload: Too much paint on your brush or roller leads to drips. Dip lightly and roll or brush off excess.
- Work in Sections: Paint in small, manageable areas to keep a wet edge and avoid visible lines.
- Store Tools Properly: Wrap brushes and rollers in plastic wrap during breaks to keep them from drying out. For long-term storage, clean thoroughly and store in a dry place.
These tips might sound simple, but they’ve saved me hours of frustration. For example, I once left a roller unwrapped overnight, and it hardened into a useless brick. Don’t make that mistake!
Where to Buy Quality Painting Tools
You don’t need to break the bank, but investing in decent workman tools pays off. Hardware stores like Home Depot or Lowe’s offer reliable options for beginners. Online retailers like Amazon have a wide selection, but check reviews to avoid low-quality knockoffs. For specialty brushes, brands like Purdy are available at paint supply stores or online. If you’re on a budget, look for sales or starter kits that bundle essential painting tools for beginners.
For authoritative advice on tool selection, check out resources like This Old House or Bob Vila. They offer practical guides and product recommendations.
Common Mistakes to Avoid
Beginners often trip up on a few common pitfalls:
- Buying Cheap Tools: Low-quality brushes shed bristles, and flimsy rollers leave streaks. Spend a little more for durability.
- Skipping Prep Work: Not sanding or priming can ruin your finish. Prep is half the job.
- Ignoring Cleanup: Dried paint on tools is a nightmare. Clean as you go to keep your painting tools in top shape.
I once skipped priming a wall, thinking it wasn’t necessary. The paint peeled within months. Learn from my mistakes and take the extra steps.
Summary
Building your must-have tools in a painter’s toolkit doesn’t have to be daunting. Start with quality brushes, a reliable roller, painter’s tape, and a few other essentials. Focus on choosing the right paintbrush for your project, prep properly, and practice your technique. With the right essential painting tools for beginners, you’ll be painting like a pro in no time. Explore the recommended readings below for more tips and inspiration.
Related Essential Painting Tools for Beginners:
- Top 10 Painting Mistakes and How to Avoid Them
- Advanced Electrical Tools for Automation: Revolutionizing Workman Efficiency
- Top Safety Practices for Electrical Projects: A Comprehensive Guide
- DIY Safety: Protecting Yourself While Working on Home Projects
- Understanding the Role of Ergonomics in Construction
- Top 10 Tools Every Workman Should Own for Any Job
- How to Fix Common Plumbing Problems at Home: A DIY Guide
- How to Choose the Best Hand Tools for Home Repairs
- The Ultimate Guide to Workman Tools for Automotive Repairs
- Woodworking 101: Essential Tools for Beginners
- Understanding Construction Site Hazards: A Comprehensive Guide to Staying Safe
- How to Choose the Best Tools for Electrical Projects: A Comprehensive Guide