Keeping your hand tools sharp is one of the most important skills in woodworking. Sharp edges cut cleanly, require less effort, and make every project safer and more enjoyable. This guide walks you through proven techniques to sharpen your hand tools like a pro.
Why Sharp Hand Tools Matter
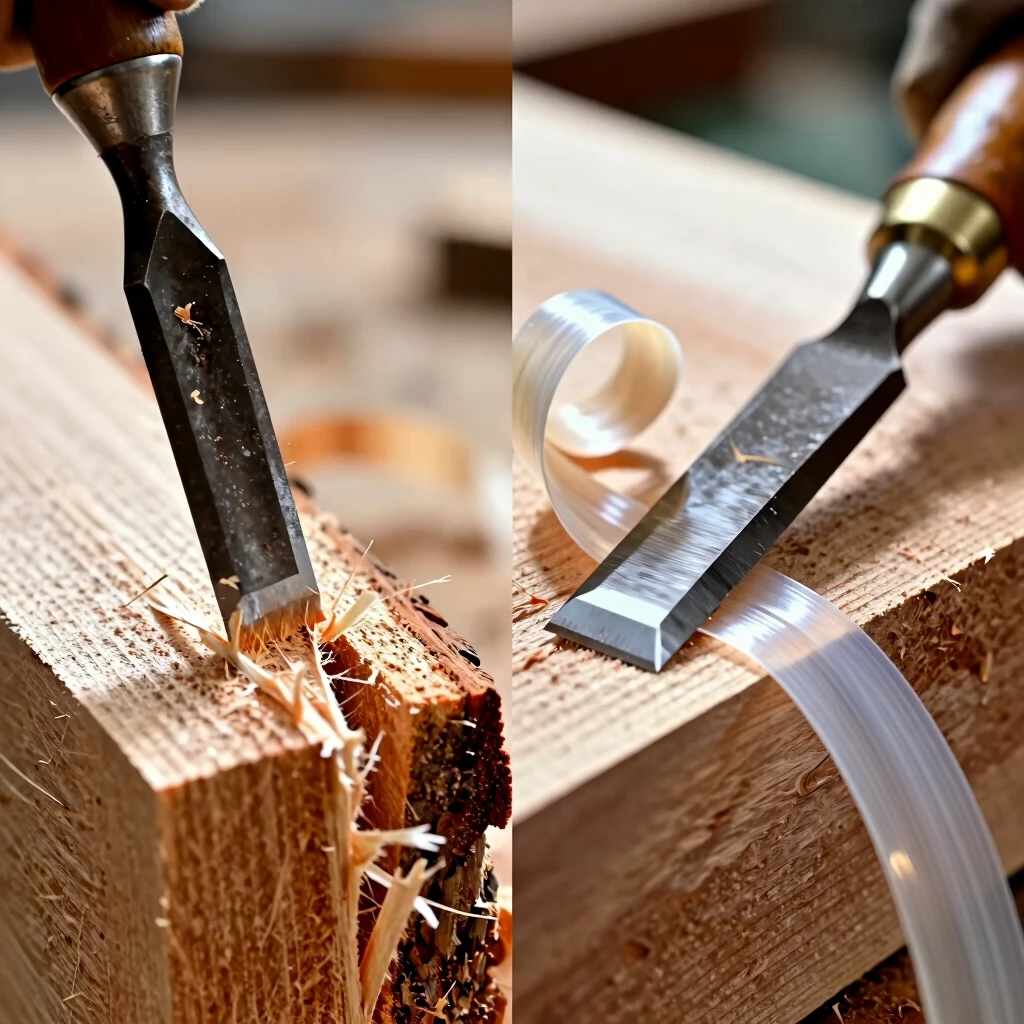
Dull tools fight you every step of the way. They tear wood fibers, leave rough surfaces, and demand more force—which increases the risk of slips and injury. Sharp tools, on the other hand, slice effortlessly and give you better control.
In my own shop, I used to push through with dull chisels and planes, thinking I was saving time. The results were always disappointing. Once I committed to regular sharpening, my cuts became cleaner, my work more precise, and my projects noticeably better.
Essential Equipment for Sharpening Hand Tools
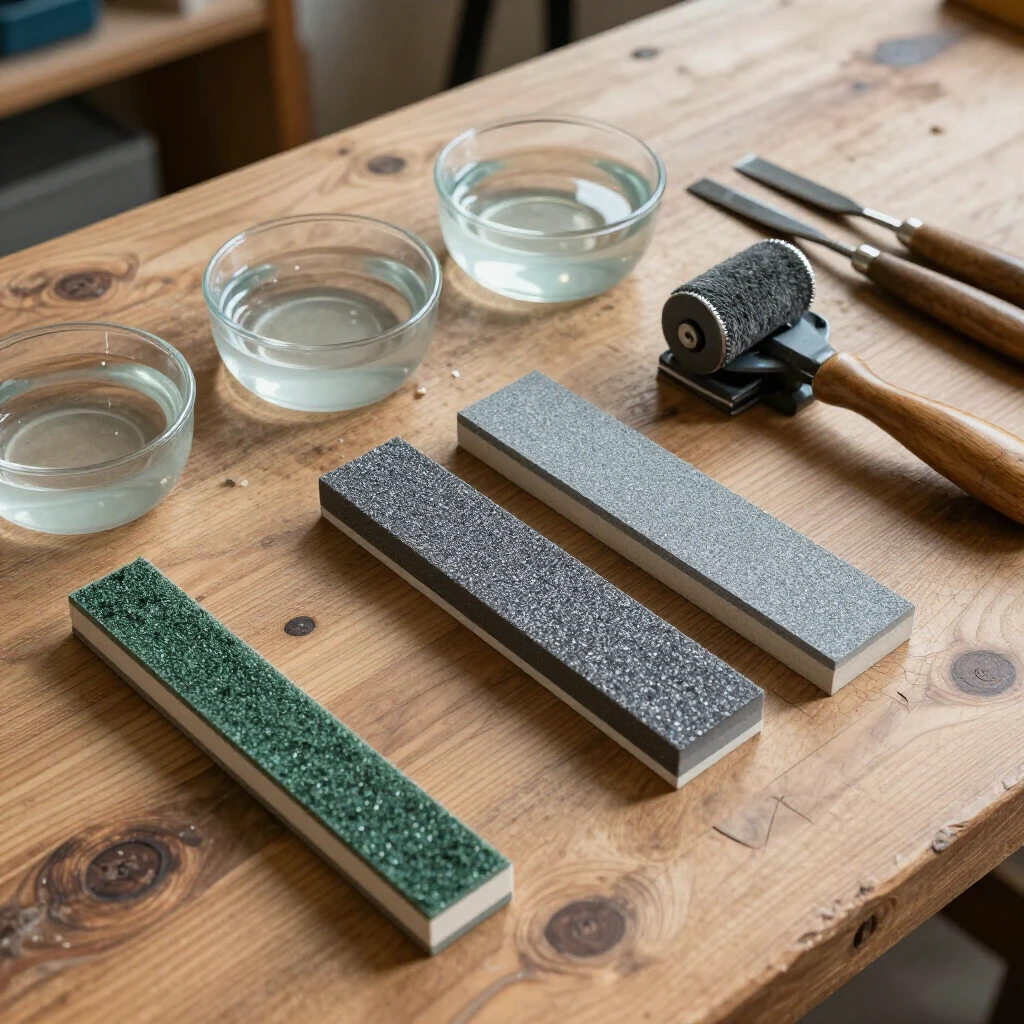
You don’t need an expensive setup to get professional results. Here are the basics most woodworkers rely on:
- Stones or plates: Waterstones (fast-cutting), oilstones (traditional), or diamond plates (durable and flat).
- Honing guide (optional but helpful for consistent angles, especially for beginners).
- Strop: Leather charged with honing compound for final polishing.
- Coarse option: A grinder or coarse diamond plate for repairing damaged edges.
- Magnifier or loupe: To inspect the edge closely.
Many pros prefer waterstones for speed and feel, but diamond plates work great if you want low maintenance.
| Tool Type | Recommended Starting Grit Progression | Typical Bevel Angle |
|---|---|---|
| Bench Chisels | 800 → 1200 → 4000 → 8000 | 25–30 degrees |
| Plane Irons | 800 → 1200 → 4000 → 8000 | 25–30 degrees |
| Gouges | 800 → 1200 → 4000 | Varies by sweep |
| Axes | 400 → 1000 → strop | 20–25 degrees |
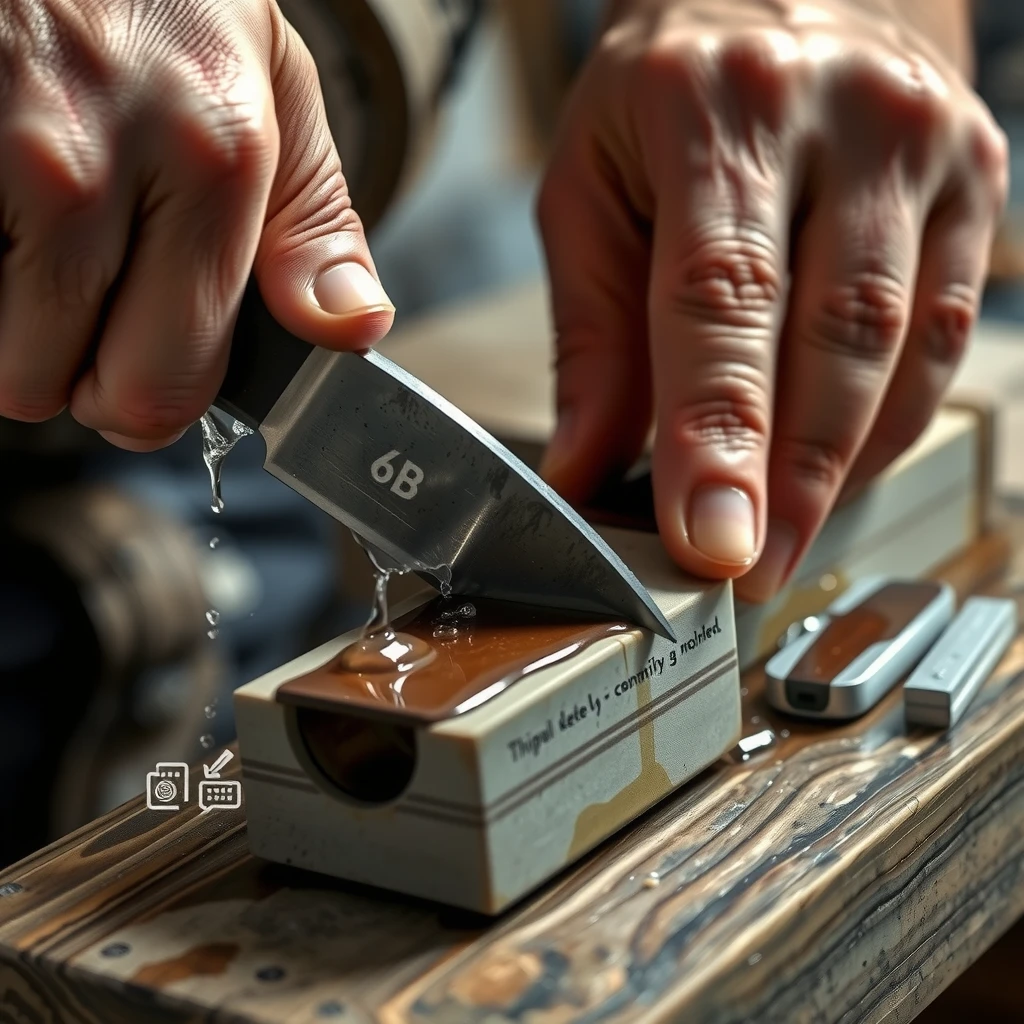
Step-by-Step: Sharpening Chisels and Plane Irons
The process is the same for both chisels and plane irons.
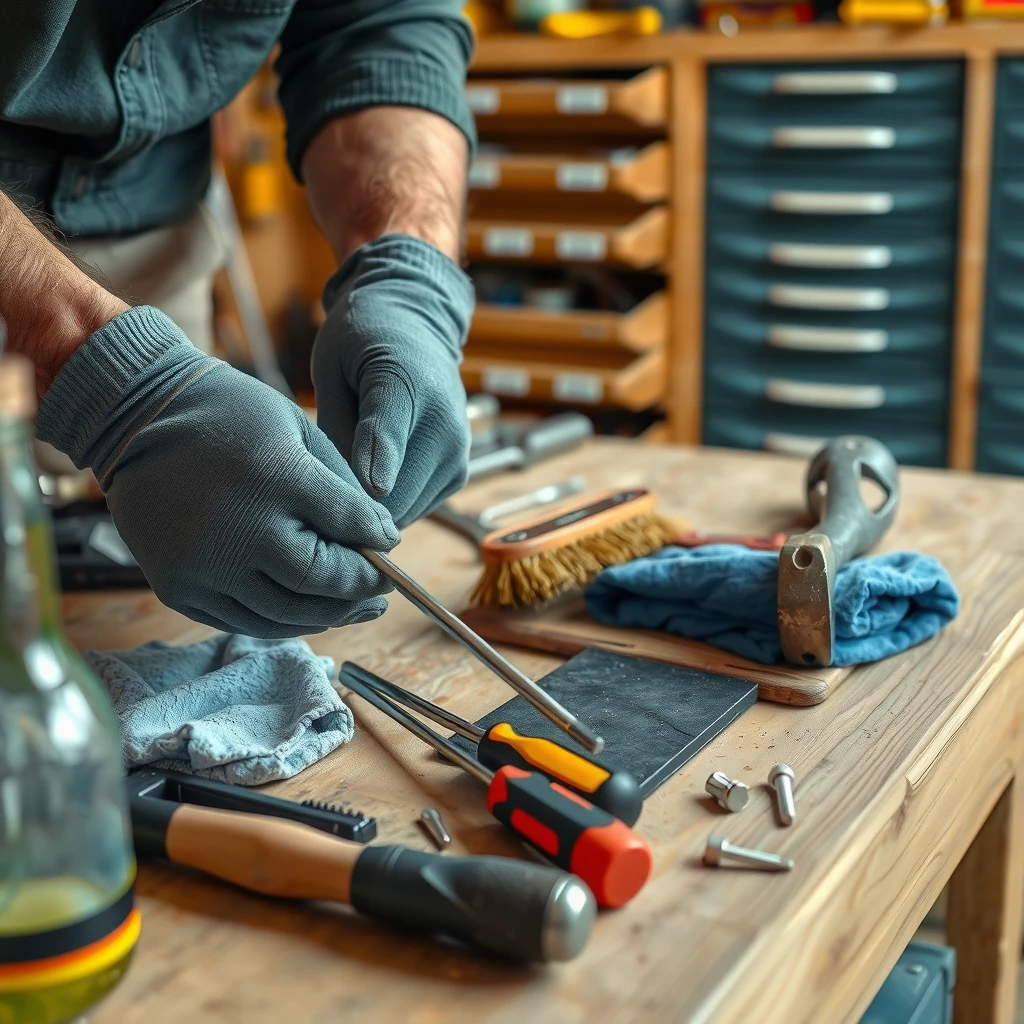
- Flatten the back — The back must be dead flat and polished near the tip. Work progressively through finer grits until you have a mirror finish on the first inch.
- Set or repair the bevel — If the edge is damaged, grind on a coarse stone or wheel to establish the primary bevel.
- Hone the secondary bevel — Most woodworkers add a slightly higher secondary bevel (about 2–5 degrees higher) for strength. Use medium and fine stones.
- Polish — Move to the finest stone or strop to remove the wire edge (burr).
- Test — The edge should shave arm hair easily or slice end-grain wood with thin, continuous shavings.
Freehand sharpening gives the best feel once you practice. For a clear demonstration of freehand technique, see Paul Sellers’ reliable method for sharpening chisels and plane irons.
Sharpening Other Common Hand Tools
Saws — Western handsaws need jointing, shaping, and setting teeth with specialized files. It’s a separate skill, but worth learning for smooth cuts.
Axes and drawknives — These use a slightly convex bevel for durability. The USDA Forest Service offers an excellent free resource in An Ax to Grind: A Practical Ax Manual, which covers filing, grinding, and honing techniques that apply to many edged hand tools.
Gouges and carving tools — Sharpen the outside bevel first, then use slip stones for the inside curve. Maintain the original sweep.
Final Polishing and Testing Sharpness
After the finest stone, stropping removes any remaining wire edge and gives a mirror polish. Charge a piece of leather with green chromium oxide compound and pull the tool away from the edge.
A truly sharp edge will: - Shave hair off your arm effortlessly. - Cut printer paper with almost no resistance. - Produce thin, full-width shavings when paring end grain.
Everyday Hand Tools Maintenance Tips
- Touch up edges frequently—every 15–30 minutes of heavy use keeps tools performing well.
- Store tools in a dry place to prevent rust.
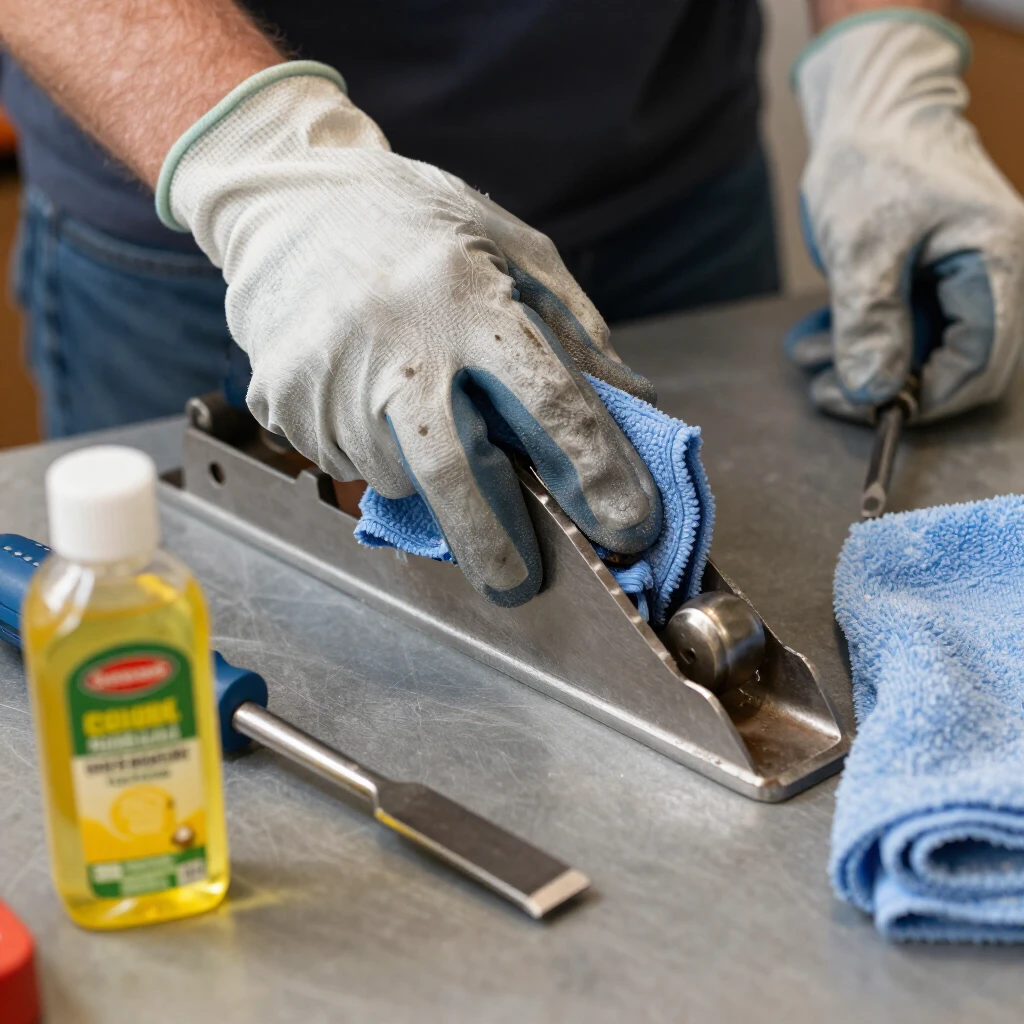
- Wipe blades with a light oil or camellia oil after use.
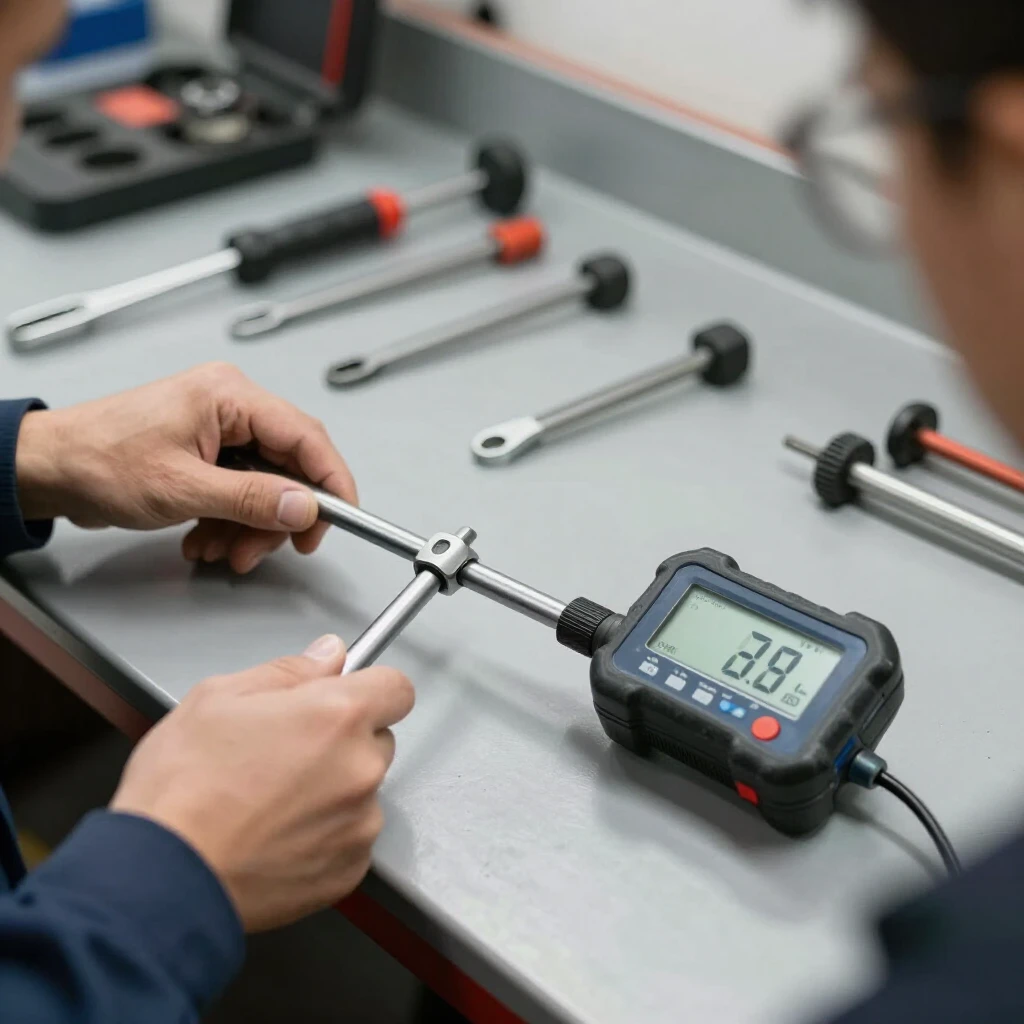
- Check bevel angles with a small protractor or angle gauge.
Following these simple habits will extend the life of your workman tools and keep them ready for any task.
Final Thoughts
Sharpening is a skill that rewards practice. Start simple, be patient, and you’ll soon achieve edges that make woodworking feel effortless. Keep your hand tools sharp, and your projects will show the difference.
For more in-depth techniques, explore the resources linked above from recognized experts and established organizations.
Related How to Sharpen Your Hand Tools Like a Pro:
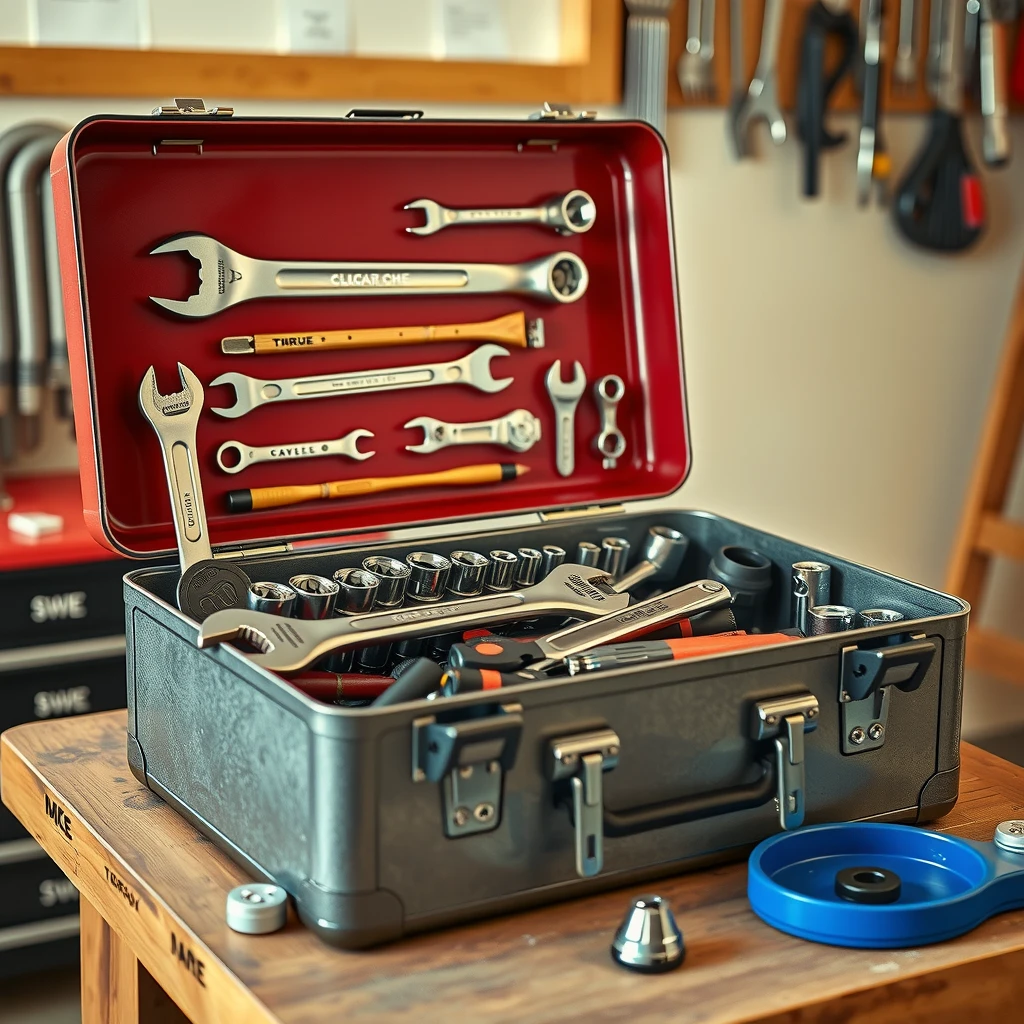
- Must-Have Wrenches for Every Toolbox: The Essential Guide for 2026
- How to Maintain Your Tools for Longevity: Practical Tips for Lasting Performance
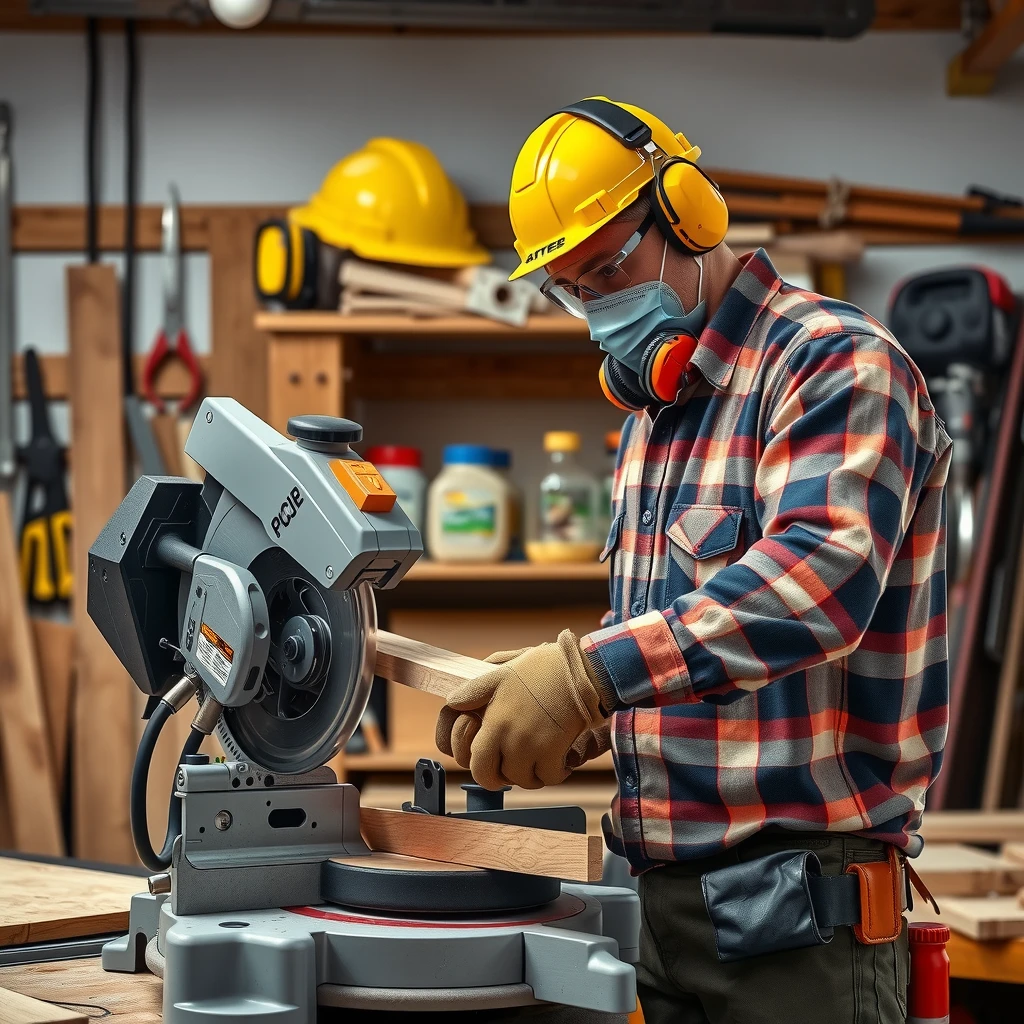
- Workshop Maintenance Guide: Essential Tips for Safety and Efficiency
- Tool Calibration: Ensuring Precision in Your Work
- How to Use Wrenches Safely: Essential Tips for Every DIYer and Professional
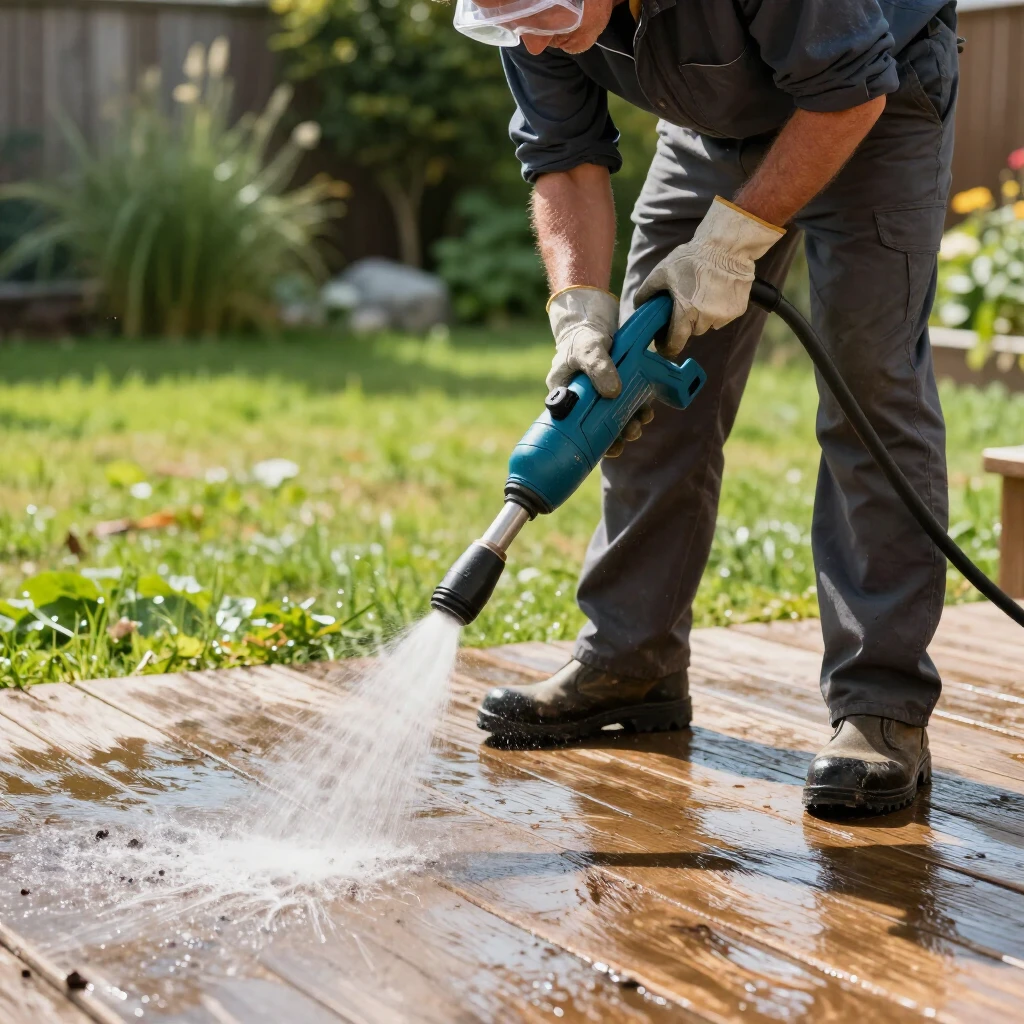
- How to Choose the Right Power Washer for Your Needs
- Organizing Your Workshop: Tips for Efficient Tool Storage
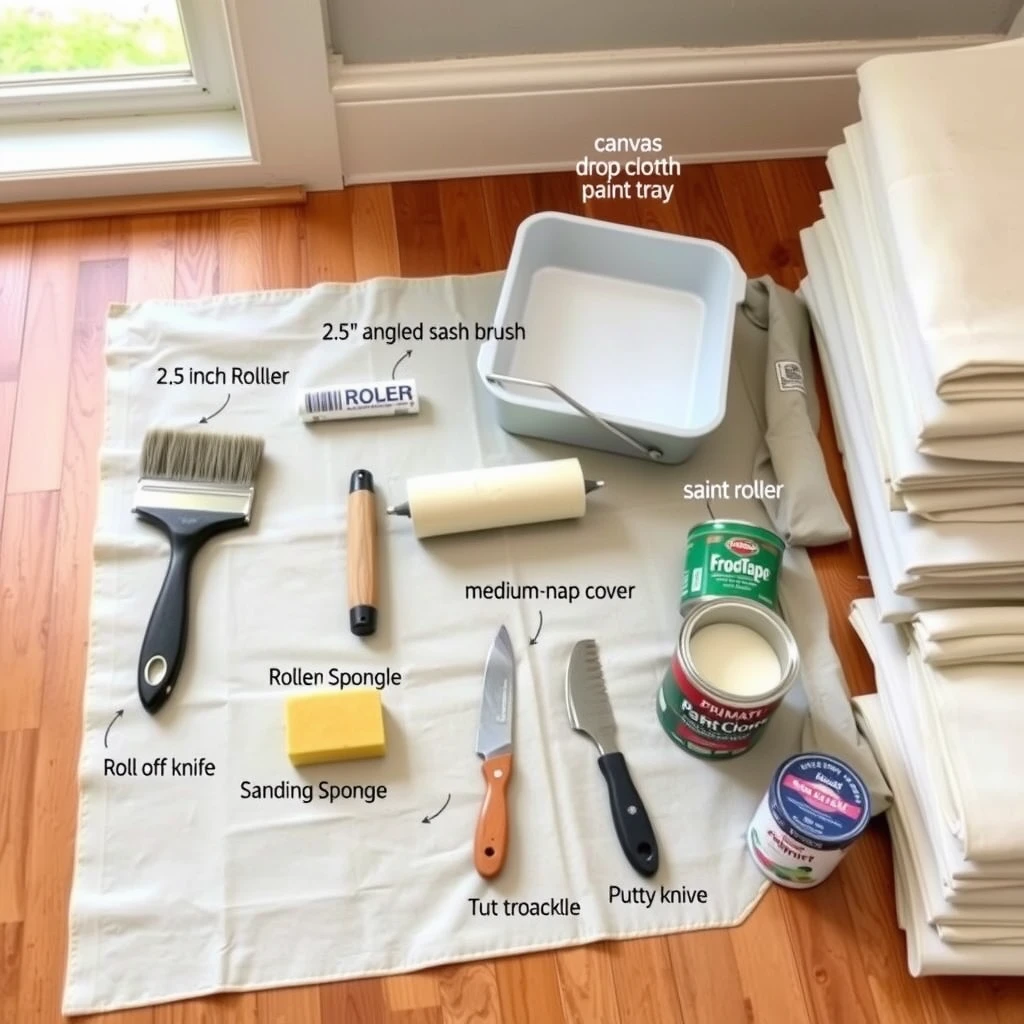
- DIY Painting Hacks for Beginners: Simple Tips for Professional Results
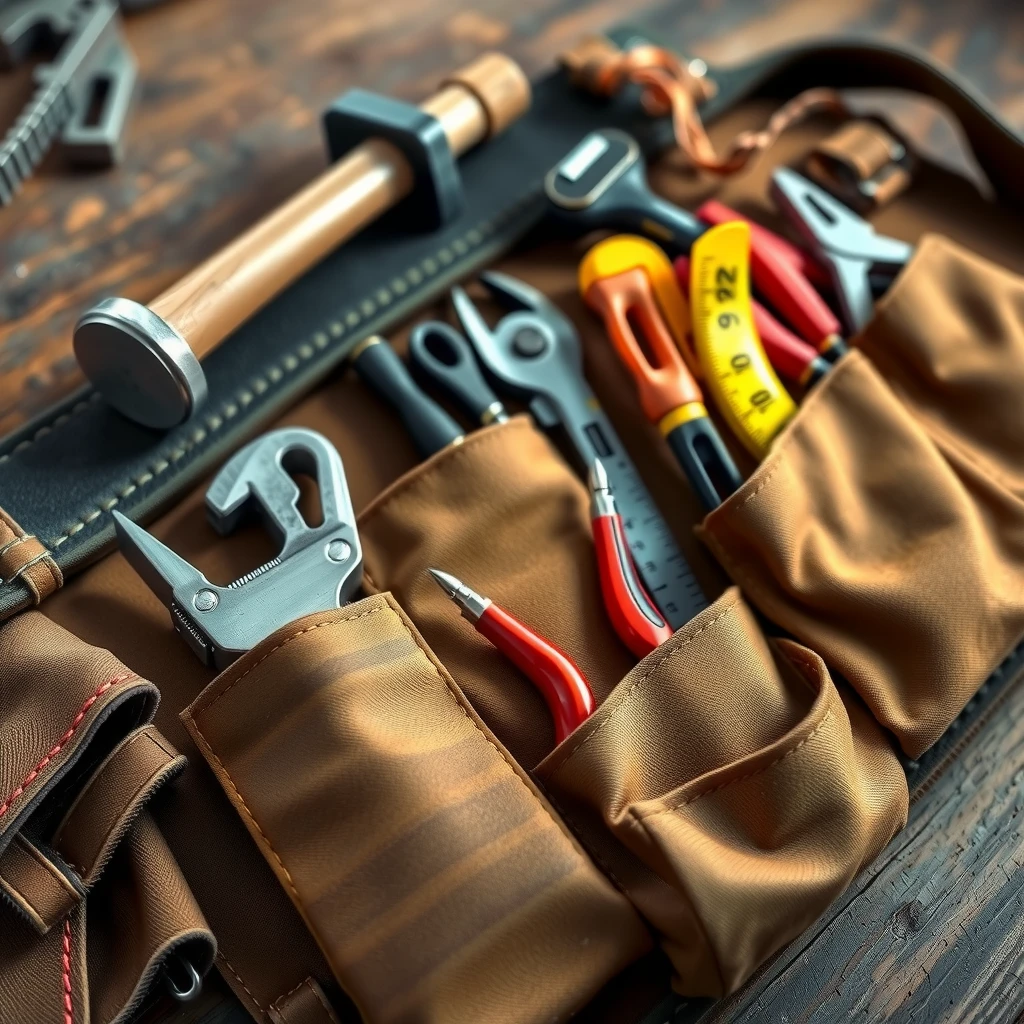
- The Ultimate Guide to Tool Belts with Built-In Storage in 2026
- Best Beginner Power Tools Reviews - Wood Magazine
- Beginner's Guide to Lawn Mower Upkeep
- How to Choose the Right Oil for Your Car