Overview
Hammers are one of the most basic yet powerful workman tools in any toolbox. Mastering the basics: how to use hammers effectively can make your DIY projects easier, safer, and more successful. This guide to essential tools for beginners breaks down everything you need to know.
Why Learn to Use Hammers Properly?
I remember my first home project—hanging a picture frame. I grabbed a hammer and started swinging wildly. The result? A bent nail, a dent in the wall, and a sore thumb. That experience taught me that hammers seem simple, but using them right makes all the difference.
Today, millions of people use hammers for everything from building furniture to minor repairs. Getting it right saves time and prevents injuries.
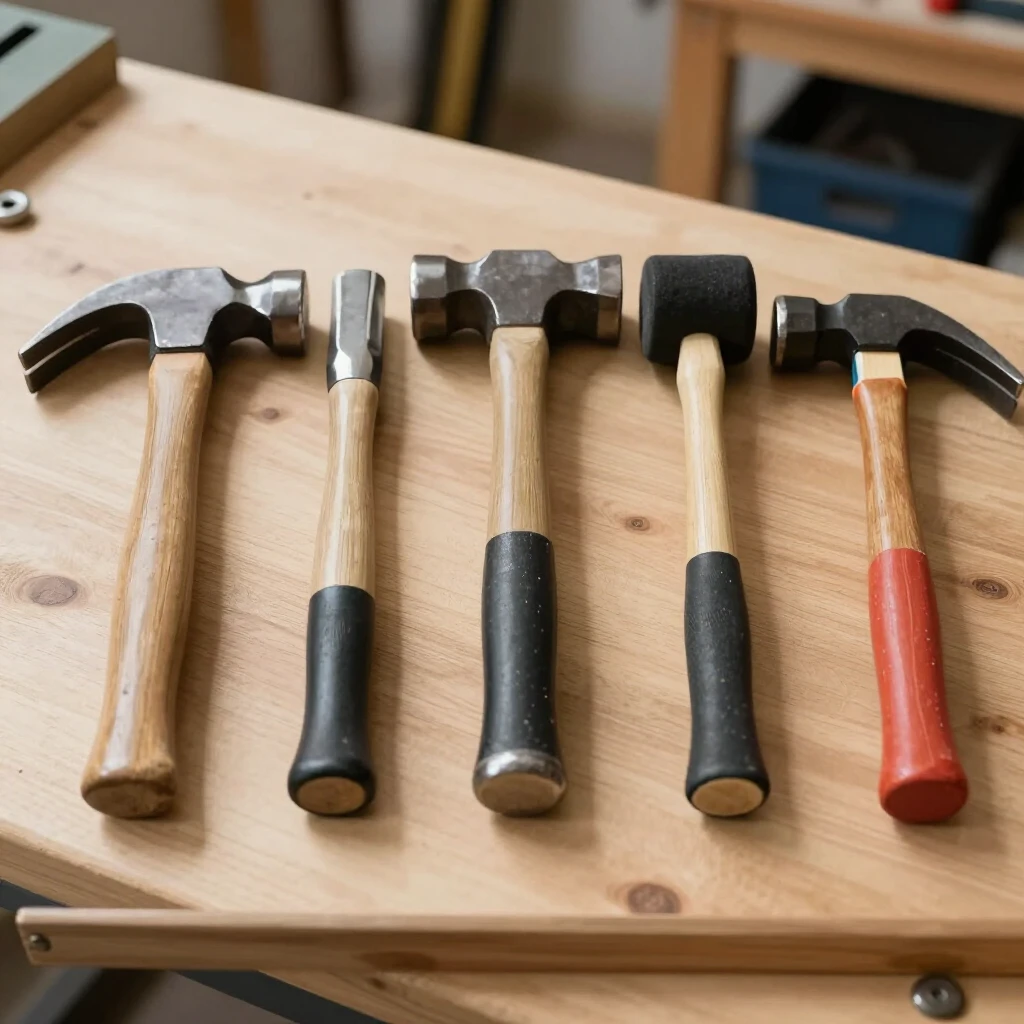
Choosing the Right Hammer: Types of Hammers for Different Projects
Not all hammers are the same. Picking the correct one for your task is key.
Here are common types:
-
Claw Hammer: The go-to for most home tasks. One side drives nails; the curved claw pulls them out. Great for general woodworking.
-
Ball Peen Hammer: Has a flat side and a rounded side. Perfect for shaping metal or striking chisels.
-
Framing Hammer: Heavier with a longer handle. Ideal for construction, like building frames.
-
Rubber Mallet: Soft head won't damage surfaces. Use for assembling furniture or tiling.
-
Sledgehammer: Heavy for demolition or driving stakes.
For more details on types, check this comprehensive overview from The Family Handyman on 10 Types of Hammers.
| Type | Weight Range | Best For | Handle Material |
|---|---|---|---|
| Claw | 16-20 oz | General nailing/pulling | Wood/Fiberglass |
| Ball Peen | 8-32 oz | Metalwork | Wood/Steel |
| Framing | 20-28 oz | Heavy construction | Wood/Fiberglass |
| Rubber Mallet | 8-32 oz | Delicate surfaces | Wood/Rubber |
| Sledge | 4-20 lbs | Demolition | Fiberglass/Wood |
How to Grip and Swing a Hammer Correctly
Hold the hammer near the end of the handle for maximum power. Grip firmly but not too tight—think handshake strength.
Swing from your elbow and shoulder, not just your wrist. Let the hammer's weight do the work. Aim straight and follow through.
Pro tip from my experience: Practice on scrap wood first. It builds accuracy and prevents those embarrassing misses.
As experts note in The Family Handyman's toenailing basics, hold the hammer at the end with a relaxed grip and swing from the elbow for control.
Step-by-Step: Driving a Nail Effectively
-
Position the nail straight against the surface.
-
Tap lightly a few times to set it.
-
Take full swings to drive it in.
-
Stop when the head is flush—don't overhit.
For pulling nails: Slide the claw under the head, then pull back using the handle for leverage.
Common Mistakes Beginners Make
-
Gripping too close to the head: Reduces power.
-
Over-swinging: Leads to bent nails or damage.
-
Ignoring safety: No glasses or gloves.
I once rushed a job without glasses—a wood chip flew into my eye. Lesson learned!

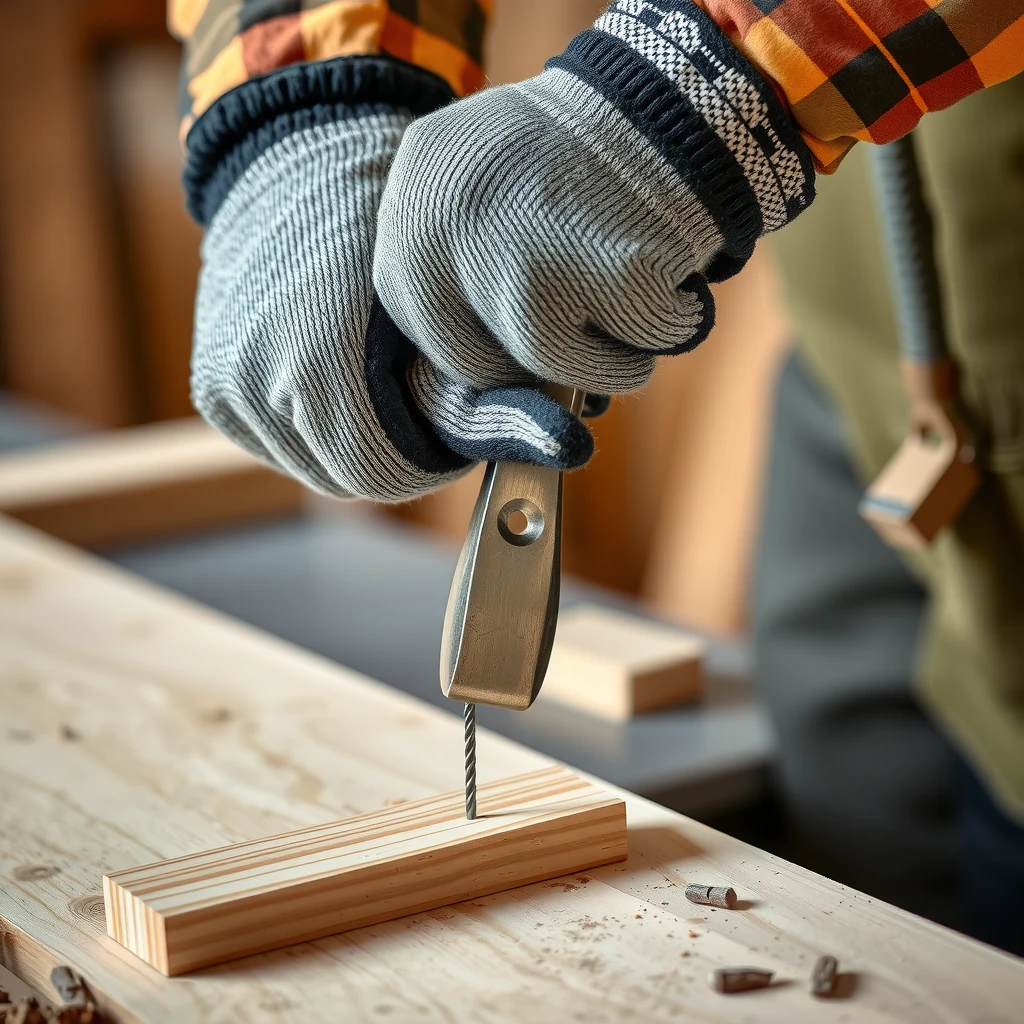
Safety First: Essential Practices
Always wear safety glasses to protect your eyes from flying debris. Gloves help grip and shield hands.
Check your hammer for cracks before use. Never use a damaged tool.
Clear your swing area—no people or obstacles nearby.
According to OSHA guidelines in their Hand and Power Tools publication, keep tools in good condition and use proper personal protective equipment.
For construction sites, follow rules like those in OSHA 1926.301 on hand tools.
Maintenance and Care for Your Hammers
Store hammers in a dry place to prevent rust.
Clean after use, especially if working with treated wood.
If the handle loosens, replace it—don't tape it up.
A well-maintained hammer lasts years and works better.
Personal Insights from Years of Use
Over time, I've found a 16-ounce claw hammer with a fiberglass handle is my favorite for most jobs. It's light enough for all-day use but powerful.
Start small: Practice driving nails into scrap. You'll gain confidence quickly.
Hammers are timeless workman tools—master them, and you'll handle most basic repairs yourself.
Summary
Mastering the basics: how to use hammers effectively starts with choosing the right type, gripping properly, swinging controlled, and prioritizing safety. With practice, you'll use this guide to essential tools for beginners to complete projects smoothly.
Stay safe and enjoy your DIY adventures!
Final Thoughts
Take your time learning these skills. The right technique turns a simple hammer into a powerful ally for any project.
Related Mastering the Basics: How to Use Hammers Effectively:
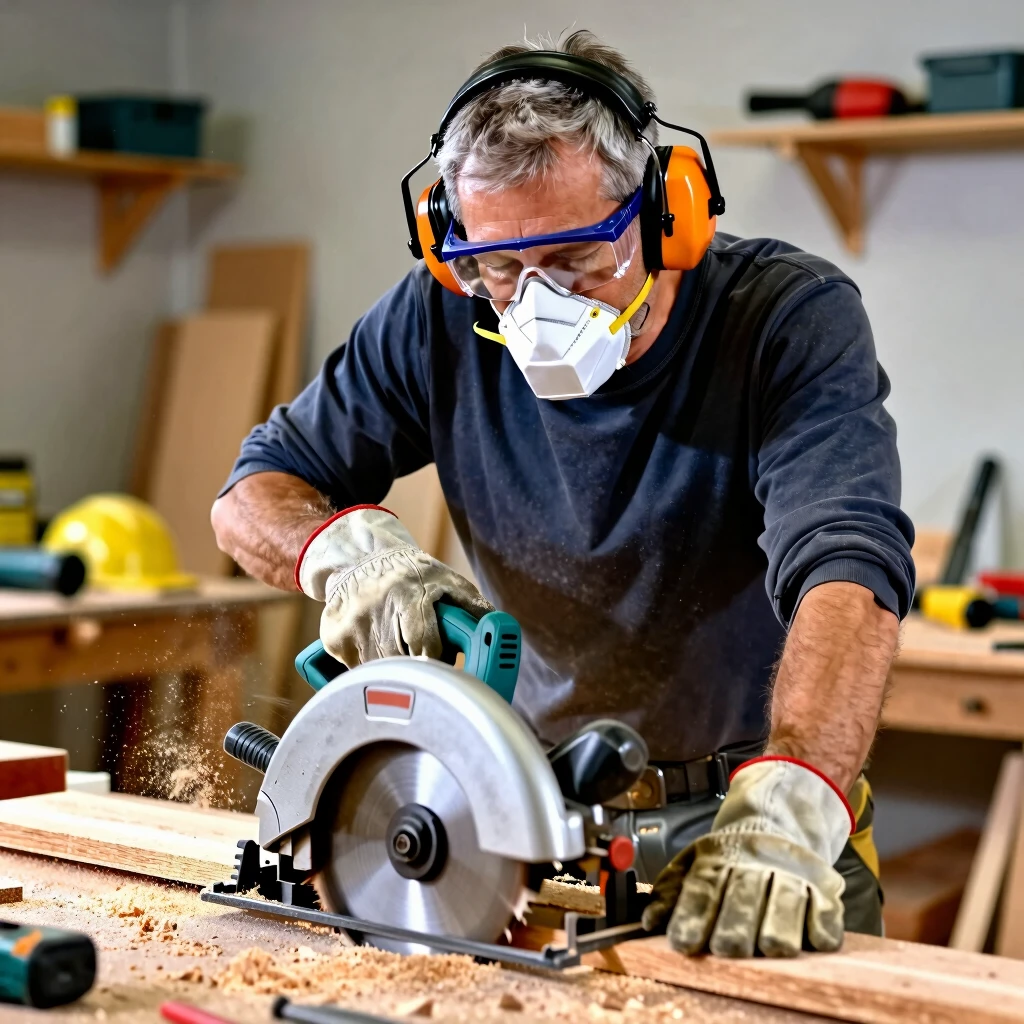
- Essential Safety Gear for Working with Power Tools
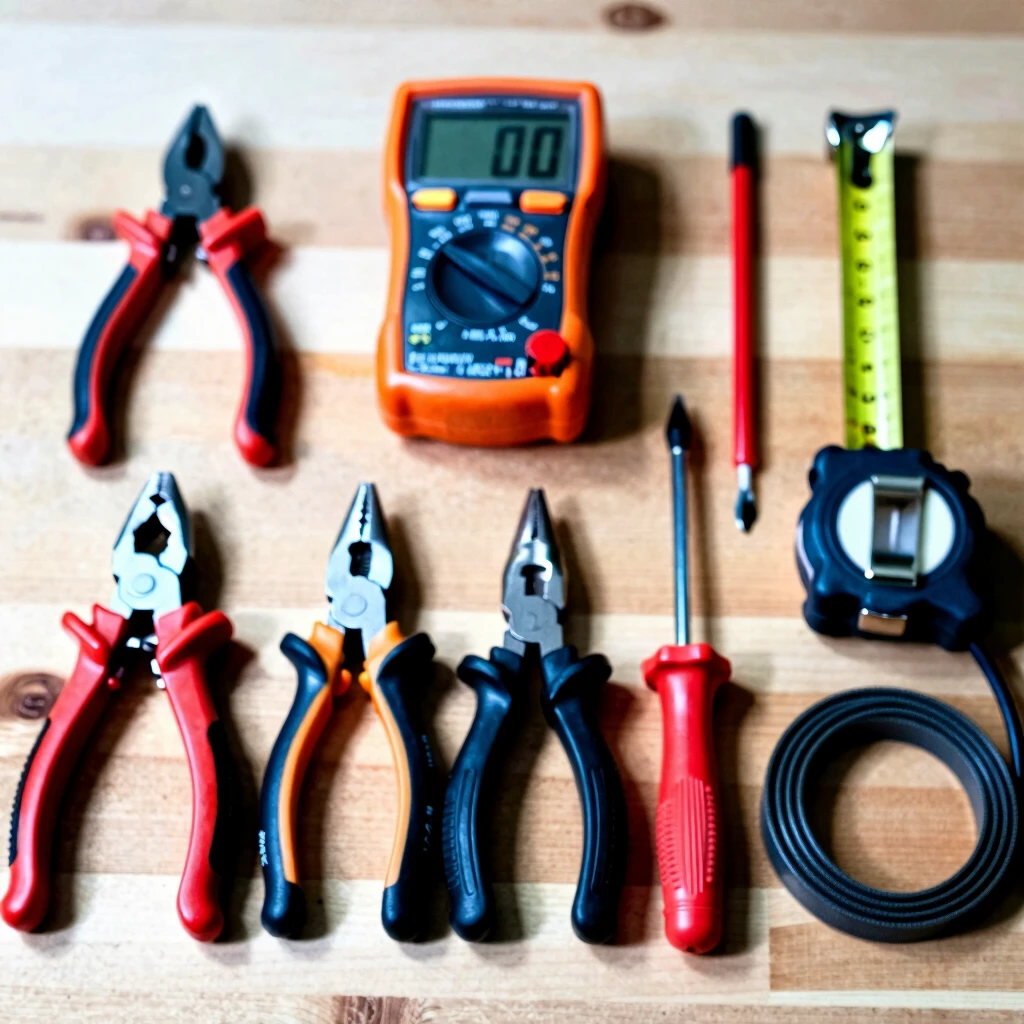
- Essential Electrical Tools for Wiring and Installations: A Complete Guide
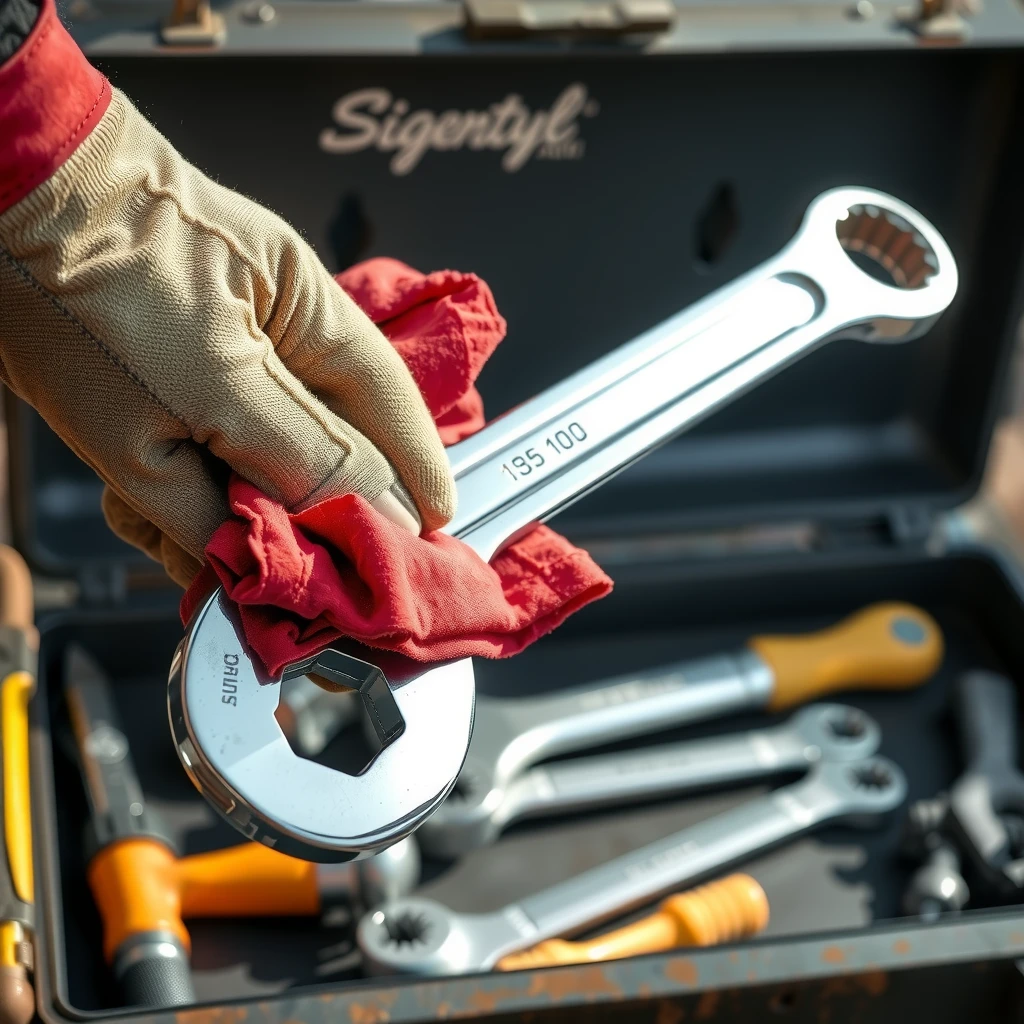
- Maintenance Tips for Long-Lasting Hand Tools: Keep Your Favorite Wrenches and Workman Tools Performing Like New
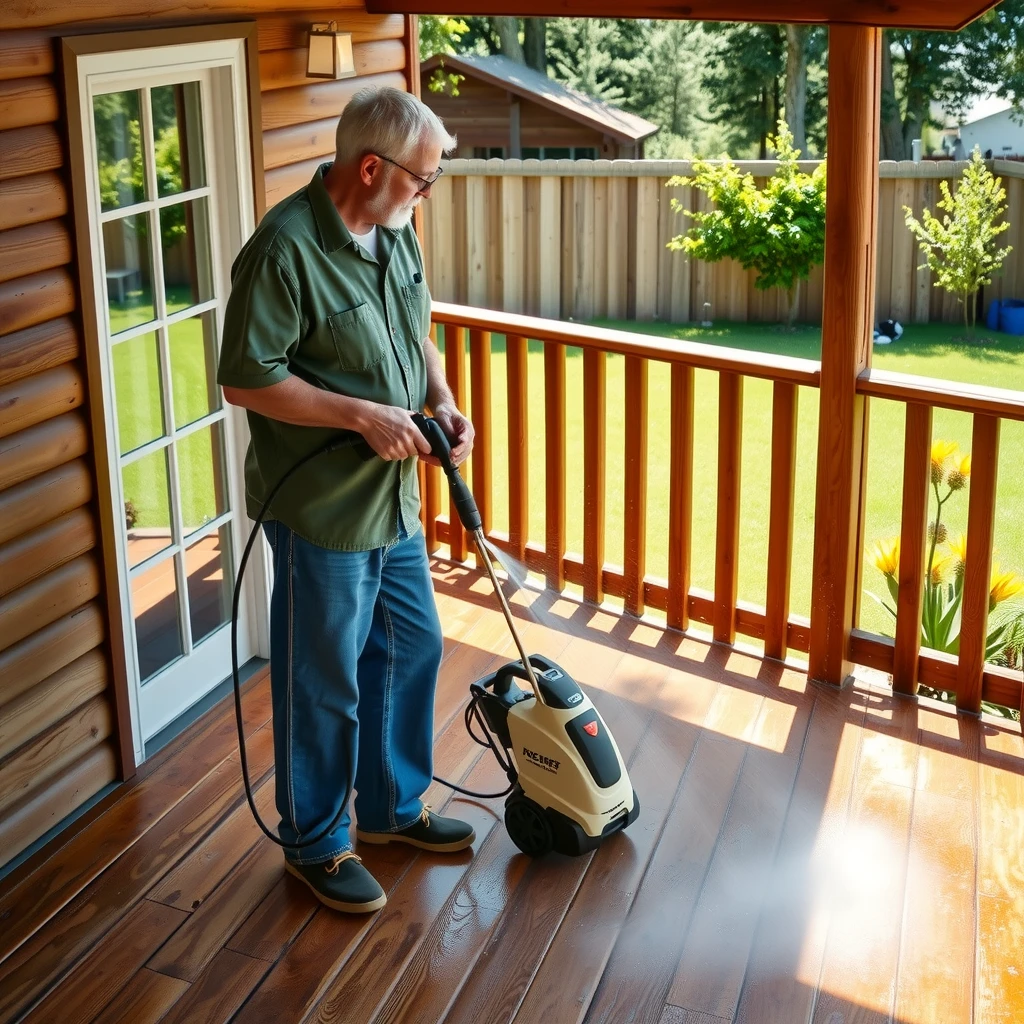
- How to Choose the Right Power Washer for Your Needs
- Maintaining Your Power Tools for Peak Performance
- Mastering Rotary Tools for Jewelry Making: Your Essential Guide
- How to Choose the Right Screwdriver for the Job
- Safety Best Practices for Electricians: Essential Tips to Stay Safe on the Job
- Setting Up Your Ideal Workbench: Tips and Tricks
- Key Features to Look for in Cordless Power Tools
- Top 10 Workman Tools Every Contractor Needs
- Building Outdoor Decks: Step-by-Step with Pro Tips