Jewelry making is a rewarding craft that lets you turn simple materials into wearable art. Whether you’re just starting or want to improve your skills, having the right tools makes all the difference. This guide covers the 10 essential tools for jewelry making, including hand tools and power tools like rotary tools, to help you build a solid foundation.
(Word count so far: ~48)

Why These 10 Tools Matter
Every jewelry maker starts somewhere, and these tools are the ones I reach for most often. They cover the core tasks: cutting, bending, shaping, smoothing, and finishing metal, wire, and beads. You don’t need expensive brands to begin—good quality at a fair price works perfectly. Over time, you’ll add specialty items, but these ten will carry you through most projects.
1. Round-Nose Pliers
Round-nose pliers are your go-to for making loops and curves in wire. The tapered, smooth jaws let you create consistent loops for earrings, jump rings, or wrapped designs. I always keep a pair with fine tips because they give the cleanest results on thin wire.
Tip: Mark your jaws with a permanent marker at your favorite loop sizes so every loop matches.
2. Chain-Nose Pliers
Chain-nose pliers have flat inner jaws that taper to a point. They’re perfect for gripping wire, opening and closing jump rings, and tucking in wire ends. I use mine constantly for precise work where round-nose pliers would leave marks.
A pair with smooth jaws prevents scratching soft metals like sterling silver.
3. Flat-Nose Pliers
Flat-nose pliers give you wide, flat jaws for making sharp bends and straightening wire. They’re great for holding pieces steady while you work. I prefer the wider version for larger tasks and a narrower pair for detail work.

4. Flush Cutters
Good flush cutters make clean, flat cuts on wire without leaving sharp points. Look for ones labeled “flush” or “semi-flush” and designed for soft metals. Cheap cutters crush the wire and leave a spike that can scratch skin.
My favorite pair has ergonomic handles—I can work for hours without hand fatigue.
5. Needle Files
A set of needle files in different shapes (round, half-round, flat, triangle) lets you smooth cut ends, refine shapes, and remove burrs. They’re small enough to reach tight spots. I keep a six-piece set handy and use the half-round most often for inside curves.
6. Jeweler’s Hammer and Steel Bench Block
A small chasing hammer or ball-peen hammer paired with a steel bench block is essential for hardening wire, texturing metal, and flattening. The flat face work-hardens, while the rounded end creates a hammered texture.
Place a piece of leather or a rubber mat under the block to reduce noise and protect your surface.
7. Ring Mandrel
A metal ring mandrel helps you size and shape rings accurately. Marked sizes make it easy to form consistent rings from wire or sheet. I also use mine to shape ear wires and hold pieces while filing.
A tapered mandrel without grooves works best for custom sizes.
8. Headband Magnifier (Loupe)
Fine details are hard to see with the naked eye. A headband magnifier with interchangeable lenses (2x to 10x) lets you work comfortably and spot tiny flaws. I wear mine whenever I set stones or finish small pieces.

9. Rotary Tool
A rotary tool (often called a Dremel) is one of the most versatile power tools for jewelry making. With the right accessories, you can drill, grind, sand, polish, carve, and engrave. It saves hours compared to hand polishing.
Start with a variable-speed cordless model for safety and convenience. Must-have attachments include: - Felt polishing wheels - Rubber abrasive points - Small diamond bits - Cut-off wheels
Always wear eye protection and work in a well-ventilated area when using rotary tools.
10. Safety Gear
Safety glasses, a dust mask, and an apron aren’t glamorous, but they’re essential. Tiny metal pieces fly when cutting or grinding, and polishing compounds can irritate lungs. I learned the hard way—now safety gear is the first thing I put on.
Quick Reference Table
| Tool | Primary Use | Beginner Tip |
|---|---|---|
| Round-Nose Pliers | Making loops and curves | Mark jaws for consistent loop sizes |
| Chain-Nose Pliers | Gripping, opening jump rings | Choose smooth jaws to avoid marks |
| Flat-Nose Pliers | Sharp bends, holding | Keep wide and narrow pairs |
| Flush Cutters | Clean wire cuts | Invest in quality to avoid crushing |
| Needle Files | Smoothing edges | Get a 6-piece set |
| Hammer & Bench Block | Texturing, hardening | Use rubber mat to reduce noise |
| Ring Mandrel | Sizing and shaping rings | Choose metal over plastic |
| Headband Magnifier | Seeing fine details | 2x-5x lenses for most work |
| Rotary Tool | Drilling, polishing, engraving | Start with variable speed |
| Safety Gear | Protection | Never skip eye protection |
Final Thoughts
These 10 essential tools for jewelry making give you everything needed to create professional-looking pieces at home. Start with the basics, practice often, and add specialty items as your skills grow. The most important tool is patience—every piece teaches you something new.
Enjoy the process, experiment freely, and soon you’ll have a collection of jewelry you’re proud to wear or gift.
Related 10 Essential Tools for Jewelry Making:
- Best Wrenches for Every Job: The Ultimate Guide
- How to Choose the Right Electrical Tools for Your Projects
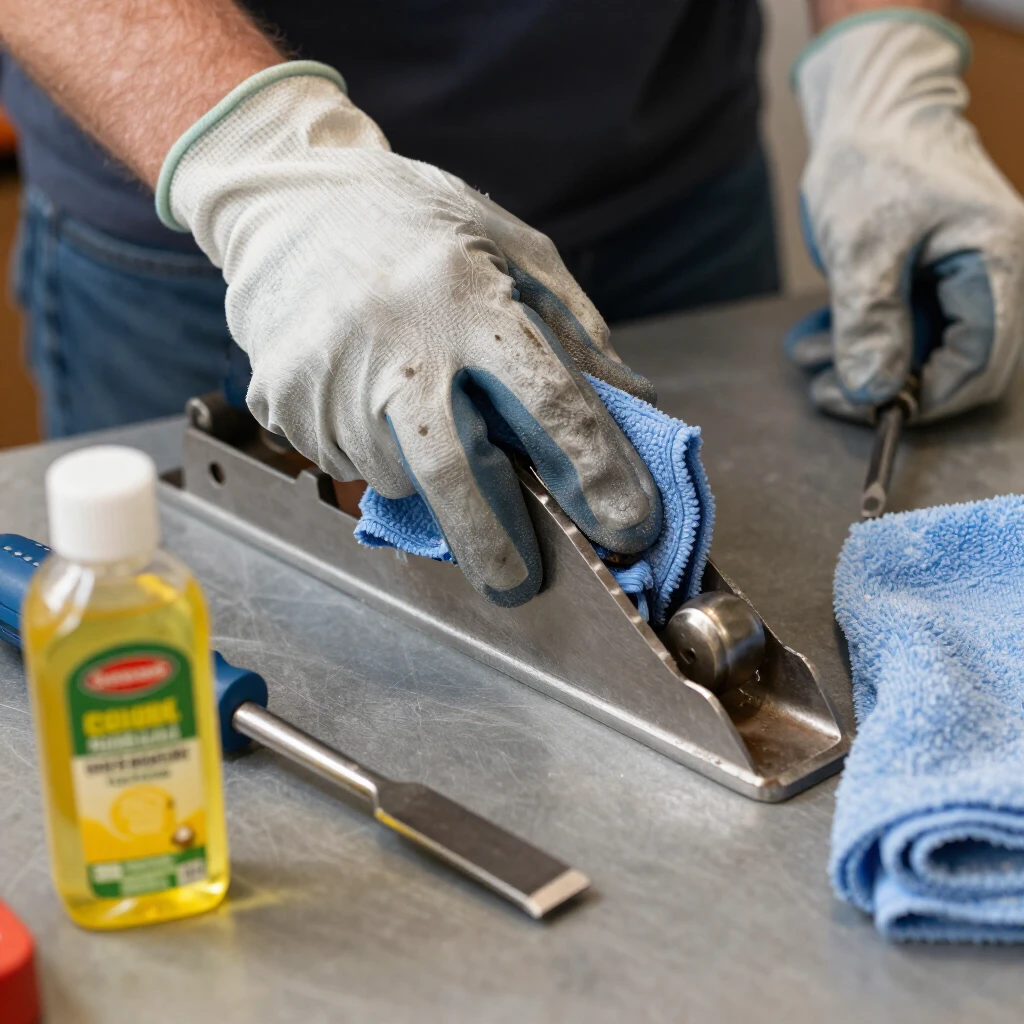
- How to Sharpen Your Hand Tools Like a Pro
- Must-Have Wrenches for Every Toolbox: The Essential Guide for 2026
- How to Maintain Your Tools for Longevity: Practical Tips for Lasting Performance
- Workshop Maintenance Guide: Essential Tips for Safety and Efficiency
- Tool Calibration: Ensuring Precision in Your Work
- How to Use Wrenches Safely: Essential Tips for Every DIYer and Professional
- How to Choose the Right Power Washer for Your Needs
- Organizing Your Workshop: Tips for Efficient Tool Storage
- DIY Painting Hacks for Beginners: Simple Tips for Professional Results
- The Ultimate Guide to Tool Belts with Built-In Storage in 2026