Overview
Choosing the right paint for your project can transform a space and bring your vision to life. Whether you're refreshing a room or tackling an exterior job, the paint you pick matters. This guide dives into everything you need to know, from paint types to innovative tools, to make your project a success.
Understanding Your Project Needs
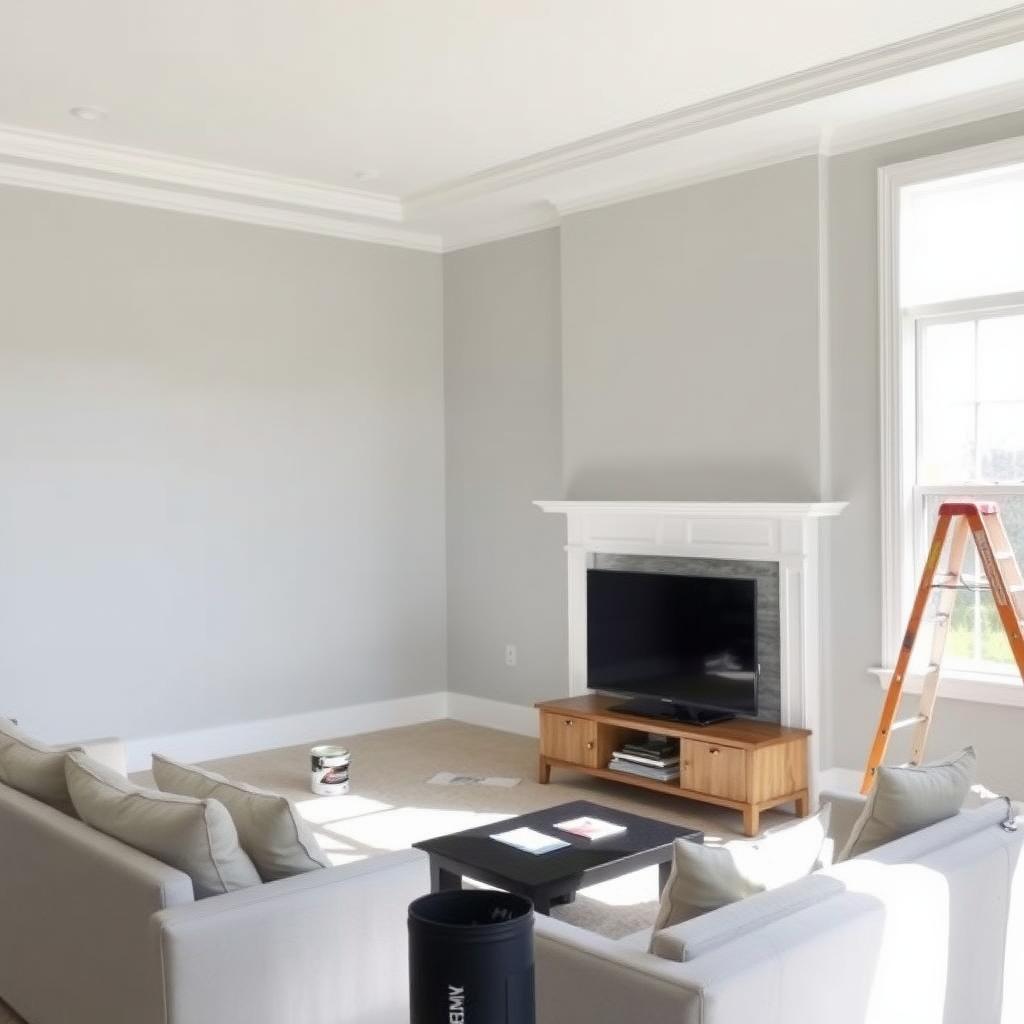
Before you grab a paint can, think about your project. Are you painting a cozy bedroom, a busy kitchen, or your home’s exterior? Each space has unique demands. For example, kitchens need durable, washable paint to handle grease and splashes. Exteriors require weather-resistant formulas to withstand rain and sun.
Start by asking yourself: - Where am I painting? Indoor spaces like living rooms need different paints than outdoor decks. - What’s the surface? Wood, drywall, or metal each require specific primers and paints. - What’s the vibe? Do you want a bold, glossy finish or a soft, matte look?
I once painted my living room without considering the lighting. The color looked great in the store but felt too dark at home. Lesson learned: always test samples in your space first.
Types of Paint: Which One Fits Your Project?
Paints come in two main bases: water-based (latex) and oil-based (alkyd). Each has its strengths.
Water-Based Paints
- Pros: Easy to clean with soap and water, low odor, quick-drying.
- Best for: Indoor walls, ceilings, and low-traffic areas.
- Tip: I love water-based paints for bedrooms because they dry fast, letting you finish in a weekend.
Oil-Based Paints
- Pros: Durable, smooth finish, great for high-traffic areas.
- Cons: Stronger odor, longer drying time, requires solvent cleanup.
- Best for: Trim, doors, and exterior surfaces.
For most home projects, water-based paints are the go-to for their ease and versatility. But if you’re painting a front door that gets daily wear, oil-based might be your friend.
Specialty Paints
Some projects call for unique formulas: - Primer: Bonds paint to surfaces like bare wood or metal. - Anti-mildew paint: Perfect for bathrooms or humid climates. - Chalk paint: Great for furniture with a vintage, matte look.
When I redid my bathroom, I used anti-mildew paint. It’s held up beautifully against steam and moisture.
Choosing the Right Finish
The finish affects both look and durability. Here’s a quick breakdown:
| Finish | Shine Level | Best For | Durability |
|---|---|---|---|
| Flat/Matte | No shine | Ceilings, low-traffic rooms | Low, hides imperfections |
| Eggshell | Slight sheen | Living rooms, bedrooms | Moderate, easy to clean |
| Satin | Soft glow | Kitchens, bathrooms | High, washable |
| Semi-Gloss | Noticeable shine | Trim, doors | Very high, scrubbable |
| Gloss | High shine | Furniture, accents | Extremely durable |
I once chose a flat finish for my kitchen, thinking it would look modern. Big mistake—it showed every smudge. Satin or semi-gloss is better for high-traffic spots.
Color Selection: Getting It Right
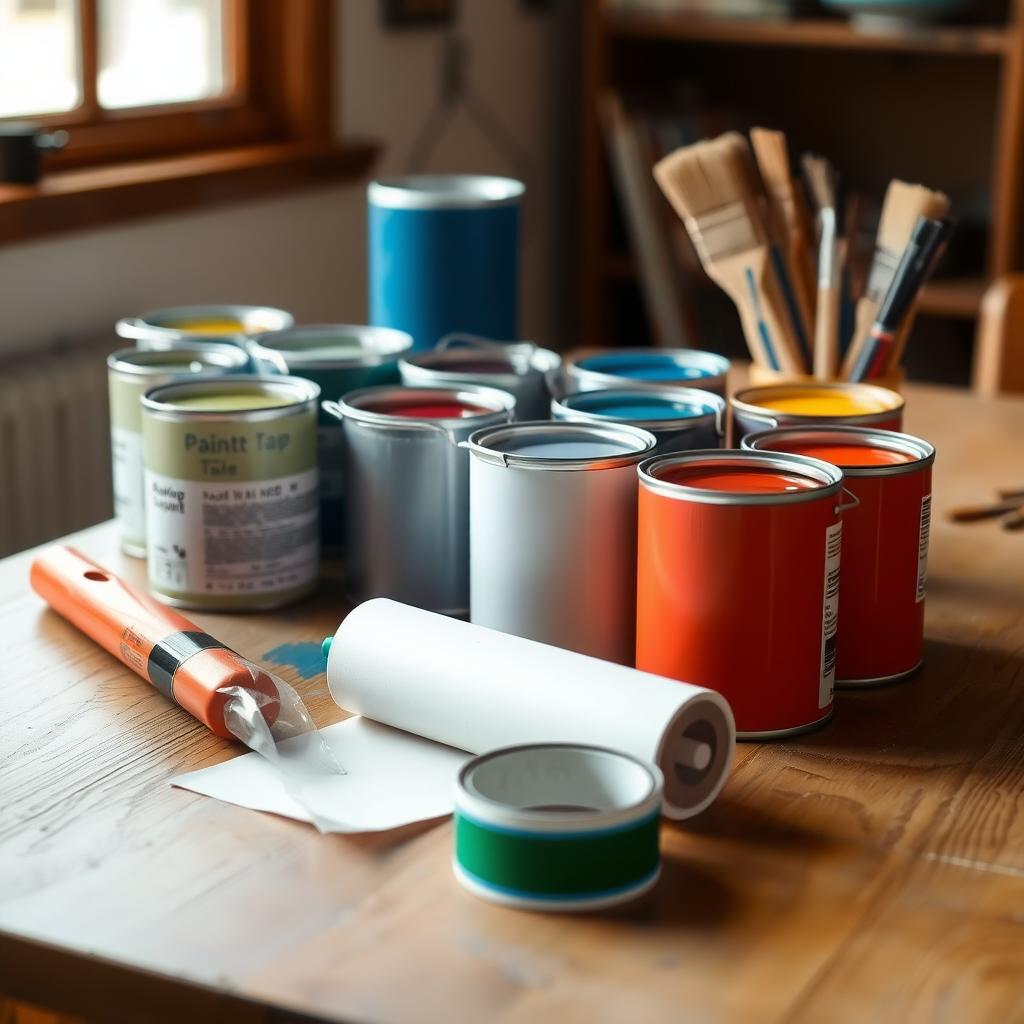
Color sets the mood, but picking the perfect shade is tricky. Here’s how to nail it: 1. Test Samples: Buy small sample cans and paint swatches on your wall. Check them at different times of day. 2. Consider Lighting: Natural light shows true colors, while artificial light can shift tones. 3. Think About Mood: Warm colors (reds, yellows) energize; cool colors (blues, greens) calm.
I learned this the hard way when I painted my office a bright yellow. It was too intense for focus. Now, I stick to calming blues for workspaces.
Pro tip: Many paint brands, like Benjamin Moore or Sherwin-Williams, offer online tools to visualize colors in your space. Check their websites for inspiration.
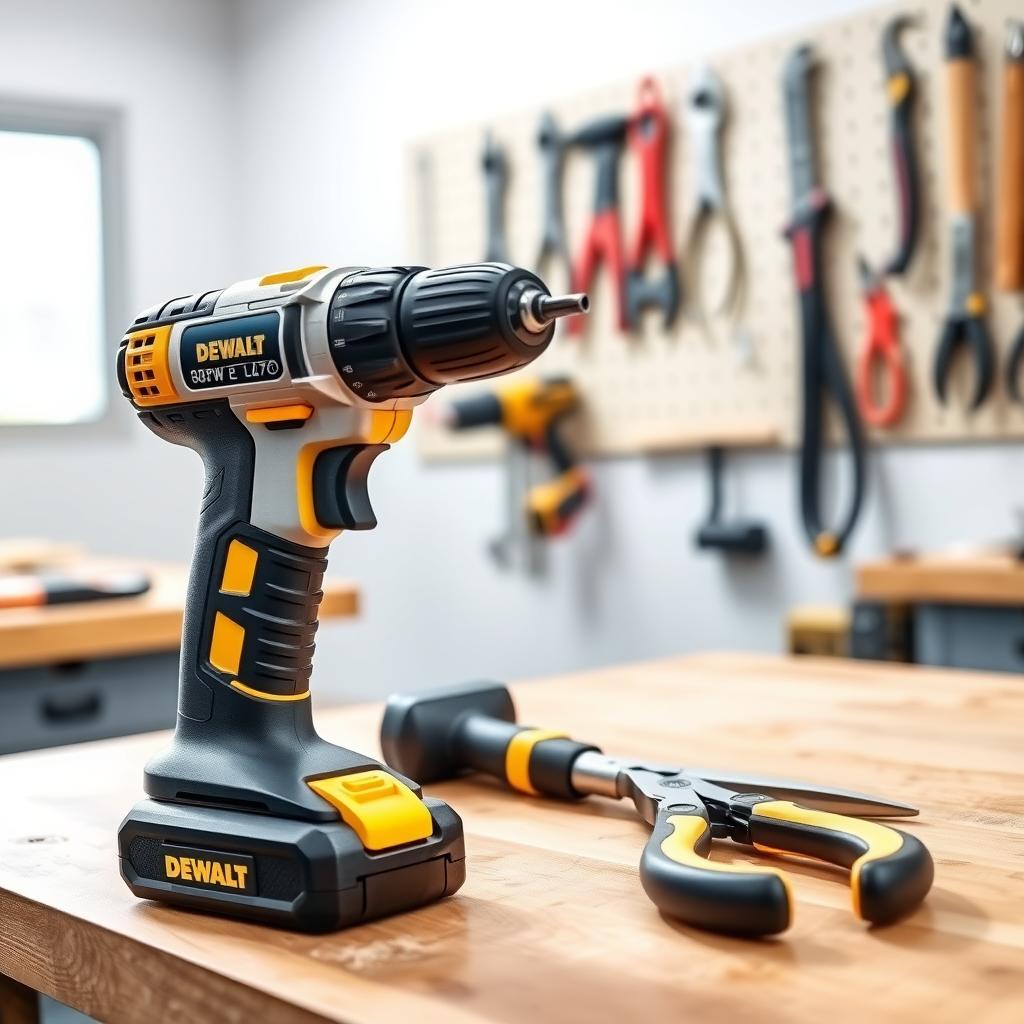
10 Must-Have Painting Tools for Faster Projects
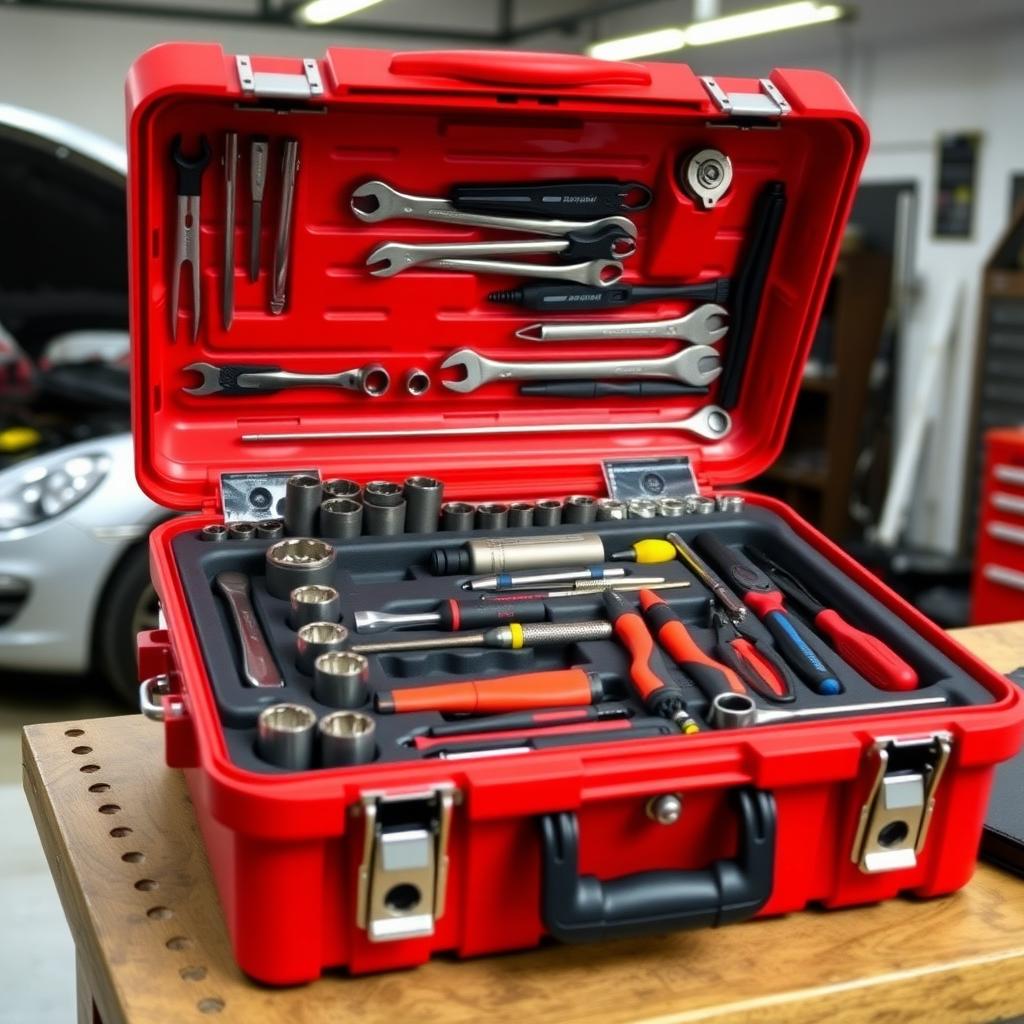
The right tools make painting smoother and quicker. Here’s my go-to list of painting tools for efficiency: 1. Quality Paintbrushes: Angled brushes for precision. 2. Paint Rollers: Speed up large surfaces. 3. Roller Extension Pole: Reach high walls easily. 4. Painter’s Tape: Clean edges every time. 5. Drop Cloths: Protect floors and furniture. 6. Paint Tray and Liners: Easy cleanup. 7. Stir Sticks: Ensure even color. 8. Paint Can Opener: Avoid damaging cans. 9. Sandpaper: Smooth surfaces before painting. 10. Edging Tool: Perfect for corners and trim.
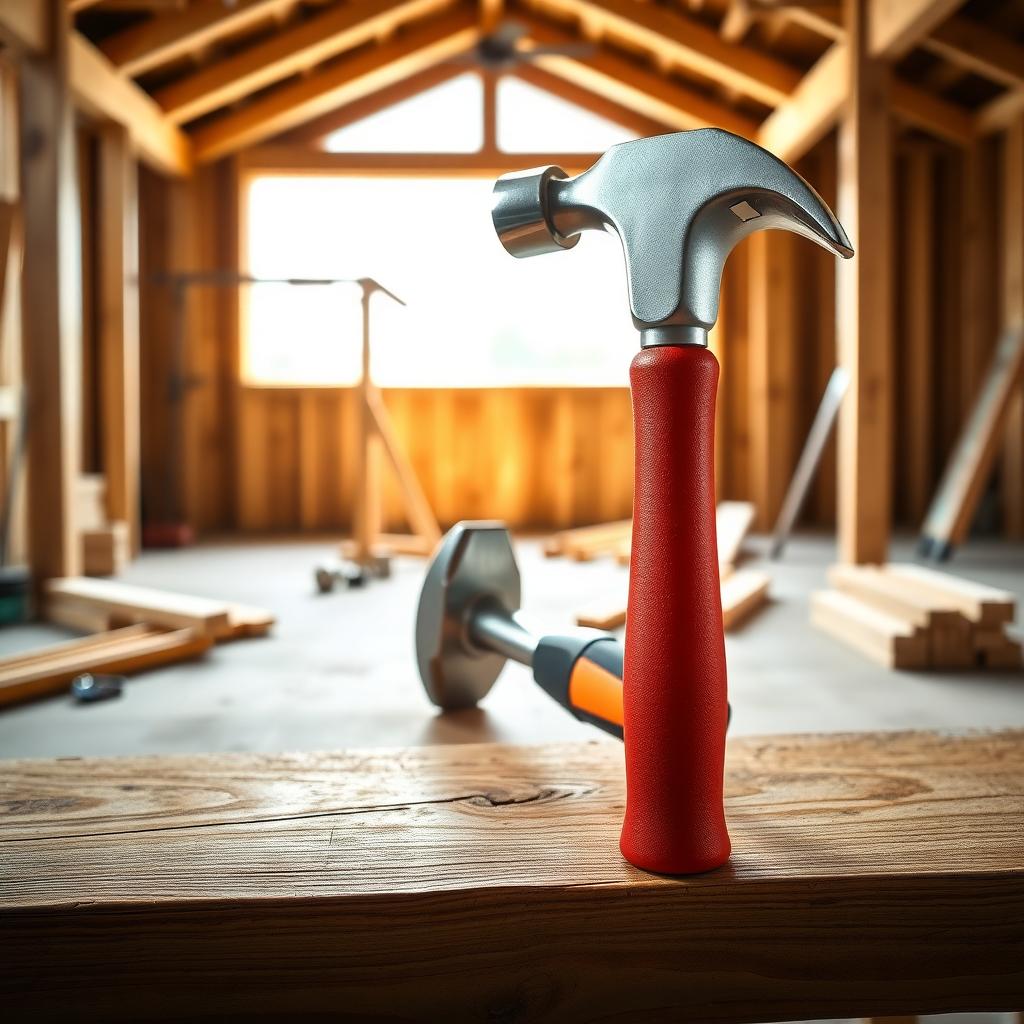
I’ve found that investing in innovative painting tools for efficiency, like an edging tool, cuts my prep time in half. These workman tools are game-changers for DIYers.
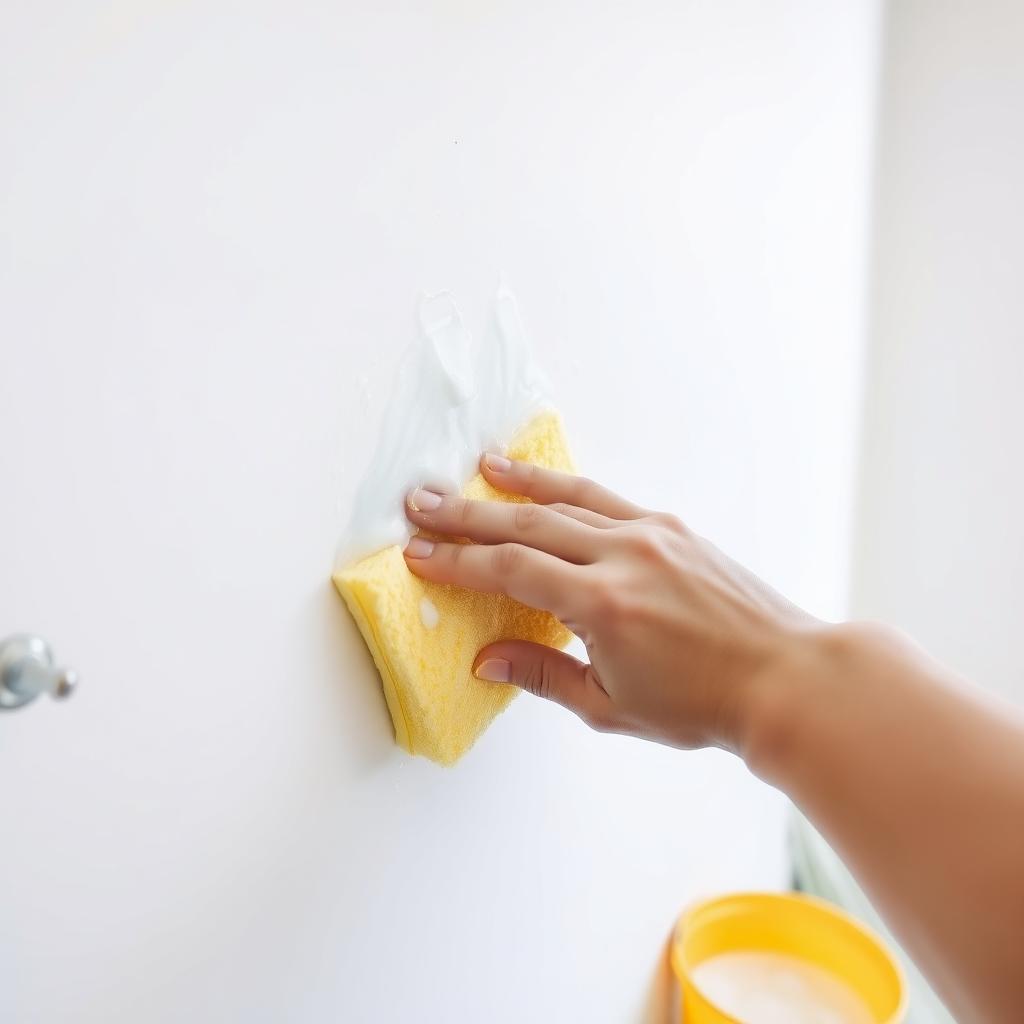
Prep Work: The Key to a Professional Finish
Don’t skip prep—it’s half the battle. Clean walls with a damp cloth to remove dust. Sand rough spots for a smooth surface. Apply painter’s tape carefully for crisp lines. If you’re covering a dark color, a tinted primer can save you extra coats.
Once, I rushed prep and ended up with paint peeling off my porch. Now, I spend as much time prepping as painting. It’s worth it for a flawless result.
Application Tips for Success
Here’s how to paint like a pro: - Start with Primer: It seals surfaces and boosts paint adhesion. - Use the Right Technique: Roll in a “W” pattern for even coverage. - Work in Small Sections: Prevents streaks and drying lines. - Apply Multiple Thin Coats: Better than one thick coat.
I used to slather on thick layers, thinking it would save time. Nope—thin coats dry evenly and look polished.
Eco-Friendly and Low-VOC Options
If you’re sensitive to fumes or want a greener option, look for low-VOC (volatile organic compounds) or zero-VOC paints. These are safer for indoor use and better for the environment. Brands like Behr and Farrow & Ball offer great eco-friendly lines.
I switched to low-VOC paint for my daughter’s nursery. The room felt fresh, and I didn’t worry about harmful chemicals.
Budgeting and Buying Paint
Paint prices vary widely—$20 to $80 per gallon. Higher-end paints often cover better, saving you time and money. Calculate your needs: one gallon typically covers 350-400 square feet. Measure your space to avoid overbuying.
Pro tip: Check for sales at hardware stores like Home Depot or Lowe’s, especially around holidays.
Summary
Choosing the right paint for your project boils down to understanding your space, picking the right type and finish, and using quality tools. Prep thoroughly, test colors, and apply thin, even coats for a professional look. With the right approach and 10 must-have painting tools for faster projects, you’ll achieve stunning results. Happy painting!
Related How to Choose the Right Paint for Your Project:
- How to Prep Your Walls for a Perfect Paint Job
- Innovative Painting Tools for Efficiency: Transform Your DIY Projects
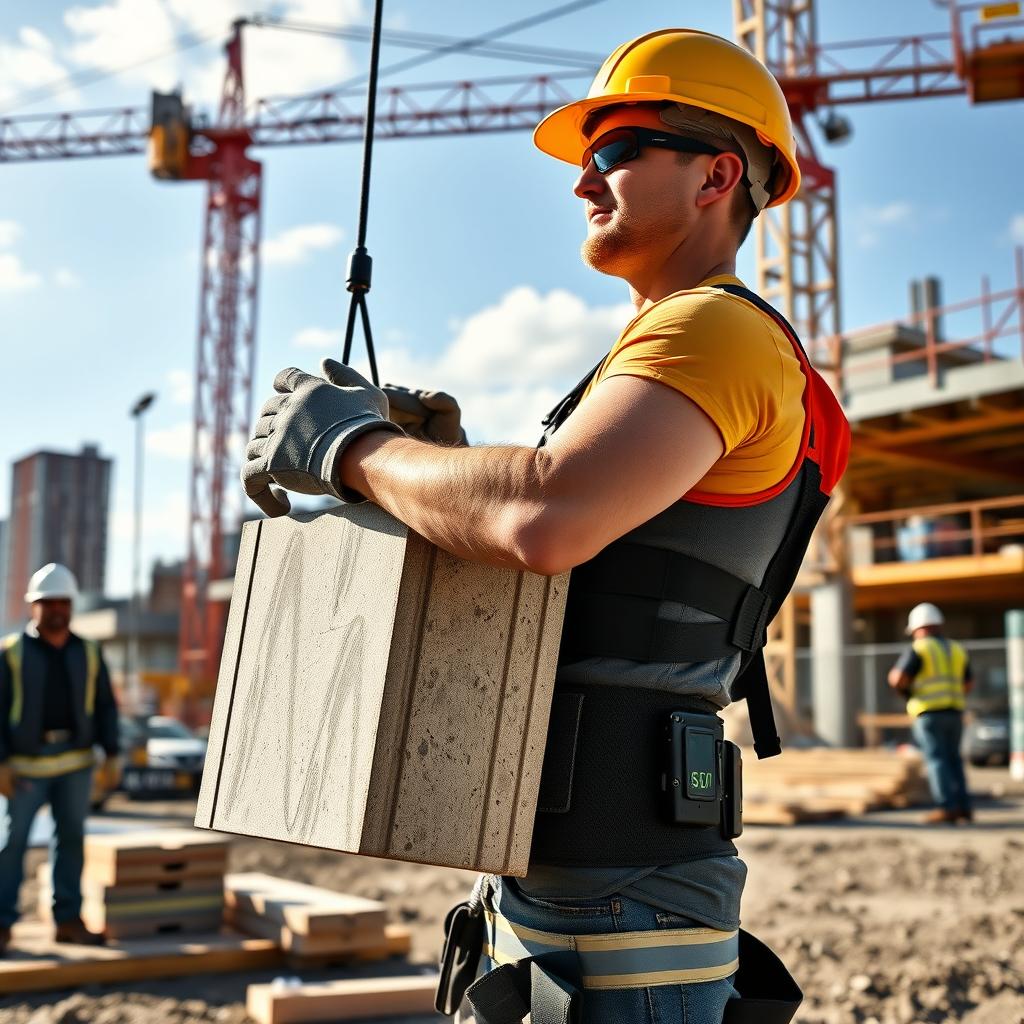
- How Ergonomics is Changing the Construction Industry
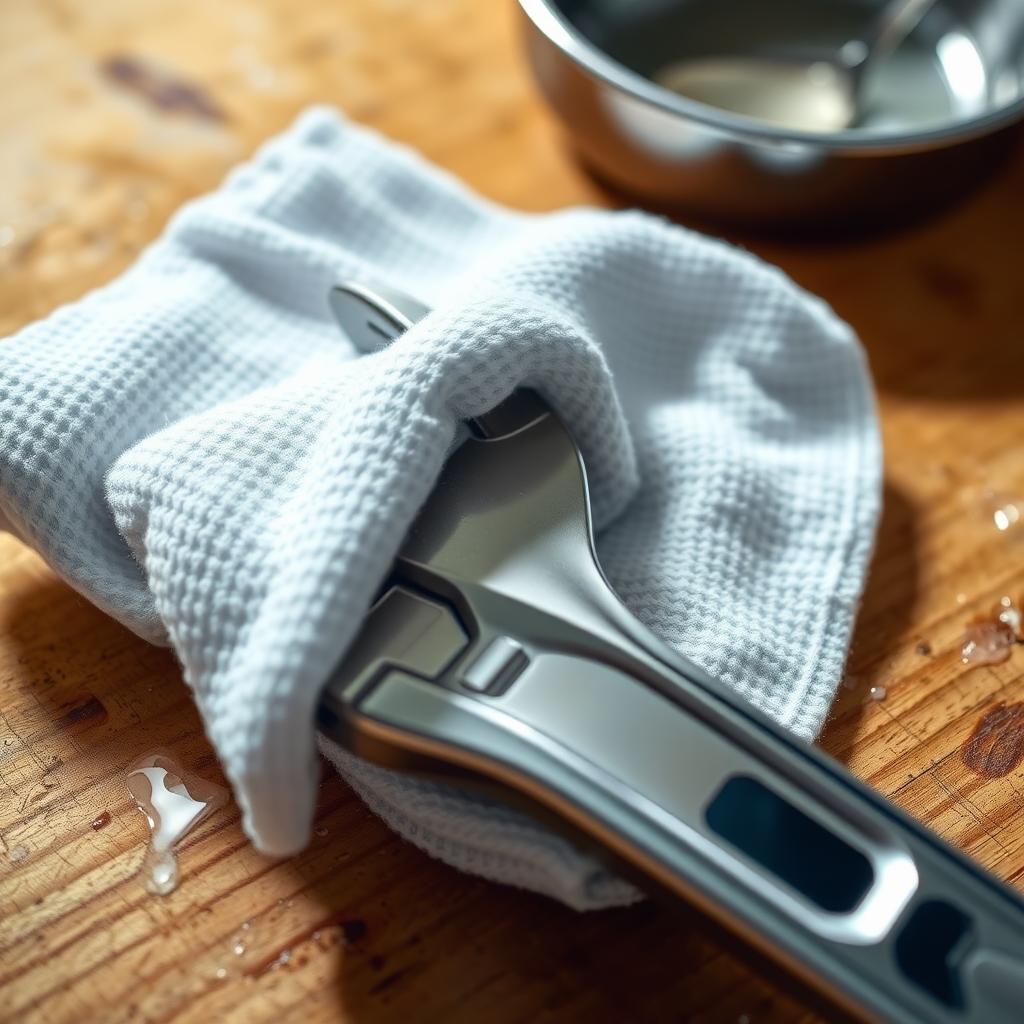
- How to Maintain and Store Wrenches for Long-Lasting Performance
- Top 10 Ergonomic Tools Every Workshop Needs for Comfort and Efficiency
- Tips for DIY Plumbing Success: Master Your Home Repairs
- Top Screwdriver Safety Tips You Can’t Ignore
- The Best Tablesaws with User-Friendly Features for Every Workshop
- How to Choose the Right Tools for Your Job: A Practical Guide
- How to Paint a Room Like a Pro: A Step-by-Step Guide
- The Importance of Quality Tools in Construction: Building a Solid Foundation
- Beginner’s Guide to Car Repair Tools: Your Toolkit Essentials