Overview
Painting a room can transform its look, but the secret to a stunning finish lies in preparation. Properly prepping your walls ensures the paint adheres well and looks smooth. This guide on How to Prep Your Walls for a Perfect Paint Job covers every step, from cleaning to priming, and shares insights on choosing the right tools and paint for your project.
Why Wall Prep Matters
I’ve painted my fair share of rooms, and let me tell you, skipping prep work is a recipe for disaster. Uneven surfaces, dust, or grease can ruin even the best paint. Proper prep creates a clean, smooth canvas, making your paint job look professional and last longer. Plus, it saves you time and money by avoiding do-overs.
Step 1: Clear the Room
Start by removing furniture, decorations, and anything else in the way. If moving heavy items isn’t possible, push them to the center of the room and cover them with drop cloths. I once thought a quick sheet would do, but paint splatters find their way everywhere. Use sturdy canvas drop cloths for better protection.
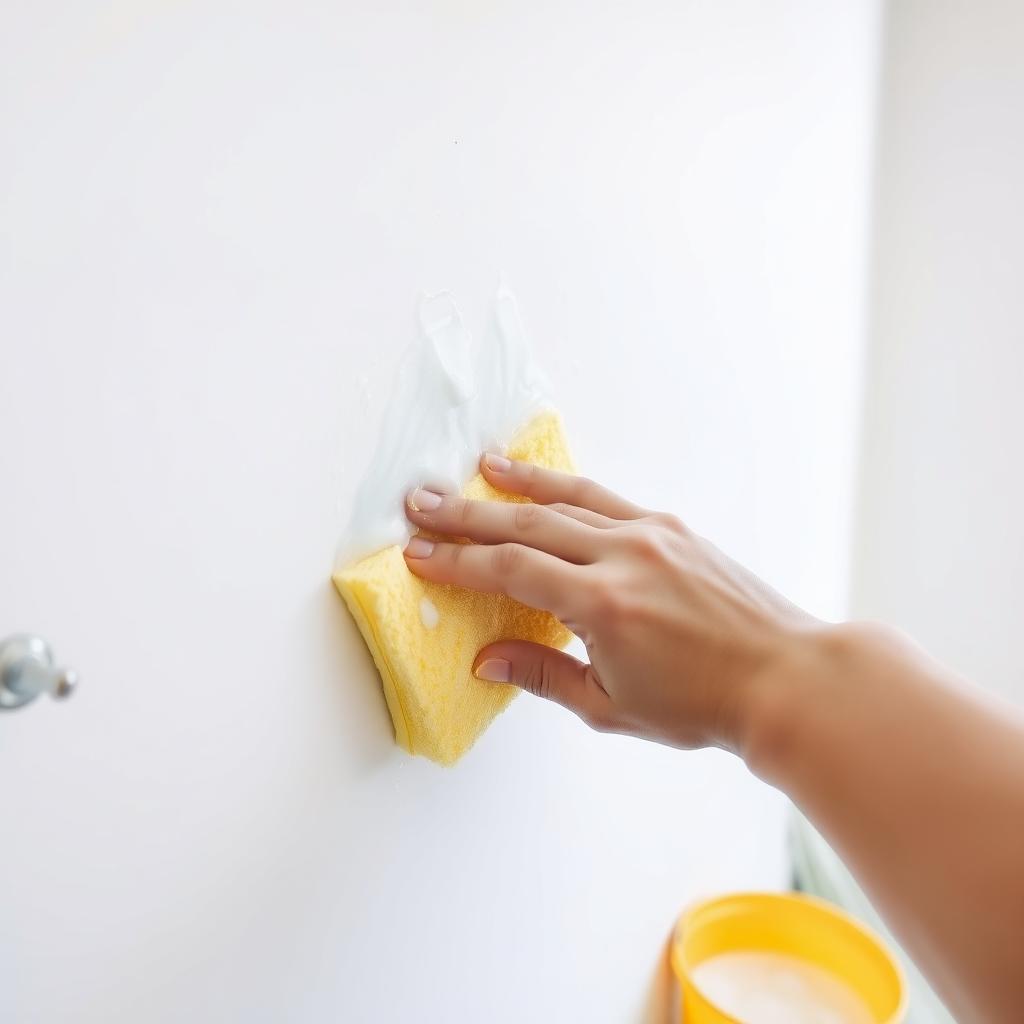
Step 2: Clean the Walls
Dirty walls are the enemy of a good paint job. Dust, grease, or fingerprints can prevent paint from sticking properly. Mix a mild detergent with warm water, grab a sponge, and gently scrub the walls. For stubborn spots, like kitchen grease, I’ve found a bit of white vinegar works wonders. Rinse with clean water and let the walls dry completely.
Step 3: Repair Imperfections
Check your walls for cracks, holes, or dents. Small imperfections can stand out under fresh paint. Use a putty knife to apply spackling compound to nail holes or cracks. Smooth it out and let it dry according to the product instructions—usually a few hours. For larger holes, consider a patching kit for extra durability.
Step 4: Sand for Smoothness
Sanding is a game-changer. I used to skip this step, thinking it wasn’t necessary, but rough patches show through paint like nobody’s business. Use medium-grit sandpaper (120-150 grit) to smooth out repaired areas and remove any glossy residue from old paint. Wipe away dust with a tack cloth or damp rag to keep the surface clean.
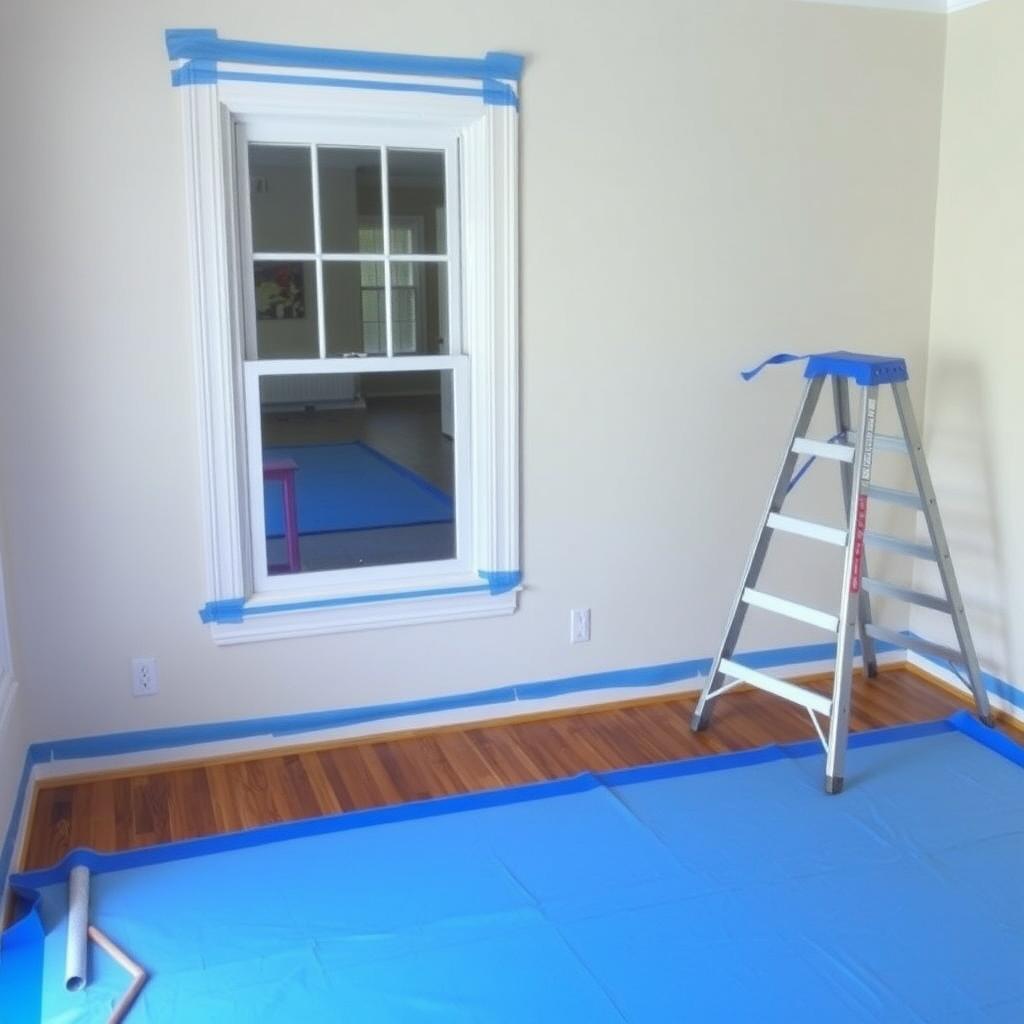
Step 5: Tape and Protect
Taping off trim, windows, and doorframes is tedious but worth it. Use painter’s tape for crisp edges—I prefer blue tape for its easy removal. Apply it carefully, pressing down firmly to prevent paint bleed. Cover floors with drop cloths and tape them down to avoid tripping. Trust me, a little extra time here saves hours of cleanup later.
Step 6: Prime the Walls
Priming is non-negotiable, especially if you’re covering dark colors, stains, or bare drywall. A good primer seals the surface and helps paint adhere evenly. I once painted over a red wall without primer, and it took three coats to hide it. Choose a primer suited for your wall type—latex for drywall, oil-based for wood. Apply it with a roller for large areas and a brush for edges.
How to Choose the Right Paint for Your Project
Selecting the right paint is just as important as prep. Consider the room’s purpose and lighting. For high-traffic areas like kitchens or bathrooms, go for durable, washable paints like satin or semi-gloss. Bedrooms and living rooms do well with matte or eggshell finishes for a softer look. Check the paint’s VOC (volatile organic compound) levels for better indoor air quality—low-VOC options are widely available. Brands like Benjamin Moore and Sherwin-Williams offer reliable choices. Always test a sample on your wall to see how it looks under your lighting.
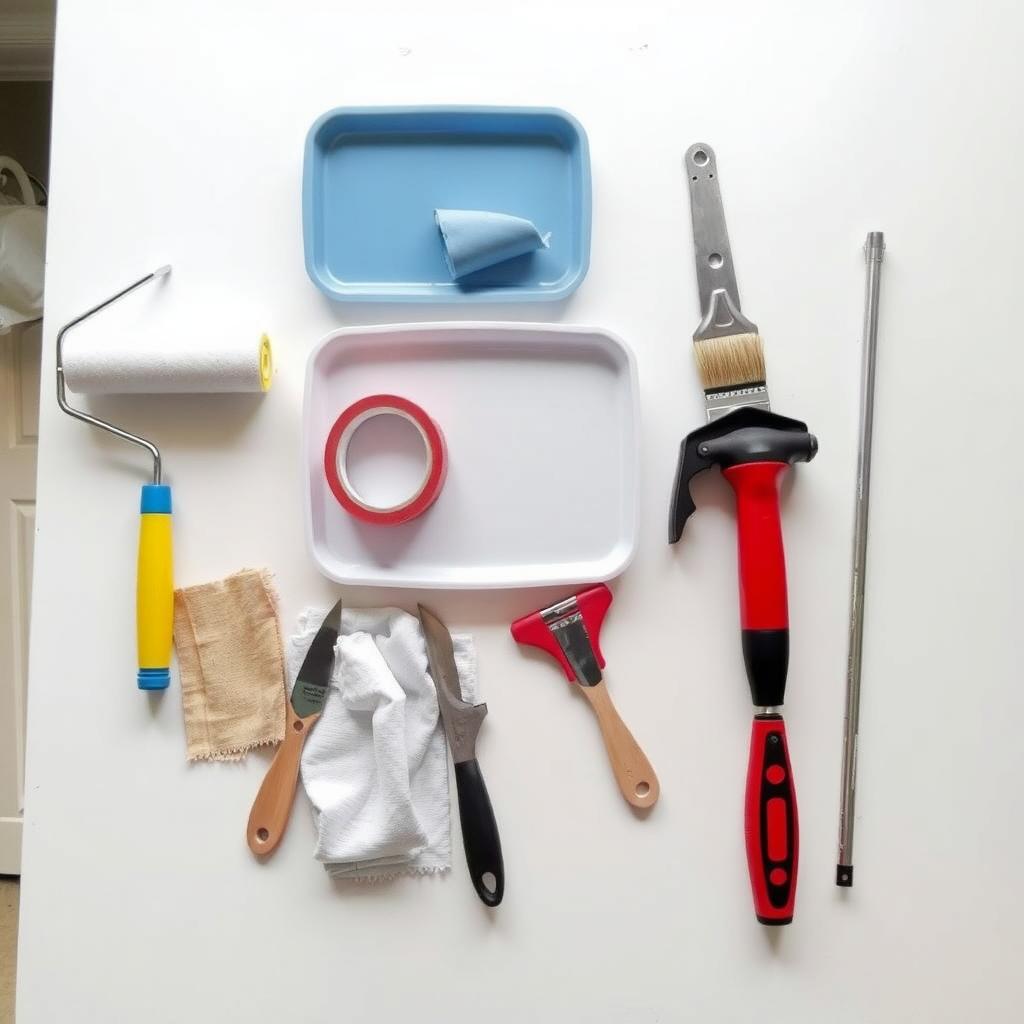
Step 7: Gather Your Tools
Having the right tools makes all the difference. Below is a list of 10 Must-Have Painting Tools for Faster Projects to streamline your work:
- Roller and Covers: A 9-inch roller with a 3/8-inch nap works for most walls.
- Angled Paintbrush: Perfect for cutting in edges.
- Painter’s Tape: For clean lines.
- Drop Cloths: Canvas ones are reusable and durable.
- Paint Tray and Liners: Liners make cleanup a breeze.
- Extension Pole: For reaching high spots.
- Putty Knife: For patching and scraping.
- Sandpaper: Medium-grit for smoothing.
- Tack Cloth: To remove sanding dust.
- Paint Can Opener: Small but essential.
Investing in quality tools saves time and frustration.
Innovative Painting Tools for Efficiency
Technology has brought some game-changing tools to painting. Consider these innovative painting tools for efficiency:
- Paint Sprayers: For large areas, sprayers like the Wagner Flexio cover walls quickly and evenly.
- Edging Tools: Devices like the Accubrush create sharp lines without tape.
- Self-Priming Paints: Some modern paints combine primer and paint, cutting a step.
I tried a sprayer for a recent project, and it shaved hours off my work, though it required more cleanup. Always practice with new tools first to get the hang of them.
Step 8: Final Checks
Before painting, do a final walk-through. Check for missed spots, dust, or uneven patches. Ensure your tools are clean and ready. Stir your paint thoroughly and pour it into a tray. Now you’re set to paint with confidence, knowing your prep work will pay off.
Common Mistakes to Avoid
- Skipping Cleaning: Dust or grease ruins adhesion.
- Using Cheap Tools: Low-quality rollers or brushes leave streaks.
- Rushing Prep: Patience here prevents headaches later.
- Ignoring Primer: It’s essential for even coverage.
I learned the hard way that cutting corners leads to patchy walls and wasted time. Take your time, and the results will show.
Summary
Prepping your walls for a perfect paint job takes effort, but it’s worth it for a flawless finish. Clean thoroughly, repair imperfections, sand, tape, and prime. Choose the right paint and tools to make the process smoother. With these steps and painting tools, you’ll achieve professional results that last. For more tips, check out the recommended readings below.
Related How to Prep Your Walls for a Perfect Paint Job:
- How to Choose the Right Hammer for Any Job
- 10 Essential Power Tools for Every Workshop
- Tool Organization Tips for Painters: Keep Your Workspace Efficient
- Essential Safety Gear for DIY Projects: Protecting Yourself and Your Tools
- The Role of Technology in Improving Construction Safety
- DIY Woodworking Projects for Beginners: A Comprehensive Guide
- Essential Tools for Every Workman's Toolbox: Must-Haves for Any Project
- How to Organize Your Workshop Like a Pro
- Mastering Advanced Hand Tool Techniques for Precision Craftsmanship
- How to Choose the Right Vice for Your Workbench: A Comprehensive Guide
- Power Tools Safety Guidelines: Stay Safe While Using Power Drills and More
- Top Tool Brands Trusted by Professionals: Your Guide to Quality Tools