Overview
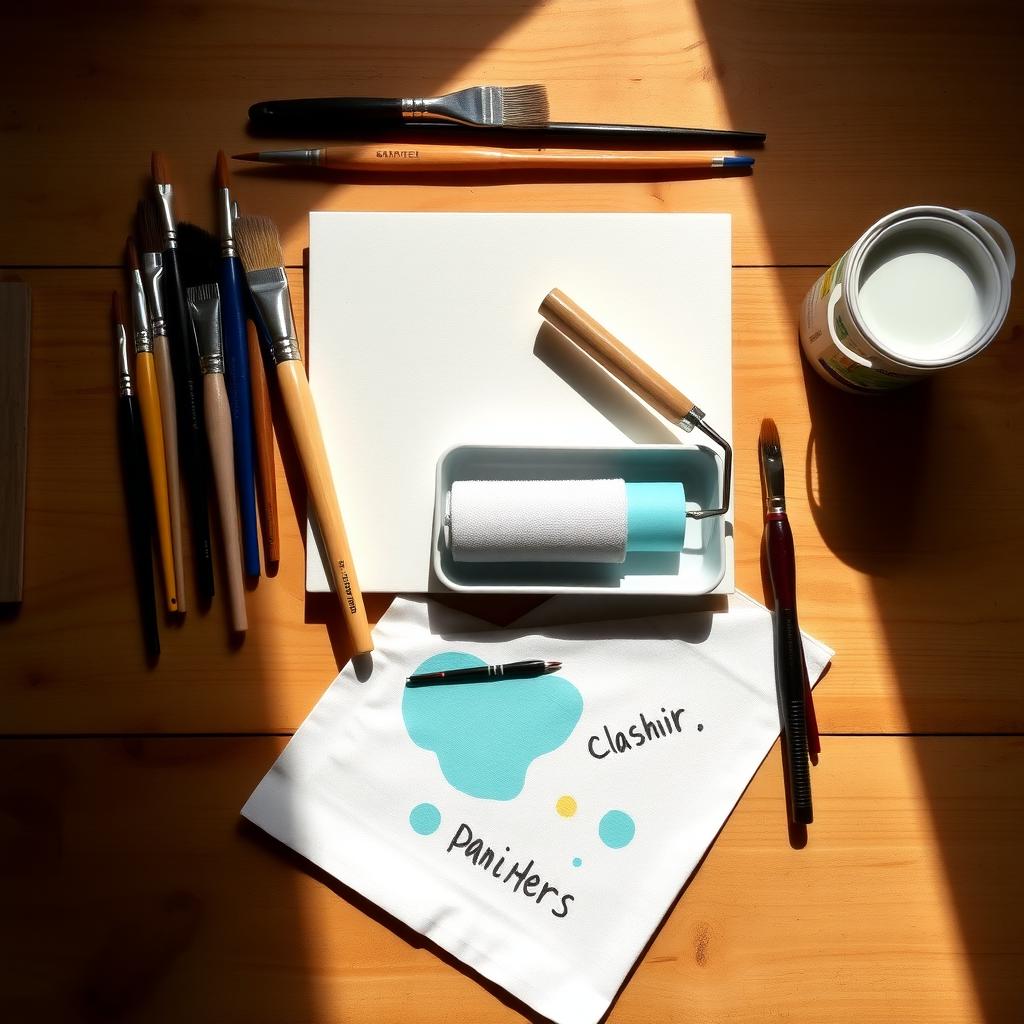
Selecting the right paintbrush can make or break your painting project. Whether you're refreshing a room or tackling a detailed craft, the brush you choose impacts the finish, efficiency, and ease of application. This guide dives into the essentials of choosing the right paintbrush for your project, exploring brush types, bristle materials, and practical tips to elevate your results.
Why the Right Paintbrush Matters
A paintbrush isn’t just a tool; it’s an extension of your hand. The wrong brush can leave streaks, shed bristles, or make precision work nearly impossible. As someone who’s painted everything from bedroom walls to intricate furniture designs, I’ve learned that investing time in choosing the right paintbrush saves hours of frustration. A good brush ensures smooth application, reduces wasted paint, and delivers a professional-looking finish.
Brushes vary in size, shape, and bristle type, each suited for specific tasks. For example, a wide, flat brush is great for large surfaces, while a small, angled brush excels at trimming edges. Understanding these differences is key to making painting tools work for you.
Types of Paintbrushes and Their Uses
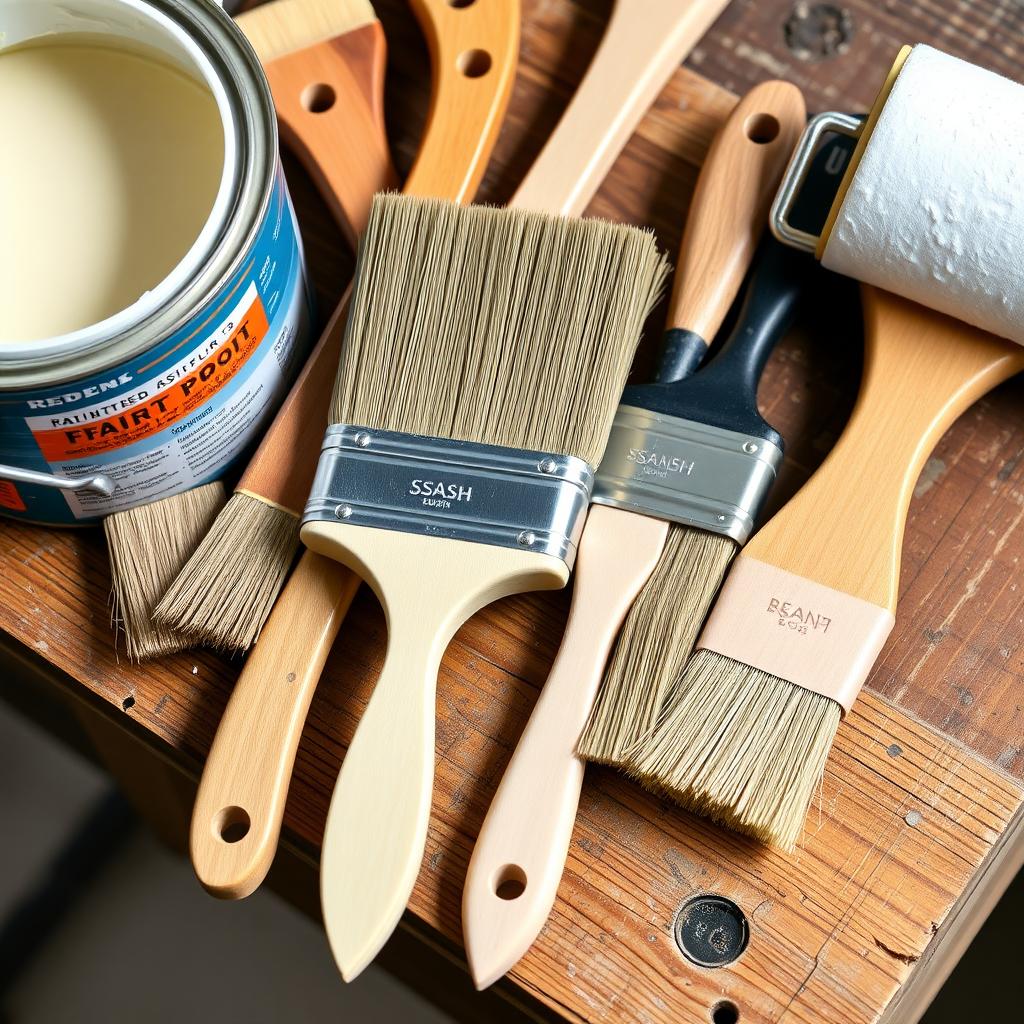
Not all paintbrushes are created equal. Here’s a breakdown of the most common types and when to use them:
- Flat Sash Brush: Ideal for large, flat surfaces like walls or doors. These brushes, typically 2-4 inches wide, hold plenty of paint for quick coverage.
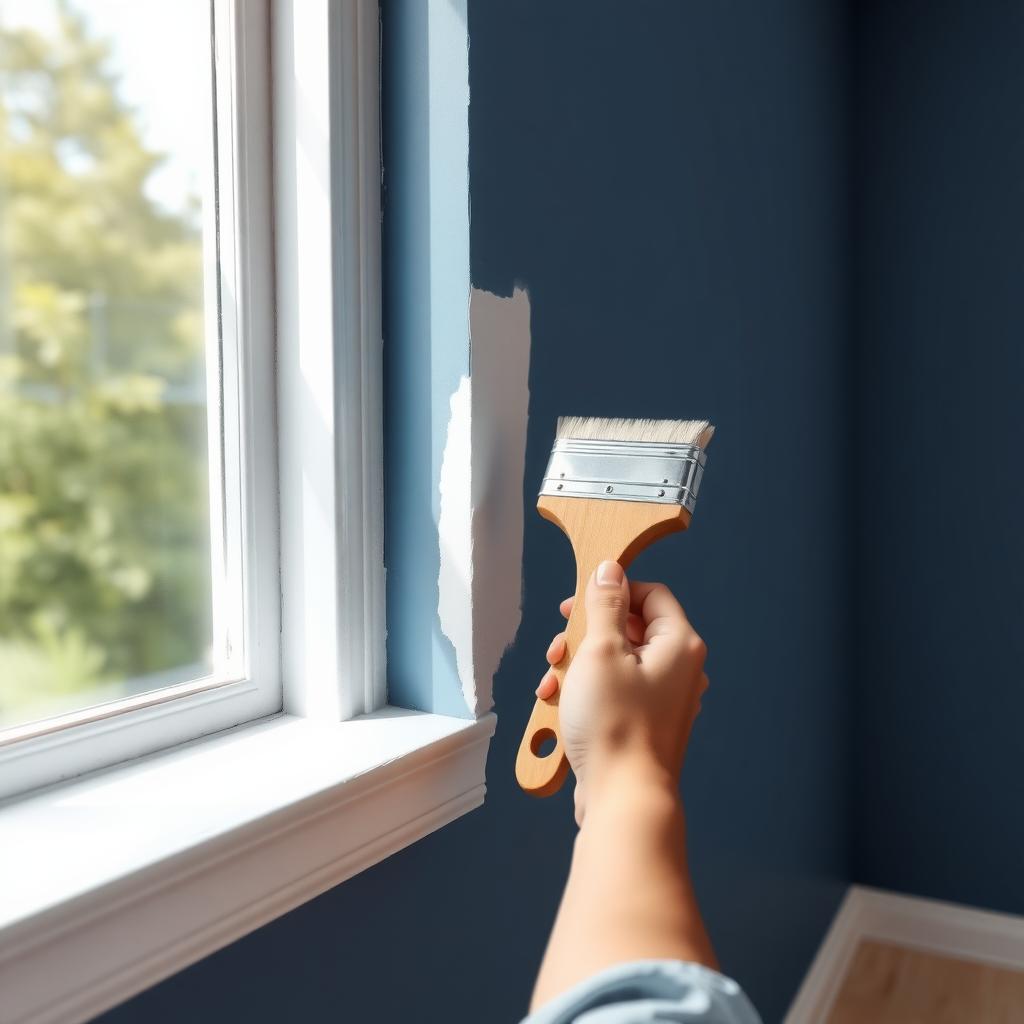
- Angled Sash Brush: Perfect for cutting in along edges, such as where walls meet trim or ceilings. The angled bristles allow for precise control.
- Round Brush: Best for detailed work, like painting furniture or decorative elements. Its tapered tip is great for curves and small spaces.
- Foam Brush: Inexpensive and disposable, these are great for quick touch-ups or applying stains, but they lack the precision of bristle brushes.
Each type serves a purpose, and having a mix of these in your painter’s toolkit ensures versatility. For instance, when I painted my kitchen cabinets, an angled sash brush made cutting around handles a breeze, while a flat brush sped up the larger panels.
Bristle Materials: Natural vs. Synthetic
The bristles are the heart of any paintbrush, and they come in two main types: natural and synthetic. Choosing the right material depends on the paint you’re using and the surface you’re painting.
Natural Bristles
Made from animal hair, like hog or ox, natural bristles are excellent for oil-based paints. They hold and spread paint smoothly, creating a polished finish. However, they absorb water, making them unsuitable for water-based (latex) paints, as they can become soggy and lose shape.
Synthetic Bristles
Synthetic bristles, typically nylon or polyester, are the go-to for water-based paints. They resist water absorption, maintain their shape, and are easier to clean. Modern synthetic brushes rival natural ones in quality and are often more durable.
For most home projects, synthetic brushes are the better choice due to their versatility and affordability. According to The University of Missouri Extension, synthetic brushes are ideal for latex paints, which dominate the market for interior and exterior home painting.
Brush Sizes and Shapes for Specific Projects
The size and shape of a brush directly affect its performance. Here’s a quick guide to match brushes to projects:
| Project | Brush Type | Size | Best For |
|---|---|---|---|
| Walls and Ceilings | Flat Sash | 3-4 inches | Large, flat surfaces |
| Trim and Edges | Angled Sash | 1-2 inches | Precision cutting-in |
| Furniture and Details | Round or Small Flat | 0.5-1 inch | Intricate designs, small areas |
| Staining or Varnishing | Foam or Flat Synthetic | 2-3 inches | Smooth application of stains |
When I tackled a mural project, I relied heavily on a 1-inch round brush for fine details. For larger base coats, a 3-inch flat brush cut my work time in half. Matching the brush to the task is one of the must-have tools in a painter’s toolkit for efficiency.
Tips for Choosing the Right Paintbrush
Here are practical tips to ensure you pick the best brush for your project:
- Check Bristle Quality: Run your fingers through the bristles. They should feel soft but firm, with no loose strands. High-quality brushes have flagged (split) ends for smoother application.
- Match Paint Type: Use synthetic brushes for latex paints and natural bristles for oil-based paints. This prevents issues like bristle swelling or poor paint release.
- Consider the Handle: Comfort matters. Wooden handles are durable, while plastic ones are lighter. Choose one that feels good in your hand for long sessions.
- Invest in Quality: Cheap brushes shed bristles and leave streaks. Brands like Purdy or Wooster, praised by Fine Homebuilding, offer durability and precision worth the cost.
- Test Flexibility: Gently bend the bristles. They should spring back without breaking, ensuring control during application.
I once made the mistake of using a cheap foam brush for a cabinet project, and the uneven finish was a lesson learned. Investing in quality painting tools upfront saves time and money.
Caring for Your Paintbrushes
A good paintbrush is an investment, and proper care extends its life. Here’s how to keep your brushes in top shape:
- Clean Immediately: Rinse brushes right after use. For latex paints, use warm, soapy water; for oil-based paints, use mineral spirits or paint thinner.
- Remove Excess Paint: Scrape off excess paint with a putty knife before cleaning to reduce waste.
- Dry Properly: Reshape bristles and hang brushes to dry, preventing bent bristles or water damage to the handle.
- Store Safely: Store brushes in their original packaging or wrap them in paper to maintain bristle shape.
I’ve revived old brushes by soaking them in vinegar overnight, but prevention is better than repair. According to Purdue University’s Paint Tips, proper cleaning can make a quality brush last for years.
Common Mistakes to Avoid
Even experienced painters make mistakes when choosing or using brushes. Here are pitfalls to watch out for:
- Using One Brush for Everything: A single brush can’t handle walls, trim, and details effectively. Build a versatile toolkit.
- Skipping Cleaning: Leftover paint dries in bristles, ruining the brush. Clean thoroughly after every use.
- Choosing Cheap Brushes: Bargain brushes often shed or streak, costing more in rework. Spend a bit more for quality.
I once tried to cut corners with a dollar-store brush, and the bristles ended up stuck in my paint job. Lesson learned: quality workman tools make all the difference.
Summary
Choosing the right paintbrush for your project is about understanding your needs—surface, paint type, and desired finish. From selecting the right bristle material to matching brush size to the task, the right painting tools elevate your work. With proper care, these must-have tools in a painter’s toolkit will serve you for years, delivering professional results every time.
Related Choosing the Right Paintbrush for Your Project:
- Essential Painting Tools for Beginners: Your Guide to Starting Right
- Guide to Selecting the Best Paint for Your Home
- Innovative Ergonomic Solutions for Home Improvement: Transform Your Work Experience
- Mastering Precision Drilling: The Ultimate Guide to Power Tools
- Understanding Metric vs. SAE Measurements: A Comprehensive Guide for Workman Tools
- How to Choose the Right Construction Level for Your Project
- Mastering Ergonomics in Hand Tool Use: Safety and Comfort for Workers
- Ergonomic Wrenches for Reducing Hand Strain: A Workman’s Guide
- The Impact of Smart Technology on Manual Labor: Revolutionizing Workman Tools in 2024
- Top 10 Workman Tools for Beginners: Your Essential Toolkit Guide
- The Ultimate Guide to Power Tools: Mastering Your DIY Projects
- Essential Wrenches for Automotive Repair: Your Toolkit Guide