Overview
Combining woodworking and electrical work opens a world of creative possibilities. From crafting custom light fixtures to building wired furniture, this guide explores how to merge these crafts safely and effectively. Learn the tools, techniques, and tips to create stunning, functional projects.
Why Combine Woodworking and Electrical Work?
Merging woodworking and electrical work lets you create unique, functional pieces that stand out. Imagine a handcrafted wooden lamp with built-in wiring or a media console with hidden outlets. These projects combine beauty and utility, elevating your craftsmanship. This guide, Combining Woodworking and Electrical Work: The Ultimate Guide, will walk you through the process, sharing insights from years of hands-on experience.
The key is understanding both crafts deeply. Woodworking brings precision and artistry, while electrical work adds functionality and safety. Together, they demand respect for materials, tools, and safety protocols. Whether you're a hobbyist or a seasoned craftsman, blending these skills can transform your projects.
Essential Tools for the Job
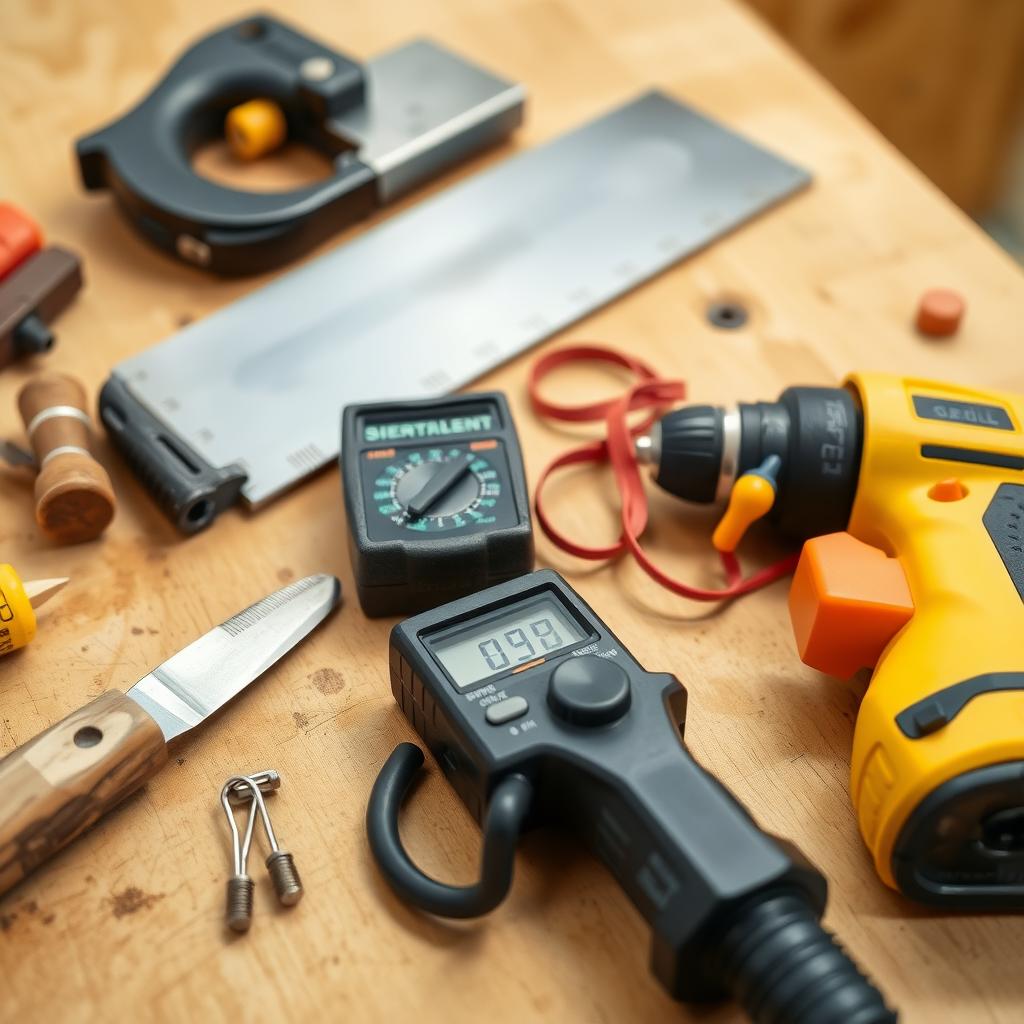
To succeed, you'll need the right tools. Both crafts require specific equipment, and having quality workman tools ensures precision and safety. Here's a breakdown of must-have tools:
Woodworking Tools
- Table Saw: For precise cuts on wood panels or planks.
- Router: Perfect for creating grooves or decorative edges.
- Chisels and Hand Planes: For fine detailing and smoothing.
- Sander: Ensures a polished finish for your wood pieces.
Workman Tools for Electrical Work
- Multimeter: Measures voltage, current, and resistance to ensure safe wiring.
- Wire Strippers: For clean, precise wire preparation.
- Insulated Screwdrivers: Prevent electrical shocks during installation.
- Cable Tester: Verifies proper wiring connections.
Invest in high-quality workman tools for reliability. Cheap tools can lead to mistakes or safety hazards, especially when working with electricity.
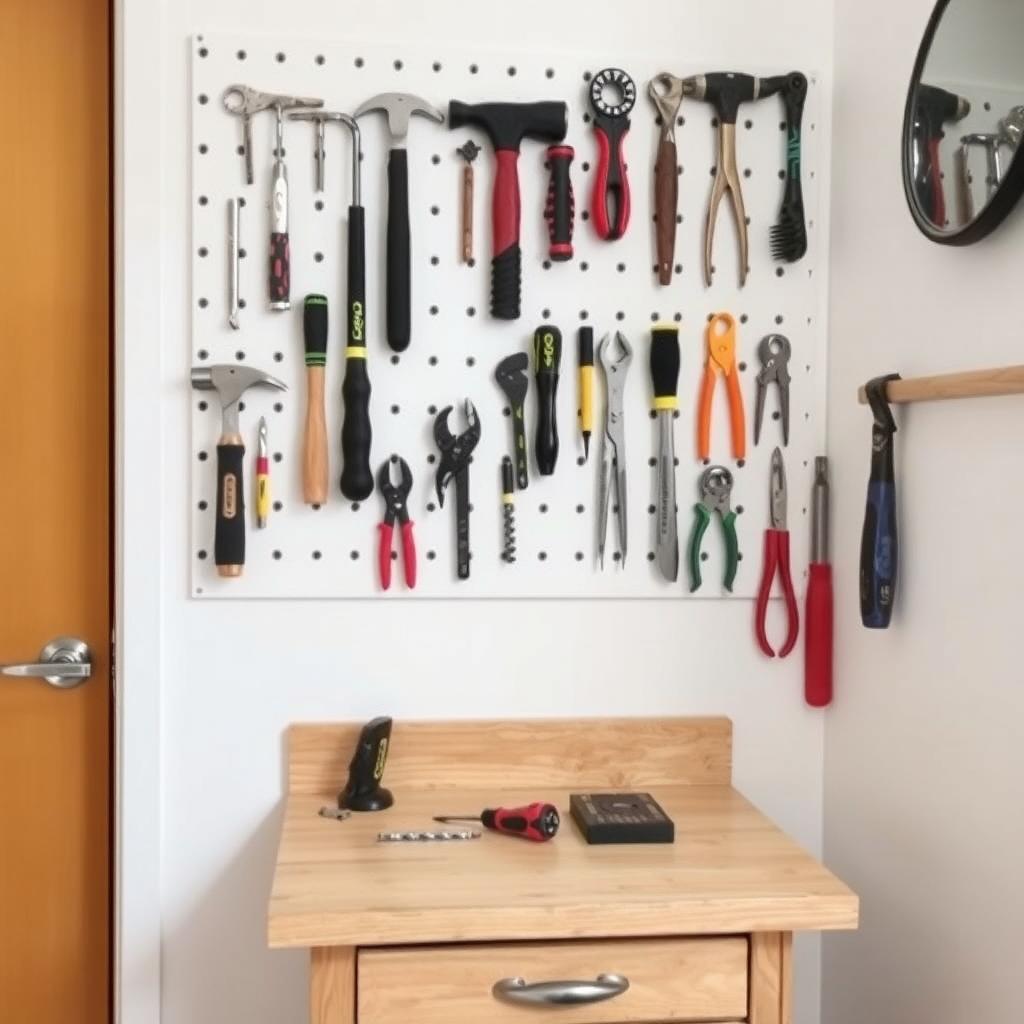
A personal tip: always keep your tools organized. I’ve found that a dedicated workbench with separate sections for woodworking tools and workman tools for electrical work saves time and reduces errors. For example, misplacing a wire stripper in a pile of sawdust can slow you down or damage the tool.
Safety First: Key Precautions
Safety is non-negotiable when combining these crafts. Electrical work carries risks like shocks or fires, while woodworking involves sharp tools and heavy machinery. Here are critical safety tips:
- Wear Protective Gear: Use insulated gloves, safety goggles, and dust masks.
- Check Wiring Codes: Follow local electrical codes to avoid hazards. The National Electrical Code (NEC) provides guidelines for safe wiring practices.
- Use GFCI Outlets: Ground Fault Circuit Interrupter outlets reduce shock risks in workshops.
- Inspect Tools Regularly: Ensure blades are sharp and wires are intact to prevent accidents.
I once overlooked a frayed extension cord while routing a wooden panel. The spark was a wake-up call. Now, I double-check all equipment before starting.
Project Ideas to Get Started
Ready to dive in? Here are three beginner-friendly projects that blend woodworking and electrical work:
| Project | Description | Tools Needed |
|---|---|---|
| Wooden Wall Sconce | A sleek wooden light fixture with hidden wiring. | Router, drill, wire strippers, multimeter |
| Charging Station Table | A small table with built-in USB ports and outlets. | Table saw, sander, insulated screwdriver |
| Lighted Bookshelf | A shelf with integrated LED strip lighting. | Jigsaw, cable tester, soldering kit |
Start with the wall sconce if you’re new. It’s simple but teaches you how to route wires through wood safely. I built my first sconce using oak and a basic LED kit, and it’s still a centerpiece in my living room.
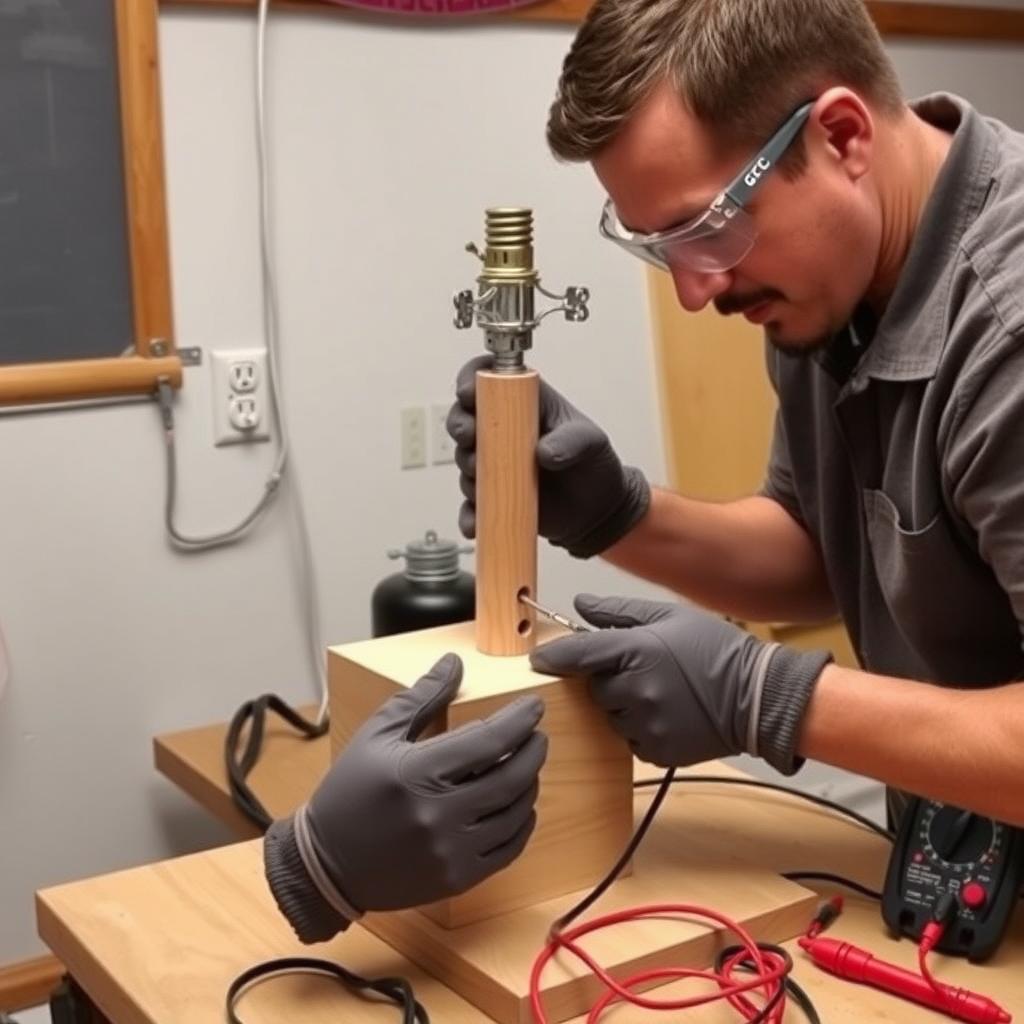
Step-by-Step: Building a Wooden Wall Sconce
Let’s walk through a sample project to illustrate the process:
- Design the Base: Sketch a wooden sconce shape (e.g., a rectangular oak panel). Use a router to carve a channel for wiring.
- Cut and Sand: Use a table saw to shape the wood, then sand it smooth.
- Install Wiring: Feed insulated wires through the channel. Use a multimeter to test connections.
- Mount the Light: Attach a low-voltage LED bulb and secure it with an insulated screwdriver.
- Test and Finish: Verify the circuit with a cable tester, then apply a wood finish for aesthetics.
This project taught me patience. Routing the wire channel took precision, but the result—a glowing, handcrafted sconce—was worth it.
Advanced Techniques for Pros
Once you’re comfortable, try advanced projects like a motorized wooden cabinet with built-in outlets or a desk with integrated USB hubs. These require deeper knowledge of both crafts:
- Concealed Wiring: Use a dado blade to create hidden wire channels in thick wood pieces.
- Smart Integration: Incorporate smart plugs or dimmers, following guidelines from the Institute of Electrical and Electronics Engineers (IEEE).
- Custom Finishes: Combine wood stains with sealed electrical components for a polished look.
I recently built a desk with a hidden USB hub. The trick was planning the wiring layout before cutting the wood. It’s now my favorite workspace.

Common Mistakes to Avoid
Blending these crafts isn’t without challenges. Here are pitfalls to watch for:
- Ignoring Electrical Codes: Always check local regulations. Non-compliance can lead to unsafe installations.
- Poor Wire Management: Exposed or loose wires ruin aesthetics and pose risks.
- Rushing Measurements: Misaligned cuts or wiring can derail your project.
Early on, I miscalculated a wire length and had to redo an entire bookshelf. Measure twice, cut once—it’s a cliché for a reason.
Resources for Learning More
To deepen your skills, explore these resources: - OSHA’s Electrical Safety Guidelines: Critical for workplace safety. - Woodworking Network: Offers tips on advanced woodworking techniques.
Joining a local makerspace also helped me. Connecting with other craftsmen gave me practical tips and confidence.
Summary
Combining woodworking and electrical work is a rewarding way to create unique, functional pieces. With the right woodworking tools and workman tools for electrical work, plus a focus on safety and precision, you can bring your ideas to life. Start small, prioritize safety, and let your creativity shine.
Related Combining Woodworking and Electrical Work: The Ultimate Guide:
- Common Power Washer Problems and Solutions: Keep Your Machine Running Smoothly
- Essential Power Tools Maintenance Tips for Long-Lasting Performance
- DIY Tool Storage Solutions for Small Spaces: Maximize Your Workshop
- Choosing the Right Paintbrush for Your Project: A Comprehensive Guide
- Innovative Ergonomic Solutions for Home Improvement: Transform Your Work Experience
- Mastering Precision Drilling: The Ultimate Guide to Power Tools
- Understanding Metric vs. SAE Measurements: A Comprehensive Guide for Workman Tools
- How to Choose the Right Construction Level for Your Project
- Mastering Ergonomics in Hand Tool Use: Safety and Comfort for Workers
- Ergonomic Wrenches for Reducing Hand Strain: A Workman’s Guide
- The Impact of Smart Technology on Manual Labor: Revolutionizing Workman Tools in 2024
- Top 10 Workman Tools for Beginners: Your Essential Toolkit Guide